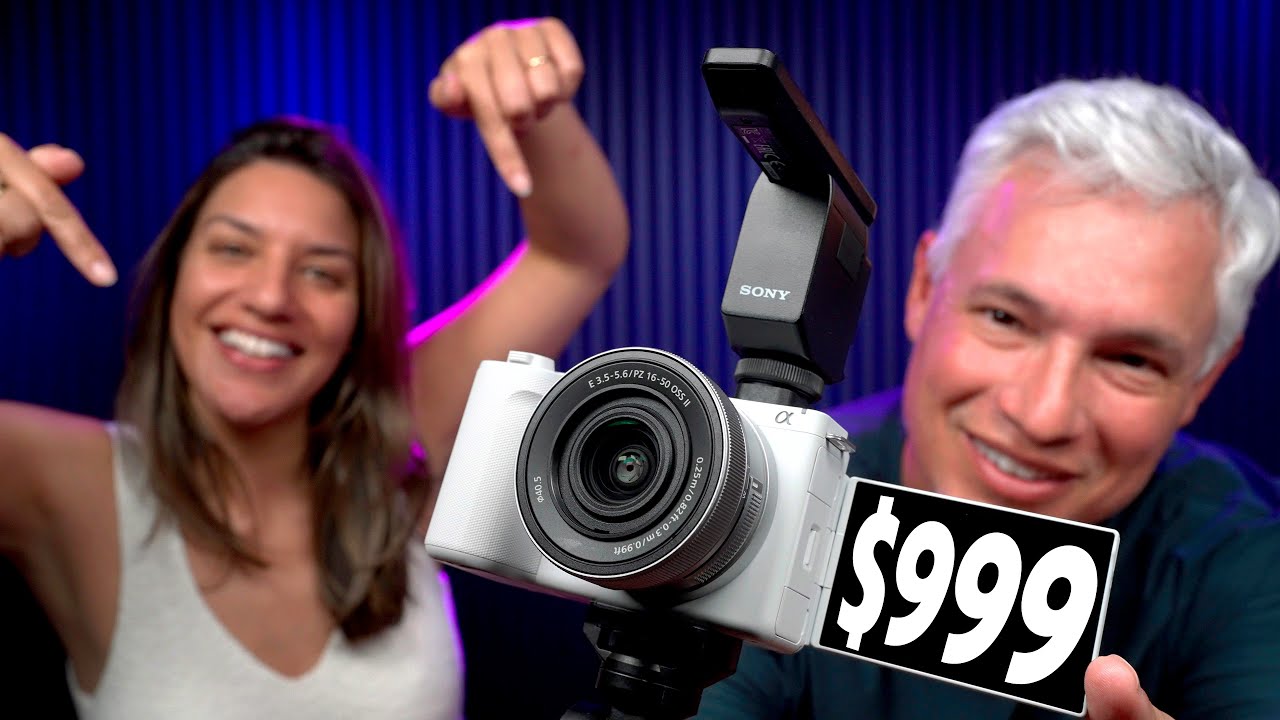
I’ve been down the rabbit hole of sub-$1000 video cameras more times than I care to admit. Every few months a new contender shows up claiming to be the best thing for creators on a budget, and most of them disappoint in the same ways – ugly autofocus, garbage low-light, or a lens ecosystem that dead-ends fast. So when I caught this Tony & Chelsea Northrup tutorial on the Sony ZV-E10 II, I paid close attention. Tony and Chelsea don’t hype gear for the sake of it, and their hands-on breakdown confirmed a lot of what I suspected about this camera while teaching me a few things I hadn’t considered.
What makes this review worth your time is that they actually put the ZV-E10 II up against real-world competitors – the iPhone 15 Pro Max and the DJI Pocket 3 – instead of just reading spec sheets. That’s the kind of test that tells you whether a camera is worth pulling out of your bag. If you’re trying to decide whether to make the jump from your phone to a dedicated video camera, this breakdown will save you a lot of second-guessing.
Step 1: See the Real Difference Between Phone and Camera Footage
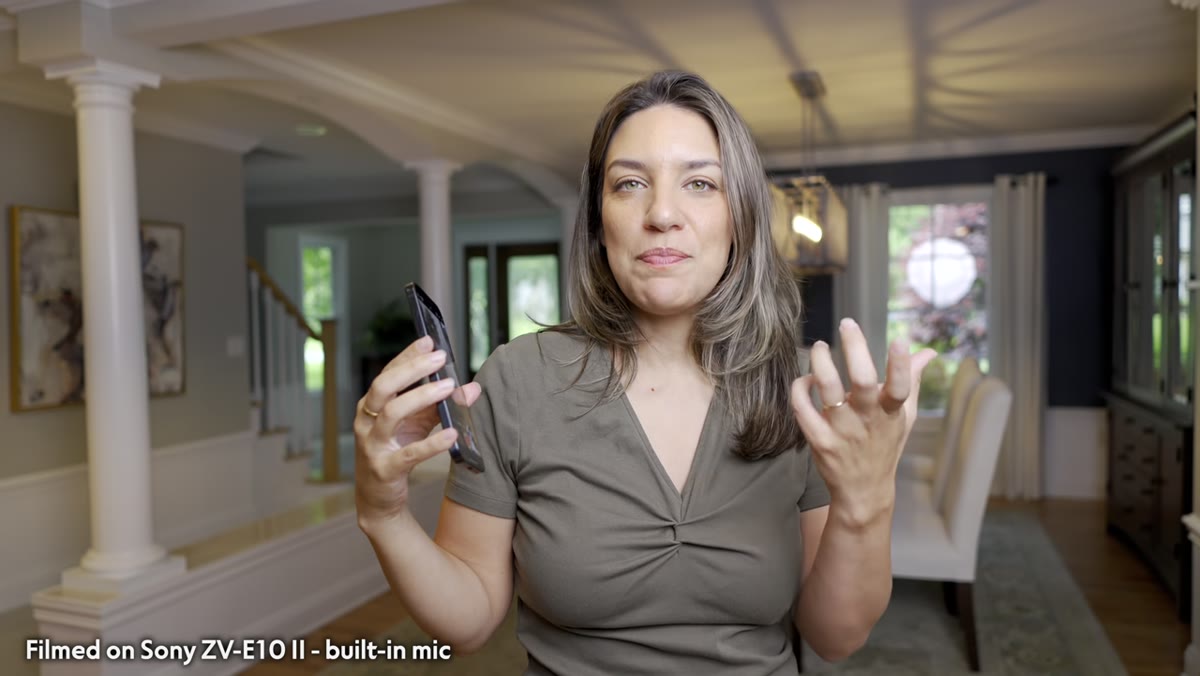 Side-by-side comparison of Sony and iPhone 15 Pro Max footage
Before diving into specs, Tony and Chelsea do something smart – they show the ZV-E10 II footage directly alongside iPhone 15 Pro Max footage at the start of the video. The difference isn’t subtle. The Sony renders faces with actual depth and shadow. The iPhone, even the flagship model, applies heavy computational processing that flattens features and smooths out detail that your eye expects to see.
Side-by-side comparison of Sony and iPhone 15 Pro Max footage
Before diving into specs, Tony and Chelsea do something smart – they show the ZV-E10 II footage directly alongside iPhone 15 Pro Max footage at the start of the video. The difference isn’t subtle. The Sony renders faces with actual depth and shadow. The iPhone, even the flagship model, applies heavy computational processing that flattens features and smooths out detail that your eye expects to see.
The practical takeaway here is that phone cameras are optimizing for a “good enough” result automatically, while a dedicated camera with a proper sensor gives you light information that looks natural at 100% and holds up when you zoom in. If your content lives on a phone screen, the gap might feel minor. If you’re editing and color grading for YouTube, the Sony’s image gives you a lot more to work with.
Step 2: Understand the APS-C Sensor Advantage
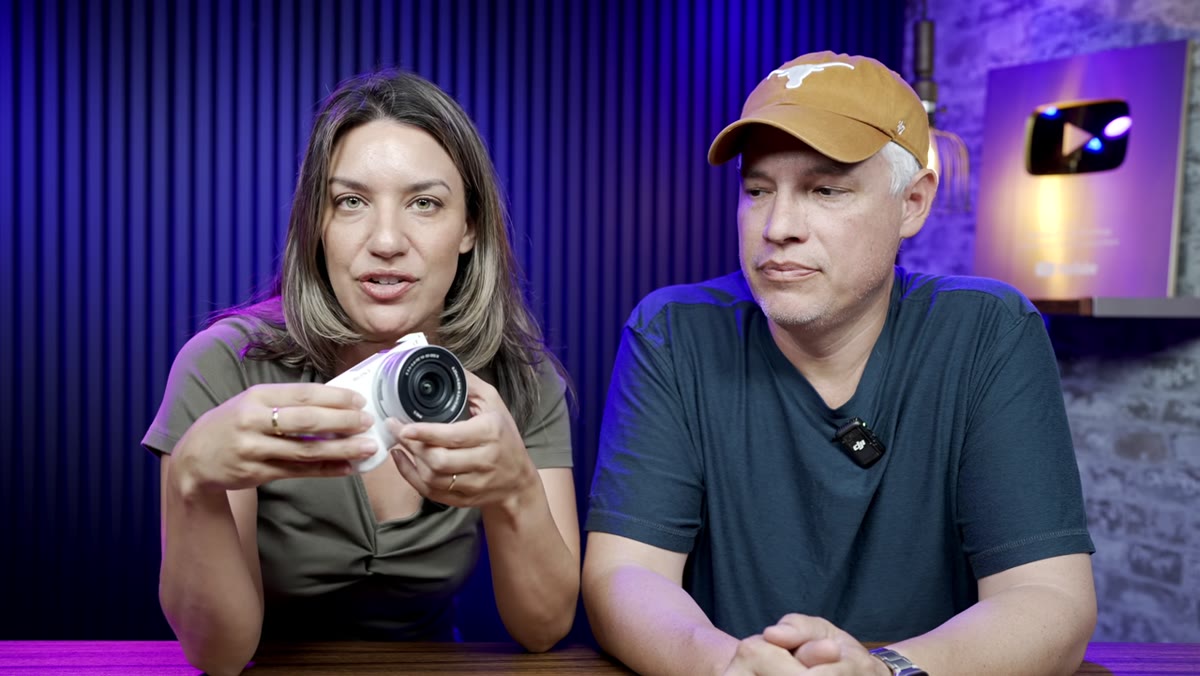 Host explaining APS-C sensor size and interchangeable lens system
The ZV-E10 II runs a 26-megapixel APS-C sensor, which is the same silicon Sony uses in some of their more expensive bodies. Sensor size matters for two reasons that directly affect your video: how much light the camera captures and how much background separation you can get. A bigger sensor gathers more photons, which translates to cleaner footage in lower light without cranking ISO into noisy territory.
Host explaining APS-C sensor size and interchangeable lens system
The ZV-E10 II runs a 26-megapixel APS-C sensor, which is the same silicon Sony uses in some of their more expensive bodies. Sensor size matters for two reasons that directly affect your video: how much light the camera captures and how much background separation you can get. A bigger sensor gathers more photons, which translates to cleaner footage in lower light without cranking ISO into noisy territory.
More importantly, this camera uses an interchangeable lens mount. That’s not a throwaway feature. It means you’re not locked into whatever optic the manufacturer glued to the front. Start with the kit lens, and when your budget allows, drop in something faster. The system grows with you instead of forcing you to start over.
Step 3: Run the Low-Light Test with the Kit Lens vs. an Upgraded Lens
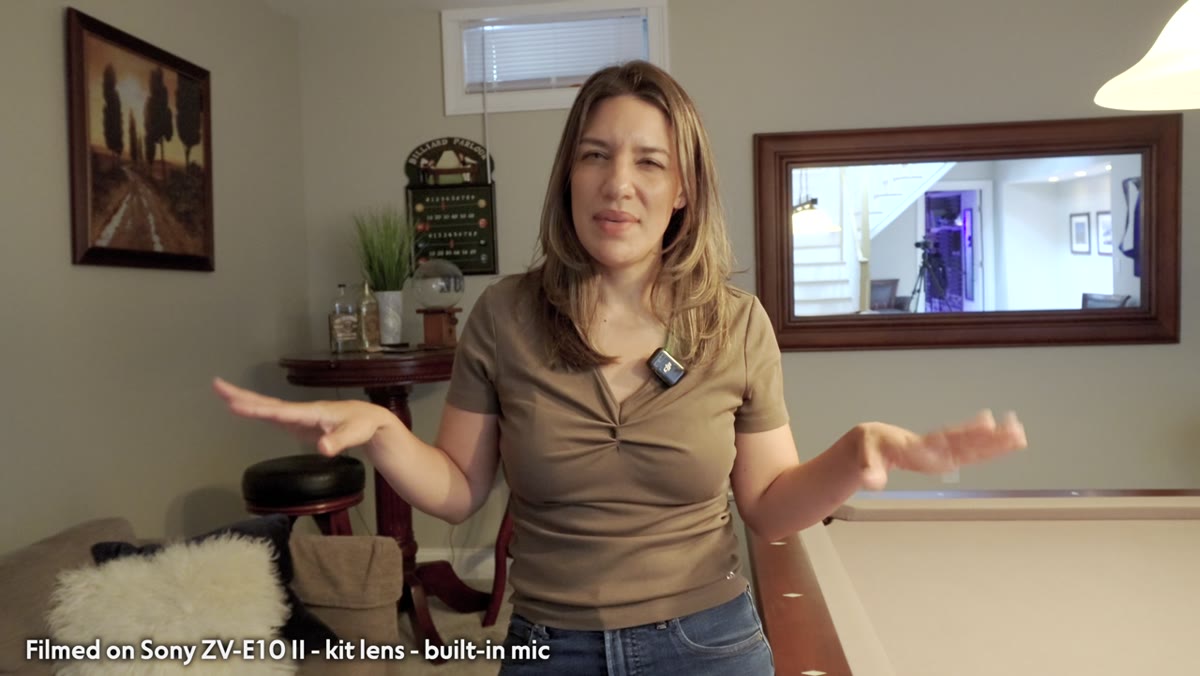 Low-light comparison between kit lens, 15mm f/1.4, and iPhone
This is where the review gets genuinely useful. Tony and Chelsea dim the lights to simulate a dark restaurant and run the ZV-E10 II with two different lenses – the bundled kit lens and the 15mm f/1.4 – alongside the iPhone and the Pocket 3. The kit lens struggles. You get visible noise and softer detail at low light because the kit glass doesn’t gather much light.
Low-light comparison between kit lens, 15mm f/1.4, and iPhone
This is where the review gets genuinely useful. Tony and Chelsea dim the lights to simulate a dark restaurant and run the ZV-E10 II with two different lenses – the bundled kit lens and the 15mm f/1.4 – alongside the iPhone and the Pocket 3. The kit lens struggles. You get visible noise and softer detail at low light because the kit glass doesn’t gather much light.
Swap to the 15mm f/1.4 and the result is dramatically cleaner, sharper, and more natural-looking than either the iPhone or the Pocket 3. The phone and the compact camera over-process to compensate for their small sensors, which produces that mushy, watercolor texture in shadows. The Sony with a fast prime just captures the light and renders it cleanly. The lesson: budget for the camera body AND at least one fast prime if low-light performance is part of your use case.
Step 4: Use the Video-Creator-Specific Features
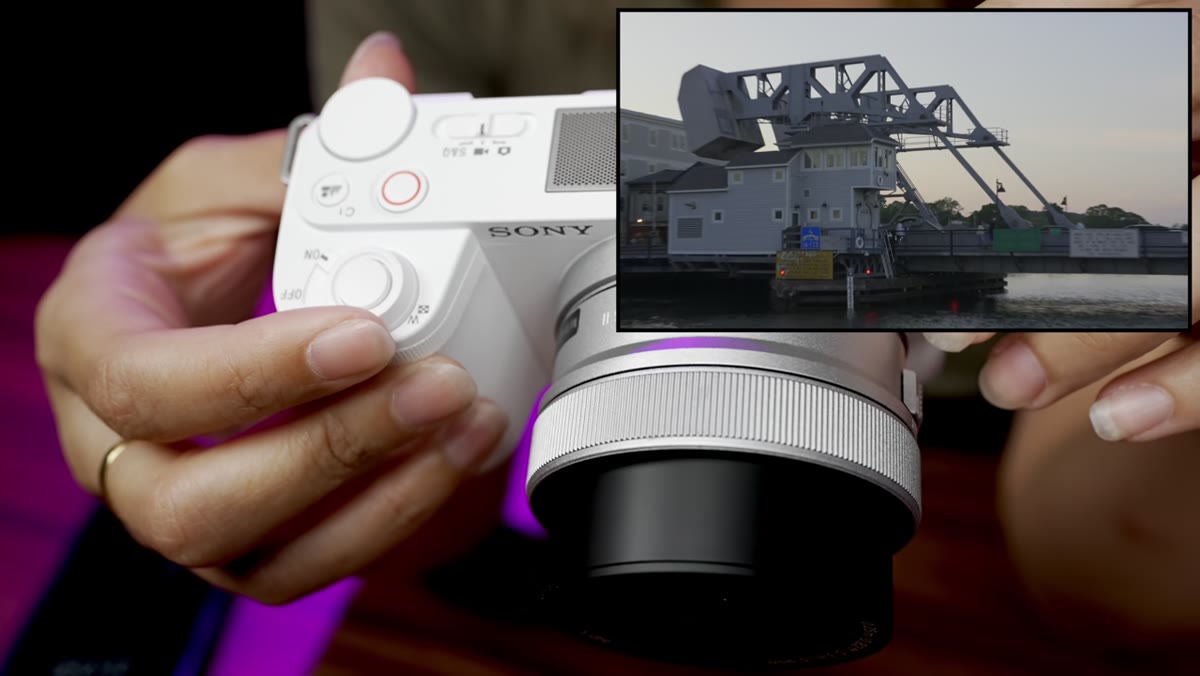 Power zoom lever and fully articulating flip screen on the ZV-E10 II
Sony built this camera around the needs of solo video creators, and a few hardware choices reflect that directly. The power zoom lever on the body lets you ramp focal length smoothly without jerky manual pulls – useful if you’re doing a slow push on a subject without a separate operator. The fully articulating touchscreen flips out and rotates, so you can frame yourself accurately whether you’re shooting at desk level, down low, or in portrait orientation for vertical content.
Power zoom lever and fully articulating flip screen on the ZV-E10 II
Sony built this camera around the needs of solo video creators, and a few hardware choices reflect that directly. The power zoom lever on the body lets you ramp focal length smoothly without jerky manual pulls – useful if you’re doing a slow push on a subject without a separate operator. The fully articulating touchscreen flips out and rotates, so you can frame yourself accurately whether you’re shooting at desk level, down low, or in portrait orientation for vertical content.
One caveat worth knowing: the menus don’t rotate when you flip to vertical shooting. The footage itself goes vertical and looks correct, but you’re navigating horizontal menus on a portrait screen. It’s a minor annoyance, not a dealbreaker, but if you’re doing a lot of vertical content you’ll notice it.
Step 5: Expand Your Audio Setup Using Sony’s Ecosystem
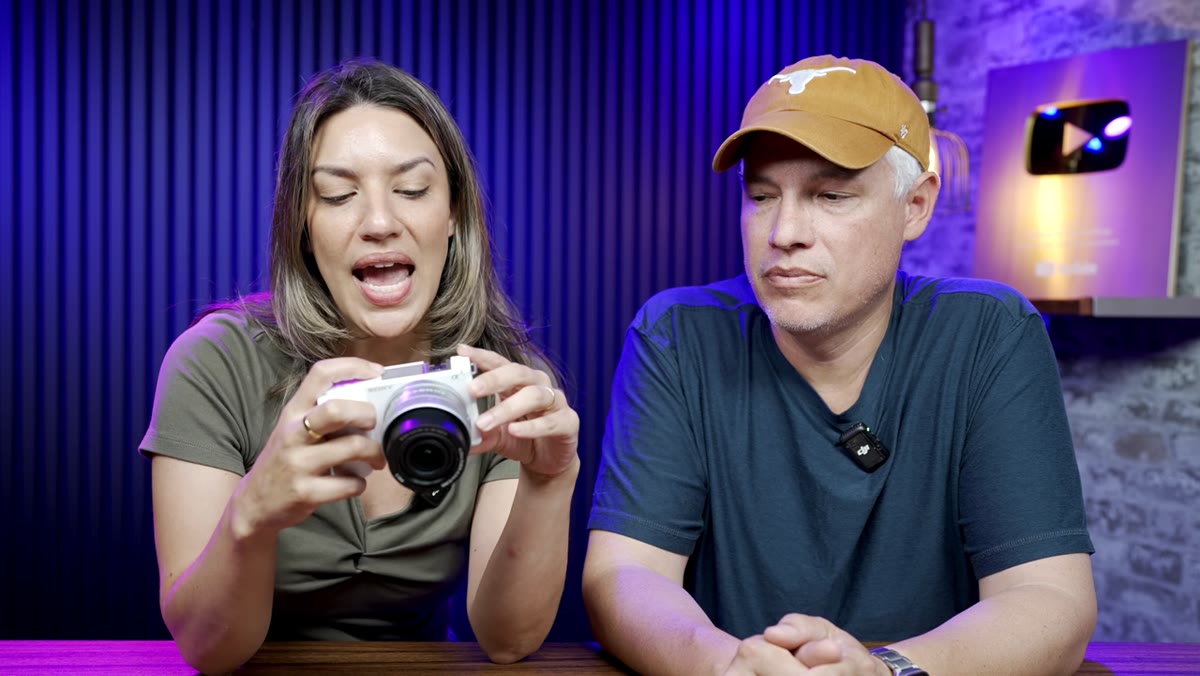 Built-in microphone and Sony wireless mic accessory on camera
The ZV-E10 II has a built-in microphone on top, and it performs adequately for casual use. But Tony and Chelsea are clear that audio is where you should invest next after your lens. Sony’s own accessory lineup includes wireless mics, shotgun mics, and lavalier options, all designed to integrate cleanly with this body.
Built-in microphone and Sony wireless mic accessory on camera
The ZV-E10 II has a built-in microphone on top, and it performs adequately for casual use. But Tony and Chelsea are clear that audio is where you should invest next after your lens. Sony’s own accessory lineup includes wireless mics, shotgun mics, and lavalier options, all designed to integrate cleanly with this body.
This is actually a real advantage of staying in an established ecosystem. Budget camera brands sometimes leave you hunting for third-party adapters and dealing with compatibility headaches. Sony’s mic accessories snap in and work. If you’re building a solo creator kit, plan on budgeting for at least a basic wireless mic alongside the camera body. It’s the upgrade that makes the biggest difference to viewers after image quality.
Step 6: Add the Shooting Grip for Vlogging and Run-and-Gun Work
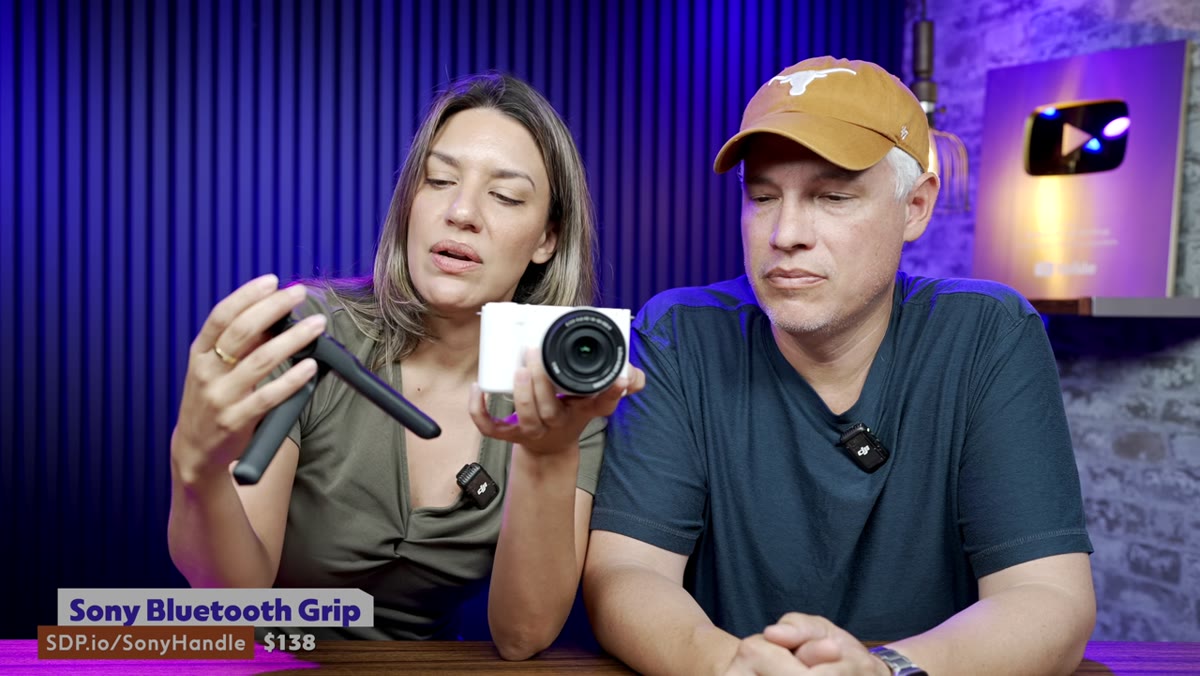 Sony shooting grip handle with zoom and record controls
The optional Sony handle grip turns the ZV-E10 II into a genuinely comfortable handheld vlogging rig. It’s not just ergonomics – the grip has dedicated controls for starting and stopping recording, zooming, and capturing stills. For solo work where you’re constantly adjusting and moving, having those controls at your thumb without digging into menus saves real time on a shoot.
Sony shooting grip handle with zoom and record controls
The optional Sony handle grip turns the ZV-E10 II into a genuinely comfortable handheld vlogging rig. It’s not just ergonomics – the grip has dedicated controls for starting and stopping recording, zooming, and capturing stills. For solo work where you’re constantly adjusting and moving, having those controls at your thumb without digging into menus saves real time on a shoot.
In real-world 4K 60fps use, Tony and Chelsea found the autofocus and auto exposure handled themselves without much babysitting. For most vloggers and YouTube creators, that’s exactly what you need – a camera that lets you focus on your content instead of your settings.
What I’d Add From My Own Testing
The one thing this review doesn’t dig into, which I’d push anyone buying this camera to think about, is total kit cost. The body is affordable, but the 15mm f/1.4 is a real additional spend. I’ve built a spreadsheet of every budget-friendly fast prime that fits Sony’s E-mount, and there are third-party options from Samyang and 7Artisans that land under $200 and perform well for video use. You don’t have to go Sony-branded glass to get a major improvement over the kit lens. The APS-C sensor and the body features are the core value here – the glass is where you have flexibility to save money if you need to.
The single most important thing I took from this breakdown: phone cameras are impressive, but they’re optimizing for a processed result. The ZV-E10 II gives you real optical data from a real sensor, and with a fast lens in front of it, nothing in this price range touches it for video quality. If you’re a creator who’s been talking yourself out of the camera upgrade, this is the video that might actually change your mind.
Watch the full tutorial on YouTube – Tony and Chelsea’s side-by-side footage comparisons are worth seeing with your own eyes.
Comments (1)
Wow, I had no idea you could do this. Mind blown.
Leave a Comment