Telephoto lenses are the gear purchase that humbles people. You spend months saving up, you finally get one, and then half your shots come back soft and you start wondering if you got a bad copy. I’ve been there. I’ve also watched other photographers blame their glass when the real problem was sitting in the settings menu the whole time.
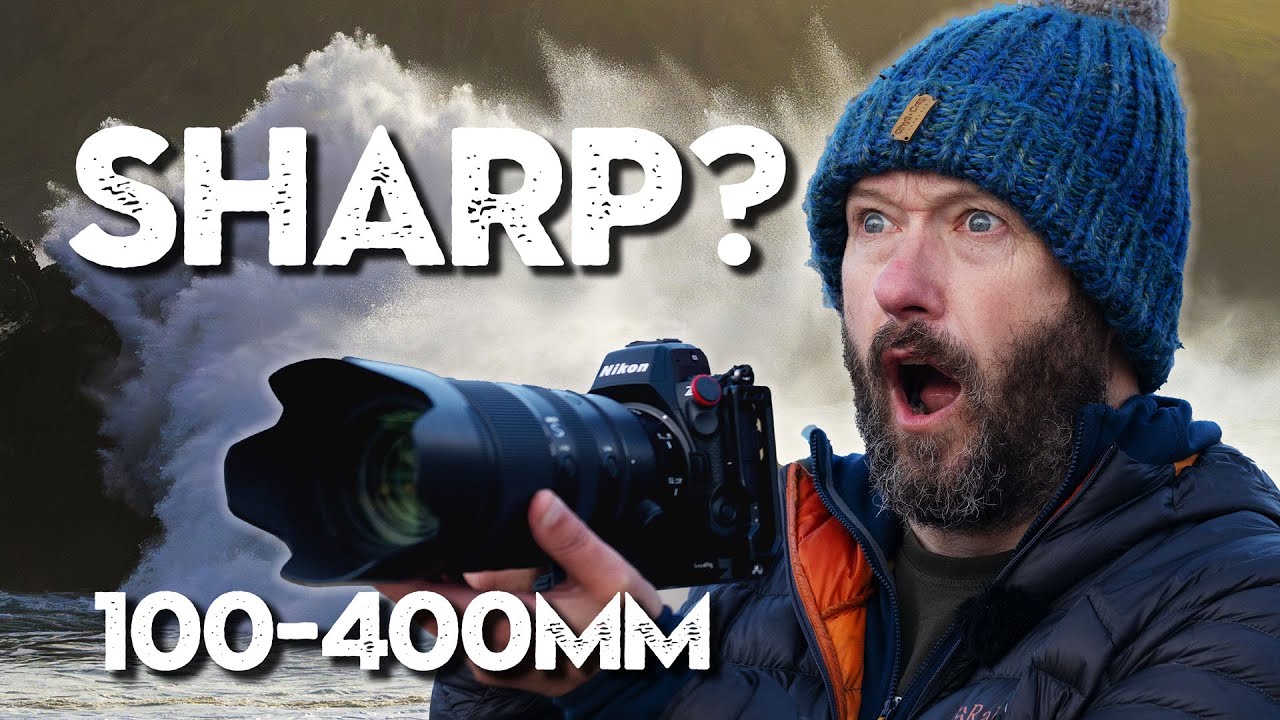
That’s exactly why this Nigel Danson tutorial stopped me mid-scroll. Danson shot it on the west coast of Ireland during a legitimate storm, handholding a 400mm lens while waves crashed around him, and he walked through every decision he made to keep his images sharp. It’s one of those videos where the conditions are genuinely brutal, which makes the technique lessons land harder. If these settings work during a storm with a long telephoto, they’ll work for you at a calm lake or a local airshow. Watch the full tutorial on YouTube
Here’s the breakdown, step by step.
Step 1: Pick a Subject That Demands Sharpness
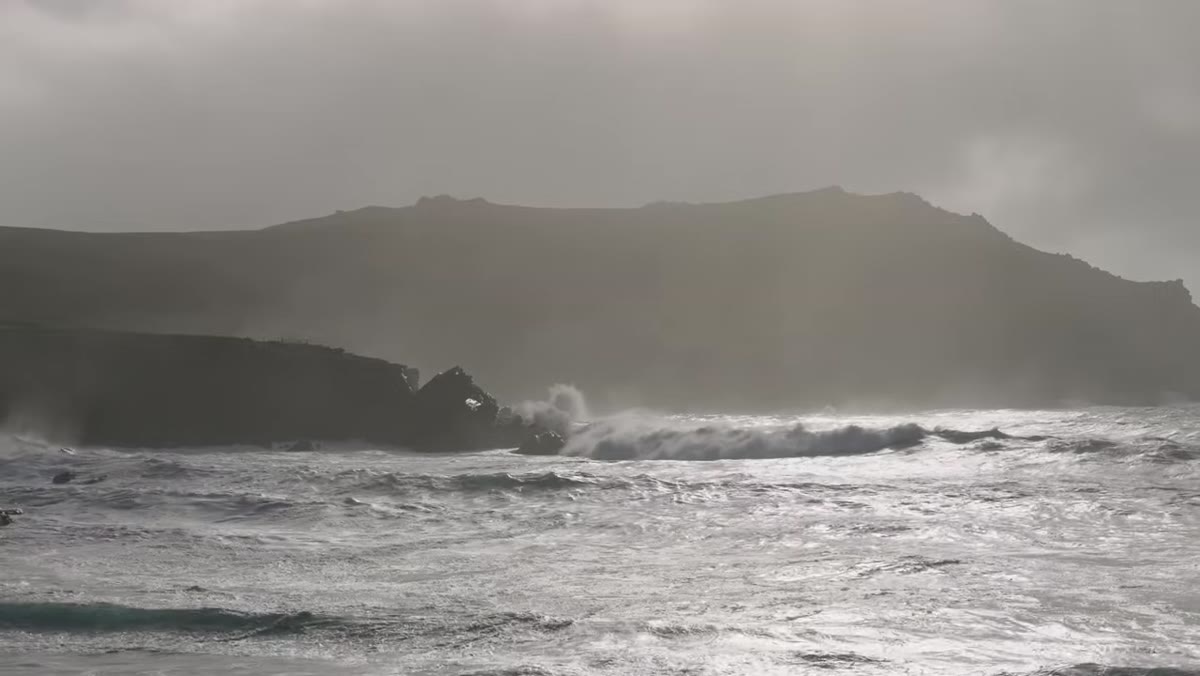 Danson at the shoreline watching massive storm waves break
Before you touch a single dial, figure out what kind of sharp you actually need. Danson is shooting fast-moving waves crashing against rocks. That subject has almost no margin for error. A wave that’s mid-break and slightly motion-blurred isn’t dramatic or artistic, it’s just missed. Knowing your subject is in constant fast motion tells you immediately that your entire settings strategy has to prioritize freezing movement above everything else. If you’re shooting something slower, like a mountain ridge or a bird perched on a branch, your priorities shift. Identify the movement first, then build your settings around it.
Danson at the shoreline watching massive storm waves break
Before you touch a single dial, figure out what kind of sharp you actually need. Danson is shooting fast-moving waves crashing against rocks. That subject has almost no margin for error. A wave that’s mid-break and slightly motion-blurred isn’t dramatic or artistic, it’s just missed. Knowing your subject is in constant fast motion tells you immediately that your entire settings strategy has to prioritize freezing movement above everything else. If you’re shooting something slower, like a mountain ridge or a bird perched on a branch, your priorities shift. Identify the movement first, then build your settings around it.
Step 2: Set a Fast Shutter Speed as Your Anchor
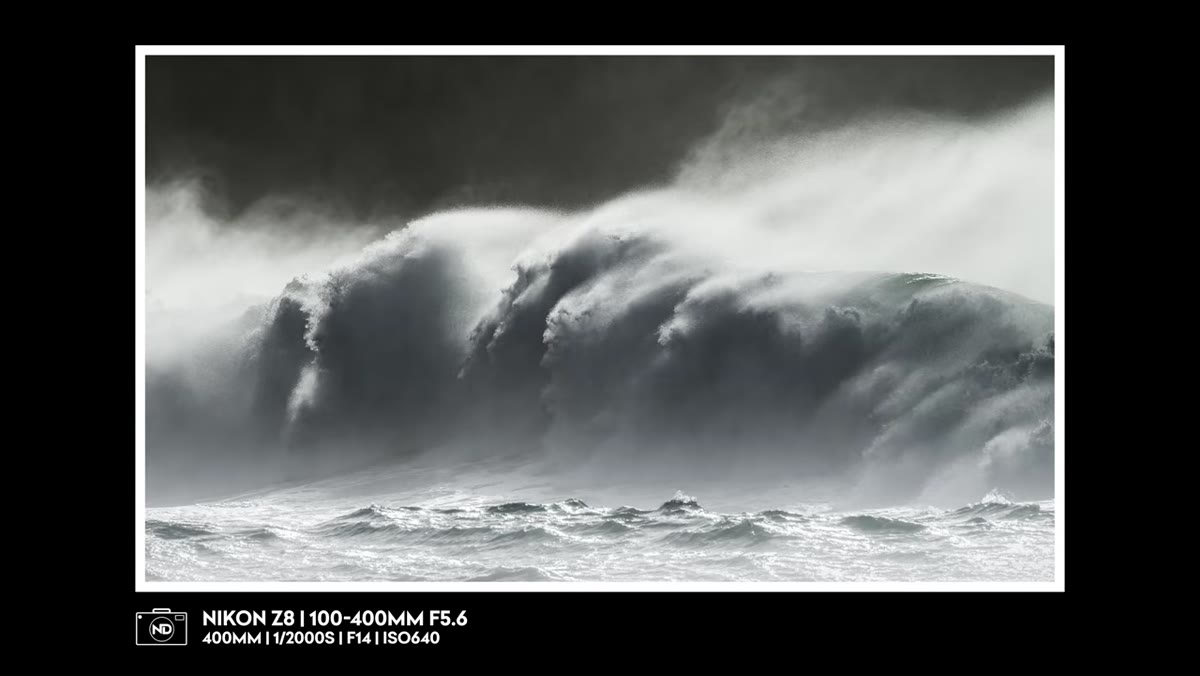
 Danson describing 1/3000s shutter speed while waves crash behind him
Danson locked in around 1/2000th to 1/3000th of a second as his base shutter speed for the wave shots. That’s fast enough to freeze water that’s actively exploding off rock, and it completely eliminates any camera shake penalty from handholding a heavy telephoto. The practical rule he’s working from: with a long telephoto, your minimum shutter speed just to combat camera shake is already high, around 1/focal length or faster. When your subject is also moving quickly, you need to go much faster than that minimum. Don’t be precious about it. The shot doesn’t exist if it’s blurry. Nail the shutter first.
Danson describing 1/3000s shutter speed while waves crash behind him
Danson locked in around 1/2000th to 1/3000th of a second as his base shutter speed for the wave shots. That’s fast enough to freeze water that’s actively exploding off rock, and it completely eliminates any camera shake penalty from handholding a heavy telephoto. The practical rule he’s working from: with a long telephoto, your minimum shutter speed just to combat camera shake is already high, around 1/focal length or faster. When your subject is also moving quickly, you need to go much faster than that minimum. Don’t be precious about it. The shot doesn’t exist if it’s blurry. Nail the shutter first.
Step 3: Use Shutter Priority Mode to Stay in Control
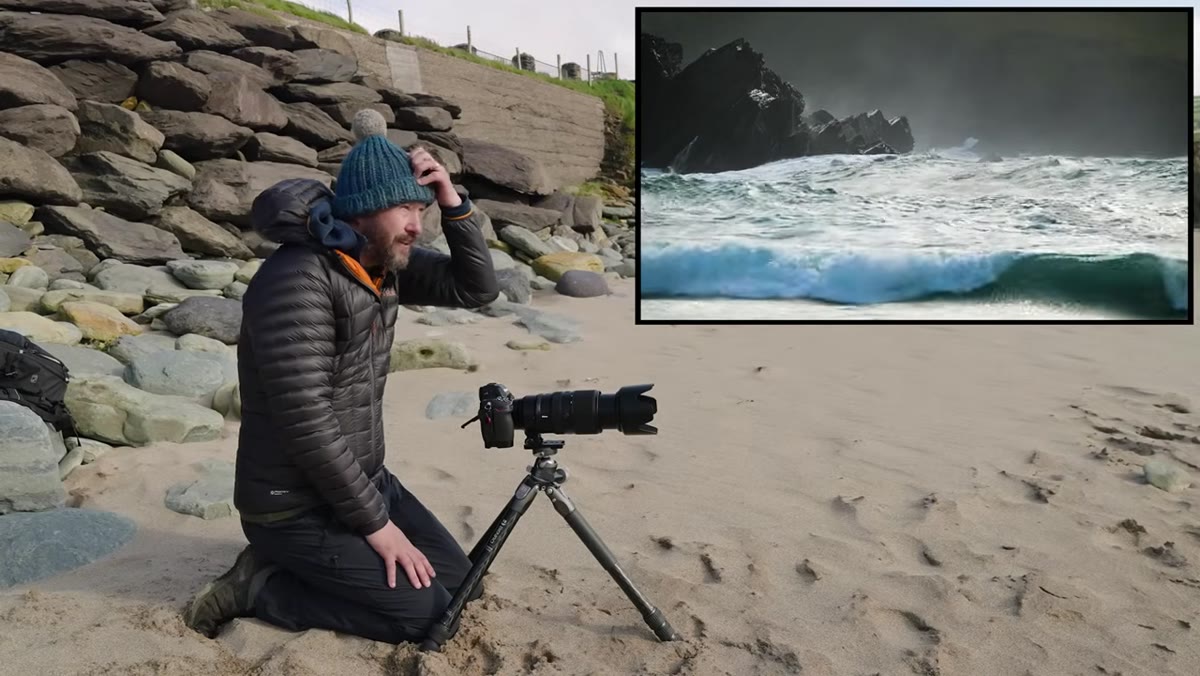
 Danson on the beach shooting waves with camera raised
Rather than shooting full manual and constantly adjusting as the light changed behind clouds, Danson used shutter priority mode. This is a smart, underrated choice for fast-moving subjects in variable light. You lock the shutter at your chosen fast speed and let the camera handle aperture. You stay focused on composition and timing instead of spinning dials while a wave builds behind the rocks. It’s not a beginner crutch. It’s the right tool for the situation.
Danson on the beach shooting waves with camera raised
Rather than shooting full manual and constantly adjusting as the light changed behind clouds, Danson used shutter priority mode. This is a smart, underrated choice for fast-moving subjects in variable light. You lock the shutter at your chosen fast speed and let the camera handle aperture. You stay focused on composition and timing instead of spinning dials while a wave builds behind the rocks. It’s not a beginner crutch. It’s the right tool for the situation.
Step 4: Set Aperture Around f/8 to f/10 for Depth of Field
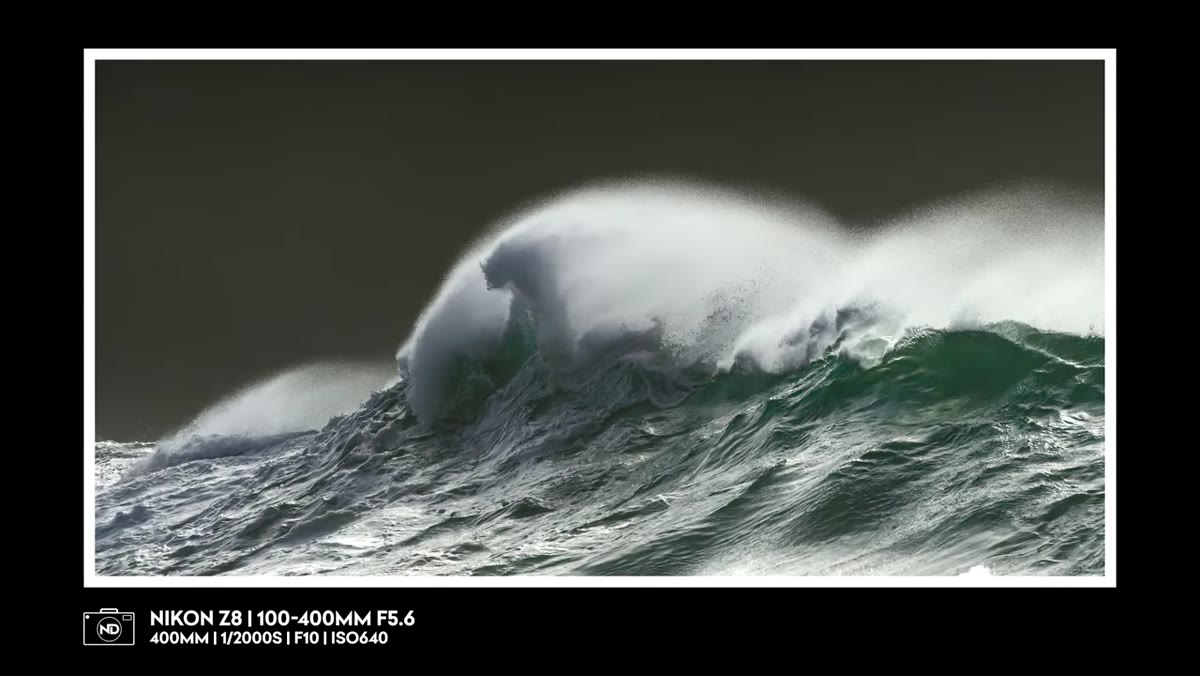 Danson referencing aperture settings while discussing sharpness
Danson mentions landing around f/8 to f/10 during this shoot. At these focal lengths and distances, a very wide aperture can leave parts of your subject out of the plane of focus. A wave is a three-dimensional object. The front of it, the crest, and the spray behind it are all at slightly different distances. Stopping down to f/8 or f/10 gives you enough depth of field to keep more of that structure sharp without going so far stopped down that you start losing sharpness to diffraction. It’s a practical middle ground that works in most telephoto situations involving subjects with depth.
Danson referencing aperture settings while discussing sharpness
Danson mentions landing around f/8 to f/10 during this shoot. At these focal lengths and distances, a very wide aperture can leave parts of your subject out of the plane of focus. A wave is a three-dimensional object. The front of it, the crest, and the spray behind it are all at slightly different distances. Stopping down to f/8 or f/10 gives you enough depth of field to keep more of that structure sharp without going so far stopped down that you start losing sharpness to diffraction. It’s a practical middle ground that works in most telephoto situations involving subjects with depth.
Step 5: Let Auto ISO Handle the Exposure Math
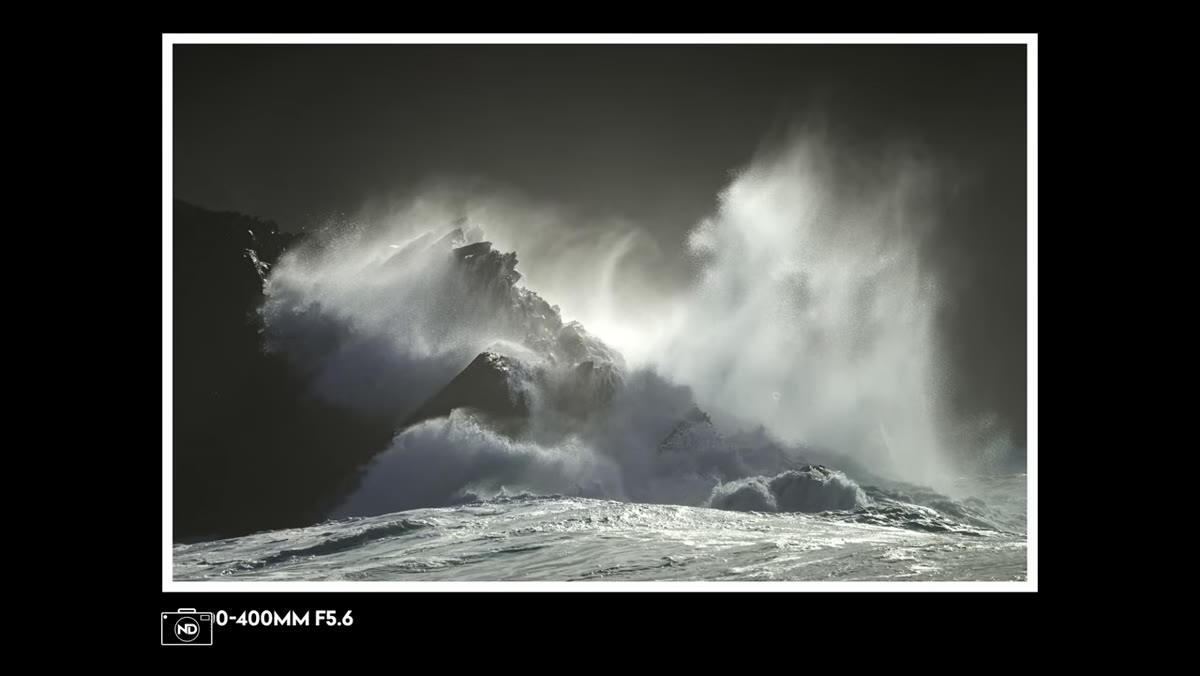 Discussing auto ISO as part of the shutter priority system
With shutter speed locked and aperture in a useful range, Danson handed exposure control over to auto ISO. This is the part that makes the whole system work. The light on the Irish coast during a storm is anything but consistent. Clouds roll across the sun constantly. If you’re manually adjusting ISO every thirty seconds, you’re missing shots. Auto ISO within a defined ceiling keeps your exposure correct while you stay focused on the actual photography. Set your maximum ISO limit to whatever your camera handles cleanly, test this before you go out, and let the camera earn its keep.
Discussing auto ISO as part of the shutter priority system
With shutter speed locked and aperture in a useful range, Danson handed exposure control over to auto ISO. This is the part that makes the whole system work. The light on the Irish coast during a storm is anything but consistent. Clouds roll across the sun constantly. If you’re manually adjusting ISO every thirty seconds, you’re missing shots. Auto ISO within a defined ceiling keeps your exposure correct while you stay focused on the actual photography. Set your maximum ISO limit to whatever your camera handles cleanly, test this before you go out, and let the camera earn its keep.
Step 6: Get Low and Handhold for Flexibility
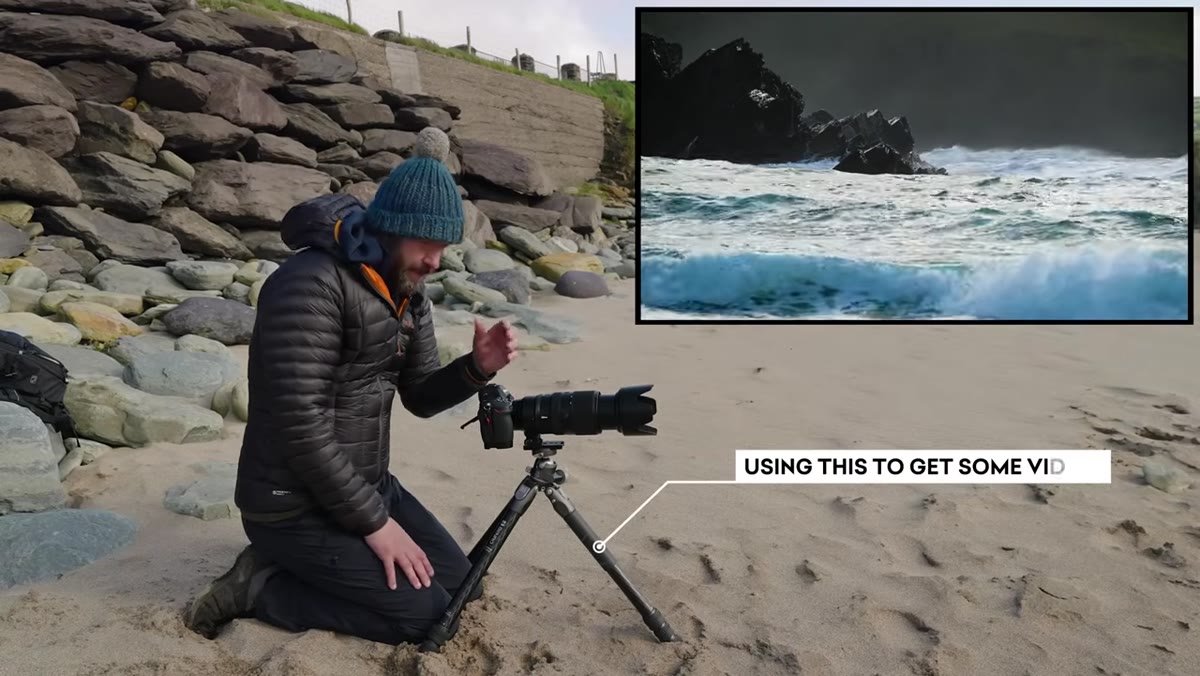 Danson positioned low on rocks tracking incoming waves
Danson made a deliberate choice to handhold rather than use a tripod at this location. With fast shutter speeds, the risk of camera shake is already minimized. What handheld shooting gives you is the ability to react quickly, drop low, track a wave as it rises, and reframe without unscrewing a ball head. He got low specifically to catch the waves rising upward against the sky, which gives the shots a dramatic vertical energy. A tripod would have made those quick angle adjustments much harder. At 1/2000th of a second or faster, you can trust your stabilization system and your hands.
Danson positioned low on rocks tracking incoming waves
Danson made a deliberate choice to handhold rather than use a tripod at this location. With fast shutter speeds, the risk of camera shake is already minimized. What handheld shooting gives you is the ability to react quickly, drop low, track a wave as it rises, and reframe without unscrewing a ball head. He got low specifically to catch the waves rising upward against the sky, which gives the shots a dramatic vertical energy. A tripod would have made those quick angle adjustments much harder. At 1/2000th of a second or faster, you can trust your stabilization system and your hands.
Step 7: Time Your Shot to the Peak of the Action
 Danson reacting and firing at the exact moment a wave breaks
This is the step that doesn’t live in your menu system at all. Danson describes watching the waves, learning their rhythm, and anticipating the moment when a wave hits the rock and throws water upward into a shape worth capturing. You have to pre-visualize the peak of the action and fire just before it happens, because your shutter release and burst buffer introduce a small delay. Watch several cycles of whatever is moving. Find the pattern. Then position yourself and time your shots to that peak moment. Sharp settings are useless if you’re consistently catching the action a half-second too late.
Danson reacting and firing at the exact moment a wave breaks
This is the step that doesn’t live in your menu system at all. Danson describes watching the waves, learning their rhythm, and anticipating the moment when a wave hits the rock and throws water upward into a shape worth capturing. You have to pre-visualize the peak of the action and fire just before it happens, because your shutter release and burst buffer introduce a small delay. Watch several cycles of whatever is moving. Find the pattern. Then position yourself and time your shots to that peak moment. Sharp settings are useless if you’re consistently catching the action a half-second too late.
What I’d Add From My Own Testing
The settings Danson uses here are almost identical to what I’ve dialed in for airshow shooting, fast jets and propeller planes at distance. One thing I’d stress: test your camera’s auto ISO behavior in your specific light conditions before you rely on it during the shoot. Some bodies make auto ISO decisions that are too conservative and underexpose to protect highlights. Others hunt around in a way that introduces inconsistency between frames. Spend fifteen minutes in your backyard or a local park running through the exact mode combination described here, shutter priority, fixed aperture, auto ISO, and verify the camera is making decisions you’re happy with. That small investment prevents a lot of deleted frames later.
The single most transferable thing from this tutorial: sharpness with a telephoto is mostly a settings problem, not a gear problem. Lock your shutter speed fast enough to stop your subject, use a mid-range aperture for adequate depth of field, let auto ISO handle the rest, and keep your position flexible enough to react. That combination works whether you’re shooting a $400 adapted telephoto or a $4000 prime.
Watch the full tutorial on YouTube to see Danson work through these decisions in real time against one of the most dramatic coastal scenes I’ve seen in a photography video.
Comments
Leave a Comment