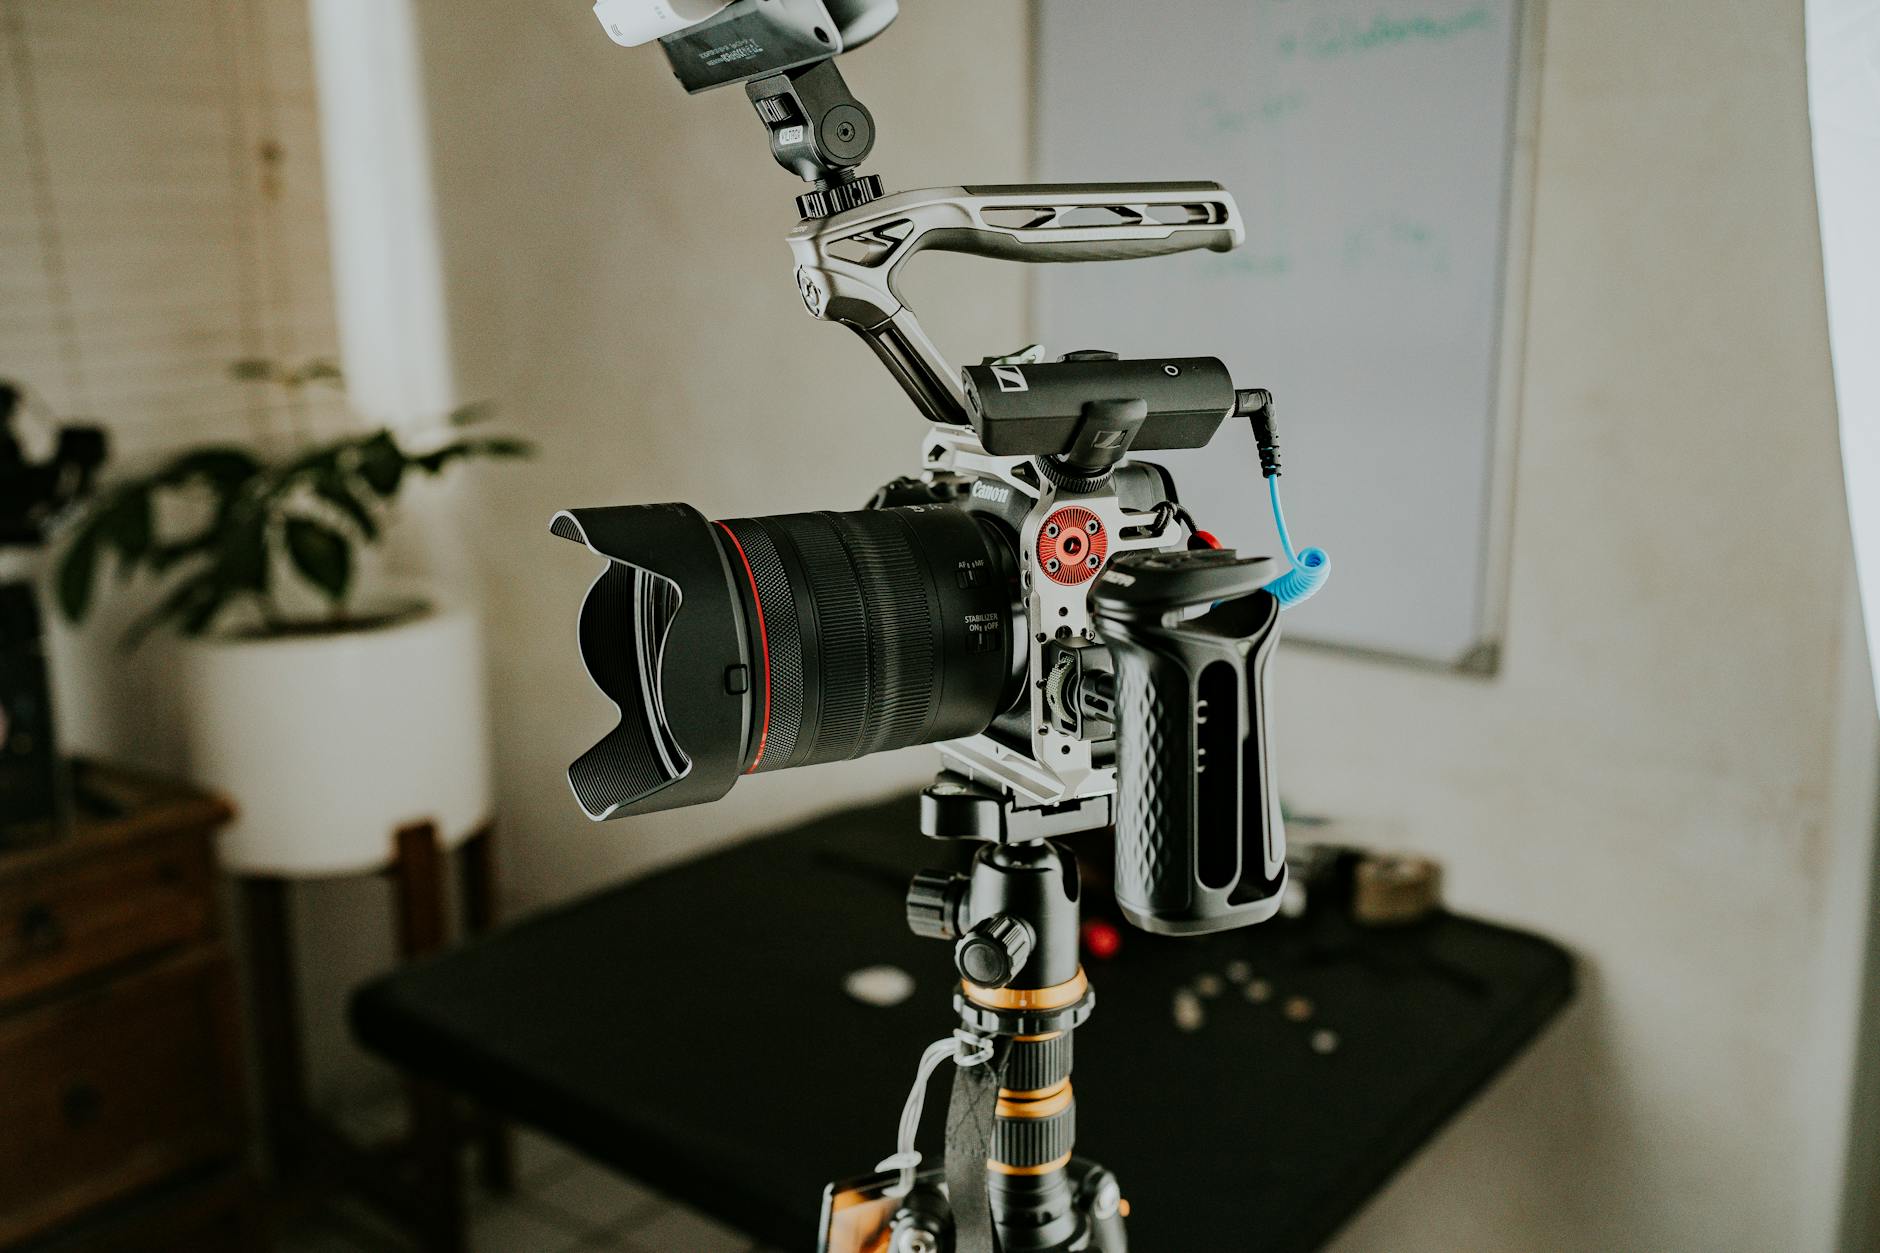
I’m going to say something that’ll get me hate mail from camera manufacturers: you don’t need to spend $3,000 on a camera body to take stunning photos. In fact, I’ve seen more creative work come from photographers shooting entry-level gear than from gear-obsessed pros with six-figure kits.
The real problem isn’t your equipment—it’s that marketing has convinced you it is.
The Trap of “Just One More Upgrade”
I fell into this myself about five years ago. I kept telling myself that once I bought the next camera, the next lens, the next gimbal, my work would level up. Spoiler alert: it didn’t. What actually happened was I spent money I didn’t have and shot the same mediocre compositions with more expensive tools.
Here’s the uncomfortable truth: a Canon M50 Mark II ($500) and a Canon R5 ($3,900) will both struggle equally with bad lighting and boring composition. The R5 shoots faster and has better autofocus, sure—but that doesn’t matter if your framing is lazy.
Your limiting factor isn’t your gear. It’s your eye and your effort.
Building a Functional Kit for $800
Let me show you what I’d actually recommend to someone starting out or switching systems without going broke:
Body: Used Canon M50 Mark II or Fujifilm X-T30 ($350-450) Both shoot 4K, both have excellent autofocus, and both are small enough to actually carry with you. Smaller gear means you’ll actually shoot more.
Lens: Used 18-55mm kit lens ($100-150) I know this sounds boring. It isn’t. The kit lens is sharp enough, has decent range, and teaches you discipline. Learn how to compose with limitations before adding more glass.
Tripod: Neewer carbon fiber travel tripod ($60) Skip the cheap aluminum ones that’ll frustrate you and collect dust. This one is lightweight, stable, and actually worth owning.
Extras: ND filters, memory cards, spare batteries ($150-200) Get a basic ND filter set for about $30. Grab two fast memory cards (not cheap slow ones—this matters). Pick up a second battery so you’re not dead at the critical moment.
Total: Around $700-850
That’s a complete, functional kit that’ll let you shoot video, stills, and learn the fundamentals without compromise.
The Real Money Saver: Shoot in Manual Mode
Here’s where budget gear actually shines: when you understand manual mode, expensive autofocus doesn’t matter as much. Master these three settings and you’ll see immediate improvement:
Aperture (f-stop): Start at f/4-5.6 for outdoor shooting. It gives you enough depth of field to forgive focus mistakes and enough light to stay sharp.
Shutter speed: Keep it faster than 1/focal length to avoid blur. With an 18mm lens, shoot at least 1/30th.
ISO: Push it. Modern budgets cameras handle noise better than you think. If it means you nail focus and exposure, go to ISO 3200. Edit aggressively in post if needed.
Learning these controls matters infinitely more than having a camera that does them automatically.
The Uncomfortable Question You Should Ask
Before you buy anything, ask yourself: Have I actually maximized what I already own?
If you’re browsing for upgrades, you probably haven’t. Spend two weeks shooting nothing but your current gear in one location. Learn every menu option. Find creative angles. Push the ISO. Use the manual mode.
Nine times out of ten, you’ll realize your gear isn’t the problem.
The Verdict
Budget gear is good enough because cameras have been “good enough” for years. The jump from $500 to $5,000 doesn’t match the jump in your actual output. The jump from no discipline to real discipline? That’s everything.
Buy once, cheap but smart. Then stop buying and start shooting. Your audience doesn’t care what badge is on your camera—they care what’s in the frame.
Comments
Leave a Comment