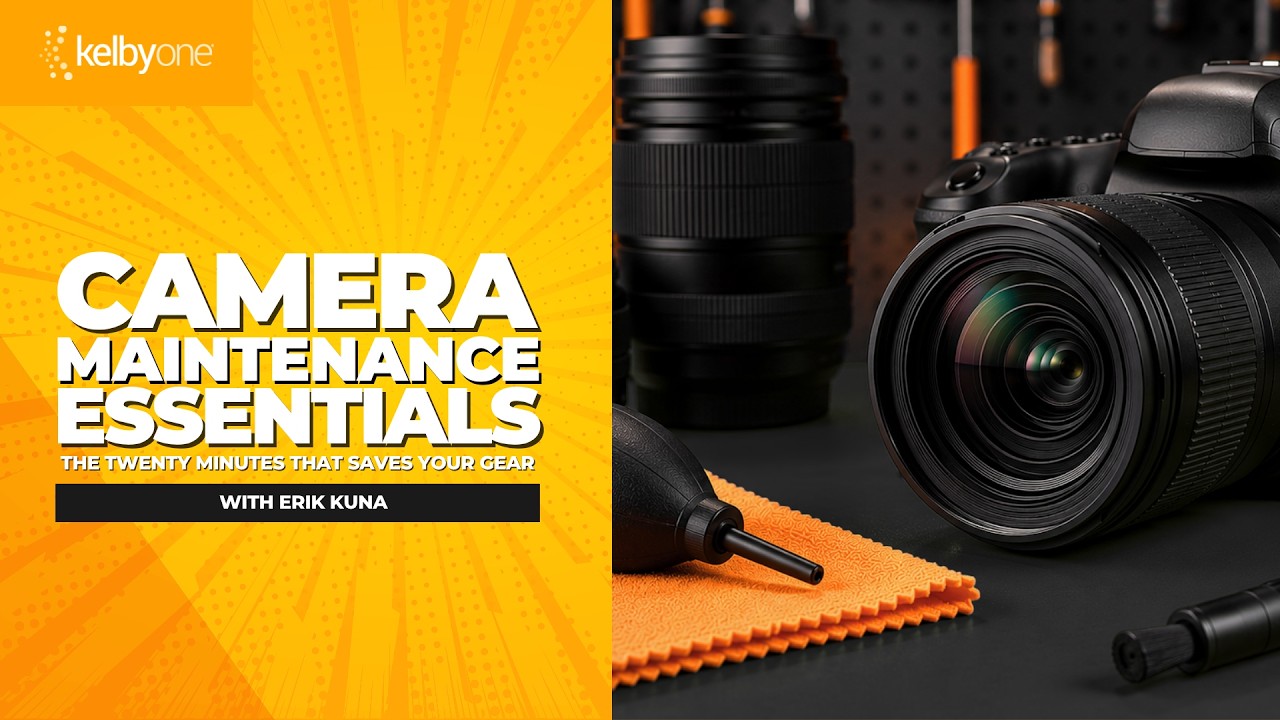
I used to treat camera cleaning the way most people treat car maintenance — something I’d get around to eventually, usually after something went wrong. Then I started noticing soft spots in photos that weren’t from my technique. Dust on the sensor. Haze creeping into a lens element I hadn’t touched in months. Smudges I couldn’t even see until the image was on screen at 100%. The frustrating part is that none of it had to happen. A consistent routine would have caught all of it.
In this KelbyOne tutorial, photographer Erik Kuna walks through the camera care process he uses before every major shoot. The whole thing takes about 20 minutes. What I like about his approach is that it’s methodical without being obsessive. He’s not telling you to buy a $400 cleaning station. He’s telling you exactly which tools to grab, which order to use them in, and, importantly, when to stop trying to fix something yourself and hand it off to someone with better equipment. Watch the full tutorial on YouTube
If you’ve ever second-guessed yourself while pointing a swab at your sensor, this one is worth your time.
Step 1: Gather Your Cleaning Kit Before You Touch Anything
 Host laying out blowers, lens pens, swabs, and cleaning cloths
The first move is getting everything in front of you before you start. Kuna’s kit is straightforward: a bulb blower, a lens pen, sensor swabs sized to your camera’s sensor format, and microfiber cleaning cloths. That’s it. You don’t need a shelf full of products. The discipline here is doing a dry run of what you have before you realize mid-clean that you’re missing something critical.
Host laying out blowers, lens pens, swabs, and cleaning cloths
The first move is getting everything in front of you before you start. Kuna’s kit is straightforward: a bulb blower, a lens pen, sensor swabs sized to your camera’s sensor format, and microfiber cleaning cloths. That’s it. You don’t need a shelf full of products. The discipline here is doing a dry run of what you have before you realize mid-clean that you’re missing something critical.
If you’re shopping for this kit from scratch, the tools themselves are inexpensive. Sensor swabs are sensor-specific, so double-check whether you’re shooting full-frame or crop before ordering. Getting the wrong size is a common and annoying mistake.
Step 2: Start With the Blower, Not the Swab
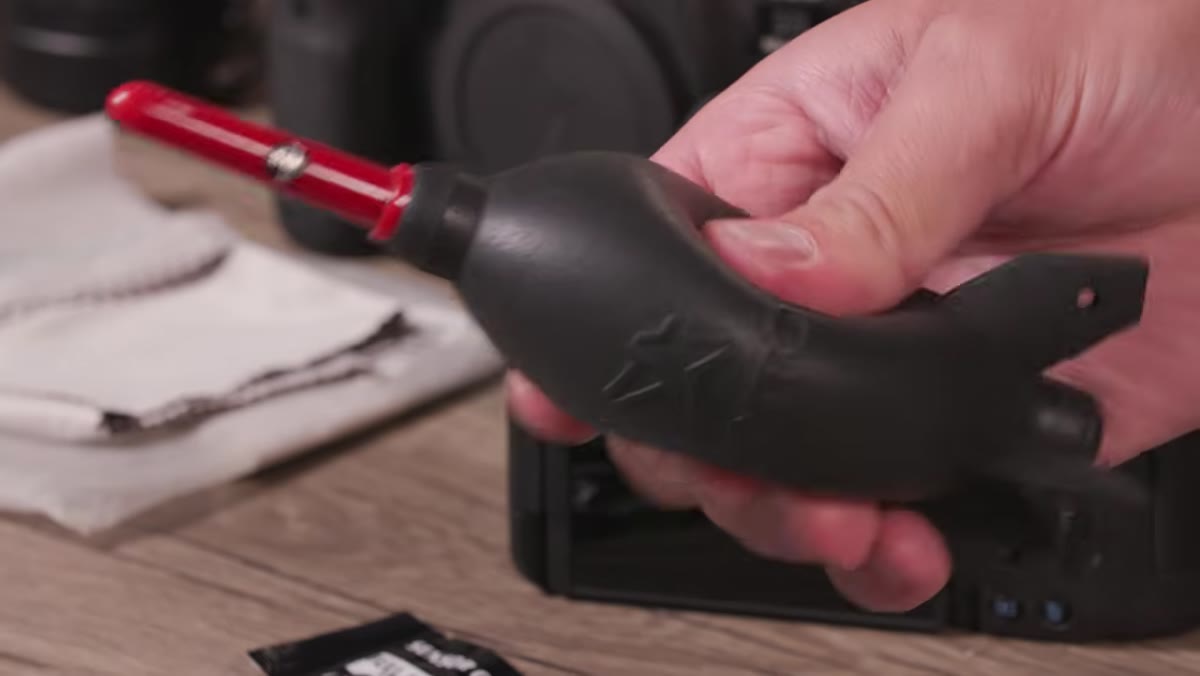
 Blower being used near camera body before any contact cleaning
Kuna’s sequence starts with the bulb blower, and the logic here matters. Before you put anything solid against your sensor or lens, you want to knock loose particles off with air first. If you skip this and go straight to a swab or cloth, you risk dragging grit across a surface and scratching it. The blower does the heavy lifting on anything that’s just sitting there loose.
Blower being used near camera body before any contact cleaning
Kuna’s sequence starts with the bulb blower, and the logic here matters. Before you put anything solid against your sensor or lens, you want to knock loose particles off with air first. If you skip this and go straight to a swab or cloth, you risk dragging grit across a surface and scratching it. The blower does the heavy lifting on anything that’s just sitting there loose.
For the sensor, you’ll need to flip your camera into sensor-cleaning or mirror lockup mode so the shutter stays open. Kuna is deliberate about not touching the interior of the camera body during this step. The blower tip goes near the opening, not inside it. A few firm squeezes, then reassess.
Step 3: Inspect the Sensor Under Good Light
 Camera body open, sensor visible during inspection phase
After the initial air blast, you need to actually look at what you’re dealing with before going further. Kuna recommends shooting a test frame against a plain, bright background like a white wall or a clear sky at a small aperture. Something around f/16 will make dust show up clearly. Take the shot, pull it into your editing software, and zoom in.
Camera body open, sensor visible during inspection phase
After the initial air blast, you need to actually look at what you’re dealing with before going further. Kuna recommends shooting a test frame against a plain, bright background like a white wall or a clear sky at a small aperture. Something around f/16 will make dust show up clearly. Take the shot, pull it into your editing software, and zoom in.
This step tells you whether the blower handled it or whether you need to escalate to a swab. Don’t skip the inspection and assume the blower worked. It often does, but not always, and going in blind with a swab when you don’t need to just adds unnecessary risk.
Step 4: Use Sensor Swabs With a Controlled, Single-Pass Motion
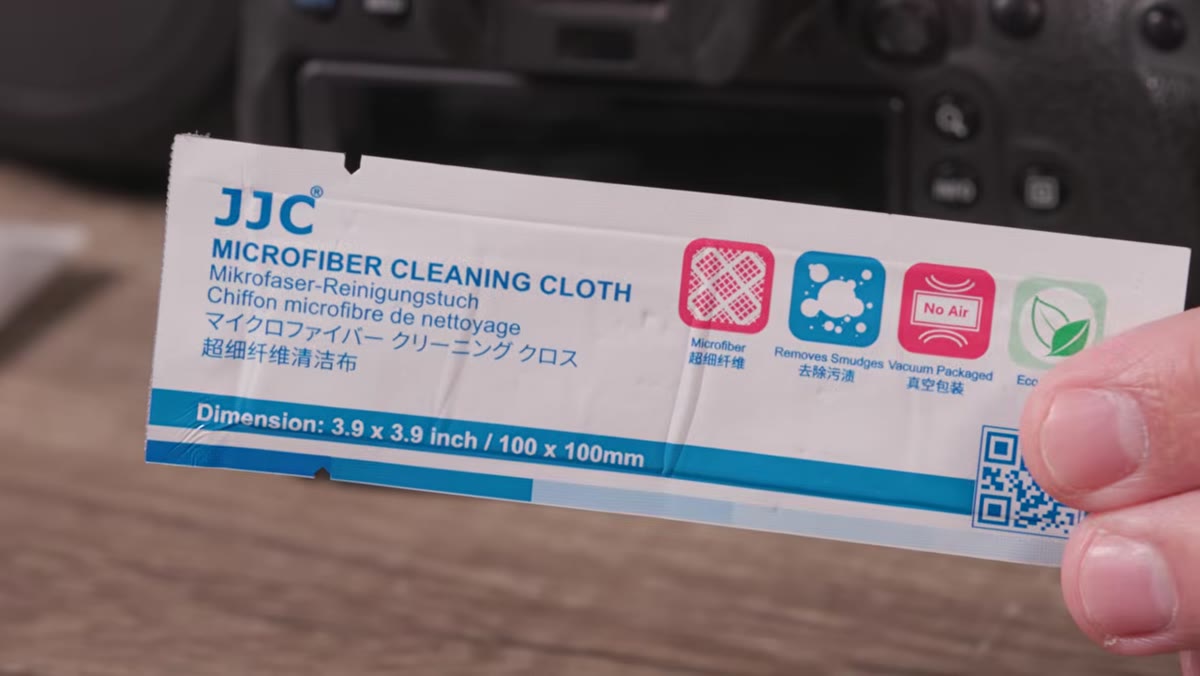 Sensor swab tool shown alongside cleaning solution
If there’s still contamination after the blower and inspection, this is where the swab comes in. Kuna applies the recommended amount of sensor cleaning solution to the swab, and the key word there is “recommended” - he’s not soaking it. A drop or two is enough. Too much solution is one of the most common ways people make the problem worse.
Sensor swab tool shown alongside cleaning solution
If there’s still contamination after the blower and inspection, this is where the swab comes in. Kuna applies the recommended amount of sensor cleaning solution to the swab, and the key word there is “recommended” - he’s not soaking it. A drop or two is enough. Too much solution is one of the most common ways people make the problem worse.
The motion is a single, controlled pass across the sensor. One direction. You flip the swab to the clean side for a second pass if needed, but you don’t go back and forth on the same side. The goal is to move debris off the sensor, not redistribute it. After each pass, shoot another test frame and inspect again before deciding whether to go further.
Step 5: Clean Lenses With the Lens Pen, Working Outside-In
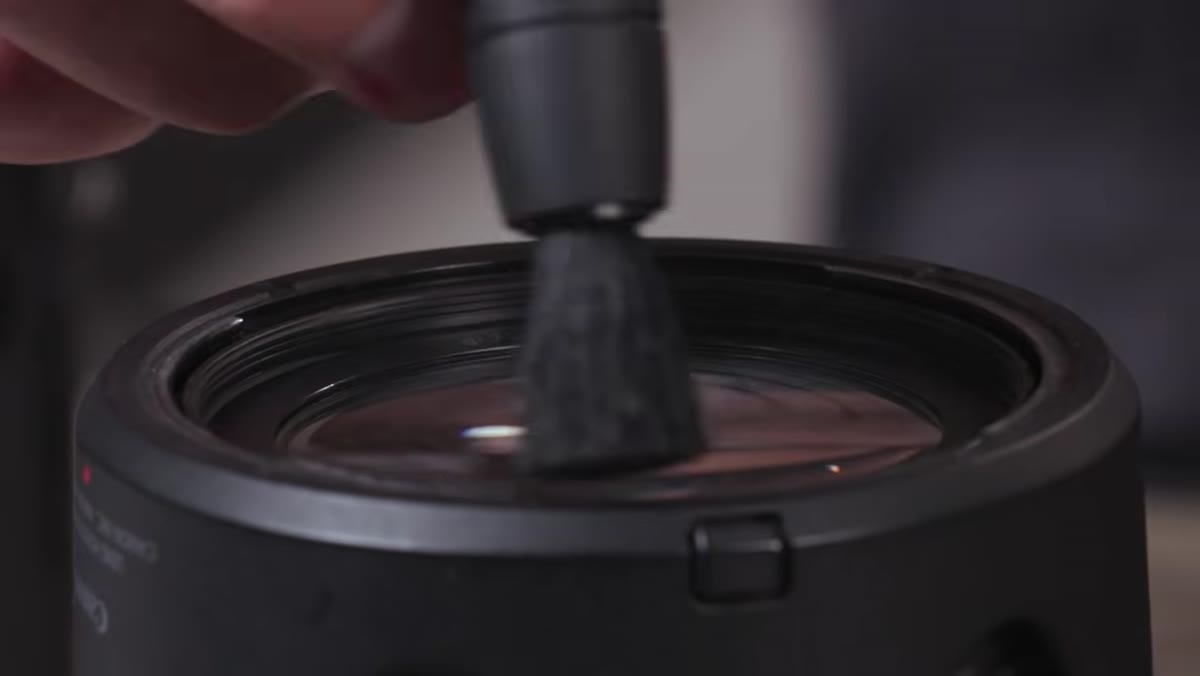
 Lens pen being applied to front element of a lens
Kuna’s lens cleaning process starts with the lens pen’s brush end to clear surface dust, same logic as the blower step - remove loose particles before applying anything. Then the carbon tip on the other end handles smudges and oils. The motion here is circular, working from the center of the element outward toward the edges.
Lens pen being applied to front element of a lens
Kuna’s lens cleaning process starts with the lens pen’s brush end to clear surface dust, same logic as the blower step - remove loose particles before applying anything. Then the carbon tip on the other end handles smudges and oils. The motion here is circular, working from the center of the element outward toward the edges.
Don’t press hard. The carbon compound on a lens pen does the work with light pressure. Bearing down doesn’t clean better, it just increases the chance you’re grinding something into the coating. For the rear element, same process, but even more careful because rear elements are often closer to aperture blades and other components you don’t want to contact.
Step 6: Know When to Stop and Send It Out
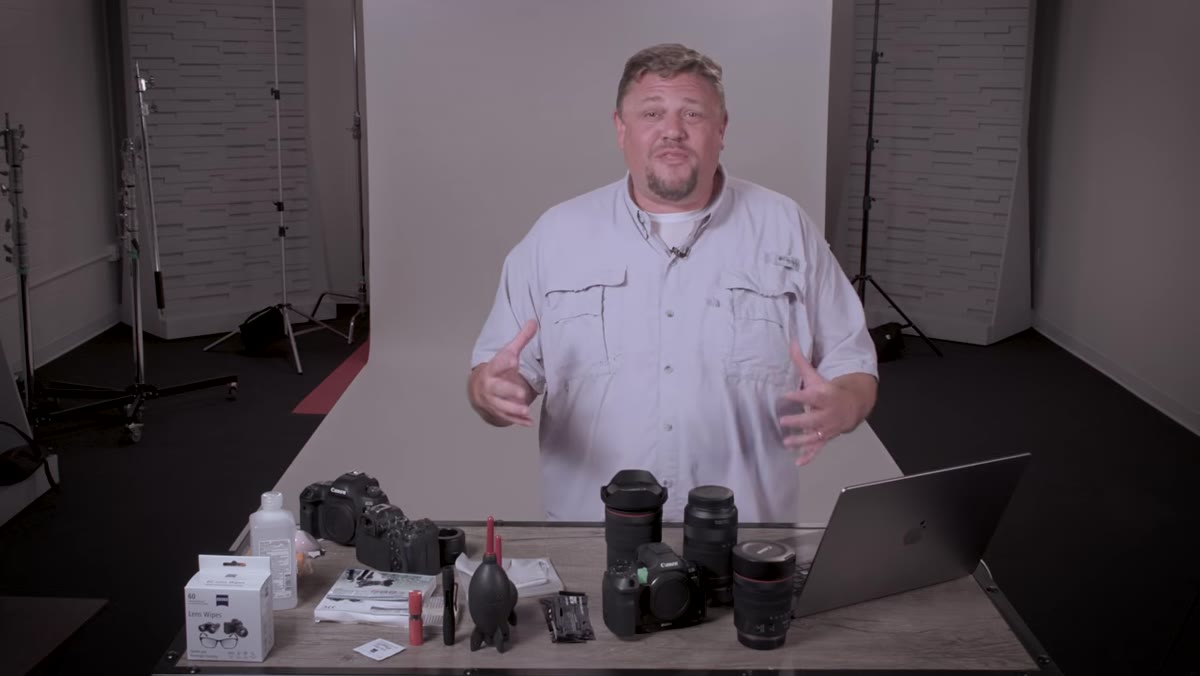 Host gesturing to indicate professional service decision point
This is the part of Kuna’s tutorial I think people skip over, and it’s actually one of the most valuable pieces of advice in it. There’s a point in the cleaning process where continuing to work on a problem yourself stops being productive and starts being risky. Internal haze on a lens element, fungal growth, or a sensor issue that doesn’t respond to swabbing are all situations where professional service is the right call.
Host gesturing to indicate professional service decision point
This is the part of Kuna’s tutorial I think people skip over, and it’s actually one of the most valuable pieces of advice in it. There’s a point in the cleaning process where continuing to work on a problem yourself stops being productive and starts being risky. Internal haze on a lens element, fungal growth, or a sensor issue that doesn’t respond to swabbing are all situations where professional service is the right call.
Kuna is clear that this isn’t a failure. Knowing your limits with gear maintenance is part of taking care of your equipment. Camera repair shops and manufacturer service centers have tools and controlled environments that a 20-minute bench routine at home simply can’t replicate. The cost of a professional cleaning is always less than the cost of a damaged sensor or a scratched element.
What I’d Add: Build Humidity Control Into Your Storage
Kuna touches on environmental factors during the tutorial, and it’s worth expanding on if you’re storing gear long-term. I keep a few silica gel desiccant packets in my camera bag and in the cabinet where my lenses live, especially during summer in Denver when the air conditioning creates weird moisture swings indoors. Silica gel packets are cheap enough that restocking them is practically a rounding error, and they do real work preventing the lens haze and fungal issues that make professional cleaning necessary in the first place.
If you’re in a genuinely humid climate, a proper dry cabinet is worth investigating. But for most people in moderate environments, silica packets and not storing gear in a sealed bag after a cold shoot will cover 90% of the risk.
The single most useful idea from this tutorial is the sequencing. Blower first, inspect, then swab if needed, and stop the moment the problem is beyond what your tools can solve. That order prevents most of the accidental damage that happens when people rush the process. Twenty minutes done right beats an hour of backtracking.
Watch the full KelbyOne class for the complete breakdown, including gear-specific details Kuna covers in depth: Watch the full tutorial on YouTube. A free 14-day trial at KelbyOne gets you access to the extended version at no cost.
Comments (2)
Would love to see a follow-up going deeper into this topic.
Great article! I actually covered something related on my site — the retouching angle is really complementary to this.
Leave a Comment