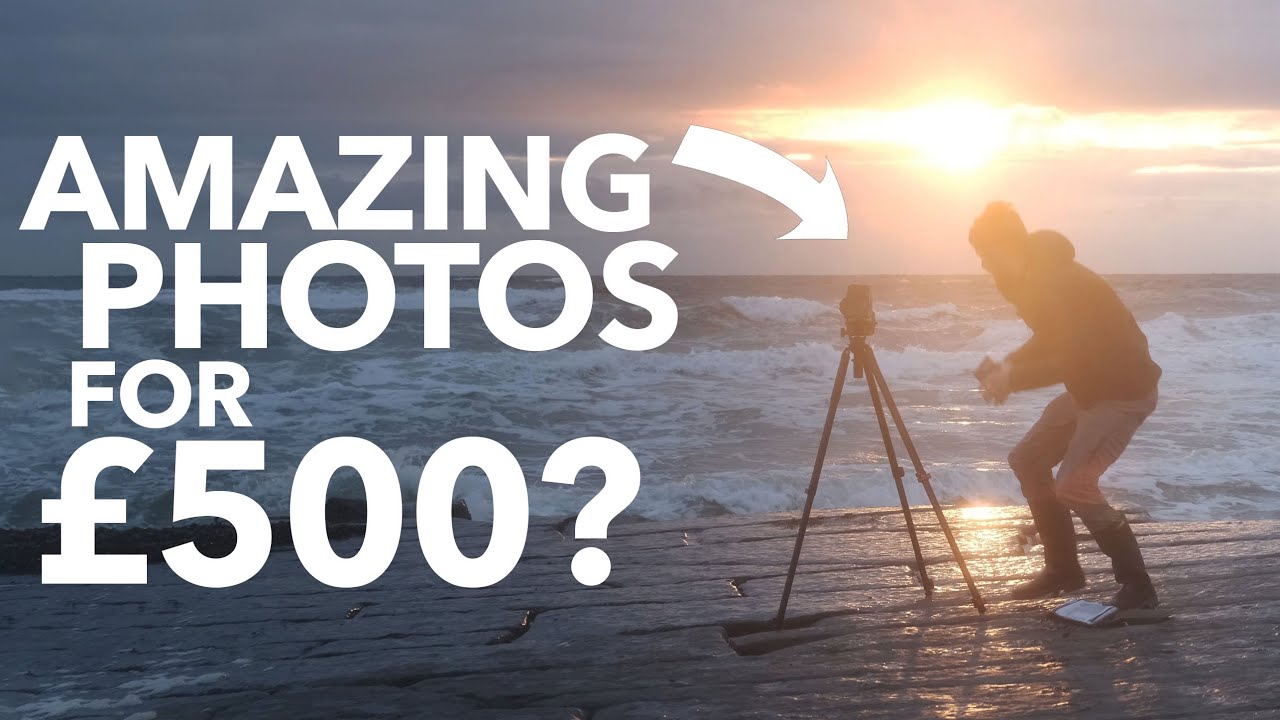
I run a blind test at almost every local meetup I attend. I hand people two sets of prints, one shot on a $500 kit, one on a $2,000 kit, and ask them to pick the “professional” photos. They’re wrong more often than they’re right. I’ve been making that point for years, but it still feels like swimming upstream when the broader photography world treats a four-figure budget as the bare minimum to get started. That’s why this Thomas Heaton tutorial hit differently when I came across it. Watch the full tutorial on YouTube
Heaton is a landscape photographer whose gear collection runs well into five figures by his own admission. So when he challenged himself to build a working landscape kit for £500, it wasn’t a clickbait stunt. It was a reset. He got an email from a beginner who wanted to shoot landscapes on a real budget, and when Heaton tried to build a recommendation, his first instinct came in around £2,000. That bothered him enough to actually fix it.
What he came back with is genuinely useful, not because it’s cheap, but because it’s honest. He acknowledges where he failed (accessories push you over budget), names exactly what he bought, shoots with it in brutal coastal conditions, and tells you straight which problems came from the gear and which came from being a photographer in wind and spray. That last part is the real lesson.
Step 1: Reframe What “Budget” Actually Means for This Hobby
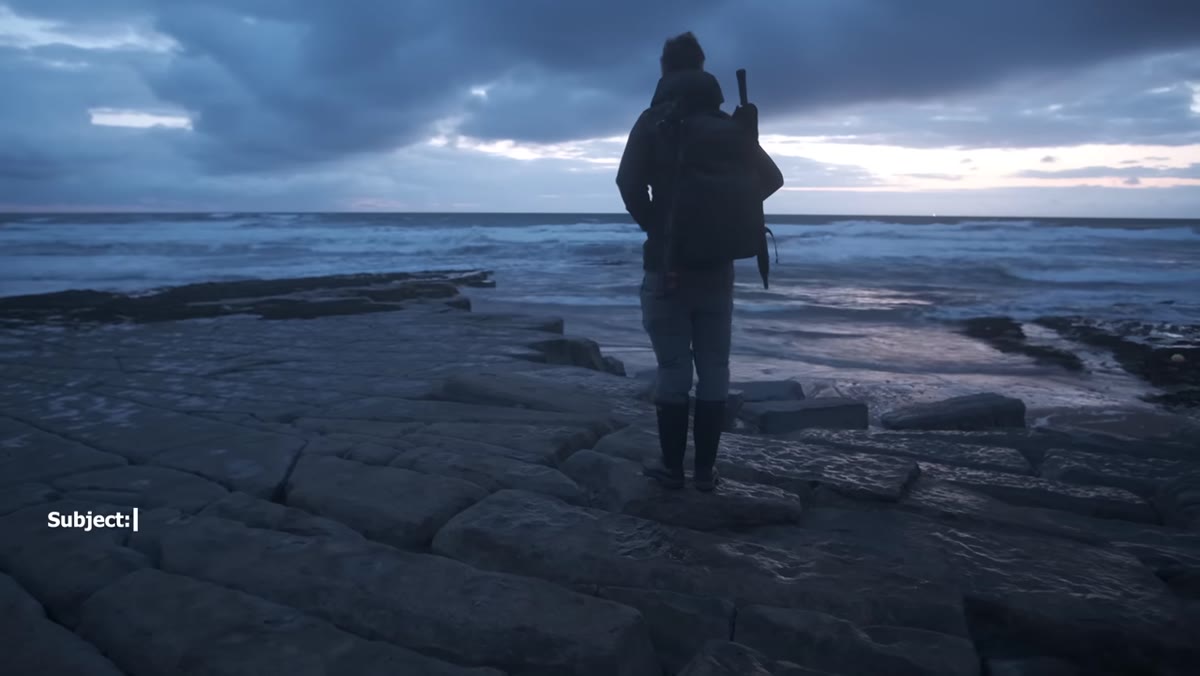 Email prompt sparks a budget landscape gear challenge
Before you touch a single product listing, do what Heaton did and audit your assumptions. He found that years of high-end gear content had quietly shifted his baseline. £2,000 felt normal. It isn’t, especially for someone just getting started.
Email prompt sparks a budget landscape gear challenge
Before you touch a single product listing, do what Heaton did and audit your assumptions. He found that years of high-end gear content had quietly shifted his baseline. £2,000 felt normal. It isn’t, especially for someone just getting started.
Set a firm number and write it down. Heaton used £500 for the camera and lens as a combined ceiling, which in the US roughly translates to $600 to $650 depending on the exchange rate at any given moment. That’s your shopping constraint. Accessories like a tripod, bag, and filters are a separate budget problem. Trying to stuff everything into one number is how you end up compromising on the things that actually affect image quality.
Step 2: Start With the Sensor, Not the Brand
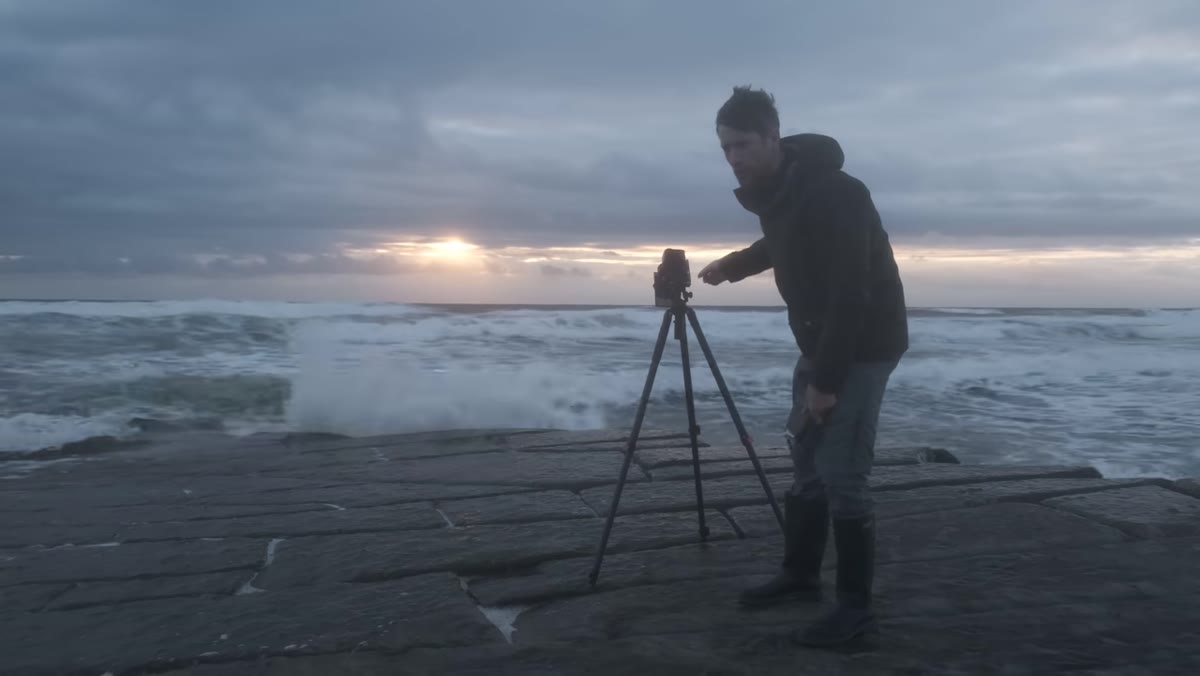 Canon 5D Mark II used in the field at a coastal location
Heaton landed on the Canon 5D Mark II, a full-frame DSLR from 2008 with 21 megapixels. On paper that sounds like a compromise. In practice, it’s one of the shrewdest budget moves you can make in the used market right now.
Canon 5D Mark II used in the field at a coastal location
Heaton landed on the Canon 5D Mark II, a full-frame DSLR from 2008 with 21 megapixels. On paper that sounds like a compromise. In practice, it’s one of the shrewdest budget moves you can make in the used market right now.
Full-frame sensors give you better dynamic range and cleaner high-ISO performance than crop sensors at the same price point, particularly in the used market where older flagships have depreciated dramatically. The 5D Mark II launched at over £2,000 and now regularly sells used for under £300. At that price, you’re getting a sensor that was considered professional-grade for years. For landscape photography specifically, where you’re typically shooting at base ISO on a tripod, the age of the autofocus system and burst rate are almost completely irrelevant. What matters is the raw file quality, and this camera still delivers it.
Step 3: Go Third-Party on the Lens Without Apology
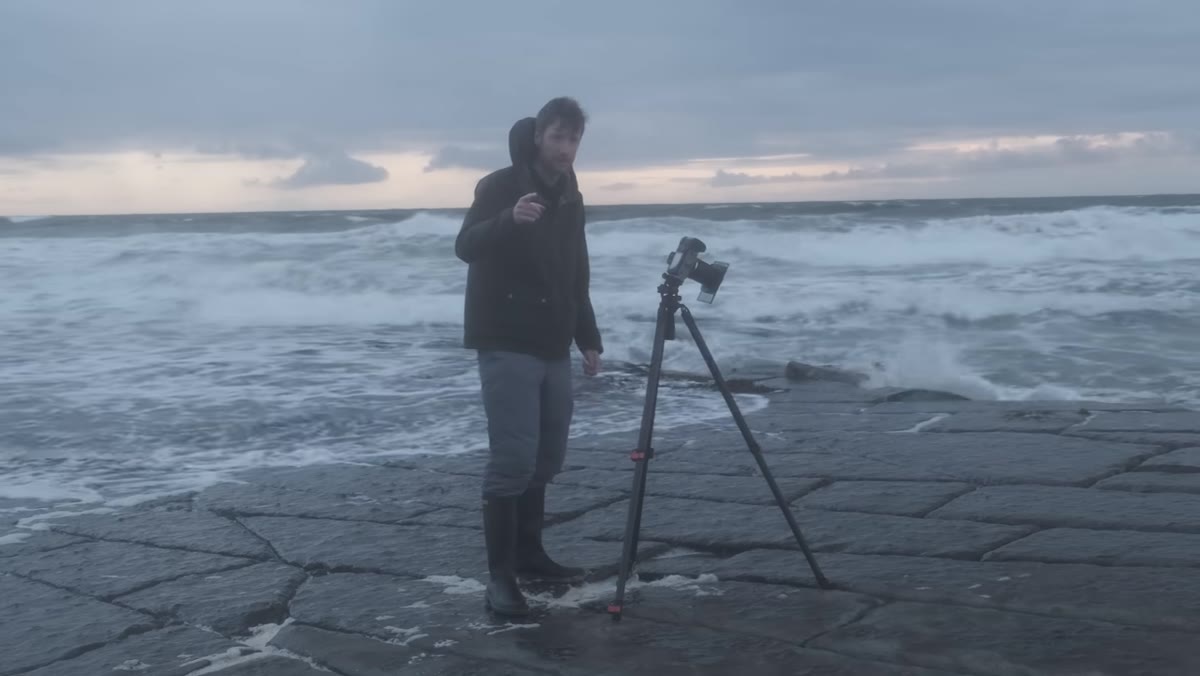 Tamron 17-35mm lens mounted on camera at the coast
Heaton was transparent about this: he couldn’t find a Canon-branded wide-angle zoom that fit the budget, so he went with the Tamron 17-35mm. That’s not a consolation prize. Third-party lenses from Tamron and Sigma have closed the gap with first-party glass significantly over the past decade, and older versions of those lenses are available used at prices that make the comparison almost absurd.
Tamron 17-35mm lens mounted on camera at the coast
Heaton was transparent about this: he couldn’t find a Canon-branded wide-angle zoom that fit the budget, so he went with the Tamron 17-35mm. That’s not a consolation prize. Third-party lenses from Tamron and Sigma have closed the gap with first-party glass significantly over the past decade, and older versions of those lenses are available used at prices that make the comparison almost absurd.
The 17-35mm focal range is close to ideal for landscape work. At 17mm you have enough width to use strong foreground elements like the limestone pavement Heaton shoots on in the video, which creates depth and pulls the viewer into the frame. At 35mm you can compress a scene slightly and isolate a more specific subject. When you’re researching a lens in this range, look for sample images from actual landscape photographers, not lab sharpness charts. Real-world rendering in field conditions is what you’re buying.
Step 4: Get to the Location and Let the Problems Be Environmental, Not Technical
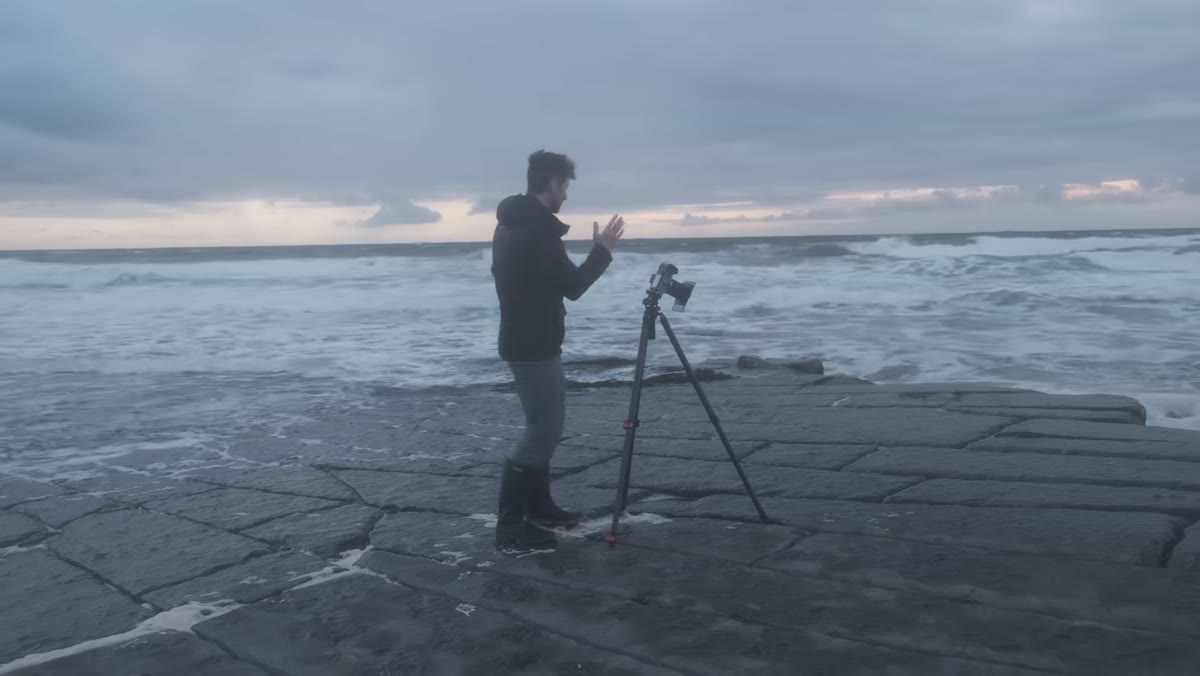 Heaton shooting in wind and spray at a rocky coastal scene
This is the step most gear tutorials skip entirely. Heaton drove to the coast, set up in wind strong enough to shake a tripod, dealt with sea spray, and still came away with usable images. His diagnosis was clear: the camera wasn’t the limiting factor. The wind was. The light changing was. The composition decisions were.
Heaton shooting in wind and spray at a rocky coastal scene
This is the step most gear tutorials skip entirely. Heaton drove to the coast, set up in wind strong enough to shake a tripod, dealt with sea spray, and still came away with usable images. His diagnosis was clear: the camera wasn’t the limiting factor. The wind was. The light changing was. The composition decisions were.
This matters because it recalibrates where you should be putting your mental energy. If you’re waiting to shoot until you have better gear, you’re solving the wrong problem. Show up with what you have, diagnose what’s actually giving you trouble in the field, and fix that. Nine times out of ten, the answer is more location time and better compositional instincts, not a sensor upgrade.
Step 5: Account Honestly for Accessories in Your Total Budget
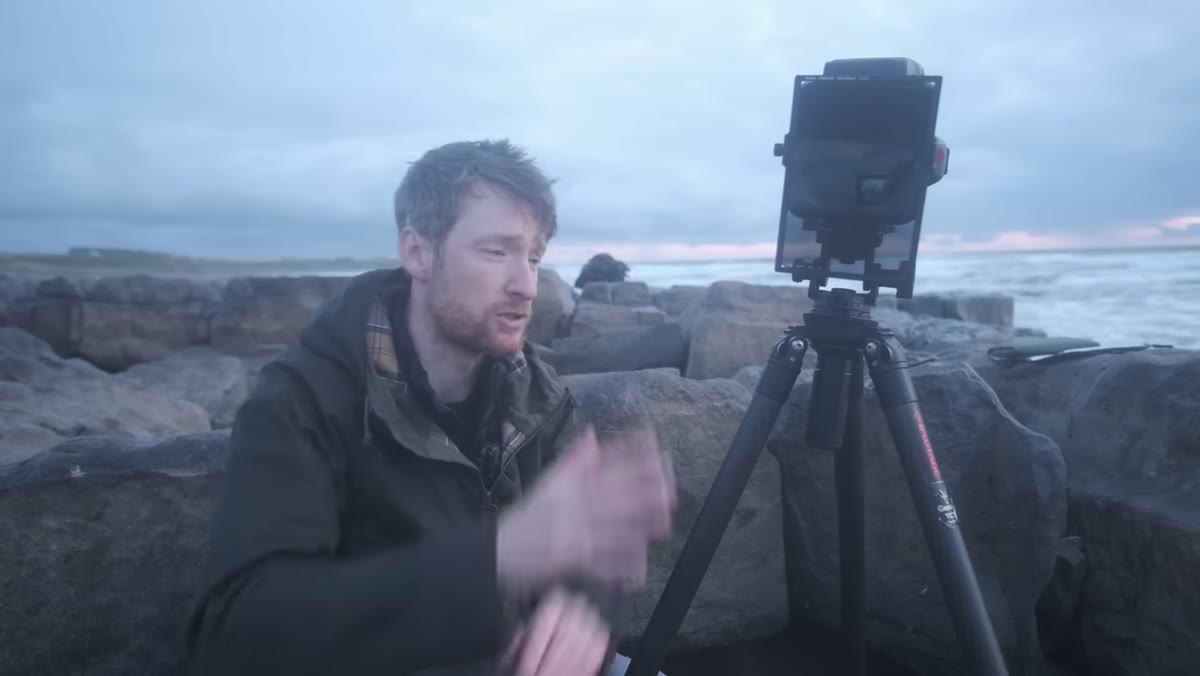 Mention of tripod, filters, L-bracket, bag as additional costs
Heaton is upfront that he missed the £500 target once accessories entered the picture. A tripod, an L-bracket, a filter system, a bag, and software subscriptions like Lightroom and Photoshop all add up fast. This isn’t a failure of the concept, it’s just reality, and pretending otherwise would be dishonest.
Mention of tripod, filters, L-bracket, bag as additional costs
Heaton is upfront that he missed the £500 target once accessories entered the picture. A tripod, an L-bracket, a filter system, a bag, and software subscriptions like Lightroom and Photoshop all add up fast. This isn’t a failure of the concept, it’s just reality, and pretending otherwise would be dishonest.
The move here is to prioritize. A stable tripod matters more for landscape work than almost any other accessory because sharpness at slow shutter speeds is non-negotiable. Filters are useful but not essential on day one. Lightroom has a free version with enough functionality to get started. Buy the camera and lens first, get into the field, and add accessories as specific problems reveal themselves.
What I’d Add From My Own Testing
I’ve tested more budget lenses than I care to admit. I actually keep a spreadsheet. The pattern I keep seeing is that the weakest point of a budget wide-angle lens is almost always corner sharpness when shot wide open. For landscape photography on a tripod at f/8 to f/11, that weakness mostly disappears. You’re not shooting wide open for landscape work anyway.
The bigger risk with used gear is buying from a seller who doesn’t disclose shutter actuations on a used body. On any Canon DSLR, you can check shutter count by running the file through a free EXIF tool after taking one test shot. Do it before you commit to the purchase. A 5D Mark II with 50,000 actuations is a very different proposition than one sitting at 180,000.
The single most important thing Heaton demonstrates in this video isn’t which gear he bought. It’s that he went out and actually used it in hard conditions and the gear held up. Constraints force creativity and force presence. A £500 kit that gets used every weekend will teach you more and produce better work than a £3,000 kit sitting on a shelf waiting for perfect conditions.
Watch the full tutorial on YouTube and pay attention to the moments between the gear talk, the composition decisions he’s making in real time, in bad light, in bad weather. That’s the actual tutorial.
Comments (1)
I keep coming back to this article. It's that useful.
Leave a Comment