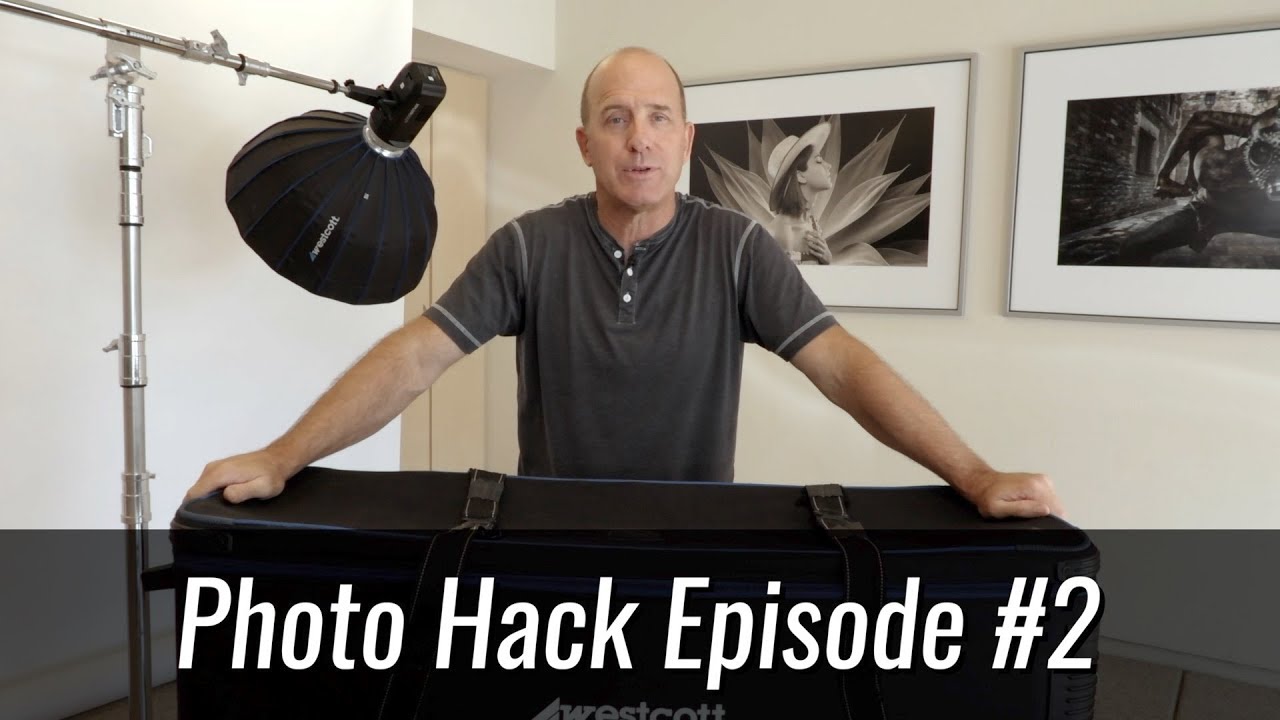
I track gear costs obsessively. Spreadsheets, price alerts, deal sites before my coffee’s done brewing. So when I realized photographers were routinely dropping $200 round-trip just to fly their light stands somewhere, it hit me the way a bad lens deal does: there has to be a smarter way. It turns out there is, and it’s been hiding in plain sight at every golf shop and Amazon storefront for years.
In this Joel Grimes tutorial from his Photo Hacks series, the veteran commercial photographer lays out a deceptively simple system he’s relied on for roughly three decades of traveling with lighting gear. Watch the full tutorial on YouTube — it’s short, no-fluff, and the kind of practical knowledge that doesn’t show up in gear reviews. What follows is a breakdown of the technique, step by step, so you can actually implement it the next time you’re booking flights for a shoot.
The core problem Grimes is solving is one that anyone who travels for photography has felt. Airline oversized and overweight baggage fees are aggressive and getting worse. Weight limits have dropped. Fees have climbed. A single checked bag that’s the wrong size or a few pounds too heavy can cost you $100 each way. For a working photographer, that math compounds fast.
Step 1: Understand Why Dedicated Photography Cases Are Working Against You at the Counter
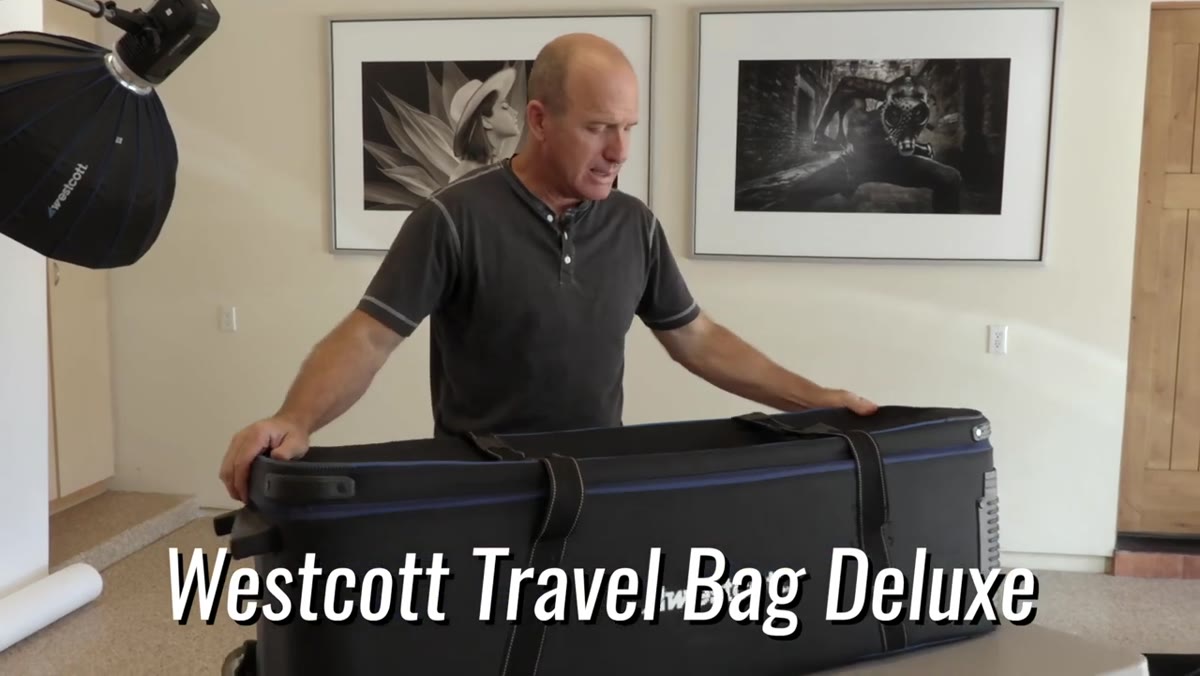 Large Westcott photography case sitting beside Joel Grimes
The first thing Grimes addresses is the obvious solution most photographers default to: purpose-built photography cases. He owns a Westcott hard-shell shipping case and a larger case he calls “the coffin,” which runs over $900. Both are excellent at protecting gear. Both are terrible for your wallet at the check-in counter. Airlines see an oversized, heavy, clearly-professional case and charge accordingly. Sometimes $100 each way, sometimes $200. The case itself signals “professional equipment,” and that costs you before you even board.
Large Westcott photography case sitting beside Joel Grimes
The first thing Grimes addresses is the obvious solution most photographers default to: purpose-built photography cases. He owns a Westcott hard-shell shipping case and a larger case he calls “the coffin,” which runs over $900. Both are excellent at protecting gear. Both are terrible for your wallet at the check-in counter. Airlines see an oversized, heavy, clearly-professional case and charge accordingly. Sometimes $100 each way, sometimes $200. The case itself signals “professional equipment,” and that costs you before you even board.
If you’re billing travel to a client, this can be absorbed. But for workshops, speaking gigs, or personal projects where margins are thin, those fees eat directly into what you’re earning. The goal is to move the same gear without triggering the same fees.
Step 2: Switch to a Soft-Shell Golf Club Bag Instead
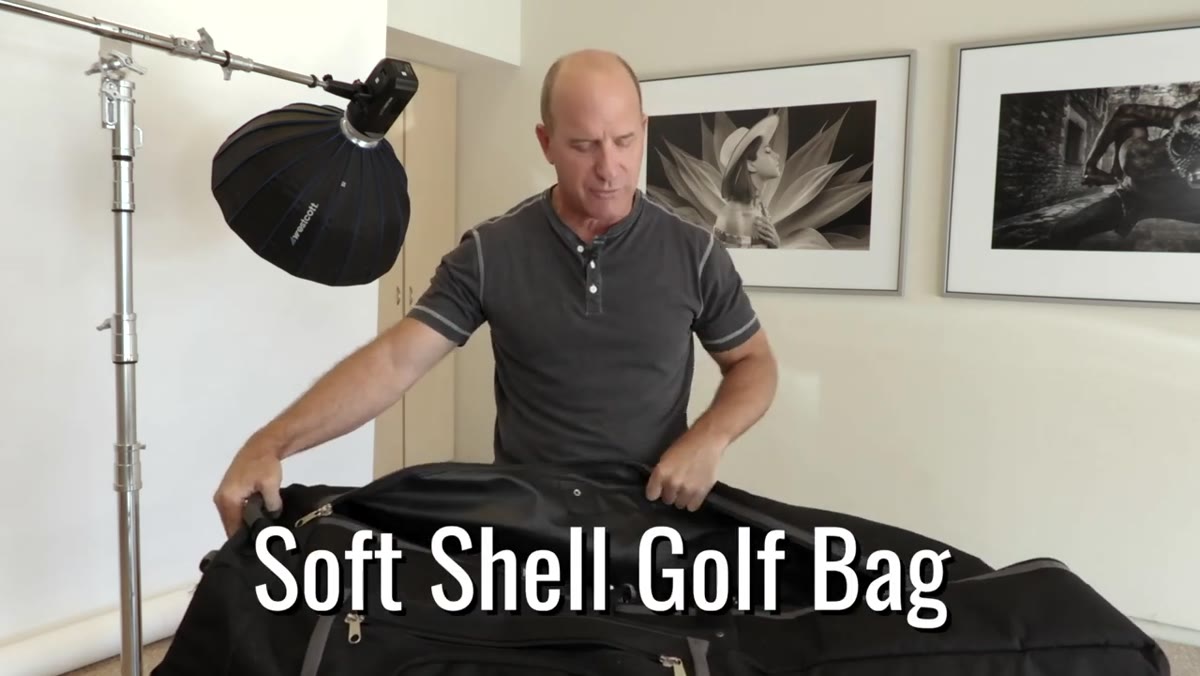 Soft-shell golf club bag shown as the main gear transport solution
This is the whole hack, and it’s almost annoyingly simple. Grimes uses a soft-shell golf club travel bag — specifically the Caddy Daddy brand, which he picked up on Amazon for around $69. Compare that to $200 for the Westcott case or $900-plus for the Litewear case he mentioned. Airlines have historically given golf bags a pass on oversized fees because the sport’s gear is long and awkward by nature. The bag reads as recreational equipment, not professional film or photo gear.
Soft-shell golf club bag shown as the main gear transport solution
This is the whole hack, and it’s almost annoyingly simple. Grimes uses a soft-shell golf club travel bag — specifically the Caddy Daddy brand, which he picked up on Amazon for around $69. Compare that to $200 for the Westcott case or $900-plus for the Litewear case he mentioned. Airlines have historically given golf bags a pass on oversized fees because the sport’s gear is long and awkward by nature. The bag reads as recreational equipment, not professional film or photo gear.
The soft shell version is his preference over hard-shell golf cases, which he’s also used. The soft bag is lighter, easier to maneuver through airports, and has a little flex to it, which helps when you’re wrestling it into a compact rental car trunk.
Step 3: Pack Your Long Gear and Modifiers Inside the Golf Bag
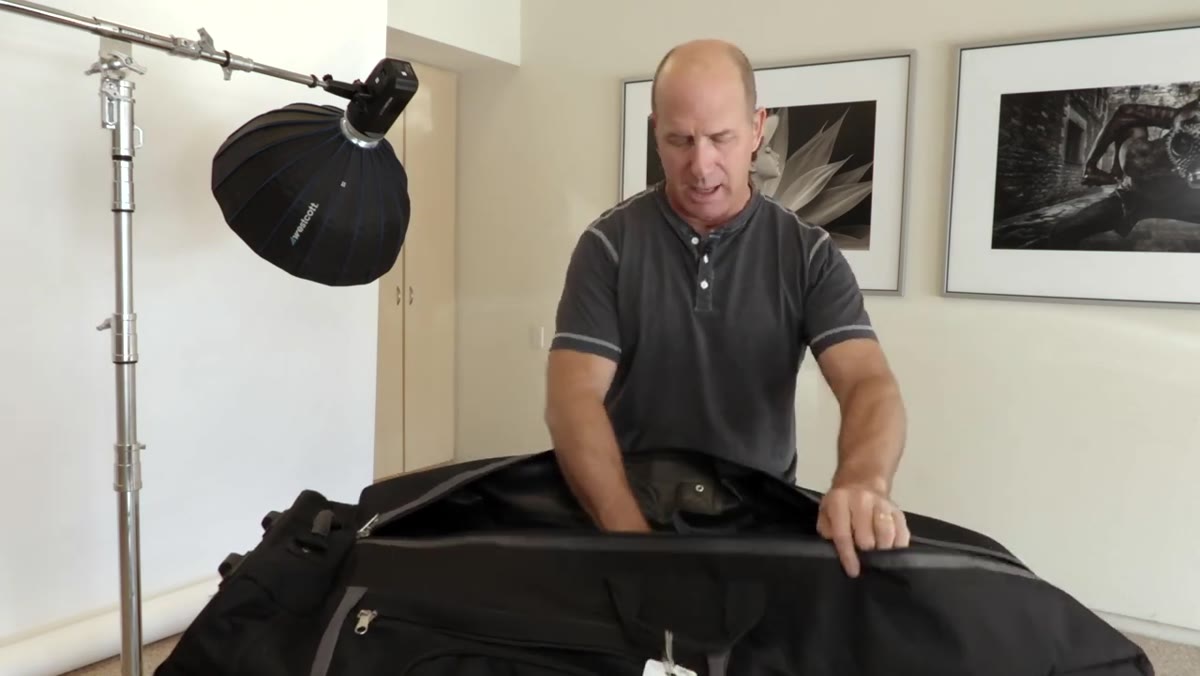 Golf bag being described as holding light stands and modifiers
Light stands, umbrella shafts, strip softbox frames, longer modifier components — all of this fits inside a golf bag naturally because it’s designed to hold long, thin equipment. Grimes fits his light stands, modifiers, and even a paint pole with a modifier adapter into the bag without issue. The shape works in your favor here. Nothing is being crammed into a box it wasn’t designed for.
Golf bag being described as holding light stands and modifiers
Light stands, umbrella shafts, strip softbox frames, longer modifier components — all of this fits inside a golf bag naturally because it’s designed to hold long, thin equipment. Grimes fits his light stands, modifiers, and even a paint pole with a modifier adapter into the bag without issue. The shape works in your favor here. Nothing is being crammed into a box it wasn’t designed for.
Pack strategically. Use the bag’s internal compartments and straps to keep things from shifting. If you’re bringing fragile modifiers with reflective interiors, wrap them in something soft — old towels, foam, or bubble wrap cut to fit. The bag won’t protect gear the way a Pelican will, so you’re responsible for your own padding.
Step 4: Weigh the Bag Before You Leave Home
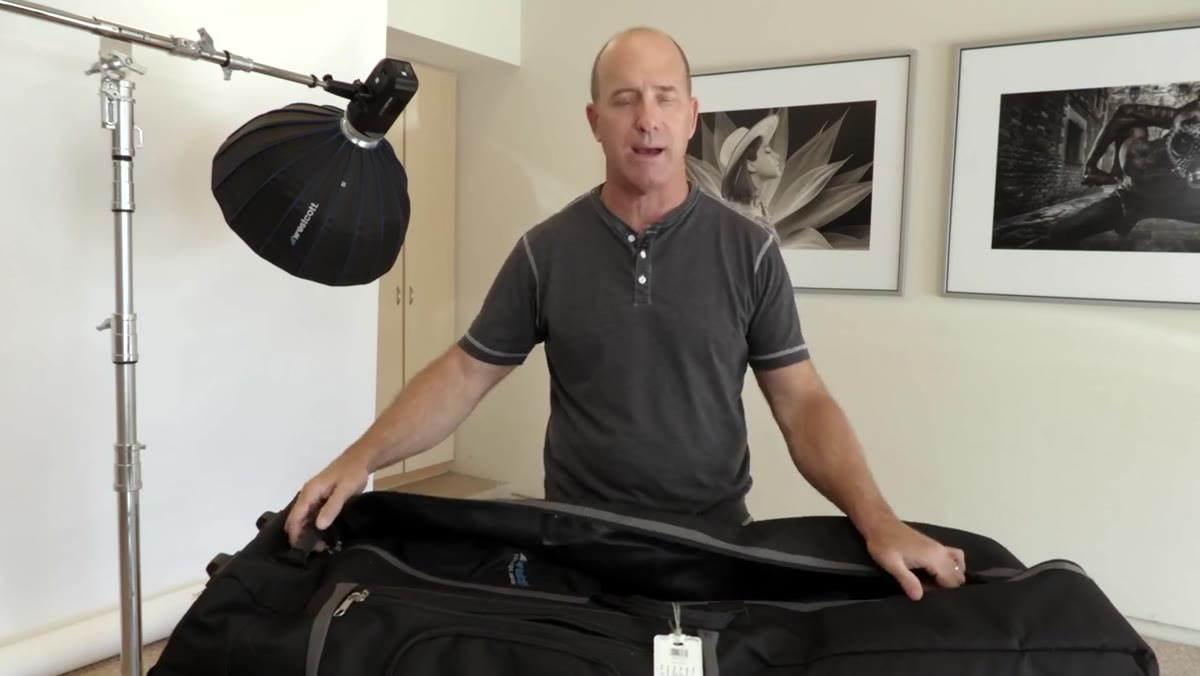 Grimes mentioning using a weight scale to stay under 50 pounds
This step is non-negotiable. Airline weight limits have been tightening, and 50 pounds is the standard threshold before fees kick in on most carriers. Grimes keeps a small luggage scale handy and checks the bag before heading to the airport. Going even a pound or two over can cost you more than the bag itself is worth.
Grimes mentioning using a weight scale to stay under 50 pounds
This step is non-negotiable. Airline weight limits have been tightening, and 50 pounds is the standard threshold before fees kick in on most carriers. Grimes keeps a small luggage scale handy and checks the bag before heading to the airport. Going even a pound or two over can cost you more than the bag itself is worth.
A digital luggage scale runs under $15 on Amazon and is one of those purchases that pays for itself the first time it saves you from an overweight fee. Weigh fully packed, with everything you intend to check. Don’t guess.
Step 5: Handle the Check-In Counter with Confidence
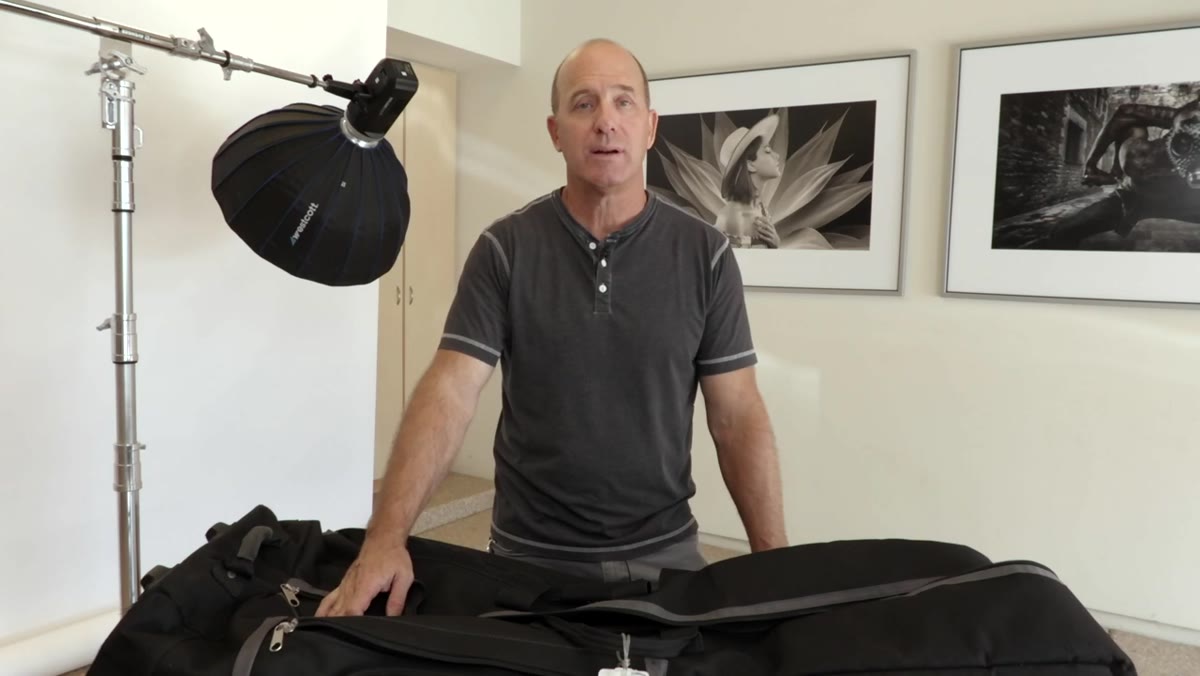 Joel describing the airline counter experience with the golf bag
Grimes says that in decades of using this method, agents at the counter almost never react. The bag looks like what it is: a golf bag. They weigh it, process it, and send it on its way. If an agent asks what’s inside, his answer is “golf club case.” That’s not a lie. That’s what the case is.
Joel describing the airline counter experience with the golf bag
Grimes says that in decades of using this method, agents at the counter almost never react. The bag looks like what it is: a golf bag. They weigh it, process it, and send it on its way. If an agent asks what’s inside, his answer is “golf club case.” That’s not a lie. That’s what the case is.
Twice in thirty-plus years, he’s had an agent open the bag and ask where the actual clubs are. It’s a gray area and he acknowledges that. He doesn’t misrepresent the contents if pressed, but he doesn’t volunteer the information either. That’s a personal call each traveler has to make. The point is: the bag itself is legitimate sporting equipment packaging, and that’s what the airline sees first.
Step 6: Use Your Pelican Cases for the Strobes and Fragile Electronics
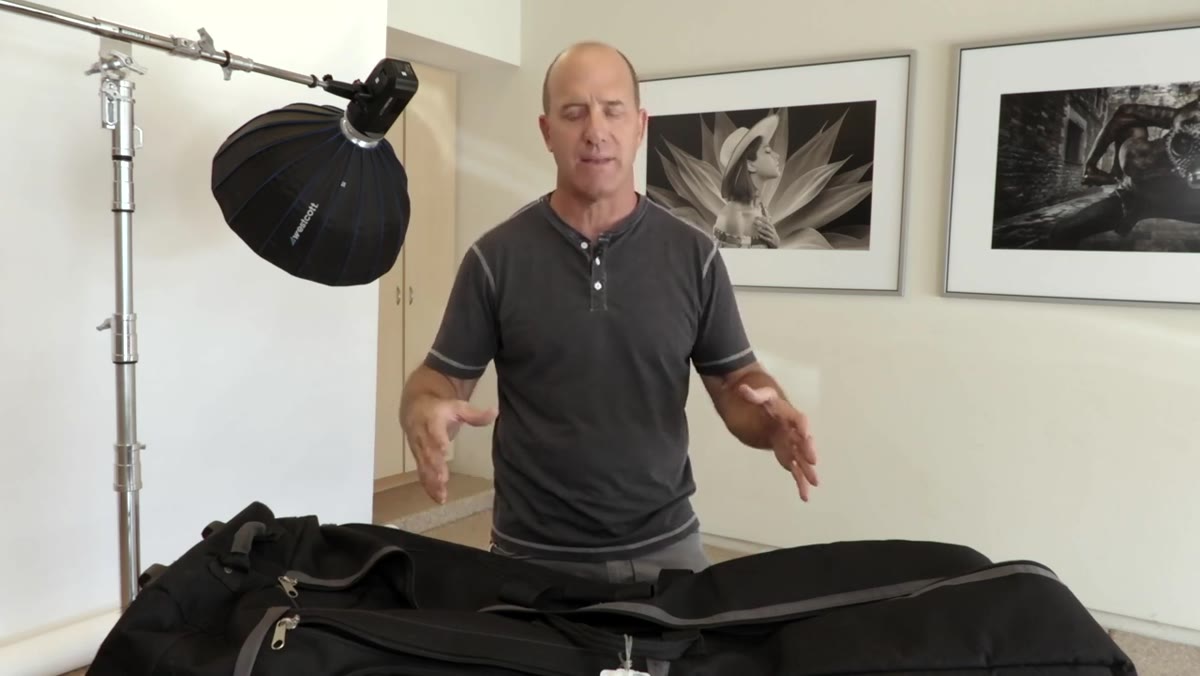 Pelicans mentioned as the companion cases for strobes and delicate gear
The golf bag handles your long, durable gear. Your strobes, triggers, batteries, and anything fragile or expensive still go in hard-shell Pelican cases checked separately or carried on. This isn’t an either/or system. Grimes uses both. The golf bag removes the bulk and length problem that was generating oversized fees, while his Pelicans protect the gear that actually needs that level of protection.
Pelicans mentioned as the companion cases for strobes and delicate gear
The golf bag handles your long, durable gear. Your strobes, triggers, batteries, and anything fragile or expensive still go in hard-shell Pelican cases checked separately or carried on. This isn’t an either/or system. Grimes uses both. The golf bag removes the bulk and length problem that was generating oversized fees, while his Pelicans protect the gear that actually needs that level of protection.
If your strobes are compact enough, some photographers carry them on in a camera bag or backpack. Check your airline’s carry-on size restrictions, but a single Pelican 1510 fits in most overhead bins and avoids checked bag fees entirely.
The Budget Angle Worth Paying Attention To
I’ve written about a $12 accessory replacing a $200 one before, and this hack has the same energy. The interesting thing about the golf bag approach isn’t just the $69 price tag versus a $900 case. It’s that the cheaper option actually performs better for a specific use case: airline travel. Protection per dollar favors the Pelican for fragile equipment. Portability and fee avoidance favor the golf bag for long gear.
That’s the kind of gear logic that doesn’t get enough attention. Sometimes the budget option isn’t a compromise. Sometimes it’s just the right tool, and the expensive version is solving a different problem.
The takeaway here is to stop letting your gear cases work against you at the check-in counter. A soft-shell golf bag under $100 can replace hundreds of dollars in annual airline fees if you’re flying to shoots more than a couple times a year. Grimes has been using this for thirty years for a reason.
Watch the full tutorial on YouTube and see how he packs and moves the whole setup through a real airport workflow.
Comments (2)
I keep coming back to this article. It's that useful.
This is fantastic. I've been recommending this approach to my readers too.
Leave a Comment