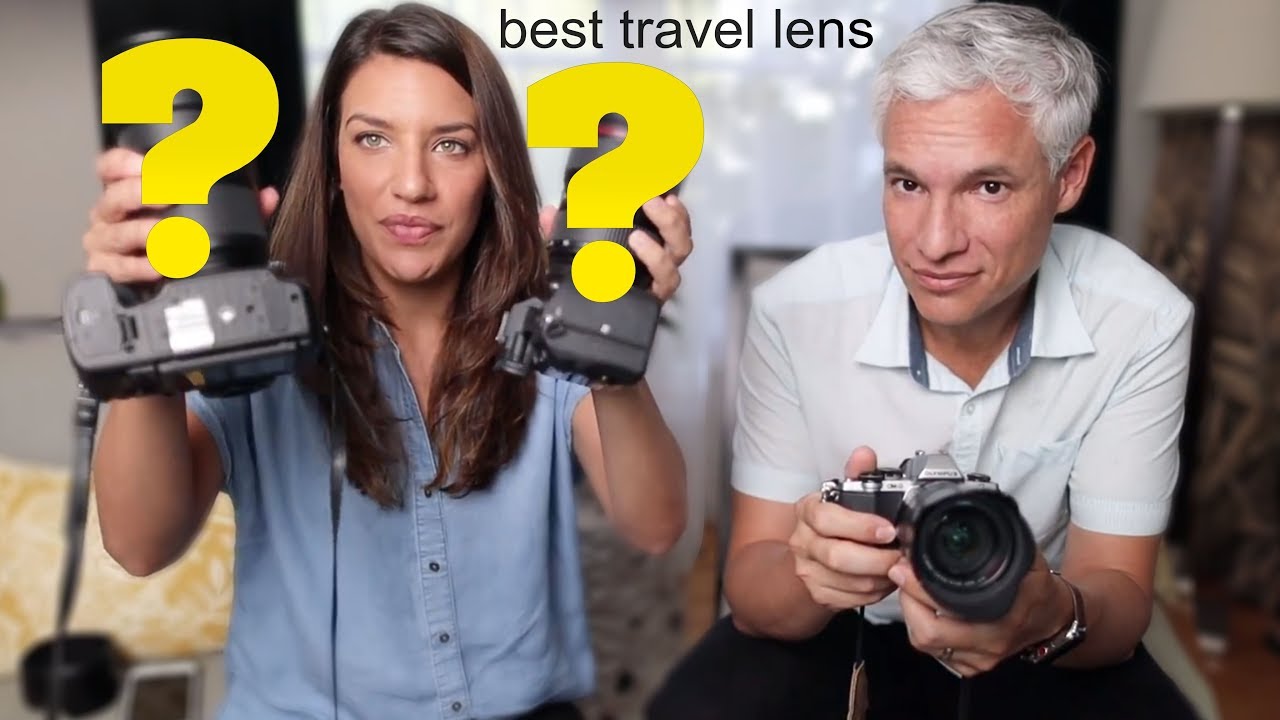
Every time I’m packing for a trip, I fall into the same trap: I start with “just the essentials” and end up with a backpack that weighs more than my carry-on limit. The lens question is always the worst part. Do I bring the fast prime? The wide zoom? The telezoom just in case there’s wildlife? I’ve wasted more mental energy on that decision than on actually planning the trip itself.
In this Tony & Chelsea Northrup tutorial, the two photographers walk through their actual travel setups, from a high-resolution Sony full-frame rig down to a compact Micro Four Thirds kit that costs less than a plane ticket. Watch the full tutorial on YouTube — but if you want the practical breakdown with my own take layered in, keep reading.
What I appreciate about Tony and Chelsea’s approach is that they don’t just hand you a single answer. They acknowledge that different shooters have different goals, budgets, and tolerances for hauling gear around airports. That’s the right framework, and it’s one I’ve been applying to my own gear reviews for years.
Step 1: Start With Your Real Priority — Light or Quality?
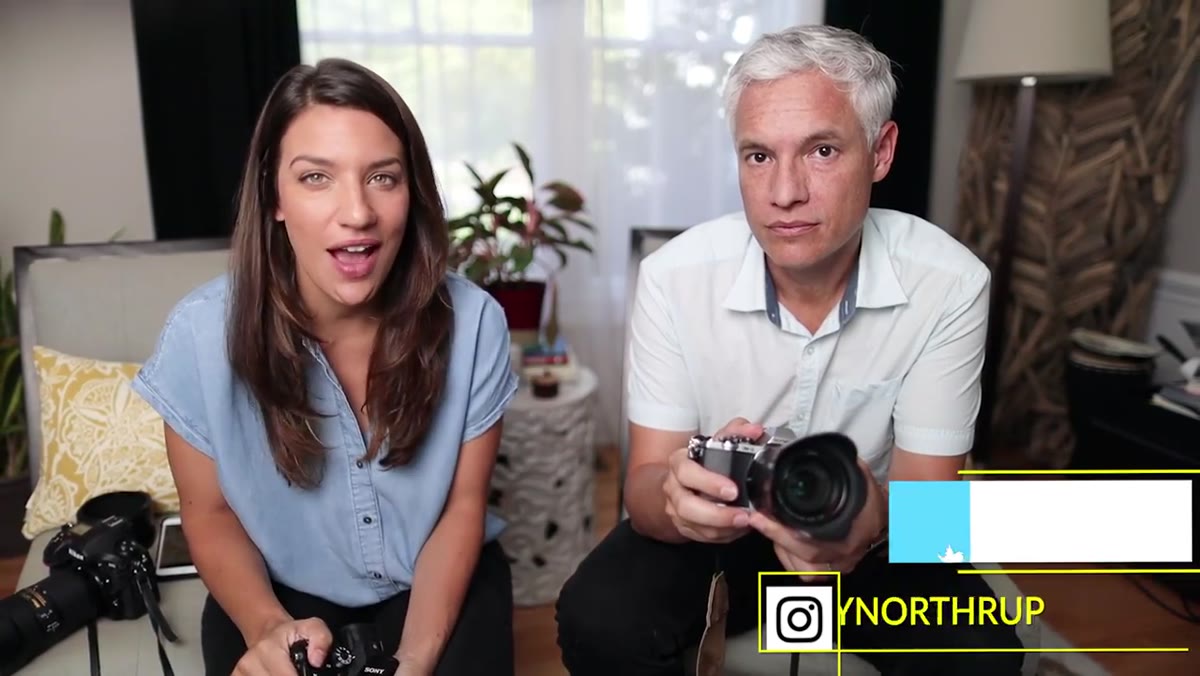 Tony explaining his preference for traveling light
Before you even open a browser tab to shop lenses, you need to answer one honest question: are you optimizing for image quality or for the willingness to actually bring the camera? Tony is upfront that his personal priority is traveling light. That single preference drives every choice after it. If your camera bag is a burden, it stays in the hotel room, and the best lens in the world does nothing sitting on a shelf.
Tony explaining his preference for traveling light
Before you even open a browser tab to shop lenses, you need to answer one honest question: are you optimizing for image quality or for the willingness to actually bring the camera? Tony is upfront that his personal priority is traveling light. That single preference drives every choice after it. If your camera bag is a burden, it stays in the hotel room, and the best lens in the world does nothing sitting on a shelf.
Write down what you actually value before you spend a dollar. If you’re shooting for social media and family memories, your threshold for “good enough” is very different from someone trying to fill a gallery wall with 40-inch prints.
Step 2: Understand Why the 24-70mm Focal Range Works So Well for Travel
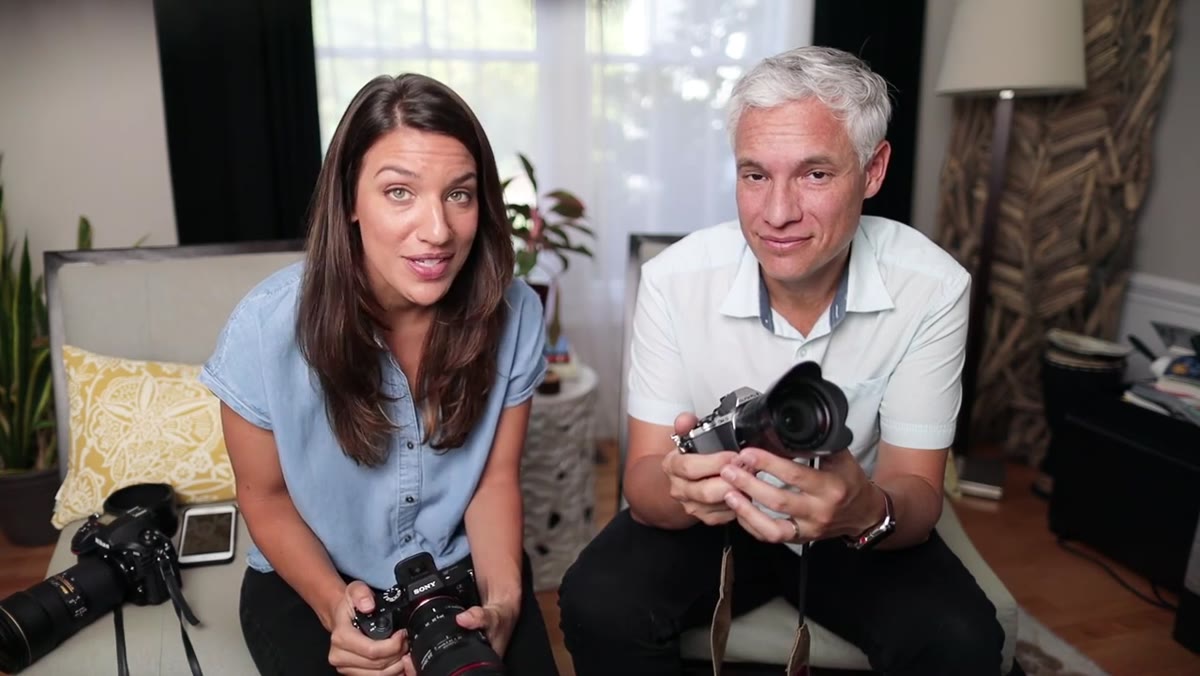 Tony gesturing to demonstrate the 24-70 focal length range
Tony’s go-to recommendation is the 24-70mm focal range, and there’s a real reason it keeps showing up on these lists. At 24mm, you have enough width to capture a crowded market, a cathedral interior, or a landscape without having to back up into traffic. At 70mm, you get flattering portrait compression and enough reach to pull in a distant subject without changing lenses.
Tony gesturing to demonstrate the 24-70 focal length range
Tony’s go-to recommendation is the 24-70mm focal range, and there’s a real reason it keeps showing up on these lists. At 24mm, you have enough width to capture a crowded market, a cathedral interior, or a landscape without having to back up into traffic. At 70mm, you get flattering portrait compression and enough reach to pull in a distant subject without changing lenses.
The practical upside is that one lens covers what used to require two. You’re not swapping glass in dusty or wet conditions, and you’re not standing there with a prime trying to figure out if your feet can physically move far enough back. For street shooting especially, the ability to frame quickly at any point in that range is worth more than a slightly sharper maximum aperture on a prime.
Step 3: Know What f/2.8 Actually Buys You Over a Kit Lens
 Tony comparing f/2.8 aperture benefits for travel shooting
This is where Tony makes a point that a lot of budget guides gloss over. An f/2.8 maximum aperture isn’t just about low light performance, though that matters in dim restaurants, evening markets, and museum interiors where tripods aren’t allowed. It’s also about subject separation. If you’re shooting a person in front of a cluttered street scene, f/2.8 gives you the option to soften that background and make your subject pop.
Tony comparing f/2.8 aperture benefits for travel shooting
This is where Tony makes a point that a lot of budget guides gloss over. An f/2.8 maximum aperture isn’t just about low light performance, though that matters in dim restaurants, evening markets, and museum interiors where tripods aren’t allowed. It’s also about subject separation. If you’re shooting a person in front of a cluttered street scene, f/2.8 gives you the option to soften that background and make your subject pop.
The tradeoff is size, weight, and cost. A fast 24-70 f/2.8 from a major brand runs anywhere from $1,500 to $2,400 new. Tony mentions Sigma and Tamron as alternatives, and used copies can drop into the $500 range. That’s the version of this advice I actually live by: the focal range matters more than the brand name on the barrel.
Step 4: Consider the Olympus Micro Four Thirds System for a Budget-Friendly, Compact Setup
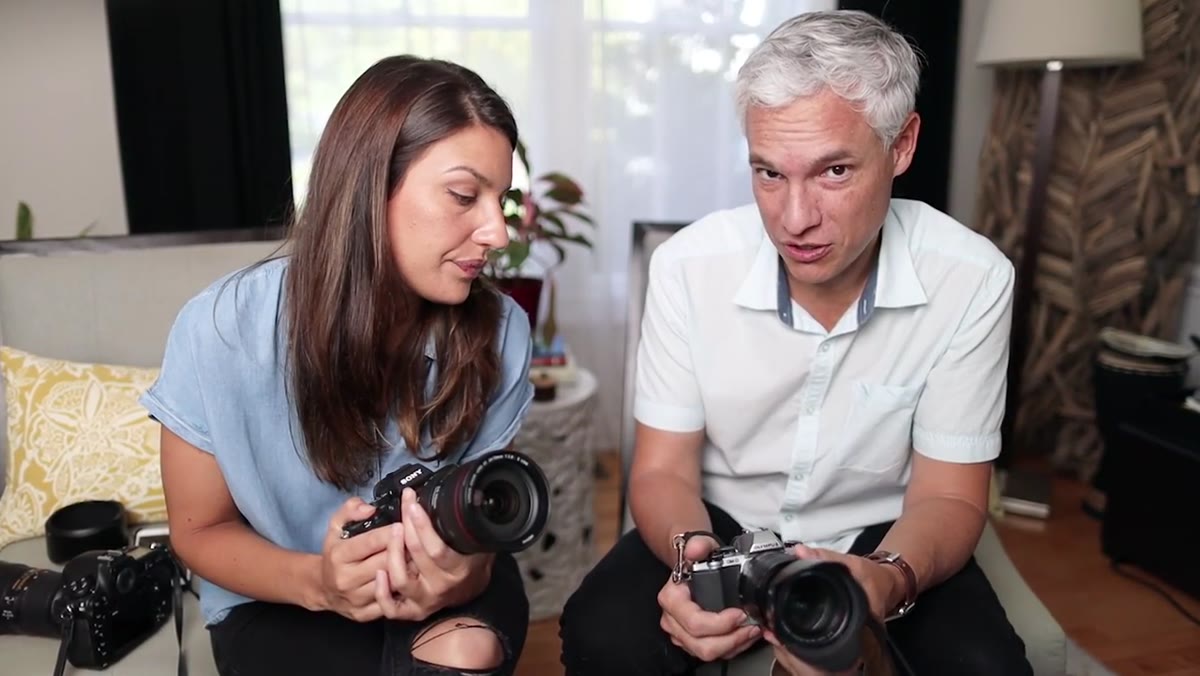
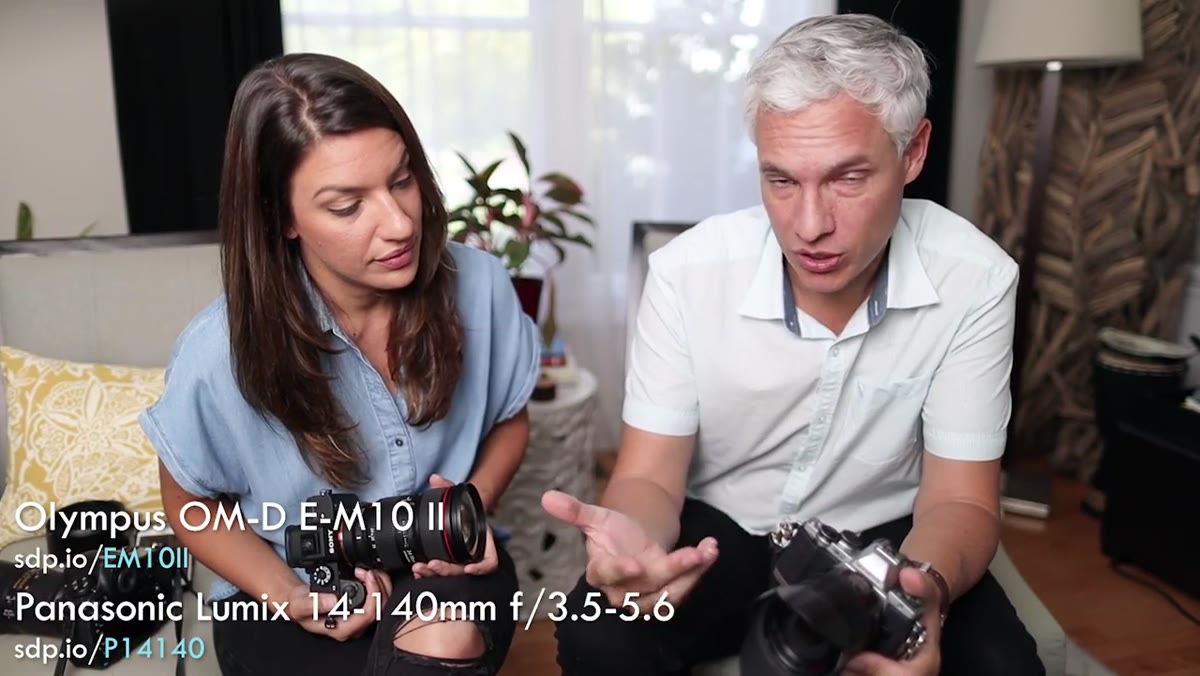 Chelsea holding the Olympus EM10 with 14-140mm lens
Chelsea’s recommendation is the one I’d point most readers toward first: an Olympus OM-D E-M10 paired with a 14-140mm lens. In full-frame equivalent terms, that 14-140mm becomes roughly 28-300mm, which is an absurd amount of reach for a single lens that fits in a jacket pocket. New, the whole kit comes in around $1,100. Used, you can do significantly better.
Chelsea holding the Olympus EM10 with 14-140mm lens
Chelsea’s recommendation is the one I’d point most readers toward first: an Olympus OM-D E-M10 paired with a 14-140mm lens. In full-frame equivalent terms, that 14-140mm becomes roughly 28-300mm, which is an absurd amount of reach for a single lens that fits in a jacket pocket. New, the whole kit comes in around $1,100. Used, you can do significantly better.
The Micro Four Thirds system is also genuinely attractive hardware. That matters more than people admit. A camera that looks interesting invites conversation, doesn’t scream “professional with expensive gear,” and honestly makes you more likely to pull it out in the first place. I’ve tested plenty of capable cameras that I never reached for because they felt clinical and boring. The Olympus avoids that problem entirely.
Step 5: Factor in Crop Factor When Comparing Apertures Across Systems
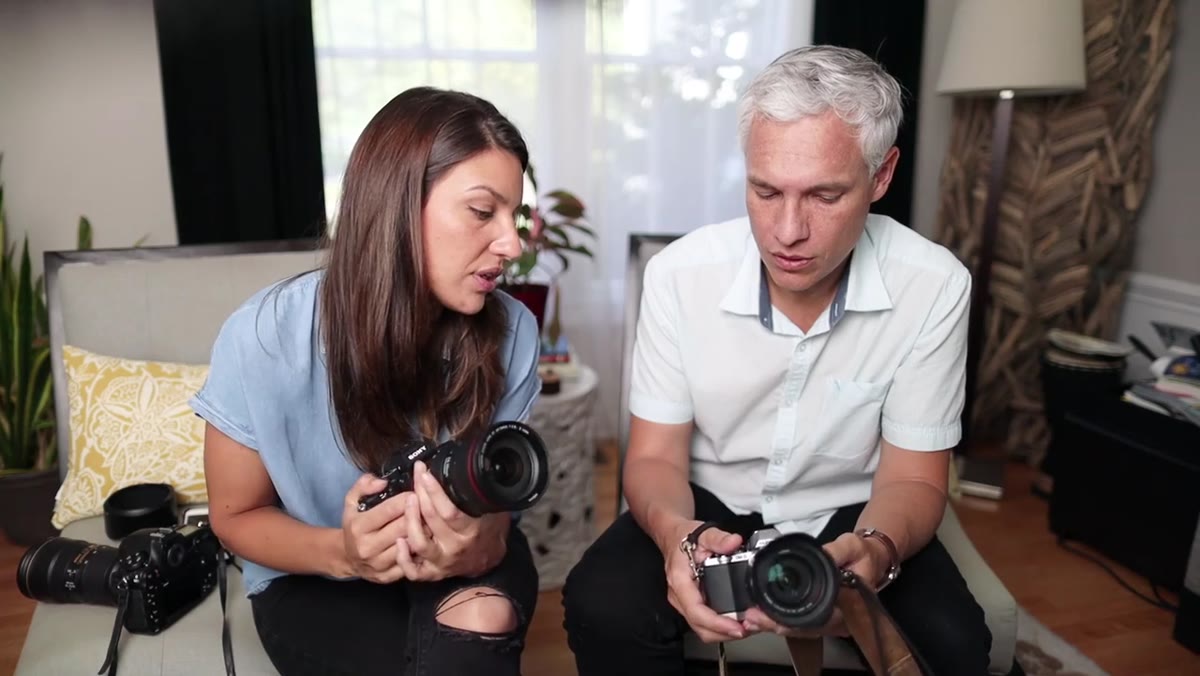 Tony explaining crop factor effect on light gathering
This is a technical point Tony raises that trips up a lot of shooters switching between systems. The Olympus 14-140mm has a maximum aperture of f/5.6 at the long end. That sounds slow, but it’s a Micro Four Thirds sensor, which has a 2x crop factor. When you account for that, the effective light gathering is closer to f/11 in full-frame terms. That’s a real difference in low-light situations and background blur.
Tony explaining crop factor effect on light gathering
This is a technical point Tony raises that trips up a lot of shooters switching between systems. The Olympus 14-140mm has a maximum aperture of f/5.6 at the long end. That sounds slow, but it’s a Micro Four Thirds sensor, which has a 2x crop factor. When you account for that, the effective light gathering is closer to f/11 in full-frame terms. That’s a real difference in low-light situations and background blur.
This doesn’t make the system bad. It means you need to know what you’re getting. The in-body stabilization on Olympus bodies is excellent and compensates for some of the light loss in static scenes. But if you’re shooting in dim bars or indoor events without flash, you’ll feel the difference compared to a full-frame camera with a fast lens.
Step 6: Match the System to Your Actual Output
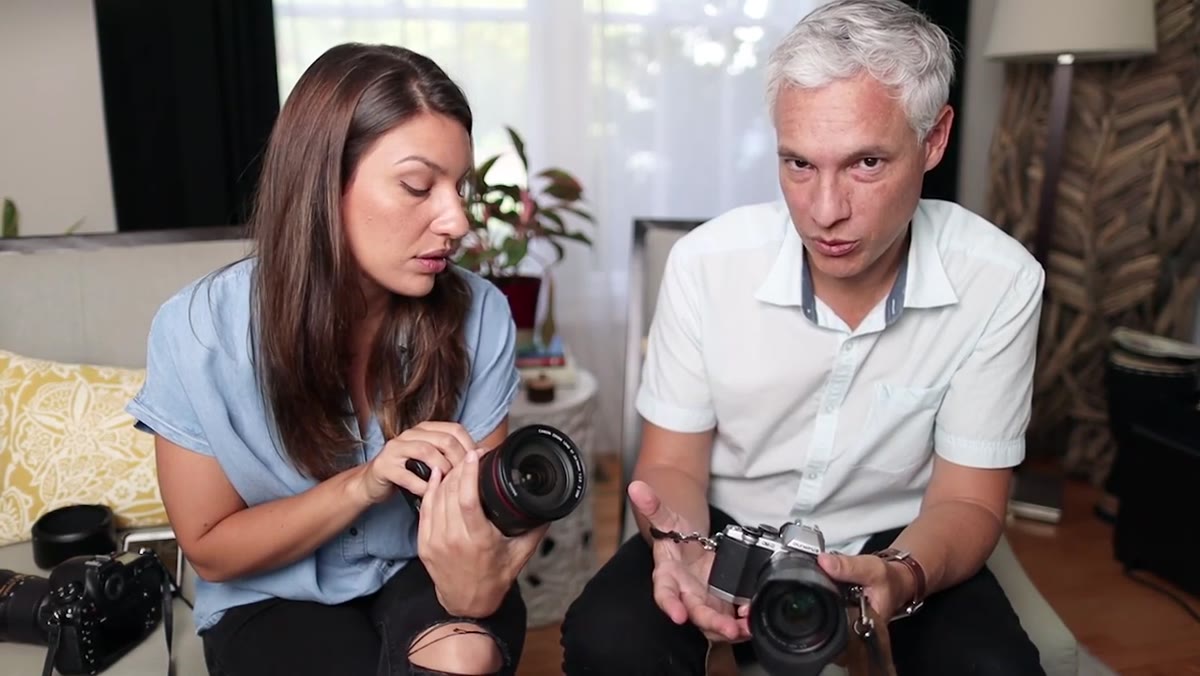 Tony and Chelsea discussing print size and social media goals
Tony and Chelsea are honest about the fact that their setup is calibrated to their specific goals, including the ability to make large gallery prints. Most people are not making gallery prints. If your photos end up on Instagram, Facebook, or a standard 8x10 print at Walgreens, a Micro Four Thirds sensor is delivering more resolution than you’ll ever need.
Tony and Chelsea discussing print size and social media goals
Tony and Chelsea are honest about the fact that their setup is calibrated to their specific goals, including the ability to make large gallery prints. Most people are not making gallery prints. If your photos end up on Instagram, Facebook, or a standard 8x10 print at Walgreens, a Micro Four Thirds sensor is delivering more resolution than you’ll ever need.
The mistake I see constantly is people buying gear for aspirational use cases rather than actual ones. You don’t need a 61-megapixel sensor if you’re never going to print larger than 11x14. Buy for what you’re doing now, and upgrade when you hit a concrete limitation, not a hypothetical one.
What I’d Add: Shop Used and Test the Focal Range Before You Commit
I keep a spreadsheet of every budget lens I’ve tested against its price-per-performance ratio, and the pattern is consistent: the used market makes almost every lens on this list accessible at half price or less. A used Sigma 24-70 f/2.8 Art lens can be found for around $600-700 if you’re patient. A used Olympus kit with the 14-140mm can drop under $500 without much searching.
Before you buy anything, borrow or rent the focal range you’re considering. Shoot with a 24-70 equivalent for a weekend trip. If you keep wishing you had more reach, go super-zoom. If you keep wishing you could shoot wider, adjust accordingly. No reviewer’s recommendation, including mine, replaces an hour of shooting with the actual focal length.
The single most important takeaway from this tutorial is one Tony states plainly: the best travel lens is the one you’ll actually carry. A compact zoom you bring everywhere will outperform a premium prime you leave in the bag every time. Start with that principle and work backwards from there.
Watch the full tutorial on YouTube to see Tony and Chelsea’s full gear comparison, including the physical size difference between their two setups, which is worth seeing in person.
Comments
Leave a Comment