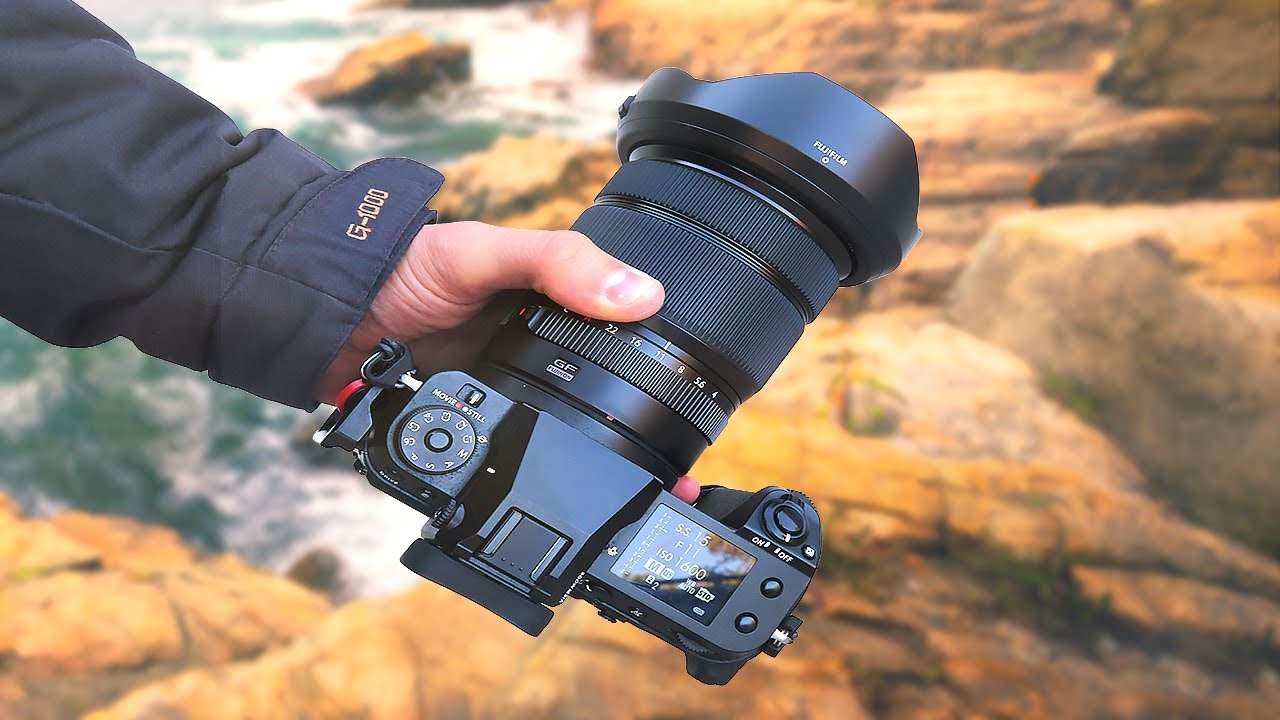
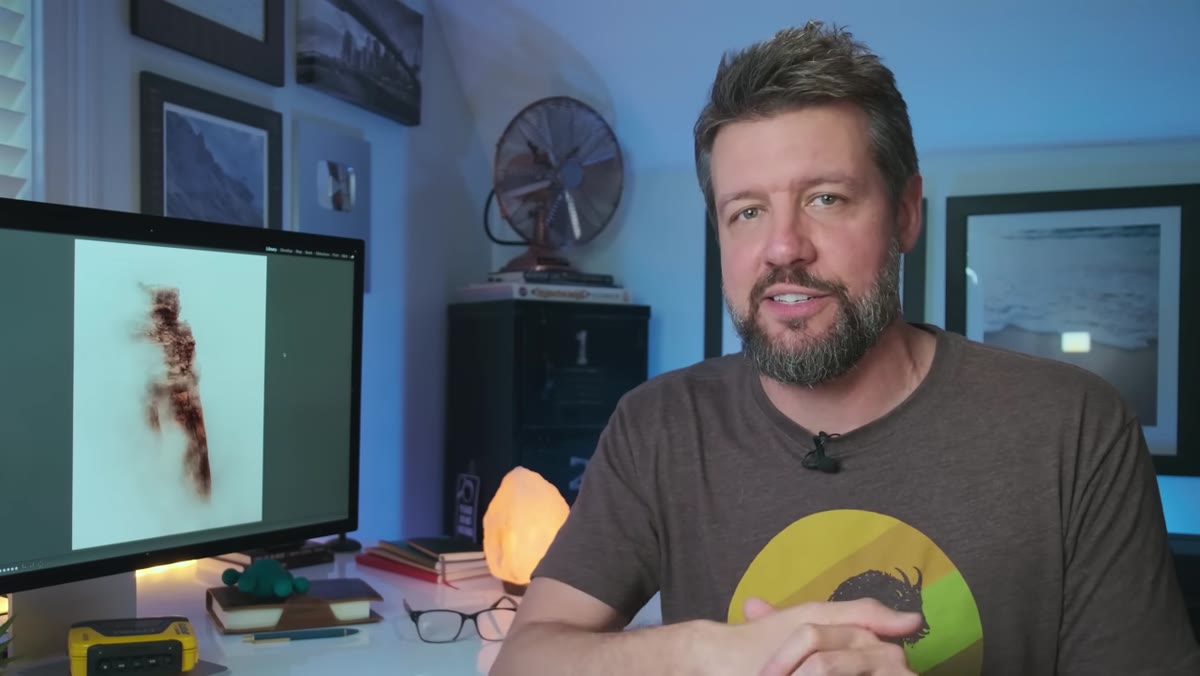
I spent an embarrassing amount of time early on convinced that the right lens was just a matter of budget. Scrape together enough money, buy the most versatile zoom you can find, done. What I didn’t understand was that “versatile” means completely different things depending on how you shoot, and buying the wrong first lens doesn’t just waste money, it actively slows down how fast you learn to see like a photographer. In Watch the full tutorial on YouTube, landscape photographer Mark Denney walks through exactly this problem, and his reasoning is worth unpacking carefully because it’s not a gear review, it’s a framework.
What I find valuable about Denney’s approach here is that he resists the urge to just name-drop a lens and move on. Most beginner gear advice skips straight to the recommendation and leaves out the logic that makes the recommendation make sense. Understanding why a particular focal length teaches you something the others don’t is the kind of insight that actually sticks, and it’s what I try to do when I’m comparing budget options for readers who are spending carefully.
Step 1: Understand What Telephoto Lenses Actually Do to a Scene
 Telephoto example showing intimate Smoky Mountain valley composition
Telephoto lenses, anything in the longer focal length range, compress a scene down to a very narrow slice of it. Denney shows examples from Yosemite and the Smoky Mountains where the actual landscape is enormous, but the telephoto pulls out one small, focused area and makes it feel intimate and deliberate. The resulting images are clean, uncluttered, and simple.
Telephoto example showing intimate Smoky Mountain valley composition
Telephoto lenses, anything in the longer focal length range, compress a scene down to a very narrow slice of it. Denney shows examples from Yosemite and the Smoky Mountains where the actual landscape is enormous, but the telephoto pulls out one small, focused area and makes it feel intimate and deliberate. The resulting images are clean, uncluttered, and simple.
The practical upside he highlights that doesn’t get talked about enough: telephoto lenses are not sky-dependent. Because the field of view is so narrow, you can often frame a shot that eliminates a dull, flat sky entirely. If you’ve ever driven an hour to a location and arrived to a featureless gray sky, you understand why this matters. A telephoto gives you an exit ramp.
Step 2: Recognize How Wide-Angle Lenses Create Immersion and Demand More from a Scene
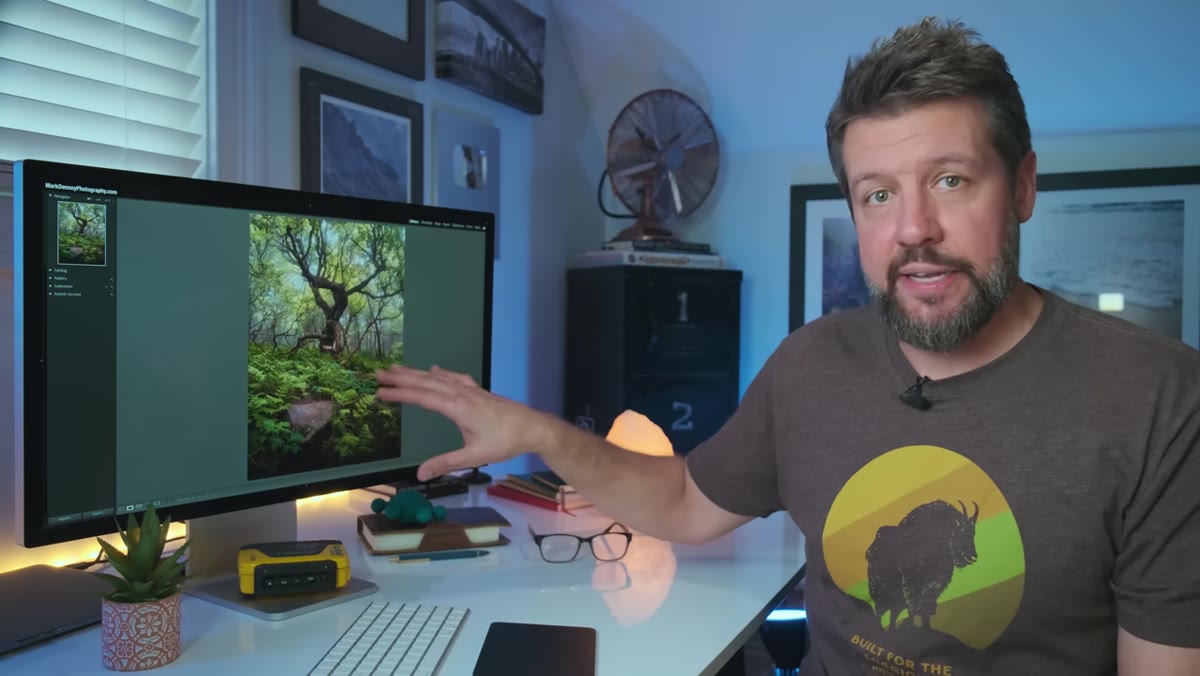 Wide angle composition showing expansive foreground leading to distant subject
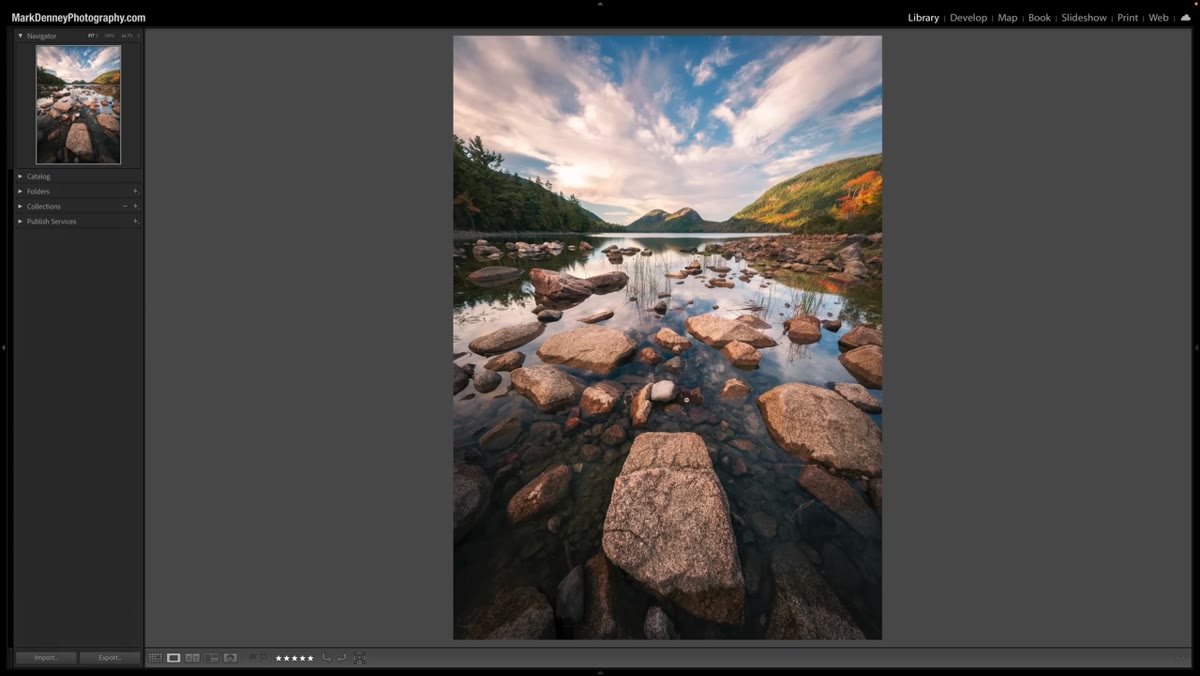
Wide-angle lenses do the opposite. They pull more of the world into the frame, which creates a sense of scale and immersion. Denney points out that wide shots work especially well when you have strong foreground interest, something close to the lens that creates a visual entry point and leads the viewer’s eye toward a more distant subject.
Wide angle composition showing expansive foreground leading to distant subject
Wide-angle lenses do the opposite. They pull more of the world into the frame, which creates a sense of scale and immersion. Denney points out that wide shots work especially well when you have strong foreground interest, something close to the lens that creates a visual entry point and leads the viewer’s eye toward a more distant subject.
The tradeoff, and this is the part beginners often learn the hard way, is that wide-angle lenses require more from the scene itself. You can’t isolate a pretty detail the way a telephoto can. If the light is flat, the sky is boring, or the foreground is cluttered, the wide angle puts all of that on display. The lens doesn’t bail you out. In terms of budget buying, this is also the category where cheap glass tends to show its weaknesses most obviously through edge distortion and vignetting in corners.
Step 3: Learn What a Standard Focal Length Feels Like as a Baseline
 Standard lens walkthrough showing natural perspective similar to human eye
Standard focal lengths sit in the middle range and roughly approximate what the human eye sees in terms of perspective and spatial relationships. Denney uses this category to set a baseline. Images shot with a standard lens don’t feel compressed like a telephoto or dramatically stretched like a wide angle. They feel natural, which is both a feature and a limitation depending on what you’re going for.
Standard lens walkthrough showing natural perspective similar to human eye
Standard focal lengths sit in the middle range and roughly approximate what the human eye sees in terms of perspective and spatial relationships. Denney uses this category to set a baseline. Images shot with a standard lens don’t feel compressed like a telephoto or dramatically stretched like a wide angle. They feel natural, which is both a feature and a limitation depending on what you’re going for.
For beginners, this category is useful as a reference point. If you understand what “normal” looks like, you start to understand what telephoto compression and wide-angle exaggeration are actually doing. It makes both of those tools feel more intentional and less accidental.
Step 4: Identify the Creative Constraint That Makes One Category Better for Learning
 Denney explaining the decision-making value of a fixed focal range
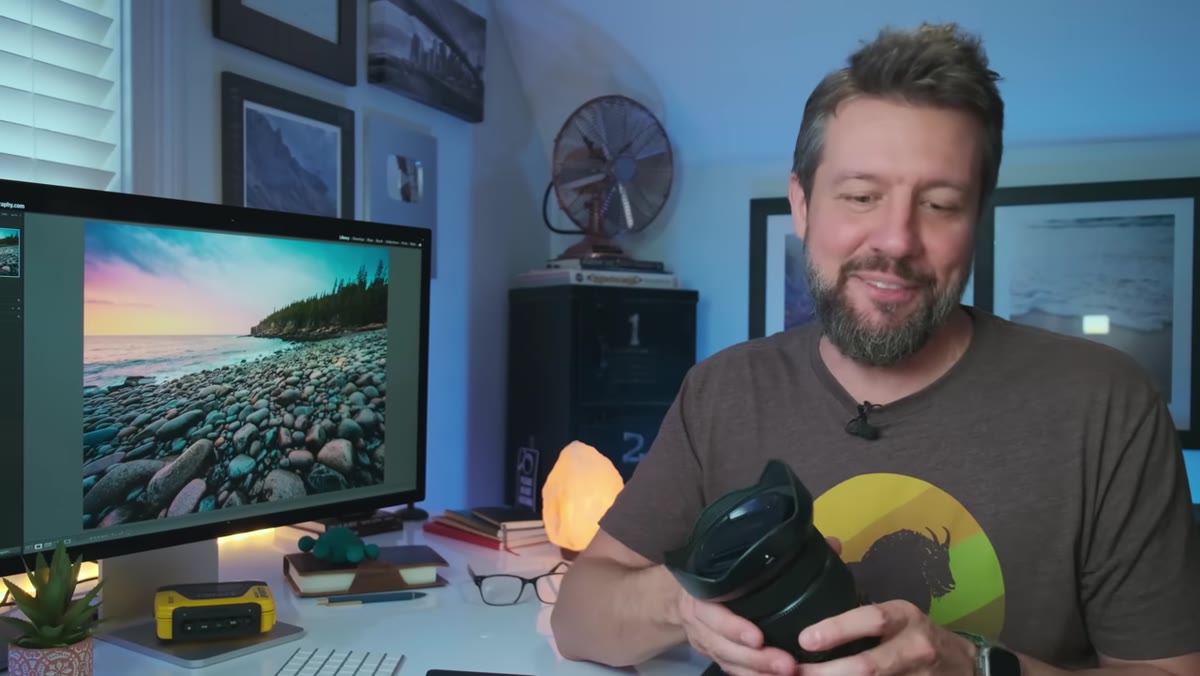
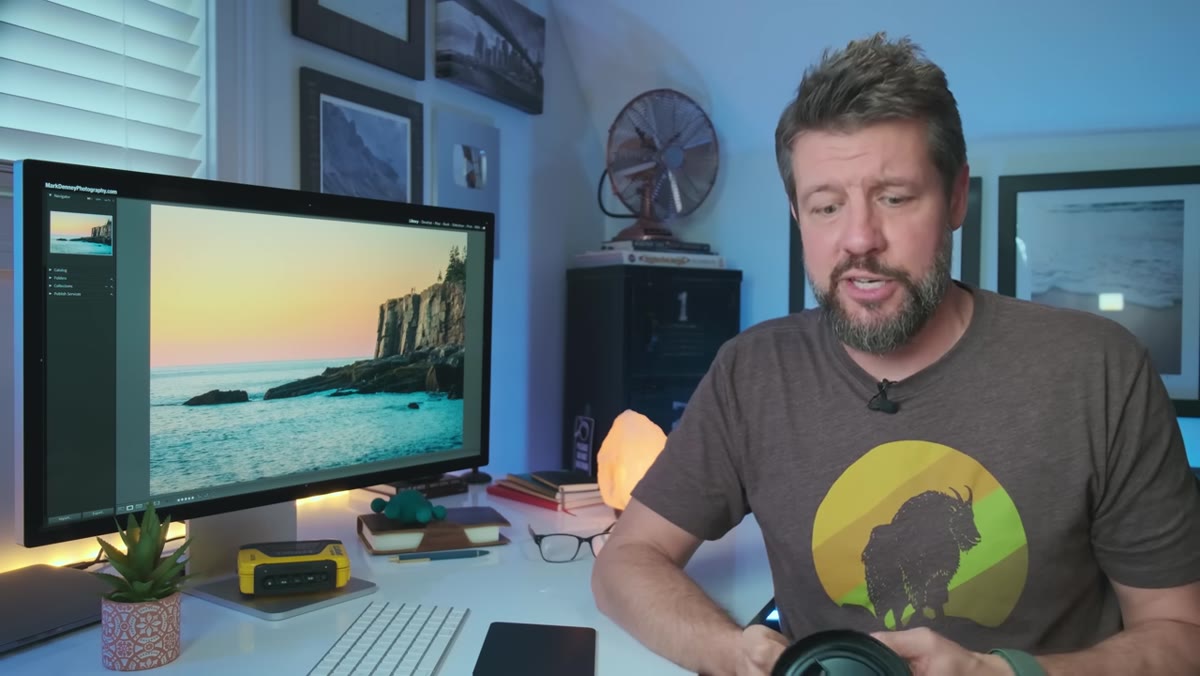
Here’s where Denney’s argument gets interesting. His recommendation for beginners isn’t just about image quality or price per millimeter of focal length. It’s about which type of lens forces you to make more deliberate compositional decisions as you’re learning. A telephoto, with its narrow field of view, requires you to actively search for a subject worth isolating. You have to slow down and look harder. That process builds a specific kind of seeing that pays off across every focal length you ever use after it.
Denney explaining the decision-making value of a fixed focal range
Here’s where Denney’s argument gets interesting. His recommendation for beginners isn’t just about image quality or price per millimeter of focal length. It’s about which type of lens forces you to make more deliberate compositional decisions as you’re learning. A telephoto, with its narrow field of view, requires you to actively search for a subject worth isolating. You have to slow down and look harder. That process builds a specific kind of seeing that pays off across every focal length you ever use after it.
Wide-angle work, by contrast, tends to reward photographers who already have a strong sense of foreground-to-background relationships. That’s a more advanced spatial skill. Handing a beginner a wide-angle and asking them to build compelling compositions is a bit like teaching someone to drive in a manual transmission on a steep hill. You can do it, but you’ll probably build some bad habits while you’re struggling.
Step 5: Match the Lens Category to Your Actual Shooting Conditions
 Iceland gray sky example showing telephoto isolating strong foreground detail
Denney’s final practical point is about matching the lens to your real-world shooting conditions, not your ideal ones. He shows an Iceland shot taken on a completely overcast, low-drama day where a telephoto let him pull a compelling image from a scene that would have looked bleak on a wide angle. For beginners who don’t have the luxury of always shooting in golden hour light, this is a real-world advantage.
Iceland gray sky example showing telephoto isolating strong foreground detail
Denney’s final practical point is about matching the lens to your real-world shooting conditions, not your ideal ones. He shows an Iceland shot taken on a completely overcast, low-drama day where a telephoto let him pull a compelling image from a scene that would have looked bleak on a wide angle. For beginners who don’t have the luxury of always shooting in golden hour light, this is a real-world advantage.
Think about where you actually shoot most often. If you’re in a city, at family events, or in landscapes with a lot of visual chaos, a telephoto’s ability to isolate and simplify is a practical tool, not just an aesthetic preference. If you shoot architecture, interiors, or sweeping outdoor environments where you’re regularly in the scene, you’re going to want to move toward wide angle. The honest answer is that your environment should shape your first purchase as much as any YouTube recommendation.
One Thing I’d Add: Budget Telephoto Options Have Never Been Better
Denney’s framework is solid, but I want to add a deals-focused note here. If his reasoning points you toward a telephoto as your first lens, the good news is that this is currently one of the most competitive segments in the budget glass market. Third-party manufacturers have been producing capable telephoto options at price points that would have been unthinkable five years ago. I’ve tested a handful that hold up well against the name-brand equivalents at two or three times the price. The gap between affordable and good is genuinely smaller in the telephoto range than in wide-angle glass, where optical correction is harder to do cheaply.
Before you buy, check whether your camera system has a strong selection of used options too. Telephoto lenses from previous generations often hold up well optically and tend to depreciate faster than wide-angle primes. That combination of budget-friendly new options and solid used availability makes this the category where your first dollar goes furthest.
The single biggest takeaway from Denney’s video is this: your first lens decision isn’t primarily about image quality or even price. It’s about which focal length will teach you the most about how to compose a photograph. A lens that forces you to search for a subject, to simplify, and to make intentional framing decisions will do more for your growth than a do-everything zoom that never makes you commit to anything.
Watch the full tutorial on YouTube to see Denney walk through his own images at each focal length. The visual examples make the abstract differences between lens categories a lot more concrete.
Comments
Leave a Comment