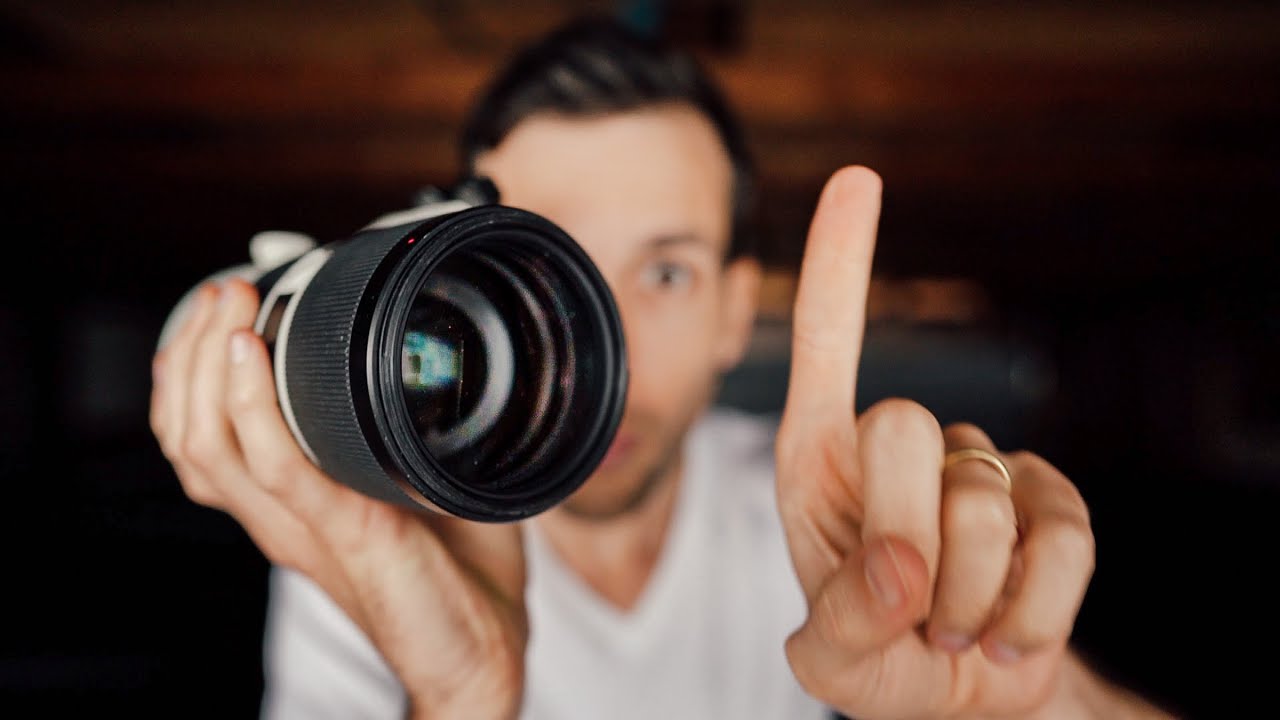
I’ll be straight with you: I have reviewed dozens of budget accessories, chased down obscure deals, and built a spreadsheet comparing every no-name lens I could get my hands on. But some of the best photography advice doesn’t cost anything at all. That’s what makes this particular tutorial sting a little, in a good way. In this Pierre T. Lambert tutorial, the lesson isn’t about a clever new product or a limited-time discount. It’s about the piece of plastic that shipped in the box with your lens, the one you probably set aside and forgot about the day you unboxed your kit. Watch the full tutorial on YouTube
Pierre’s argument is simple and hard to argue with: the lens hood is free insurance that most photographers ignore. He frames skipping it as “unprotected photography,” which is a bit dramatic, but he backs it up with real stories of dropped gear and cracked filters. The more I thought about it, the more I realized I’ve done the exact same thing. Skipped the hood because it felt bulky, because I was in a hurry, because I told myself nothing would go wrong. This tutorial is a practical gut-check, and I think it’s worth walking through step by step.
Step 1: Recognize What You Already Have
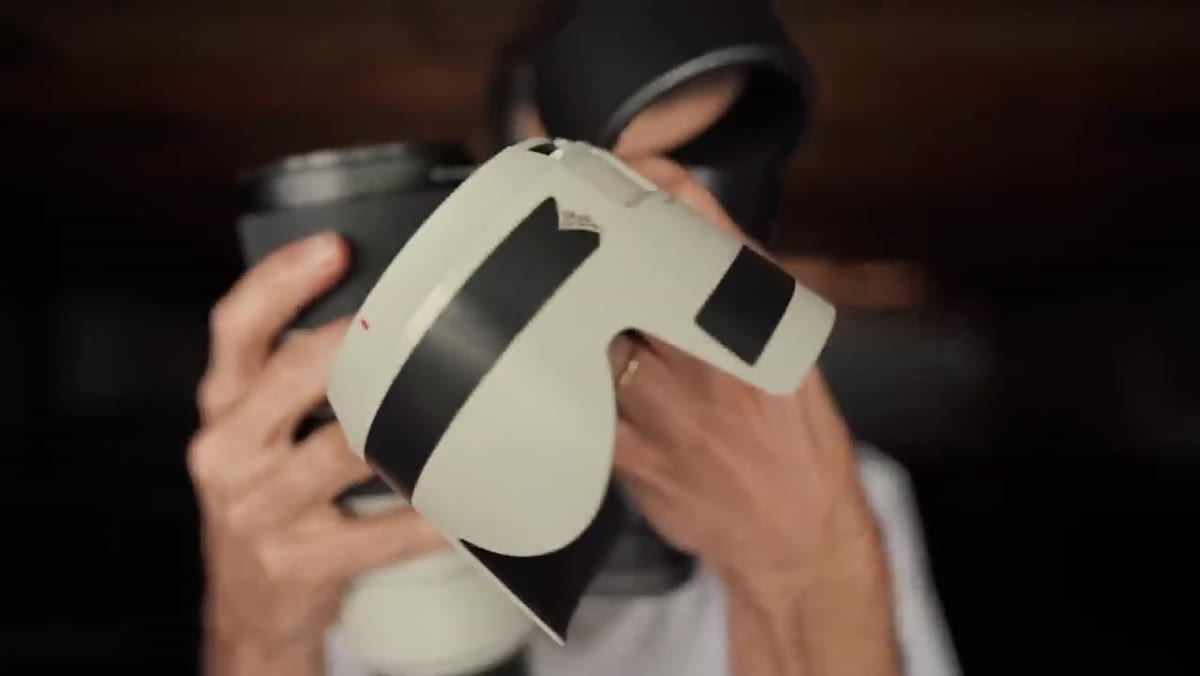 Lens hood held up toward camera, clearly visible on screen
Before you buy anything, go find your lens hood. It came in the box with almost every interchangeable lens sold today. If you bought your lens new and still have the original packaging, check there first. If you bought used, search your gear bag or camera shelf. Pierre’s point here is blunt: most people either toss this piece or forget it exists entirely. It costs nothing to start using it today. Pull it out, flip it around if it’s stored in reverse-mount position (the standard way to save space when it’s not in use), and reattach it to the front of your lens.
Lens hood held up toward camera, clearly visible on screen
Before you buy anything, go find your lens hood. It came in the box with almost every interchangeable lens sold today. If you bought your lens new and still have the original packaging, check there first. If you bought used, search your gear bag or camera shelf. Pierre’s point here is blunt: most people either toss this piece or forget it exists entirely. It costs nothing to start using it today. Pull it out, flip it around if it’s stored in reverse-mount position (the standard way to save space when it’s not in use), and reattach it to the front of your lens.
Step 2: Understand the Physical Protection Benefit
 Pierre describing camera drop incident, gesturing toward lens front
Pierre shares two separate stories about dropping gear, and both times the lens hood was the variable that made the difference. When the hood is attached, it extends past the glass and the filter ring, which means if the lens hits a surface or swings into a wall while hanging from a strap, the hood absorbs the impact first. When it’s not on, that contact goes straight to the filter threads or, worse, the front element itself. Think of the hood as a bumper. It’s not glamorous, but it takes the hit so your glass doesn’t have to.
Pierre describing camera drop incident, gesturing toward lens front
Pierre shares two separate stories about dropping gear, and both times the lens hood was the variable that made the difference. When the hood is attached, it extends past the glass and the filter ring, which means if the lens hits a surface or swings into a wall while hanging from a strap, the hood absorbs the impact first. When it’s not on, that contact goes straight to the filter threads or, worse, the front element itself. Think of the hood as a bumper. It’s not glamorous, but it takes the hit so your glass doesn’t have to.
Step 3: Use It as Rain and Moisture Protection
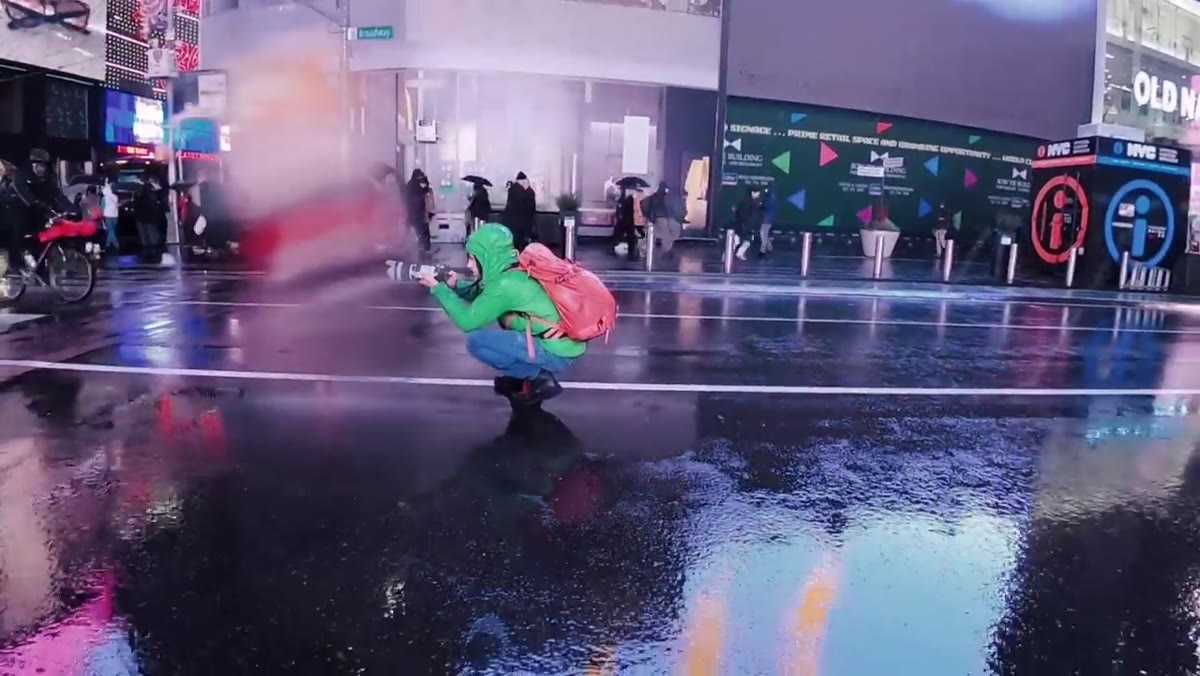 Discussion of shooting in rain and fog conditions
This one surprised me when I first started paying attention to it. In light rain, drizzle, or high-humidity environments like coastlines or misty trails, water droplets land directly on your front element if the hood isn’t there. Shooting without one in those conditions means you’re stopping constantly to clean the glass, or worse, noticing smears in post that you can’t fix. The hood creates a physical overhang that deflects most of that moisture. It won’t make your camera waterproof, but it buys you meaningful shooting time in conditions where you’d otherwise be wiping your lens every few minutes.
Discussion of shooting in rain and fog conditions
This one surprised me when I first started paying attention to it. In light rain, drizzle, or high-humidity environments like coastlines or misty trails, water droplets land directly on your front element if the hood isn’t there. Shooting without one in those conditions means you’re stopping constantly to clean the glass, or worse, noticing smears in post that you can’t fix. The hood creates a physical overhang that deflects most of that moisture. It won’t make your camera waterproof, but it buys you meaningful shooting time in conditions where you’d otherwise be wiping your lens every few minutes.
Step 4: Cut Lens Flare and Ghosting
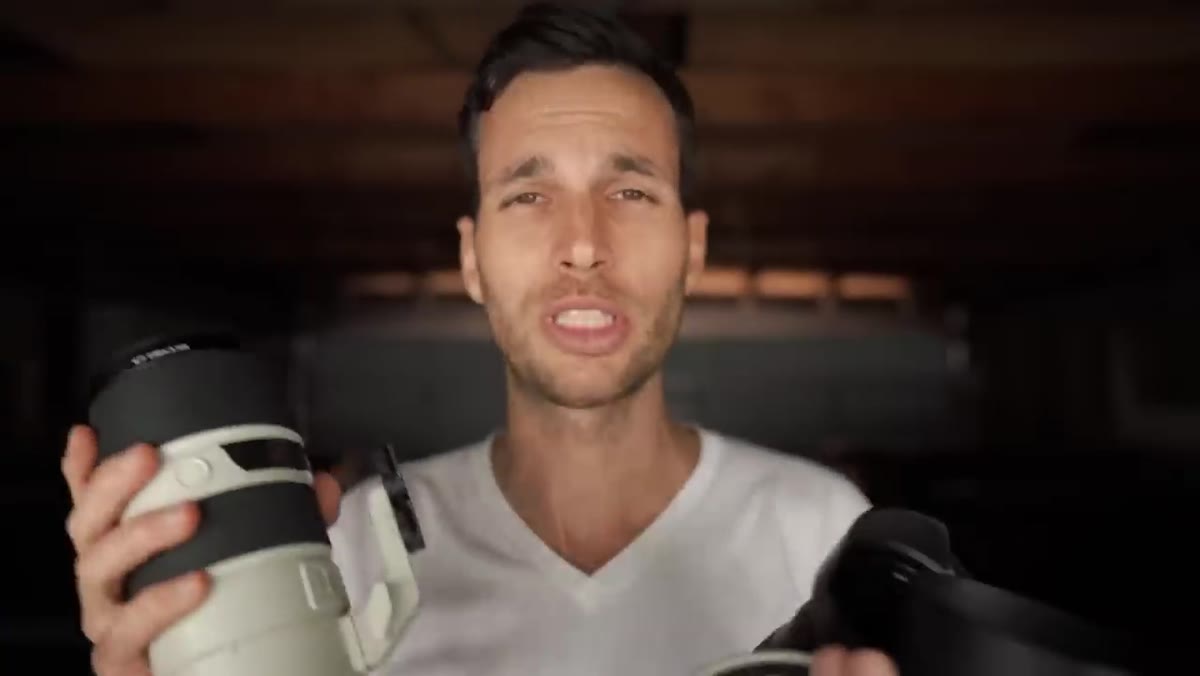 Pierre explaining optical benefits, holding hood up
This is the benefit that actually gets mentioned in photography classes, but even here most people underestimate it. Light entering the lens from outside your frame, especially from the sun or artificial lights at an angle, causes flare streaks and ghost artifacts in your image. Lens manufacturers design hoods specifically for each focal length to block exactly the light that isn’t part of your composition without cutting into the frame. Using the correct hood for your lens (the one that came with it, shaped either cylindrical or petal-style depending on the lens) is the cleanest, cheapest way to improve contrast and color fidelity in backlit situations. No filter purchase required.
Pierre explaining optical benefits, holding hood up
This is the benefit that actually gets mentioned in photography classes, but even here most people underestimate it. Light entering the lens from outside your frame, especially from the sun or artificial lights at an angle, causes flare streaks and ghost artifacts in your image. Lens manufacturers design hoods specifically for each focal length to block exactly the light that isn’t part of your composition without cutting into the frame. Using the correct hood for your lens (the one that came with it, shaped either cylindrical or petal-style depending on the lens) is the cleanest, cheapest way to improve contrast and color fidelity in backlit situations. No filter purchase required.
Step 5: Store It Reverse-Mounted When Not Shooting
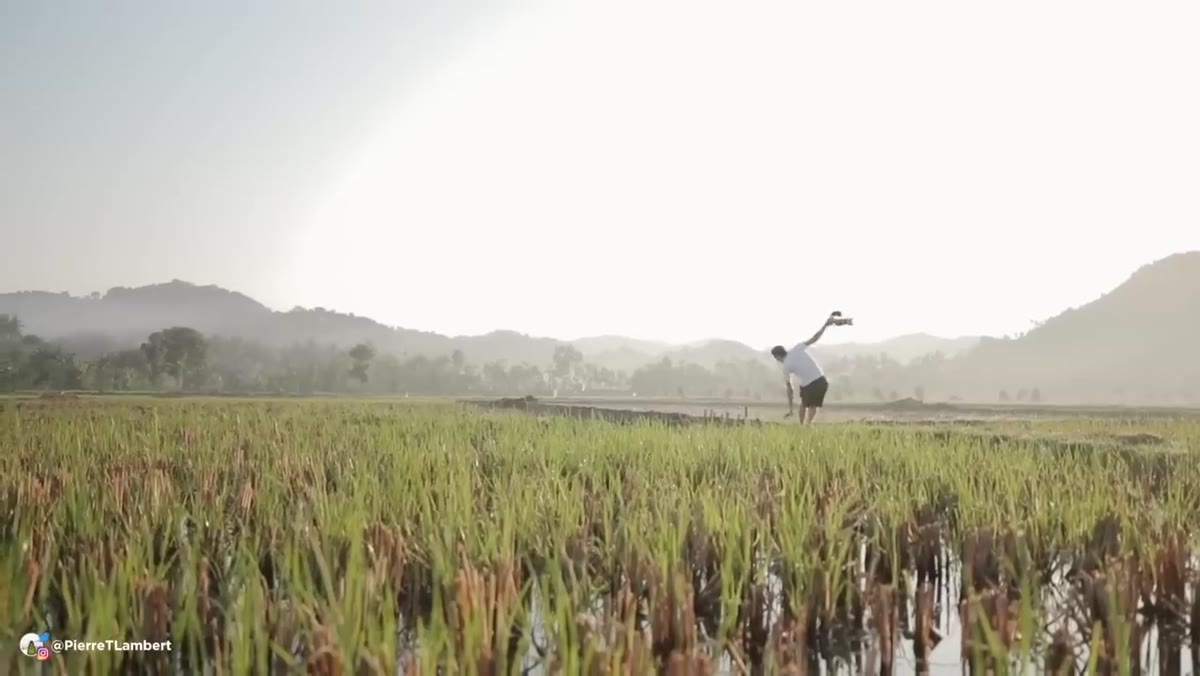 Lens with hood mounted in reverse for compact storage
One of the main reasons people leave the hood off is bulk. A lens hood adds noticeable length to your kit, which matters when you’re packing a bag or moving quickly. The solution is to mount it in reverse when you’re not actively shooting. Flip it around so it faces backward over the barrel of the lens and twist it into place. It locks the same way it does when mounted forward. This keeps it on the camera and ready to flip forward in a few seconds, without adding length. Once you build that habit, “the hood is in a drawer somewhere” stops being an excuse.
Lens with hood mounted in reverse for compact storage
One of the main reasons people leave the hood off is bulk. A lens hood adds noticeable length to your kit, which matters when you’re packing a bag or moving quickly. The solution is to mount it in reverse when you’re not actively shooting. Flip it around so it faces backward over the barrel of the lens and twist it into place. It locks the same way it does when mounted forward. This keeps it on the camera and ready to flip forward in a few seconds, without adding length. Once you build that habit, “the hood is in a drawer somewhere” stops being an excuse.
Step 6: Make It a Default, Not an Afterthought
 Pierre recounting second drop incident on train platform
Pierre’s second drop story is the one that stuck with me: he skipped the hood because it took too much space in the bag that day, and by the time he reached the train platform, the camera was already on the ground. The UV filter shattered and the filter ring warped. The hood would have prevented both. His takeaway, and mine, is that the hood should go on as part of your setup routine, the same way you put on the strap or format the card. Not when you think conditions call for it. Every time.
Pierre recounting second drop incident on train platform
Pierre’s second drop story is the one that stuck with me: he skipped the hood because it took too much space in the bag that day, and by the time he reached the train platform, the camera was already on the ground. The UV filter shattered and the filter ring warped. The hood would have prevented both. His takeaway, and mine, is that the hood should go on as part of your setup routine, the same way you put on the strap or format the card. Not when you think conditions call for it. Every time.
What I’d Add From My Own Experience
I test a lot of third-party and off-brand lenses, and those tend to ship with flimsier hoods than major manufacturers provide. Sometimes they skip the hood entirely. If you’re shooting with a budget lens and didn’t get one in the box, a generic replacement hood costs between three and eight dollars on Amazon. Search your lens’s filter thread size (it’s printed on the lens cap, usually something like 52mm or 67mm) and look for a matching snap-on or screw-in hood. It’s not a perfect fit in the technical optical sense, but it still gives you the physical protection and moisture benefits. For the price, it’s one of the most defensible small purchases in photography.
The lens hood is the single most overlooked piece of protective gear in any camera bag, and you probably already own one. Pierre T. Lambert makes a convincing case for treating it like standard equipment rather than optional packaging. After watching his breakdown, I went back through my own kit and found two hoods sitting in an accessory bin I hadn’t opened in months. They’re both on lenses now, and they’re staying there.
Watch the full tutorial on YouTube to see Pierre walk through his reasoning and gear firsthand.
Comments (2)
Love how you break down complex stuff into manageable steps.
Great breakdown. The step-by-step approach really helps.
Leave a Comment