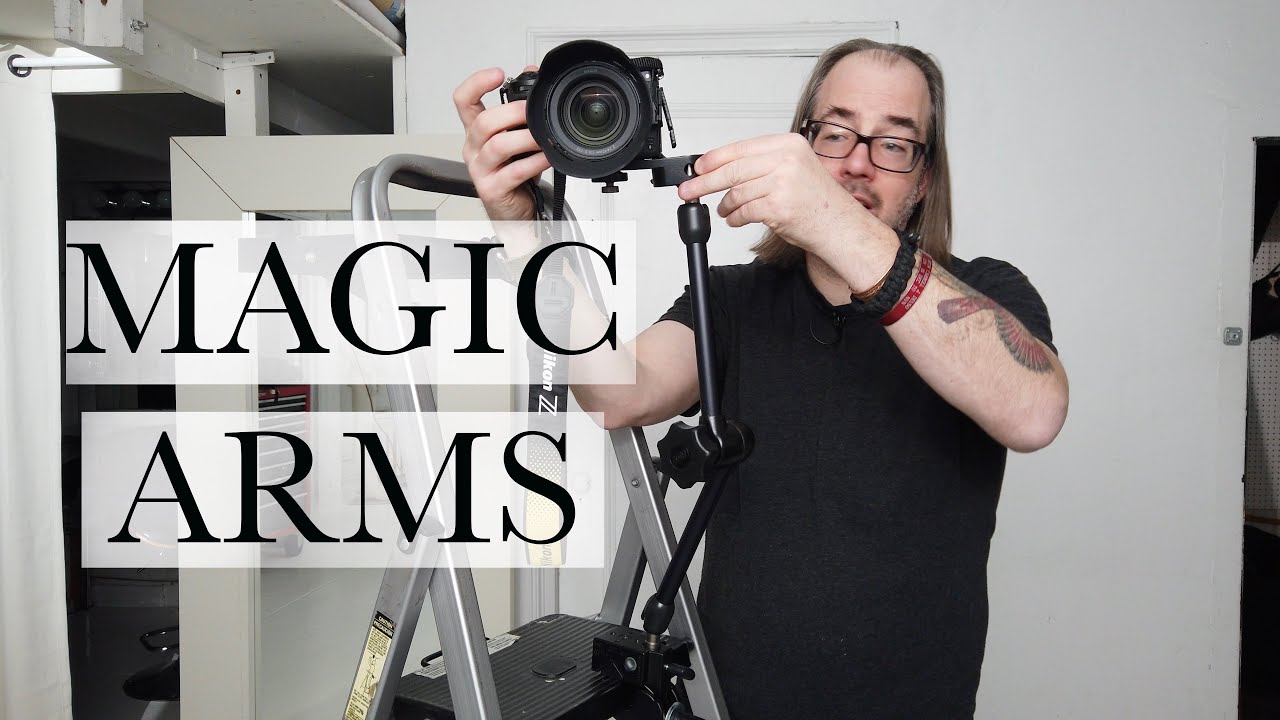
I’ve wasted more minutes than I want to admit fussing with articulating arms that have a separate knob at every joint. You loosen one, adjust, tighten, realize the angle is still wrong, loosen the next one, repeat. By the time the camera is where you want it, the light has changed or your subject has moved on. It’s one of those friction points in a shoot that feels small until it costs you a shot.
In this Daniel Norton Photographer tutorial on magic arms, Watch the full tutorial on YouTube, Daniel cuts straight to what actually makes this category of arm worth owning: a single central knob that releases every joint at once. It sounds like a small thing. It isn’t. Once you’ve used a setup like this on a ladder or rigged to a light stand clamp, you’ll understand why working pros keep these in their kits even when they own fancier options.
I picked up my first magic arm after realizing I was spending more time researching and rigging than actually shooting. Watching Daniel’s breakdown confirmed what I’d already suspected: the right piece of simple gear removes decisions from your workflow, and that’s worth more than any spec sheet.
Step 1: Understand What Makes a Magic Arm Different
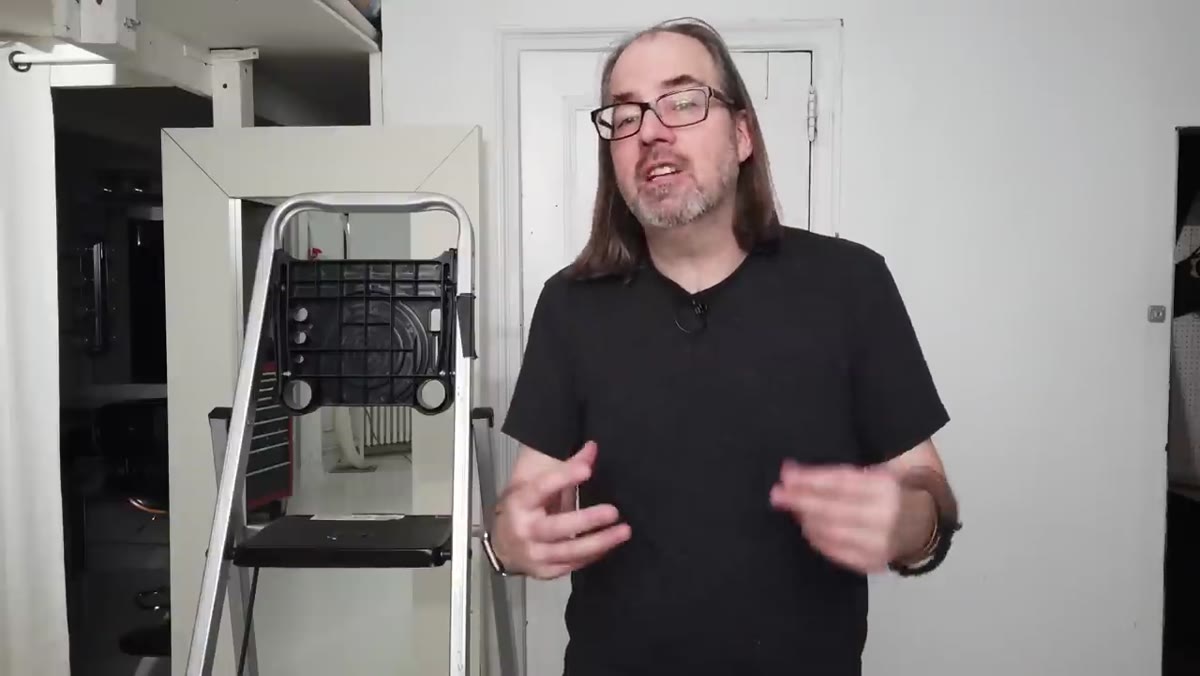 Host demonstrating single central knob on magic arm
Not all articulating arms work the same way. Standard multi-joint arms make you manage each pivot point independently, which slows everything down. A true magic arm - the Manfrotto and Noga-style designs Daniel references - uses a single knob in the center of the arm. Loosen that one knob and every joint in the arm goes free simultaneously. Tighten it and the whole thing locks solid. That’s the entire value proposition, and it’s a real one.
Host demonstrating single central knob on magic arm
Not all articulating arms work the same way. Standard multi-joint arms make you manage each pivot point independently, which slows everything down. A true magic arm - the Manfrotto and Noga-style designs Daniel references - uses a single knob in the center of the arm. Loosen that one knob and every joint in the arm goes free simultaneously. Tighten it and the whole thing locks solid. That’s the entire value proposition, and it’s a real one.
When you’re working fast, especially on non-permanent setups like event shoots or ladder-mounted angles, you don’t want to think about hardware. You want to move the arm, set the position, lock it down, and shoot.
Step 2: Attach the Magic Arm to a Super Clamp
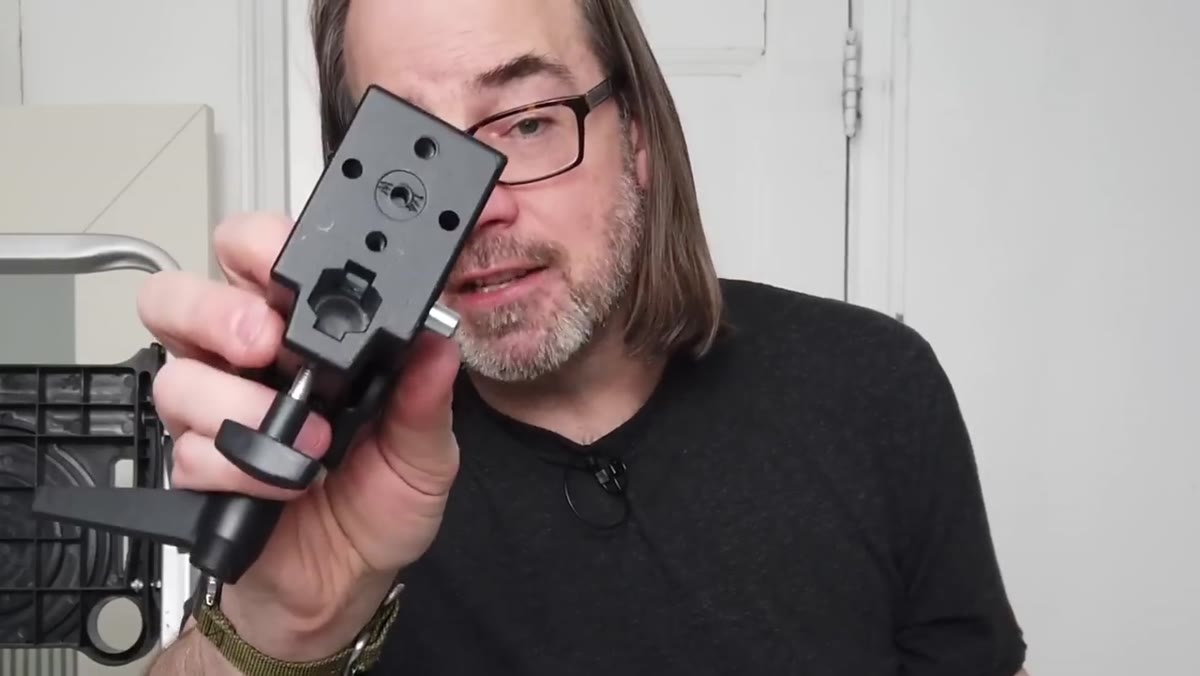 Magic arm being attached to super clamp on a ladder rung
The magic arm pairs naturally with a super clamp, and Daniel demonstrates this combination directly. One detail worth paying attention to: the base of the magic arm is not a hex shape like the super clamp’s own jaw. It has a flat section along the pole. When you seat it into the super clamp, orient that flat section toward the clamp’s pin before you tighten down. This keeps the arm from rotating under load, which matters a lot when a camera is hanging off the end.
Magic arm being attached to super clamp on a ladder rung
The magic arm pairs naturally with a super clamp, and Daniel demonstrates this combination directly. One detail worth paying attention to: the base of the magic arm is not a hex shape like the super clamp’s own jaw. It has a flat section along the pole. When you seat it into the super clamp, orient that flat section toward the clamp’s pin before you tighten down. This keeps the arm from rotating under load, which matters a lot when a camera is hanging off the end.
If you’re new to super clamps, Daniel has a separate video on those that covers the wedge adapter for mounting onto flat surfaces like ladder rungs. The two pieces of gear are designed to work together, and using them as a system is faster than trying to improvise with other hardware.
Step 3: Mount the Camera Platform Before Clamping to Your Surface
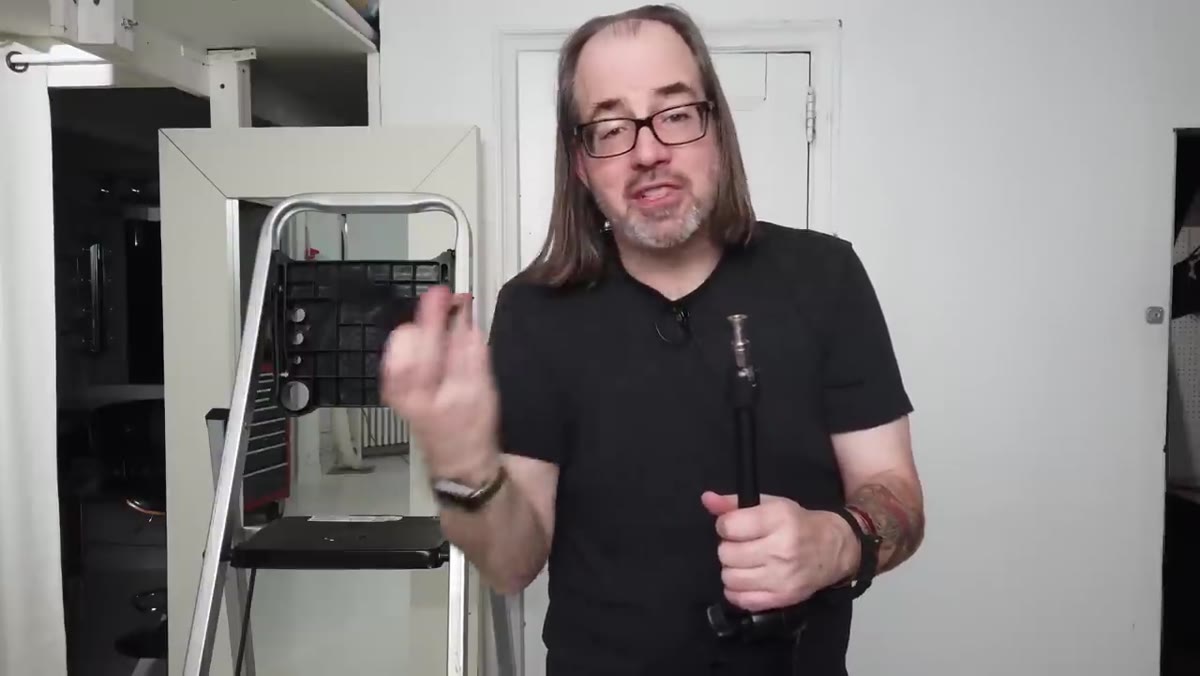 Camera being attached to platform end of magic arm
Daniel’s workflow tip here is practical: attach the camera to the arm’s camera platform before you clamp the arm to whatever surface you’re working with. It’s easier to handle the camera end when the arm isn’t already hanging off a ladder four feet in the air. Get the camera seated and secure on the platform first, then deal with the clamp end.
Camera being attached to platform end of magic arm
Daniel’s workflow tip here is practical: attach the camera to the arm’s camera platform before you clamp the arm to whatever surface you’re working with. It’s easier to handle the camera end when the arm isn’t already hanging off a ladder four feet in the air. Get the camera seated and secure on the platform first, then deal with the clamp end.
The camera platform on these arms typically uses a flat-mating surface and a locking nut. Same principle as before - get the flat area oriented toward the nut so there’s no rotation once you tighten. With a camera involved, you want zero ambiguity about whether it’s secure before you let go.
Step 4: Clamp to Your Surface and Set Initial Tension
 Super clamp being tightened onto ladder step
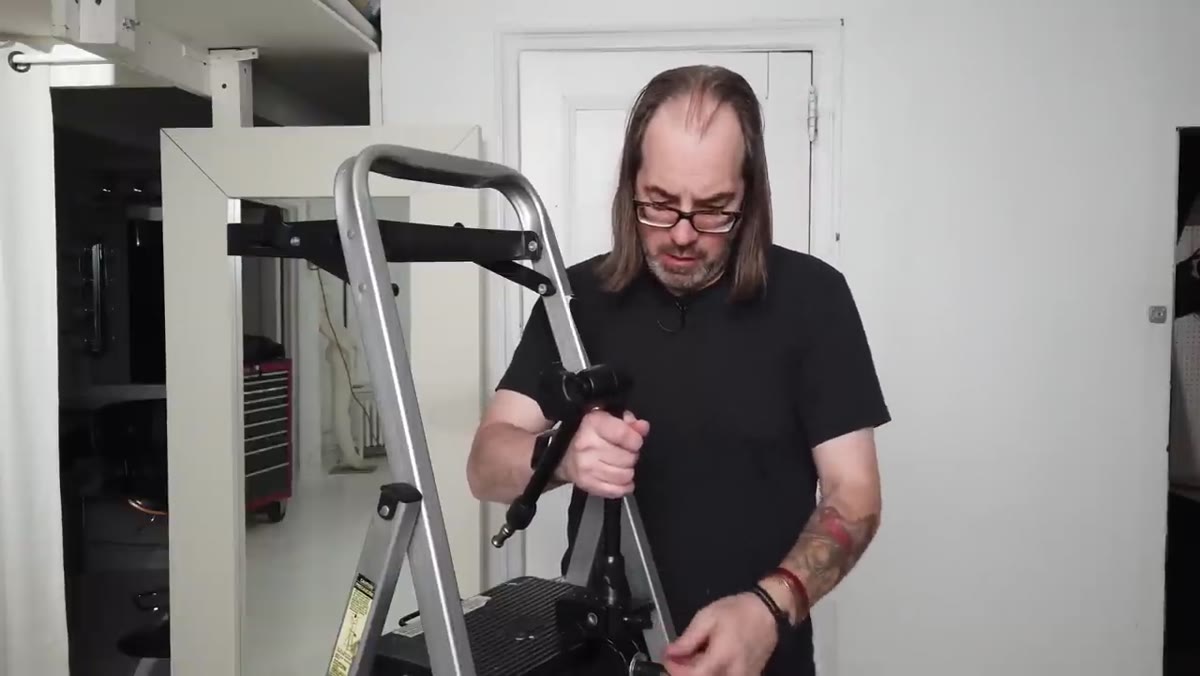
With the camera on the arm and the clamp jaw open, position the clamp onto your mounting surface - a ladder rung, a light stand, a pipe, whatever you’re working with - and tighten the super clamp down firmly. This end should be fully locked before you touch the central knob on the arm itself.
Super clamp being tightened onto ladder step
With the camera on the arm and the clamp jaw open, position the clamp onto your mounting surface - a ladder rung, a light stand, a pipe, whatever you’re working with - and tighten the super clamp down firmly. This end should be fully locked before you touch the central knob on the arm itself.
Once the clamp is set, you can give the central arm knob a light snug so the arm doesn’t flop around while you get into position. You’re not locking it yet - just adding enough resistance to keep everything manageable while you work.
Step 5: Dial In Position Using the Single Central Knob
 Arm being repositioned freely after central knob loosened
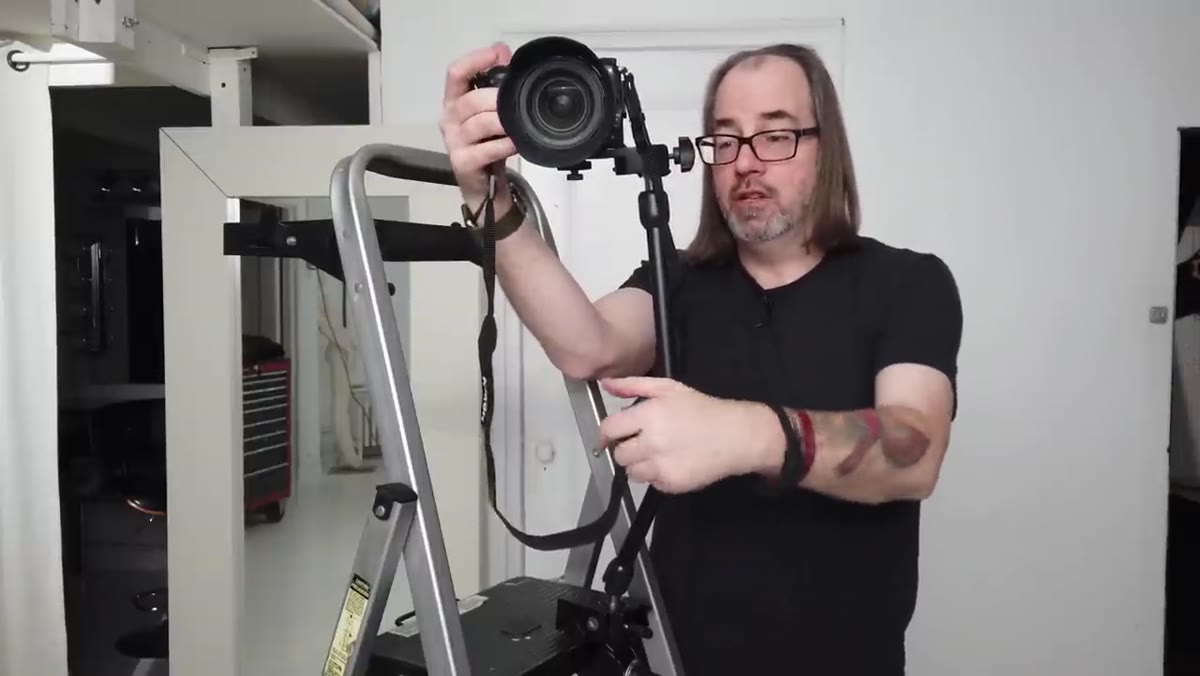
Here’s where the single-knob design pays off. Loosen the central knob and the entire arm moves freely - you can swing the camera up, down, sideways, or into genuinely odd angles without wrestling with multiple joints. Daniel demonstrates this by moving the camera into an unconventional position and then locking it in place, and the whole process takes a few seconds.
Arm being repositioned freely after central knob loosened
Here’s where the single-knob design pays off. Loosen the central knob and the entire arm moves freely - you can swing the camera up, down, sideways, or into genuinely odd angles without wrestling with multiple joints. Daniel demonstrates this by moving the camera into an unconventional position and then locking it in place, and the whole process takes a few seconds.
Check the weight rating for whatever arm you’re using before you trust it with your camera body and lens combination. Daniel mentions his holds ten pounds, which covers most mirrorless and DSLR setups with a standard lens. Longer glass or heavier bodies may need a higher-rated arm, so read the spec before you rig.
Step 6: Use Partial Tension for Handheld-Style Flexibility
 Demonstrating semi-locked arm position for flexible shooting
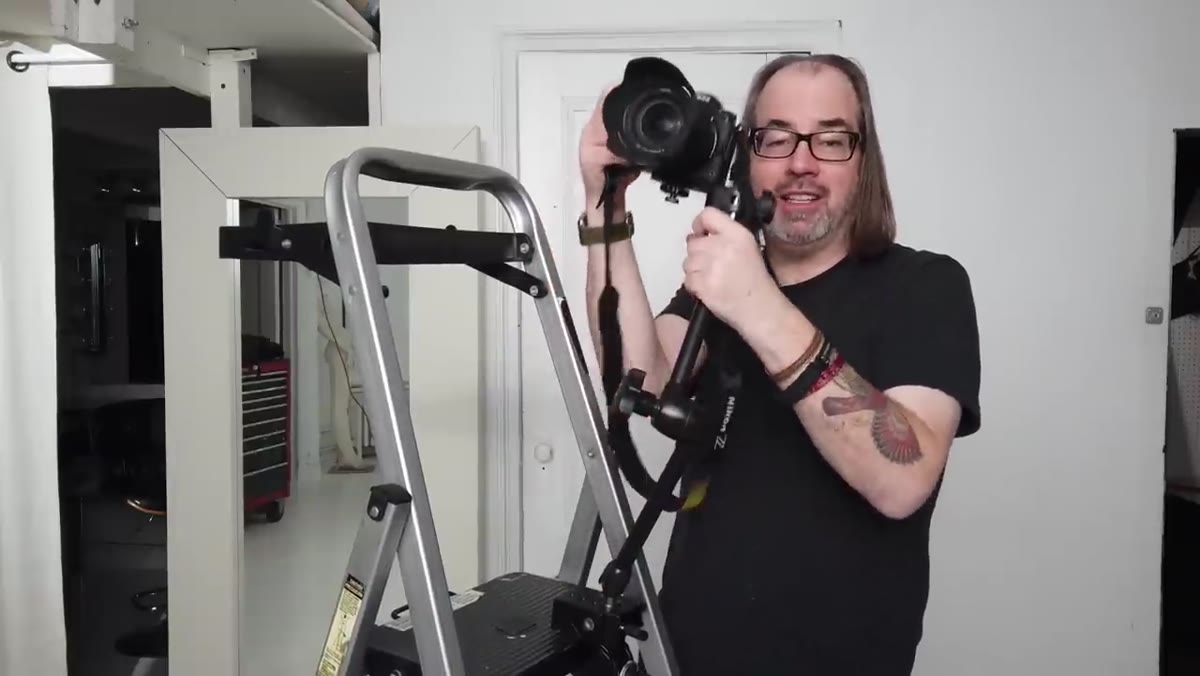
This is the detail I hadn’t thought about before watching the tutorial. You don’t have to choose between fully locked and fully loose. Daniel describes tightening the knob just enough to add resistance without fully locking the arm. The result is something close to a monopod effect - the arm holds a position under its own tension, it won’t drop if you let go, but you can still push it into a new angle without fully releasing the knob.
Demonstrating semi-locked arm position for flexible shooting
This is the detail I hadn’t thought about before watching the tutorial. You don’t have to choose between fully locked and fully loose. Daniel describes tightening the knob just enough to add resistance without fully locking the arm. The result is something close to a monopod effect - the arm holds a position under its own tension, it won’t drop if you let go, but you can still push it into a new angle without fully releasing the knob.
For run-and-gun situations where you want a mounted camera you can nudge and redirect quickly, this middle-tension approach is genuinely useful. I’ve started doing this when I mount a camera for behind-the-scenes coverage and still want to make small framing adjustments without fully re-rigging.
What I’d Add From My Own Testing
The magic arm gets talked about mostly in camera mounting contexts, but the same logic applies when you’re positioning a small LED panel or a reflector. I’ve used mine to hold a compact light over a flat lay setup where a light stand would eat up too much table space. The single-knob release makes repositioning between shots fast enough that it actually changes how you work - you’ll experiment with light angles more when changing them doesn’t feel like a project.
Budget note: you don’t have to buy the Manfrotto version at $60-plus to get the single-knob functionality. There are third-party options in the $20-30 range that use the same mechanism. I’ve tested a few and the main difference is build quality and weight rating, not the core feature. If you’re buying one for a lightweight mirrorless kit, the budget options hold up. For anything heavier, spend the extra money on the rated capacity you actually need.
The most important thing Daniel’s tutorial reinforces is this: the value of a piece of gear is measured in how much it disappears during a shoot. A magic arm used correctly stops being something you think about. You move it, you lock it, you shoot. That’s the whole point.
Watch the full tutorial on YouTube to see Daniel run through the full setup live - seeing the arm in motion makes the single-knob mechanic click in a way that description alone doesn’t quite capture.
Comments
Leave a Comment