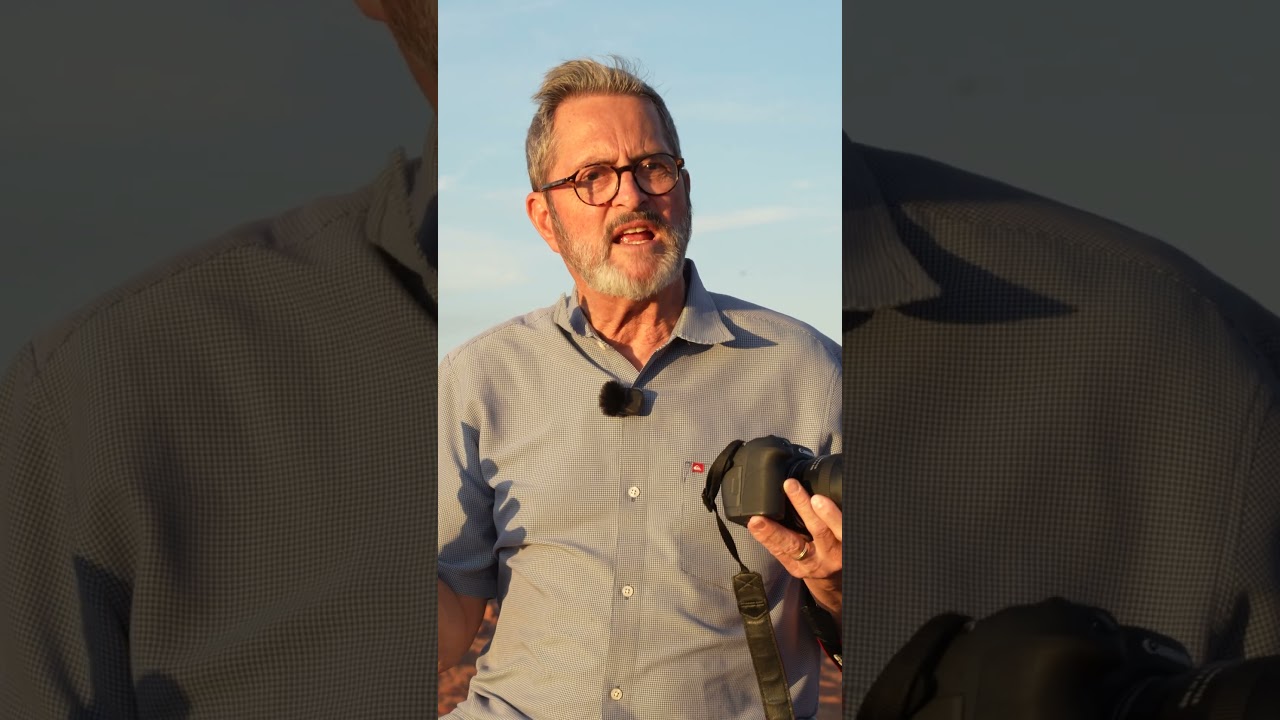
I’ve tested a lot of lenses in the sub-$500 range. I keep a running spreadsheet, which yes, my friends think is unhinged, but it’s saved me from buying garbage more times than I can count. The question I get most often from newer shooters is some version of: “What’s the one lens I should own?” It’s a fair question, and for APS-C users it’s actually answerable. The problem is that most “do-it-all” zoom lenses either sacrifice aperture or image quality to hit a price point, and you end up with something that’s fine but never great.
That’s what makes the Tamron 17-70mm f/2.8 worth paying attention to. In this The Slanted Lens tutorial, host JP takes the lens out to Yosemite Valley with a Canon R7, which is about as real-world a field test as you can get. He’s not pixel-peeping on a test chart. He’s shooting landscapes, street scenes, and portraits in one of the most visually demanding environments in the country. Watch the full tutorial on YouTube and then come back here for the breakdown.
The lens is available for Canon, Nikon, Sony, and Fujifilm APS-C systems. If you’re on any of those platforms and you’re still using a kit zoom, this walkthrough is going to reframe how you think about your gear budget.
Step 1: Understand What APS-C Actually Does to Your Focal Length
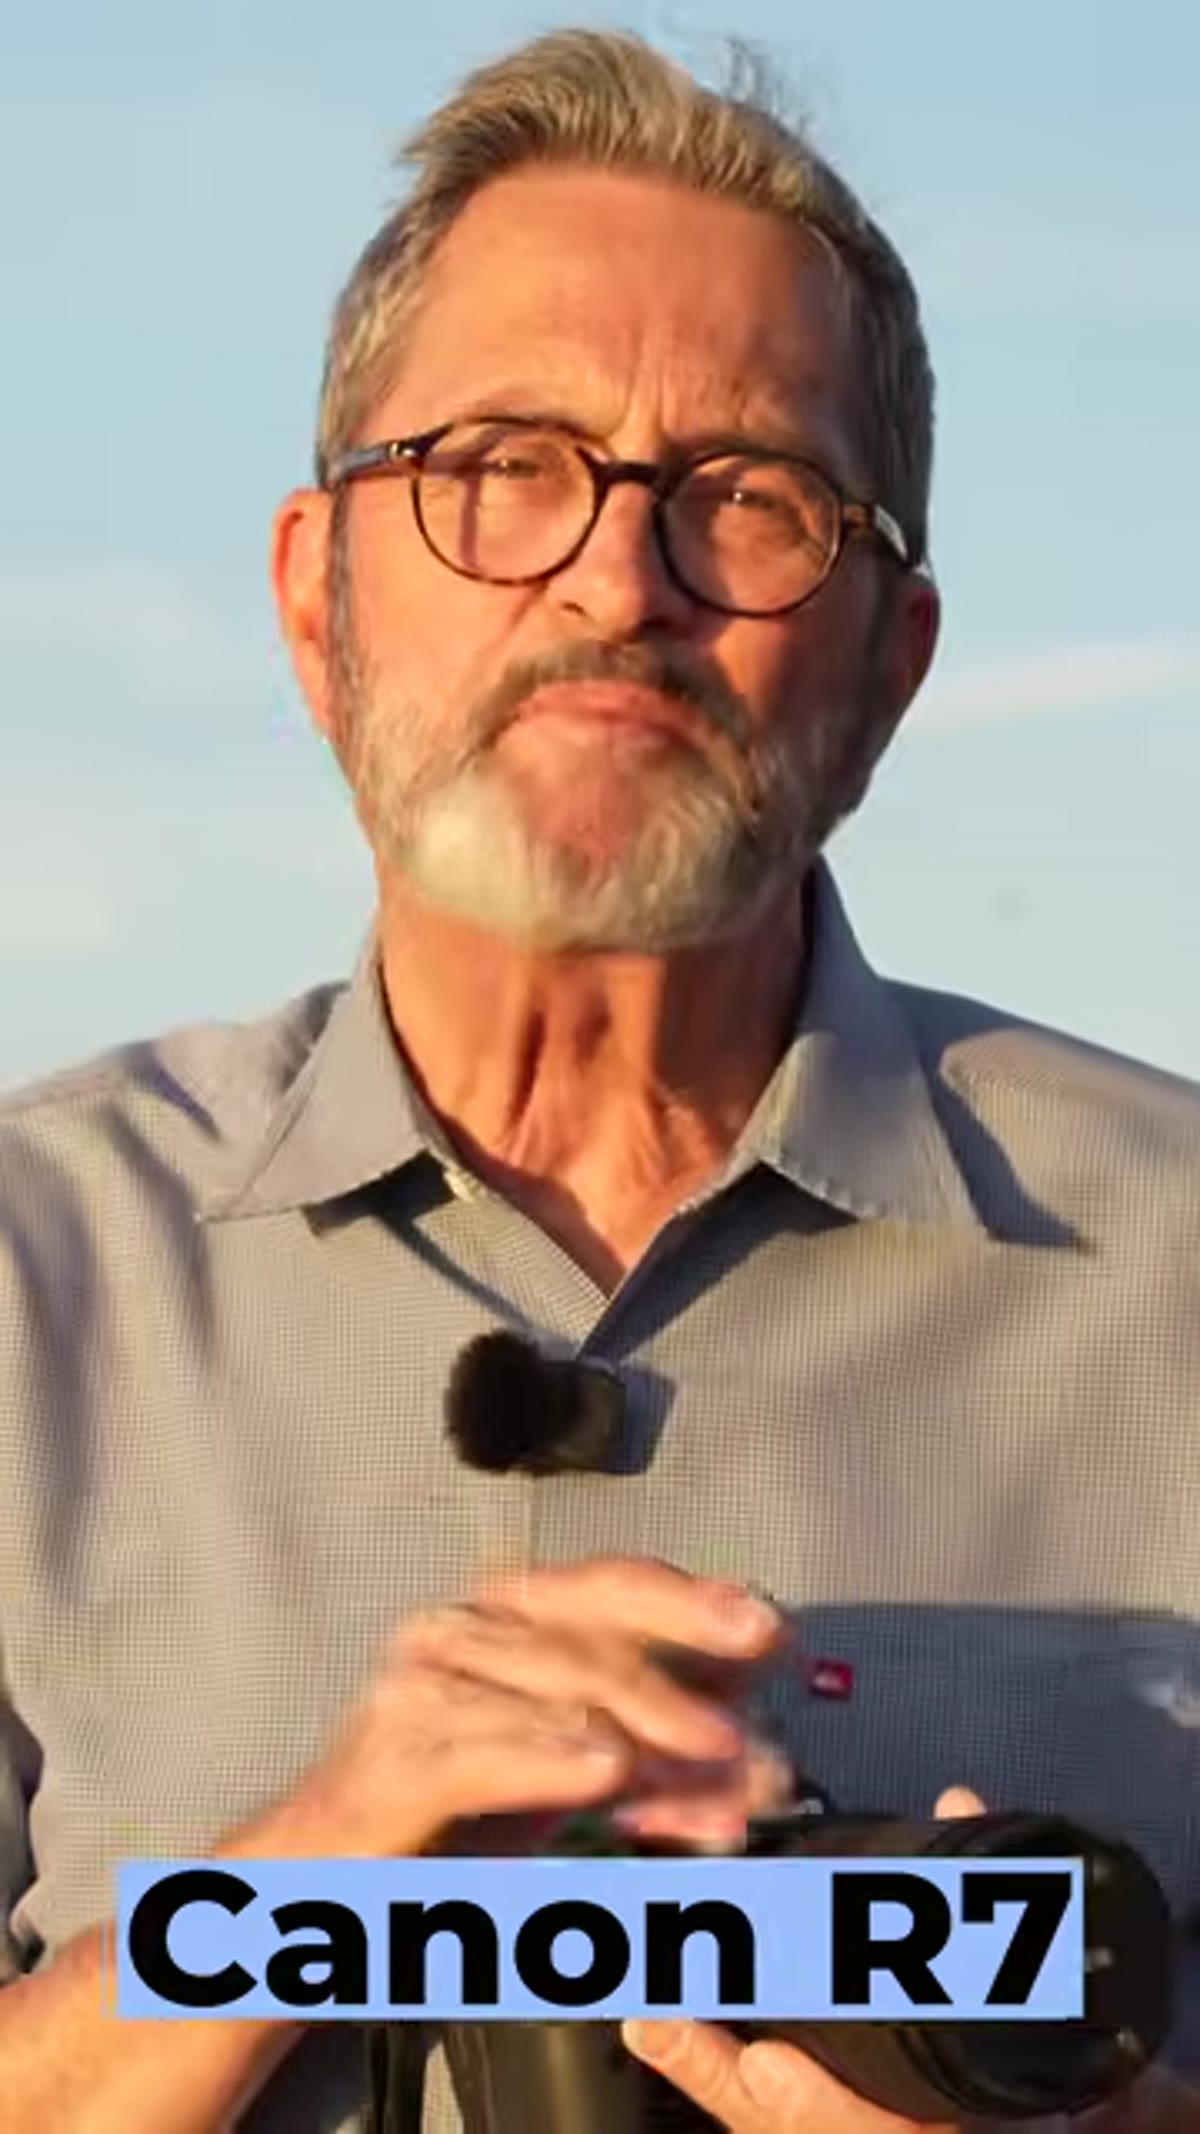 JP explaining APS-C crop factor while holding the lens
The 17-70mm range only tells half the story. On an APS-C sensor, you apply a crop factor, typically around 1.6x for Canon and 1.5x for Nikon and Sony. That pushes the 35mm equivalent range to roughly 27-112mm. JP makes the comparison to the classic 24-105mm workhorse lens that video professionals have relied on for years, and it’s a smart reference point. You’re getting a similar versatility window, but on a smaller, lighter body. If you’ve been renting a 24-105 for run-and-gun video work, this lens is worth pricing out as a permanent alternative.
JP explaining APS-C crop factor while holding the lens
The 17-70mm range only tells half the story. On an APS-C sensor, you apply a crop factor, typically around 1.6x for Canon and 1.5x for Nikon and Sony. That pushes the 35mm equivalent range to roughly 27-112mm. JP makes the comparison to the classic 24-105mm workhorse lens that video professionals have relied on for years, and it’s a smart reference point. You’re getting a similar versatility window, but on a smaller, lighter body. If you’ve been renting a 24-105 for run-and-gun video work, this lens is worth pricing out as a permanent alternative.
Step 2: Recognize the 4.1x Zoom Ratio as a Feature, Not Just a Spec
 JP framing a wide landscape shot at the 17mm end
A 4.1x zoom ratio sounds like marketing language until you actually work with it in the field. What it means practically is that you can go from a wide environmental shot to a compressed portrait without changing lenses. JP shoots Yosemite scenery at the wide end and notes how naturally the lens handles the transition. If you’re the kind of shooter who hates swapping glass mid-shoot, whether that’s because you’re on a trail, working fast on the street, or just trying to stay light, this ratio covers more creative ground than most people expect from a single lens.
JP framing a wide landscape shot at the 17mm end
A 4.1x zoom ratio sounds like marketing language until you actually work with it in the field. What it means practically is that you can go from a wide environmental shot to a compressed portrait without changing lenses. JP shoots Yosemite scenery at the wide end and notes how naturally the lens handles the transition. If you’re the kind of shooter who hates swapping glass mid-shoot, whether that’s because you’re on a trail, working fast on the street, or just trying to stay light, this ratio covers more creative ground than most people expect from a single lens.
Step 3: Use the Wide End for Street and Landscape Work
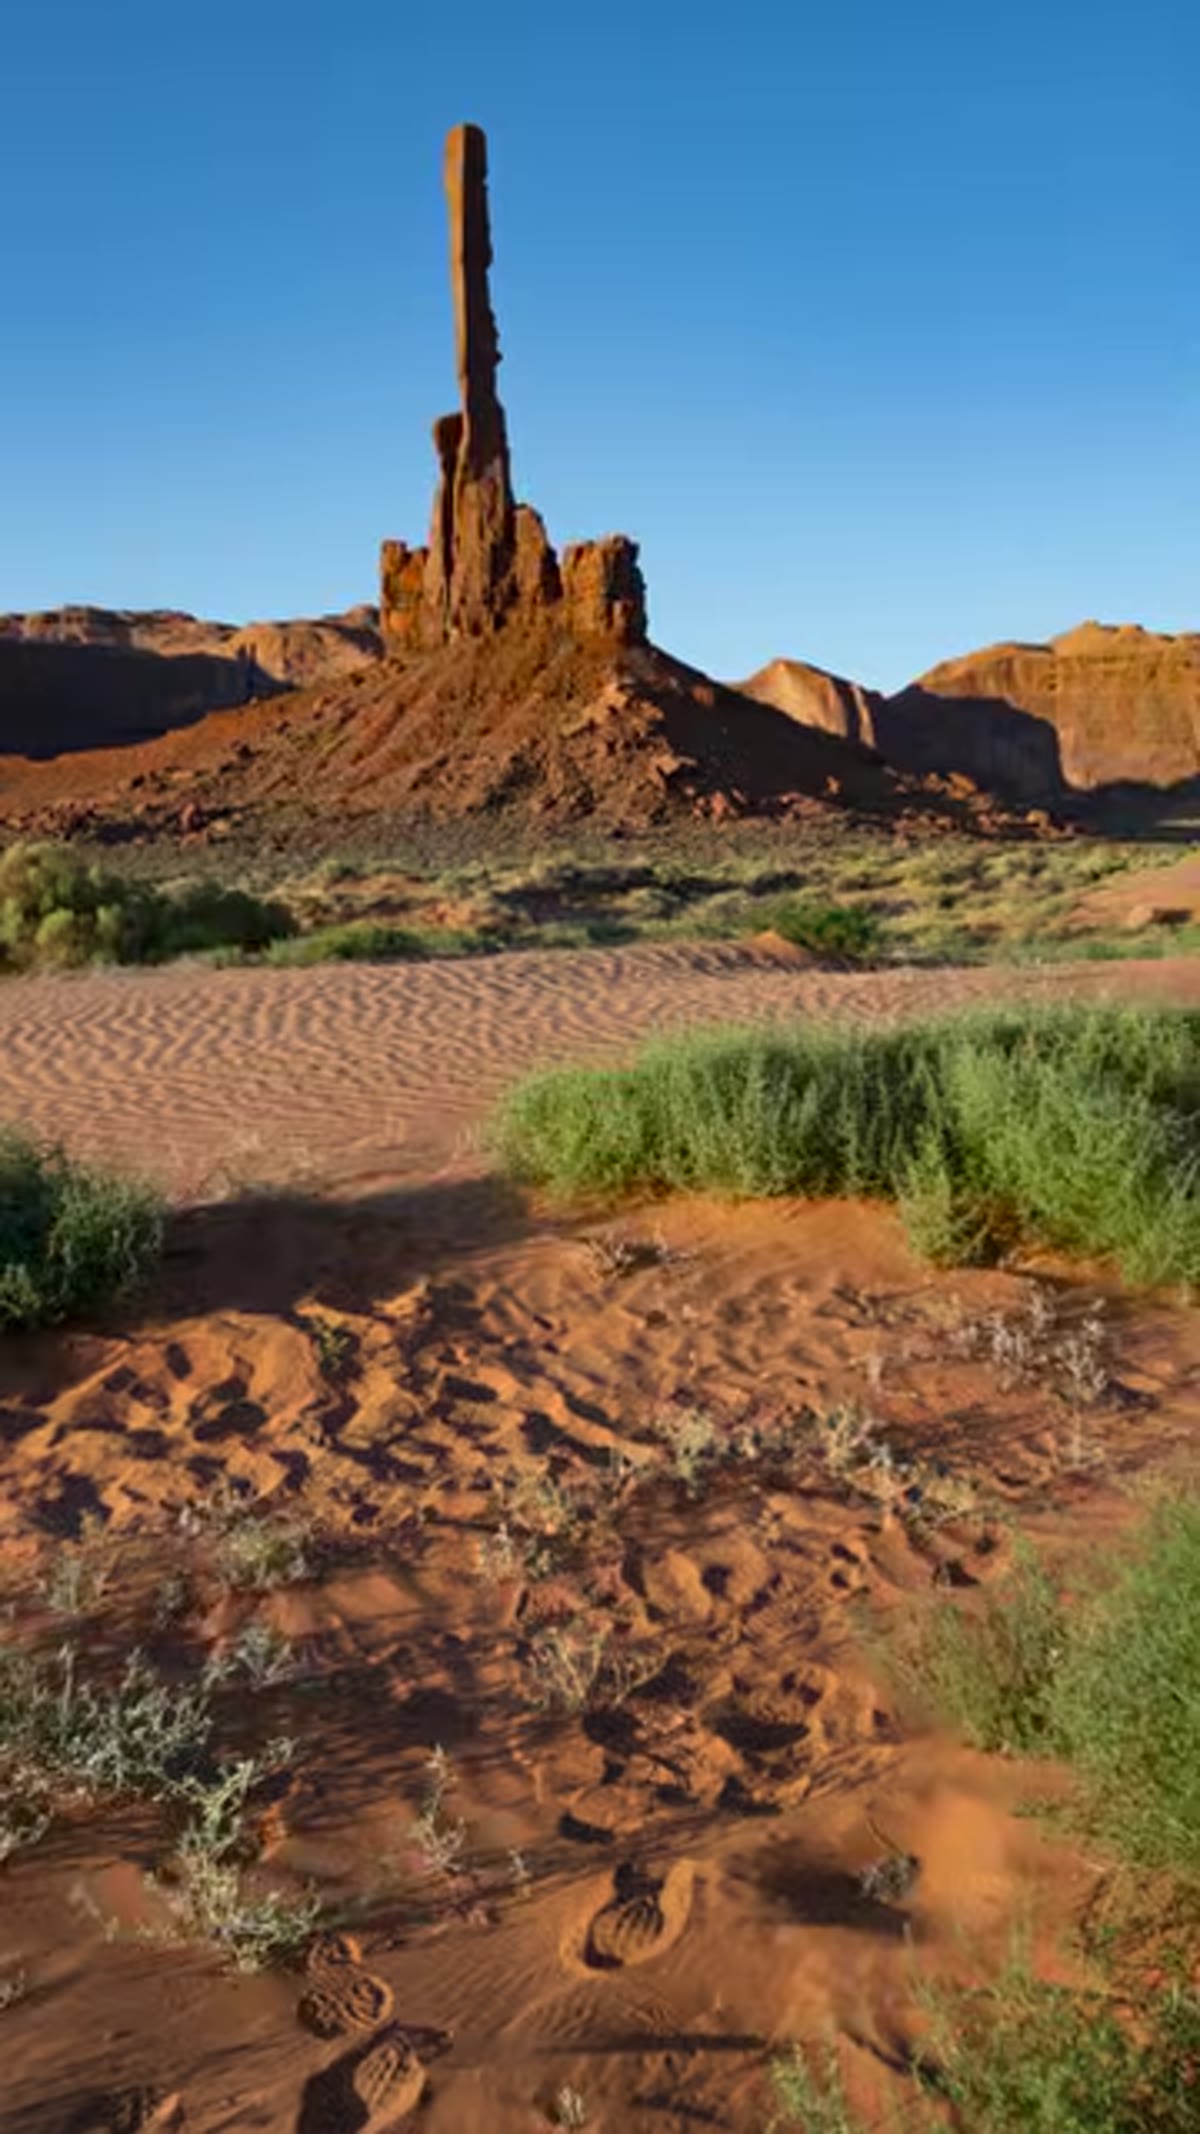 Wide establishing shot of Yosemite Valley at 17mm
At 17mm on APS-C, you have enough field of view to work in tight spaces, capture environmental context, and shoot landscapes with real depth. JP uses this end of the range in Yosemite to show how the lens handles high-contrast outdoor scenes. For street photography specifically, the wide end lets you work close without feeling intrusive, and the relatively compact form factor of the lens means you’re not walking around with something that draws attention. Wide-angle shooting on APS-C is often underrated. The crop factor keeps you from going truly ultra-wide, but 27mm equivalent is a natural, comfortable focal length that works for documentary and travel shooting.
Wide establishing shot of Yosemite Valley at 17mm
At 17mm on APS-C, you have enough field of view to work in tight spaces, capture environmental context, and shoot landscapes with real depth. JP uses this end of the range in Yosemite to show how the lens handles high-contrast outdoor scenes. For street photography specifically, the wide end lets you work close without feeling intrusive, and the relatively compact form factor of the lens means you’re not walking around with something that draws attention. Wide-angle shooting on APS-C is often underrated. The crop factor keeps you from going truly ultra-wide, but 27mm equivalent is a natural, comfortable focal length that works for documentary and travel shooting.
Step 4: Push to the Telephoto End for Portraits
 JP shooting a portrait-style frame at the 70mm end
This is where the lens earns its keep for a lot of shooters. At 70mm on APS-C, you’re sitting at a 112mm equivalent, which puts you squarely in portrait territory. JP specifically calls out the 85-100mm equivalent range as the sweet spot for flattering compression and subject separation, and this lens gets you there with room to spare. The f/2.8 aperture at that focal length gives you enough background blur to make portraits look intentional rather than accidental. You’re not going to get the same subject isolation as a dedicated 85mm f/1.4, but for a zoom that also shoots landscapes and street work, the portrait performance is genuinely strong.
JP shooting a portrait-style frame at the 70mm end
This is where the lens earns its keep for a lot of shooters. At 70mm on APS-C, you’re sitting at a 112mm equivalent, which puts you squarely in portrait territory. JP specifically calls out the 85-100mm equivalent range as the sweet spot for flattering compression and subject separation, and this lens gets you there with room to spare. The f/2.8 aperture at that focal length gives you enough background blur to make portraits look intentional rather than accidental. You’re not going to get the same subject isolation as a dedicated 85mm f/1.4, but for a zoom that also shoots landscapes and street work, the portrait performance is genuinely strong.
Step 5: Let the f/2.8 Constant Aperture Change How You Shoot
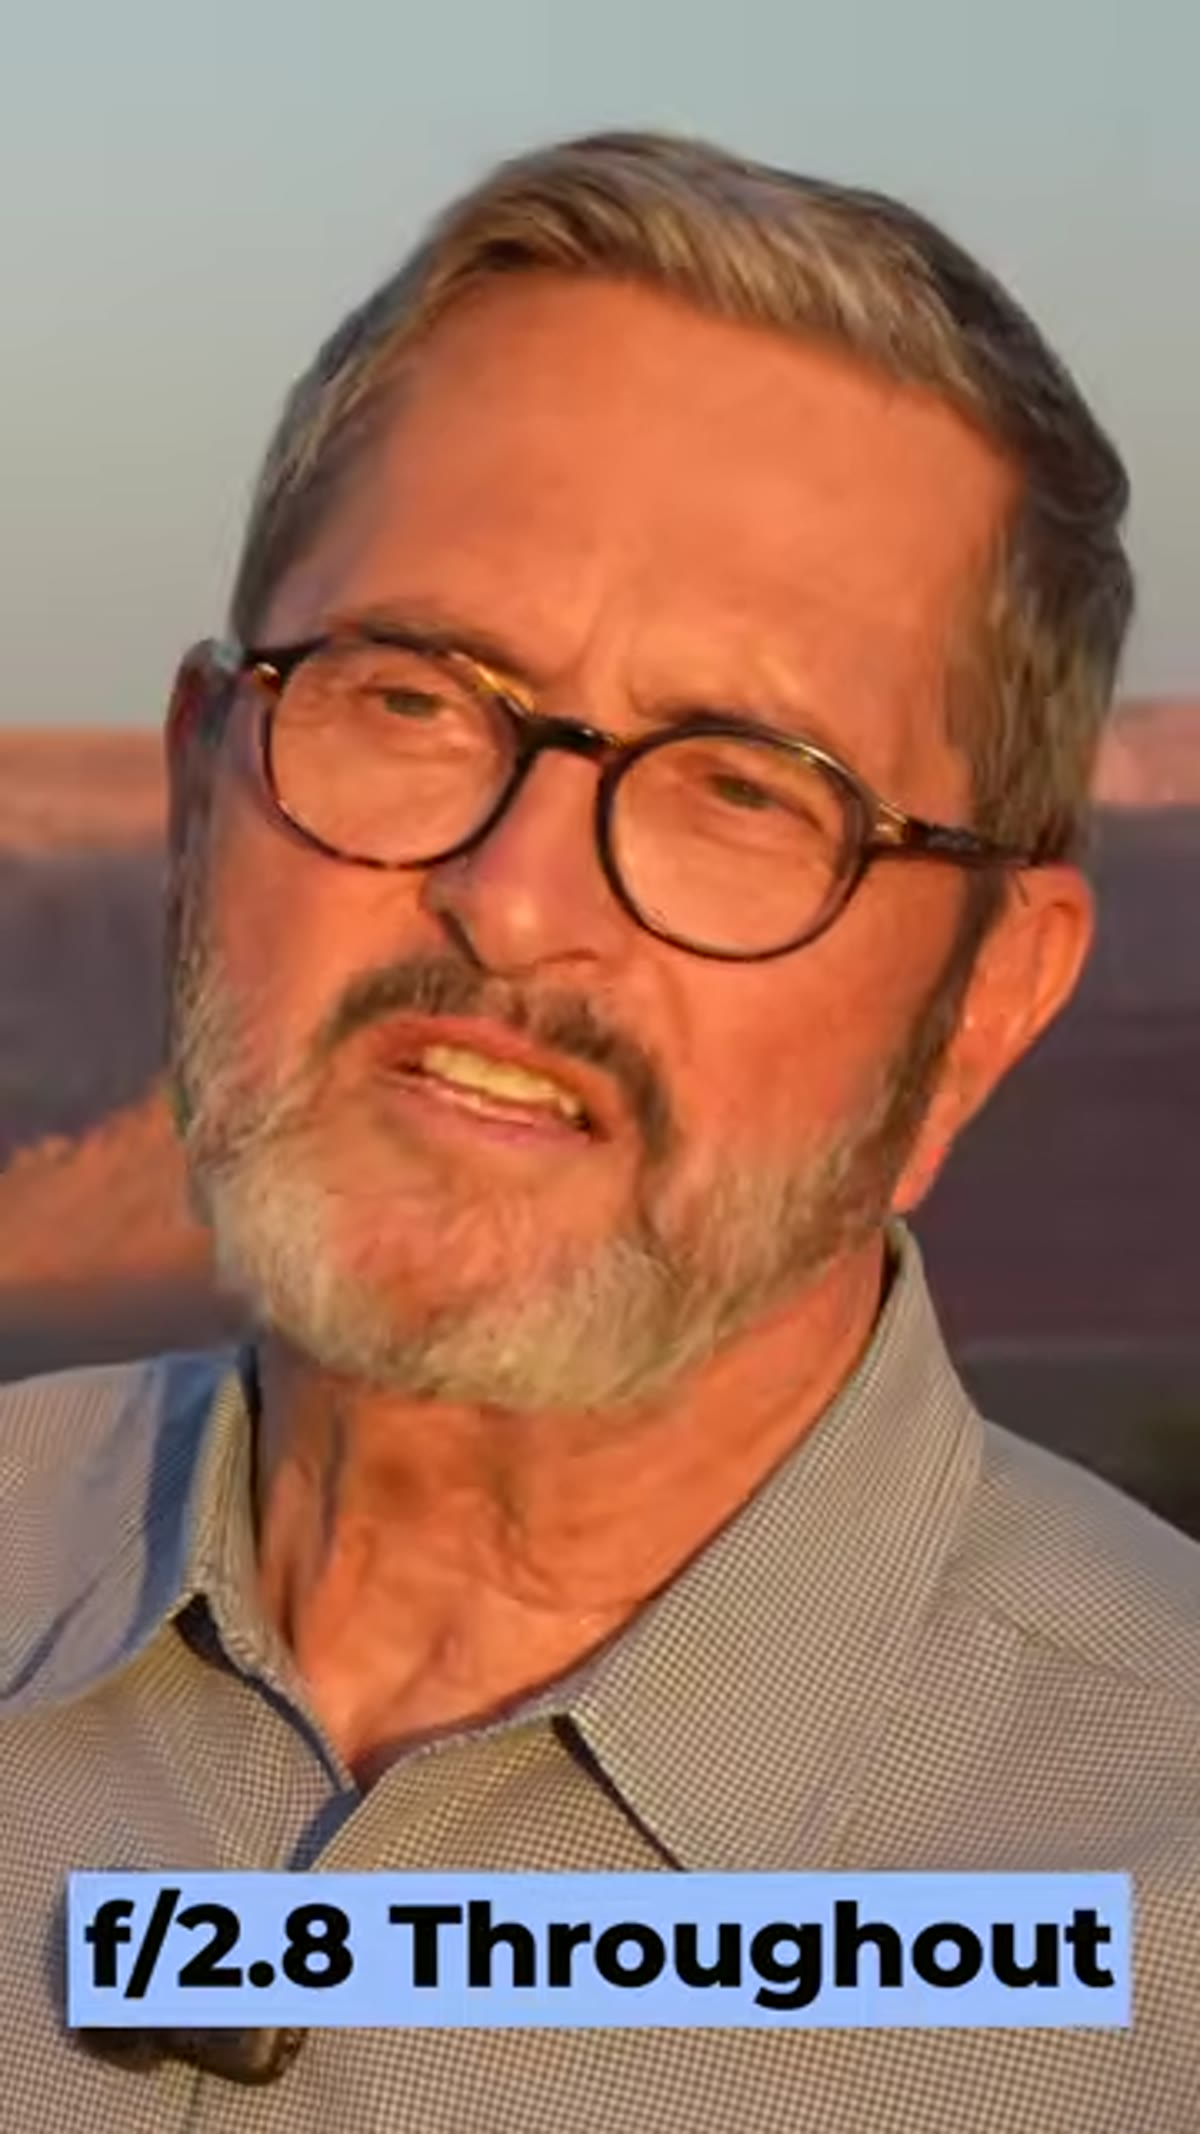 JP noting the f/2.8 aperture stays constant across the zoom range
Most kit zooms use a variable aperture, meaning as you zoom in, the maximum aperture gets smaller and your exposure shifts. With the Tamron 17-70mm, f/2.8 is available at every focal length. This matters in two ways. First, for exposure consistency: if you’re shooting video or a fast-moving event, you’re not chasing exposure changes as you zoom. Second, for low-light performance: f/2.8 isn’t f/1.8, but it’s a full stop or more better than a typical kit lens at the long end. JP describes this as what makes the lens professional-grade, and from a practical standpoint, he’s right. Constant aperture is the line between a lens that works for you and one that works against you under pressure.
JP noting the f/2.8 aperture stays constant across the zoom range
Most kit zooms use a variable aperture, meaning as you zoom in, the maximum aperture gets smaller and your exposure shifts. With the Tamron 17-70mm, f/2.8 is available at every focal length. This matters in two ways. First, for exposure consistency: if you’re shooting video or a fast-moving event, you’re not chasing exposure changes as you zoom. Second, for low-light performance: f/2.8 isn’t f/1.8, but it’s a full stop or more better than a typical kit lens at the long end. JP describes this as what makes the lens professional-grade, and from a practical standpoint, he’s right. Constant aperture is the line between a lens that works for you and one that works against you under pressure.
Step 6: Consider the Size and Weight for Travel and Video Use
 JP holding the lens next to the Canon R7 body
JP wraps the field test by emphasizing how the lens handles as a travel companion. It’s compact enough to feel balanced on a mirrorless body without a grip, and light enough that carrying it all day doesn’t become a conversation you’re having with your shoulders. For video users, the built-in VC (Vibration Compensation) adds another layer of usability. You get optical stabilization that works alongside in-body stabilization on compatible bodies, which makes handheld video significantly more usable without a gimbal. If you’re a solo content creator who needs one lens that handles everything from b-roll to talking heads to location shots, the size-to-capability ratio here is hard to argue with.
JP holding the lens next to the Canon R7 body
JP wraps the field test by emphasizing how the lens handles as a travel companion. It’s compact enough to feel balanced on a mirrorless body without a grip, and light enough that carrying it all day doesn’t become a conversation you’re having with your shoulders. For video users, the built-in VC (Vibration Compensation) adds another layer of usability. You get optical stabilization that works alongside in-body stabilization on compatible bodies, which makes handheld video significantly more usable without a gimbal. If you’re a solo content creator who needs one lens that handles everything from b-roll to talking heads to location shots, the size-to-capability ratio here is hard to argue with.
What JP’s Test Confirmed for Me (and One Thing to Know Going In)
Yosemite is a flex as a testing location, but it’s also genuinely useful for evaluating a lens because the conditions are demanding. High contrast light, fine detail in rock textures, wide open spaces, you can’t hide soft optics there. The fact that this lens performs across those conditions tells me it’s not a fair-weather lens.
One honest caveat: f/2.8 is excellent for a zoom, but if you’re coming from a fast prime, say a 35mm f/1.8 or a 50mm f/1.8, the low-light ceiling is lower. This lens is a consolidator, not a replacement for specialized glass. If 90% of your shooting is portraits in dark venues, keep your fast prime. But if you’re splitting time across multiple genres the way most working photographers actually do, the trade-off makes sense.
The single most important takeaway from JP’s tutorial is this: the Tamron 17-70mm f/2.8 earns its place by being genuinely good at multiple things, not just passable. That’s rare in the zoom market, especially at this price point. For APS-C shooters who are tired of carrying multiple lenses or frustrated by the limitations of their kit zoom, this is the upgrade that actually changes how you work.
Watch the full tutorial on YouTube to see JP’s full field test footage from Yosemite and judge the image quality for yourself.
Comments (4)
Shared this with my photography group. Everyone loved it.
Been doing this wrong for years apparently. Thanks for the wake-up call.
Applied this to my portfolio shots and the improvement is noticeable.
This is fantastic. I've been recommending this approach to my readers too.
Leave a Comment