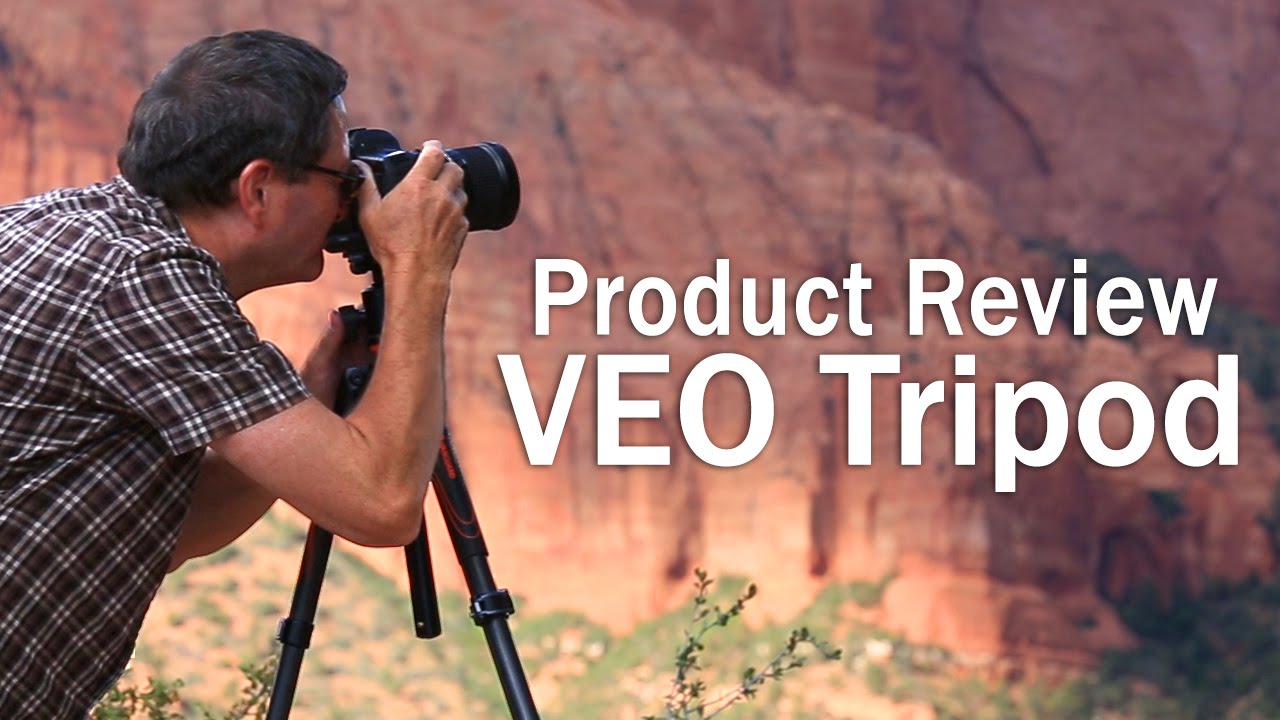
I have a problem that I suspect a lot of photographers share: I never bring a tripod when I travel because my good one is too bulky, and then I end up buying some $25 garbage stick from a drugstore or a tourist shop and wondering why my long exposures look like they were shot during an earthquake. I’ve done this more times than I’d like to admit. I’ve got a spreadsheet tracking every piece of budget gear I’ve tested, and the “emergency travel tripod” category is embarrassingly long, all of them disappointing.
So when I came across Watch the full tutorial on YouTube from The Slanted Lens walking through the Vanguard VEO 265CB, I paid close attention. Jay P. Morgan over at The Slanted Lens shoots with pro-level gear constantly, so when he calls something a genuinely great travel companion rather than just a capable-for-its-size compromise, that’s worth unpacking. Here’s what the tripod actually does, feature by feature, so you can decide if it belongs in your bag.
Step 1: Understand What “Travel Tripod” Actually Means for This Model
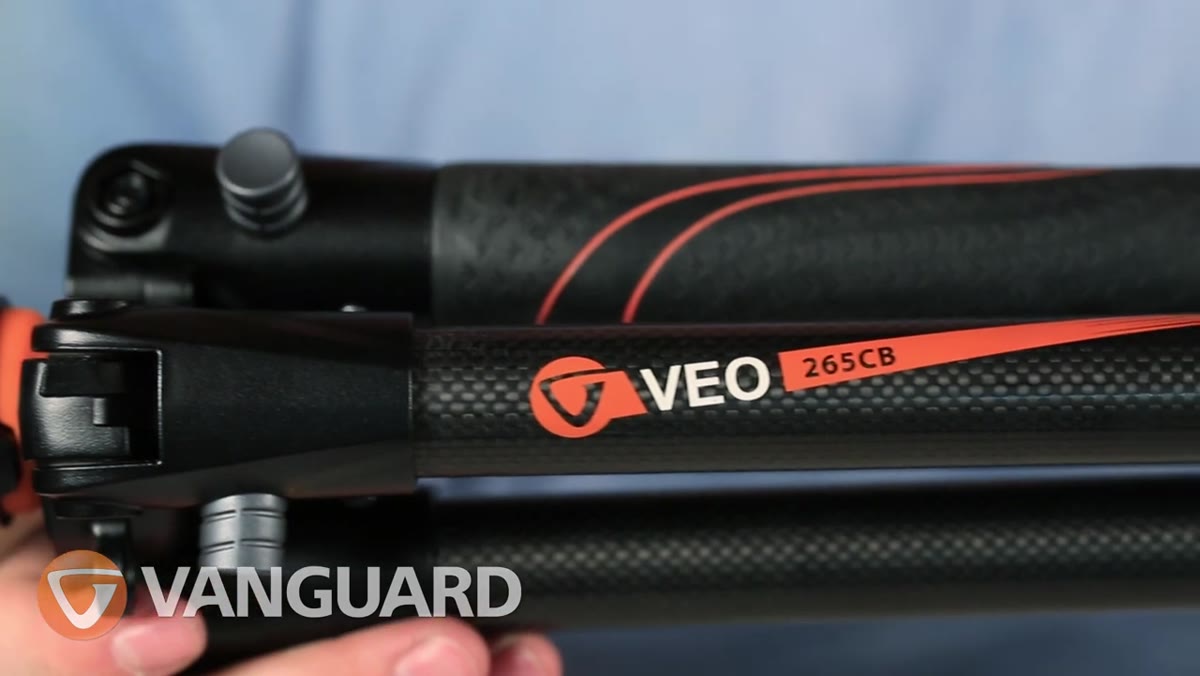 Folded tripod shown next to ruler at 15 inches
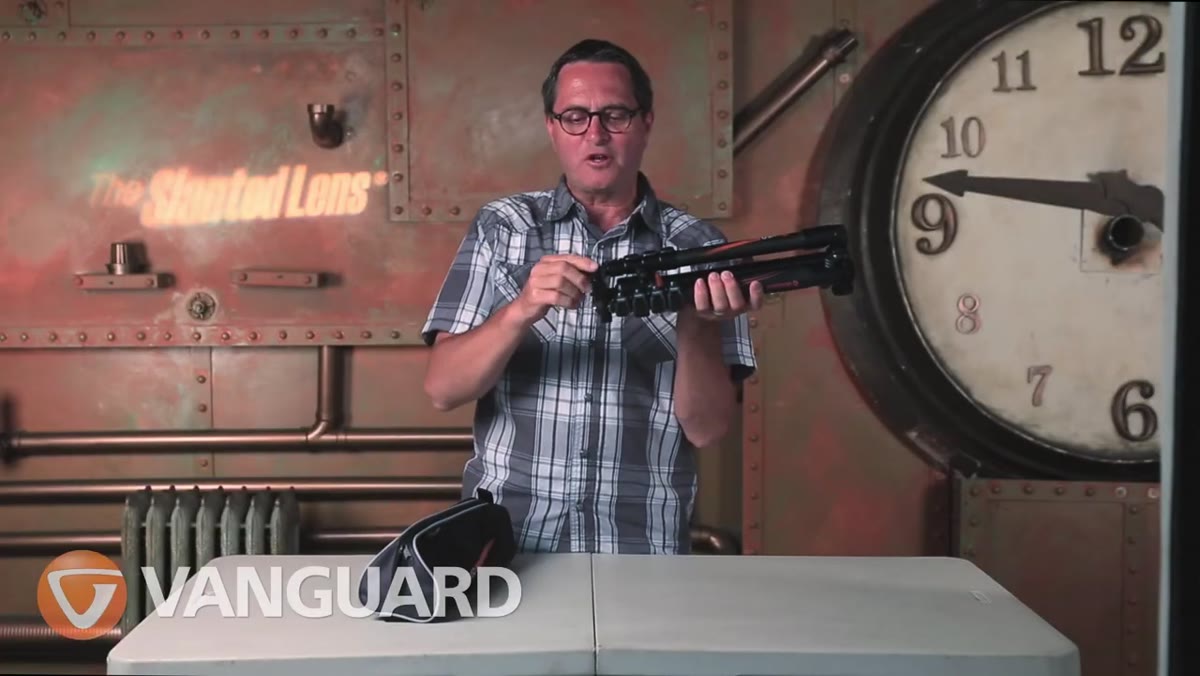
The VEO 265CB folds down to just over 15 inches. That’s not a spec you gloss over. Fifteen inches means it drops into a standard daypack without hanging out the top, fits horizontally in most carry-on luggage, and doesn’t make you look like you’re hauling construction equipment through a city. The folded height is the single most important number for a travel tripod, and this one clears the bar comfortably. If your current travel tripod is folding down to 20 or 22 inches, you’re already feeling that pain at airport security and on cramped subway cars.
Folded tripod shown next to ruler at 15 inches
The VEO 265CB folds down to just over 15 inches. That’s not a spec you gloss over. Fifteen inches means it drops into a standard daypack without hanging out the top, fits horizontally in most carry-on luggage, and doesn’t make you look like you’re hauling construction equipment through a city. The folded height is the single most important number for a travel tripod, and this one clears the bar comfortably. If your current travel tripod is folding down to 20 or 22 inches, you’re already feeling that pain at airport security and on cramped subway cars.
Step 2: Check the Weight and Material Tradeoff Before You Buy
 Carbon fiber legs shown close-up while tripod is held in one hand
The carbon fiber version of the VEO 265CB comes in just over three pounds. The aluminum version exists and costs less, but it’s heavier. This is a tradeoff you need to make consciously rather than just defaulting to whatever’s cheaper. Three pounds is light enough that most photographers won’t feel it after a few hours in a bag. Carbon fiber also absorbs vibration better than aluminum, which matters when you’re shooting with a longer lens or in breezy outdoor conditions. If weight is your primary concern, the carbon fiber version is the right call. If budget is the ceiling, the aluminum gets you the same form factor with a small weight penalty.
Carbon fiber legs shown close-up while tripod is held in one hand
The carbon fiber version of the VEO 265CB comes in just over three pounds. The aluminum version exists and costs less, but it’s heavier. This is a tradeoff you need to make consciously rather than just defaulting to whatever’s cheaper. Three pounds is light enough that most photographers won’t feel it after a few hours in a bag. Carbon fiber also absorbs vibration better than aluminum, which matters when you’re shooting with a longer lens or in breezy outdoor conditions. If weight is your primary concern, the carbon fiber version is the right call. If budget is the ceiling, the aluminum gets you the same form factor with a small weight penalty.
Step 3: Extend the Legs and Center Post for Full Working Height
 Tripod legs extending through four sections, fully deployed
The legs telescope through four sections to reach nearly 59 inches fully extended. Four sections is how Vanguard gets the compact folded length without sacrificing usable height. The tradeoff with more leg sections is that setup takes slightly more time than a two- or three-section leg, and technically more joints mean more potential flex points, but at this load capacity that’s not a practical concern for most shooters. At 59 inches, the camera sits at roughly eye level for an average-height adult, which means you’re not hunching over the viewfinder or cranking the center post to maximum extension just to frame a standard shot.
Tripod legs extending through four sections, fully deployed
The legs telescope through four sections to reach nearly 59 inches fully extended. Four sections is how Vanguard gets the compact folded length without sacrificing usable height. The tradeoff with more leg sections is that setup takes slightly more time than a two- or three-section leg, and technically more joints mean more potential flex points, but at this load capacity that’s not a practical concern for most shooters. At 59 inches, the camera sits at roughly eye level for an average-height adult, which means you’re not hunching over the viewfinder or cranking the center post to maximum extension just to frame a standard shot.
The center post itself has a specific mechanism worth knowing: you flip it up from its compact stowed position to add height when you need it, and a button releases it to drop back down and keep the profile tight when packing. It’s a small detail but it means you’re not fighting the tripod every time you pack up.
Step 4: Confirm the Load Capacity Against Your Actual Camera Setup
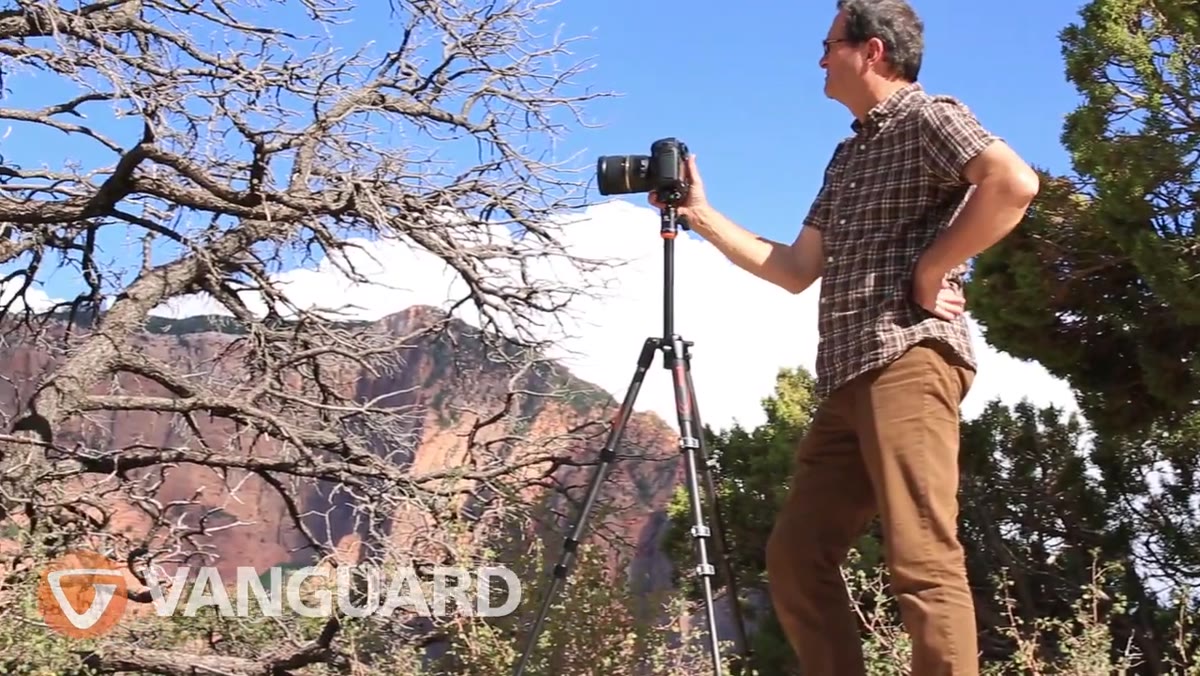 Camera with telephoto lens mounted on tripod head, fully loaded
The VEO 265CB is rated to handle around 17.5 pounds. To put that number in real terms, a Canon 5D Mark III paired with a Tamron 15-30mm f/2.8 comes in well under that limit. A body with a 70-200mm f/2.8 sits comfortably in range too. Where you’d want to pause is if you’re regularly shooting with a heavy super-telephoto on a large mirrorless body with a battery grip and an L-bracket. That combination starts pushing toward the ceiling. For most travel and street shooters, though, the load rating is more than adequate.
Camera with telephoto lens mounted on tripod head, fully loaded
The VEO 265CB is rated to handle around 17.5 pounds. To put that number in real terms, a Canon 5D Mark III paired with a Tamron 15-30mm f/2.8 comes in well under that limit. A body with a 70-200mm f/2.8 sits comfortably in range too. Where you’d want to pause is if you’re regularly shooting with a heavy super-telephoto on a large mirrorless body with a battery grip and an L-bracket. That combination starts pushing toward the ceiling. For most travel and street shooters, though, the load rating is more than adequate.
Step 5: Use the Low-Angle Feature for Ground-Level Shooting
 Camera flipped upside down between tripod legs at ground level
This is the feature that separates a thoughtfully designed travel tripod from a simple compact one. On the VEO 265CB, you can flip the center column so the camera mounts inverted between the legs, getting the lens within inches of the ground. Flower photography, urban detail shots, pets, product work on a surface, anything requiring a genuinely low perspective benefits immediately. The camera sits centered between the three legs rather than hanging off to one side, so balance is stable and you’re not fighting a tipping rig. It’s not a gimmick. It’s one of those features that sounds minor in a spec sheet and then becomes something you actually reach for in the field.
Camera flipped upside down between tripod legs at ground level
This is the feature that separates a thoughtfully designed travel tripod from a simple compact one. On the VEO 265CB, you can flip the center column so the camera mounts inverted between the legs, getting the lens within inches of the ground. Flower photography, urban detail shots, pets, product work on a surface, anything requiring a genuinely low perspective benefits immediately. The camera sits centered between the three legs rather than hanging off to one side, so balance is stable and you’re not fighting a tipping rig. It’s not a gimmick. It’s one of those features that sounds minor in a spec sheet and then becomes something you actually reach for in the field.
Step 6: Factor In the Carrying Ecosystem
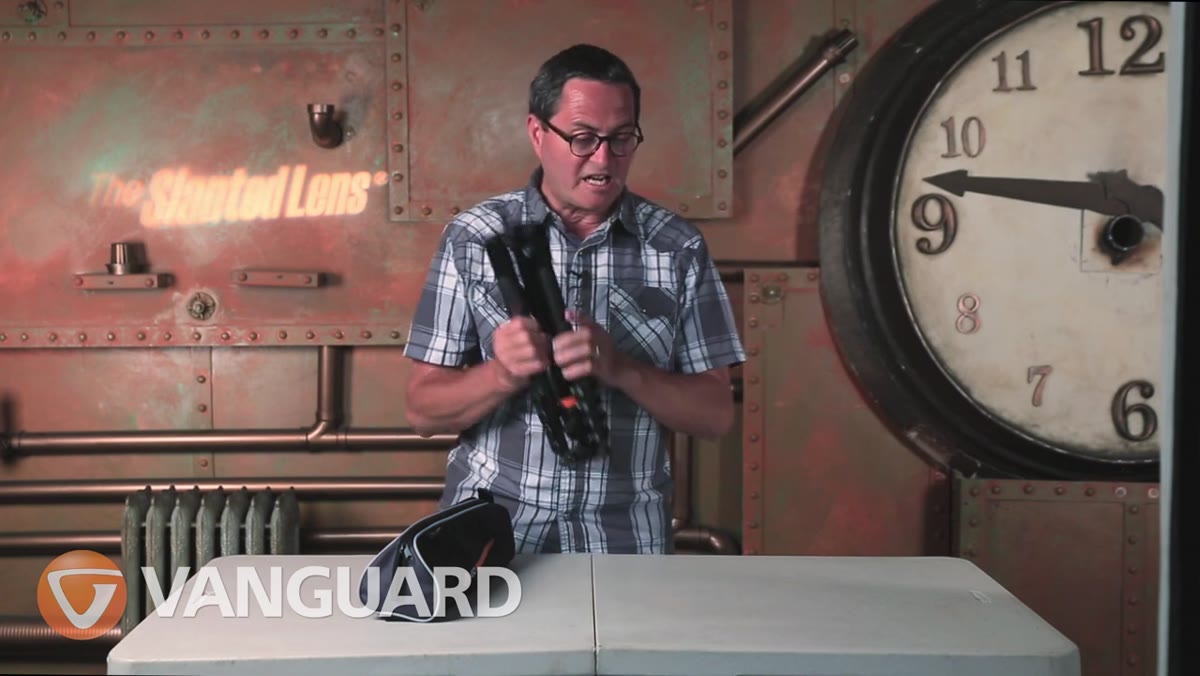 Tripod sliding into side pocket of VEO backpack
The VEO 265CB comes with a carrying pouch, but Vanguard also makes a dedicated VEO backpack and a VEO messenger bag that are designed around this tripod specifically. The backpack has a side pocket the tripod slides into with a strap to hold it secure. The messenger bag fits the tripod in the bottom with gear on top. This matters because a tripod that fits your bag without a workaround is one you’ll actually bring. It sounds simple, but matching luggage ecosystems is something most photographers ignore until they’re standing at the airport with a tripod they can’t figure out how to attach to anything.
Tripod sliding into side pocket of VEO backpack
The VEO 265CB comes with a carrying pouch, but Vanguard also makes a dedicated VEO backpack and a VEO messenger bag that are designed around this tripod specifically. The backpack has a side pocket the tripod slides into with a strap to hold it secure. The messenger bag fits the tripod in the bottom with gear on top. This matters because a tripod that fits your bag without a workaround is one you’ll actually bring. It sounds simple, but matching luggage ecosystems is something most photographers ignore until they’re standing at the airport with a tripod they can’t figure out how to attach to anything.
My Take: The Price Math Actually Works Out
I’ll be honest, carbon fiber pricing still stings when I compare it to the aluminum alternatives. But here’s the calculation that shifted my perspective. If you’ve ever landed somewhere and bought a cheap tripod just to get through a shoot, you already understand the real cost of not having the right gear with you. Cheap emergency tripods run $25 to $60, they perform badly, and you either abandon them at the hotel or haul them home for one final use before they live in a closet. A well-priced carbon fiber travel tripod that you actually bring everywhere is cheaper than two or three of those emergency purchases plus the frustration of shaky footage. That’s the value argument, and it’s a solid one.
The one thing I’d add from my own testing habits: always check whether the head is included or sold separately before you finalize a purchase. Tripod head compatibility affects your entire shooting experience, and bundled heads on travel tripods vary significantly in quality.
The single thing to take away from this review is that the best travel tripod is the one small and light enough that you stop leaving it at home. The Vanguard VEO 265CB is built around that idea from the folded length to the load capacity to the carrying system. Watch the full tutorial on YouTube to see Jay P. Morgan walk through the features hands-on, especially the center post mechanism and the low-angle setup, both of which make more sense in motion than in a spec sheet.
Comments (2)
Love how you break down complex stuff into manageable steps.
Love this. I referenced a similar technique in one of my recent posts. Always good to see other perspectives.
Leave a Comment