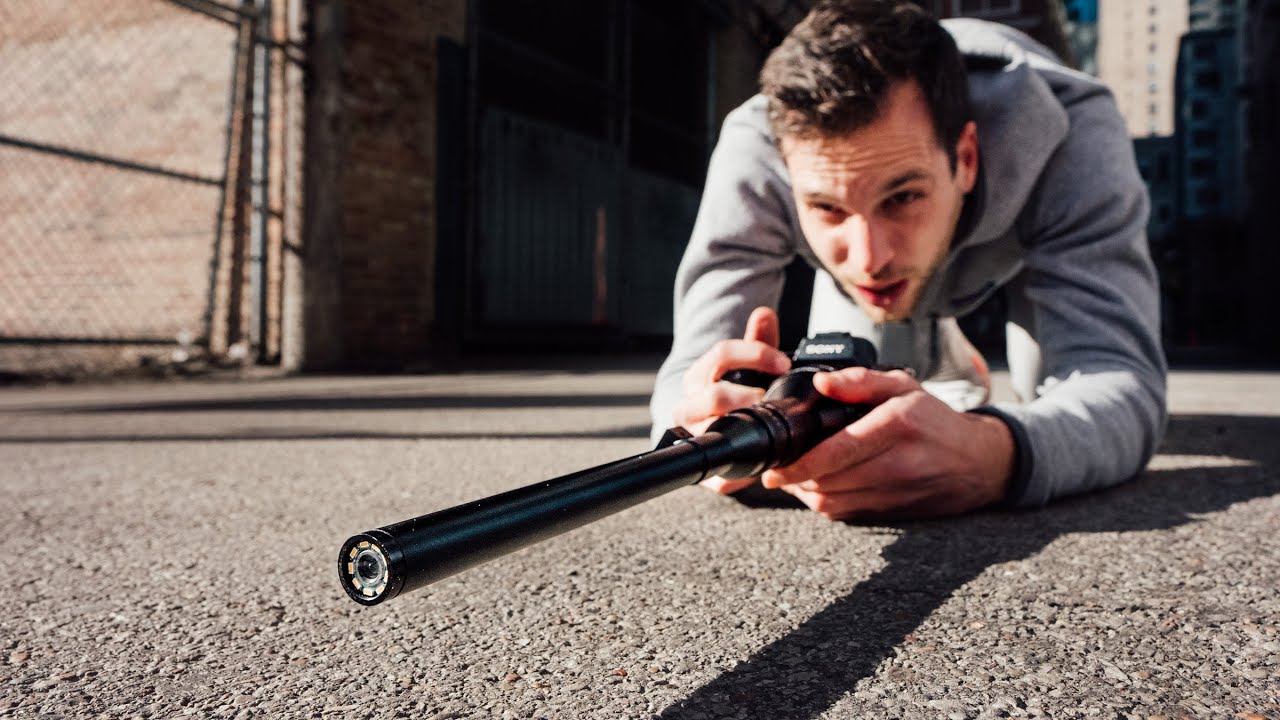
I spend more time than I should admit reading about obscure lenses. It started as deal-hunting, cross-referencing prices on a spreadsheet I’ve kept since my first camera, but it eventually turned into a genuine obsession with unusual optics. So when I came across this Pierre T. Lambert tutorial where he pulls out what he calls a “pro blend” lens designed for extreme close-up product work and then takes it into the street for portraits and food photography, I had to stop everything and watch it three times.
Watch the full tutorial on YouTube
The reason this matters practically: a lot of photographers, myself included, treat macro or close-up lenses as single-purpose tools. You pull them out for product shots, then they go back in the bag. What Lambert does here is reframe the whole question. What happens when you force a lens designed to work at inches instead of feet into situations it was never meant for? The answer turns out to be genuinely useful for anyone trying to create images that feel different without buying a whole new kit.
Step 1: Understand What You’re Actually Working With
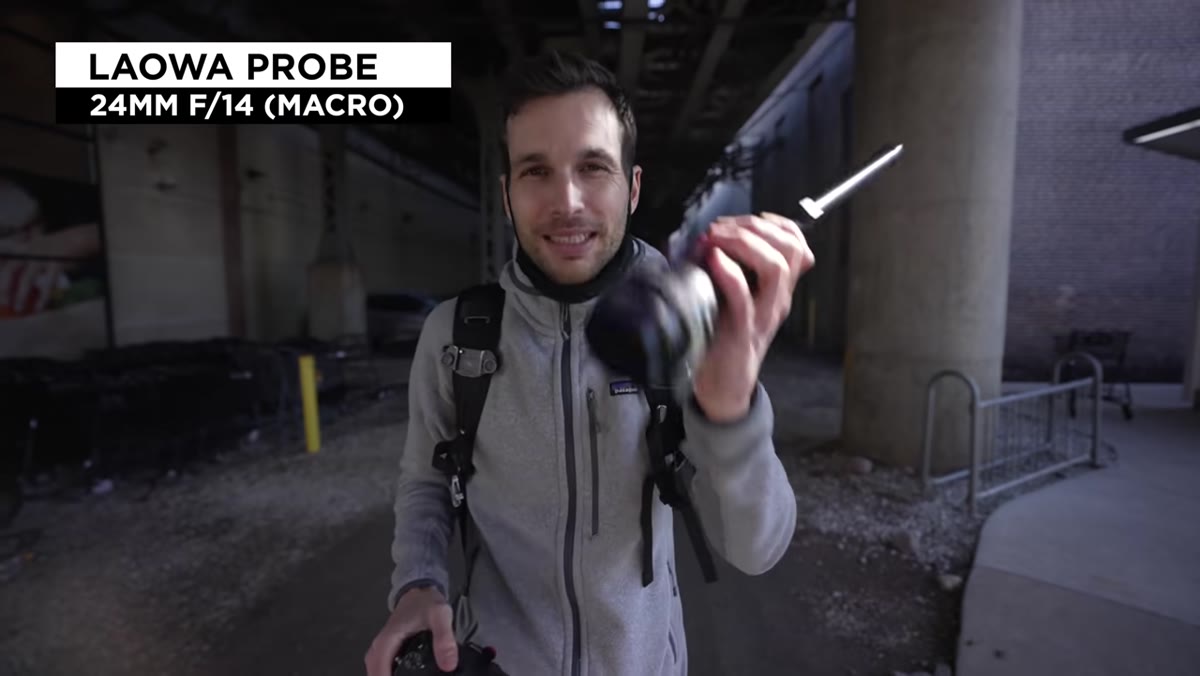 Pierre holding the unusual elongated pro blend lens
This is not a standard lens. The pro blend lens Lambert uses here is a 24mm optic built specifically for shooting products at very close distances, think a few inches from the front element. It mounts via Canon EF, so Lambert is running it on his Sony body through an adapter. Before you pick up anything similar at a gear swap or online listing, know what you’re committing to: no autofocus, aperture ranges from roughly f/14 to f/40, and physically it looks like something designed for a different era of commercial photography. That narrow aperture range is the critical detail. You are not shooting this indoors. Plan for bright midday sun or you will fight your camera’s ISO ceiling the entire session.
Pierre holding the unusual elongated pro blend lens
This is not a standard lens. The pro blend lens Lambert uses here is a 24mm optic built specifically for shooting products at very close distances, think a few inches from the front element. It mounts via Canon EF, so Lambert is running it on his Sony body through an adapter. Before you pick up anything similar at a gear swap or online listing, know what you’re committing to: no autofocus, aperture ranges from roughly f/14 to f/40, and physically it looks like something designed for a different era of commercial photography. That narrow aperture range is the critical detail. You are not shooting this indoors. Plan for bright midday sun or you will fight your camera’s ISO ceiling the entire session.
Step 2: Set Your Camera Up for Full Manual Operation
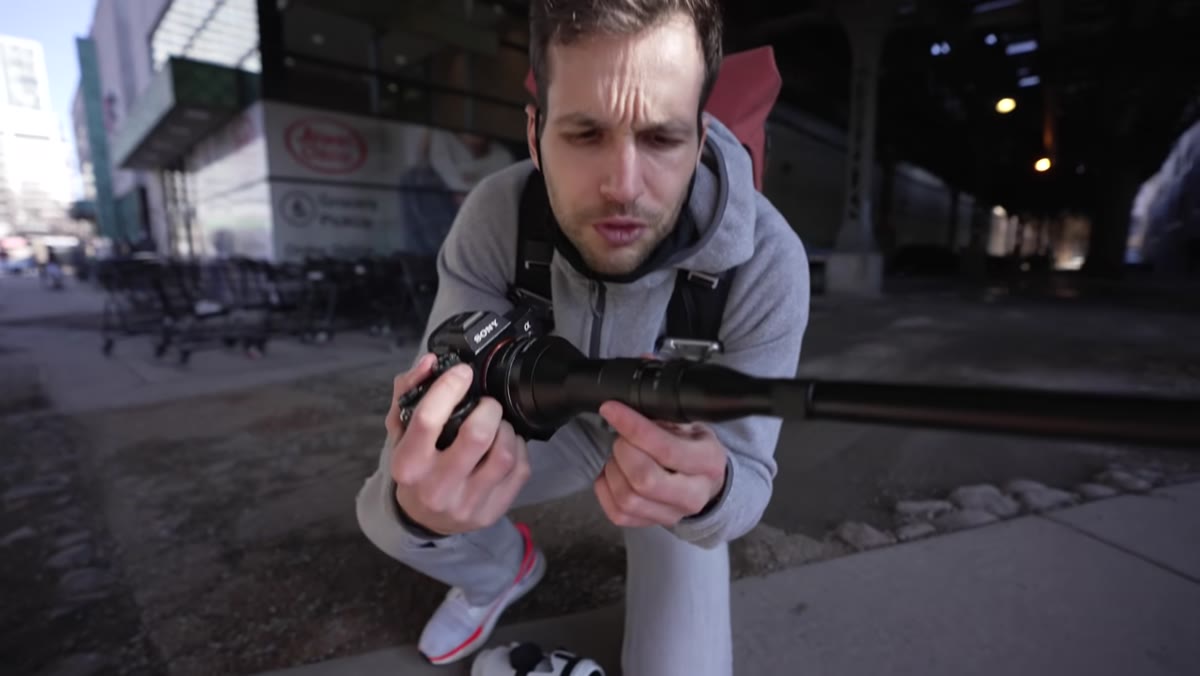 Pierre adjusting aperture ring on the lens barrel
Because the lens has no electronic communication with the body, everything is manual. Lambert sets his aperture directly on the lens barrel, choosing between f/14 on the open end and f/40 at maximum. Focus is also manual, adjusted by physically rotating the focus ring while watching the image through your viewfinder or live view. Before heading out, dial your camera into manual exposure mode, set a shutter speed fast enough to handle movement (Lambert is shooting street, so 1/500 or faster is smart), and let ISO float if your body has auto-ISO with a ceiling. You will not have time to adjust exposure between shots when someone’s hand is moving through the frame.
Pierre adjusting aperture ring on the lens barrel
Because the lens has no electronic communication with the body, everything is manual. Lambert sets his aperture directly on the lens barrel, choosing between f/14 on the open end and f/40 at maximum. Focus is also manual, adjusted by physically rotating the focus ring while watching the image through your viewfinder or live view. Before heading out, dial your camera into manual exposure mode, set a shutter speed fast enough to handle movement (Lambert is shooting street, so 1/500 or faster is smart), and let ISO float if your body has auto-ISO with a ceiling. You will not have time to adjust exposure between shots when someone’s hand is moving through the frame.
Step 3: Start With Street Shooting to Calibrate Your Eye
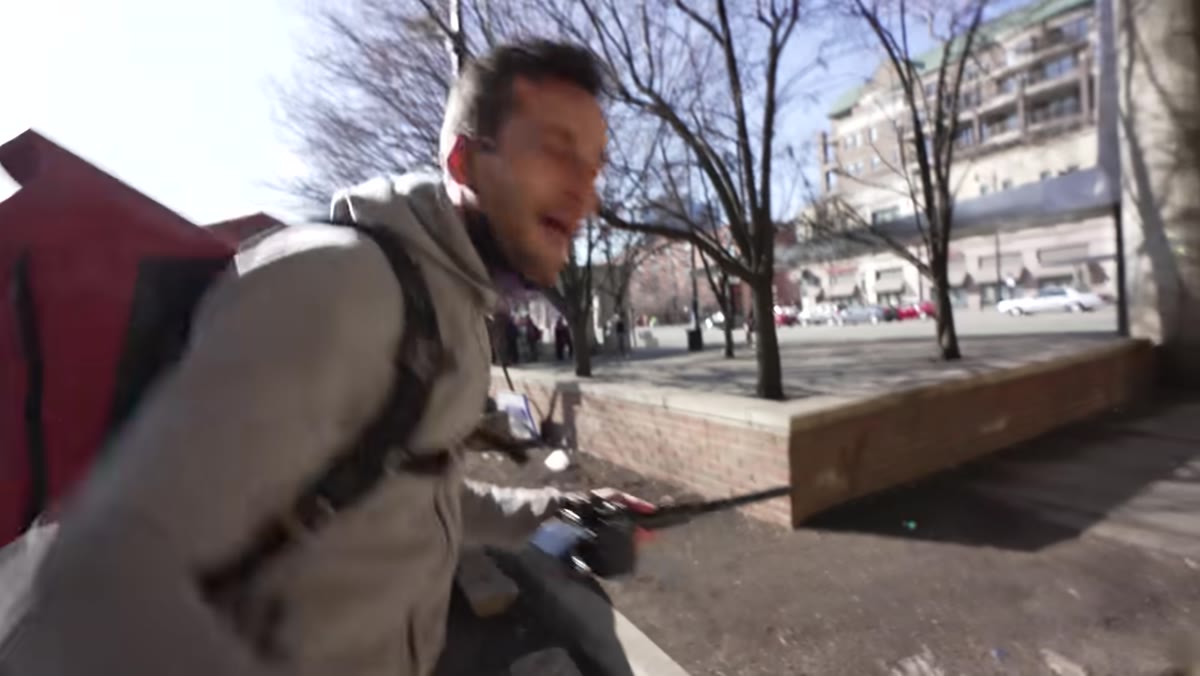 Pierre shooting street scenes through the unusual lens perspective
Lambert’s first real-world test is street photography, and it’s the right call for a calibration exercise. The compressed, magnified perspective of a close-focus lens on a wider focal length creates a visual effect that’s hard to describe until you see it in your own viewfinder. Objects at the minimum focus distance are sharp while the background scrambles into something almost abstract. Walk a block and shoot anything that catches you, road markings, storefronts, people at distance. You’re not chasing keepers yet, you’re learning how the lens sees. Pay attention to how far you actually need to be from your subject to pull focus cleanly. With a lens like this, that distance is often much shorter than feels natural.
Pierre shooting street scenes through the unusual lens perspective
Lambert’s first real-world test is street photography, and it’s the right call for a calibration exercise. The compressed, magnified perspective of a close-focus lens on a wider focal length creates a visual effect that’s hard to describe until you see it in your own viewfinder. Objects at the minimum focus distance are sharp while the background scrambles into something almost abstract. Walk a block and shoot anything that catches you, road markings, storefronts, people at distance. You’re not chasing keepers yet, you’re learning how the lens sees. Pay attention to how far you actually need to be from your subject to pull focus cleanly. With a lens like this, that distance is often much shorter than feels natural.
Step 4: Use a Physical Frame Within the Shot
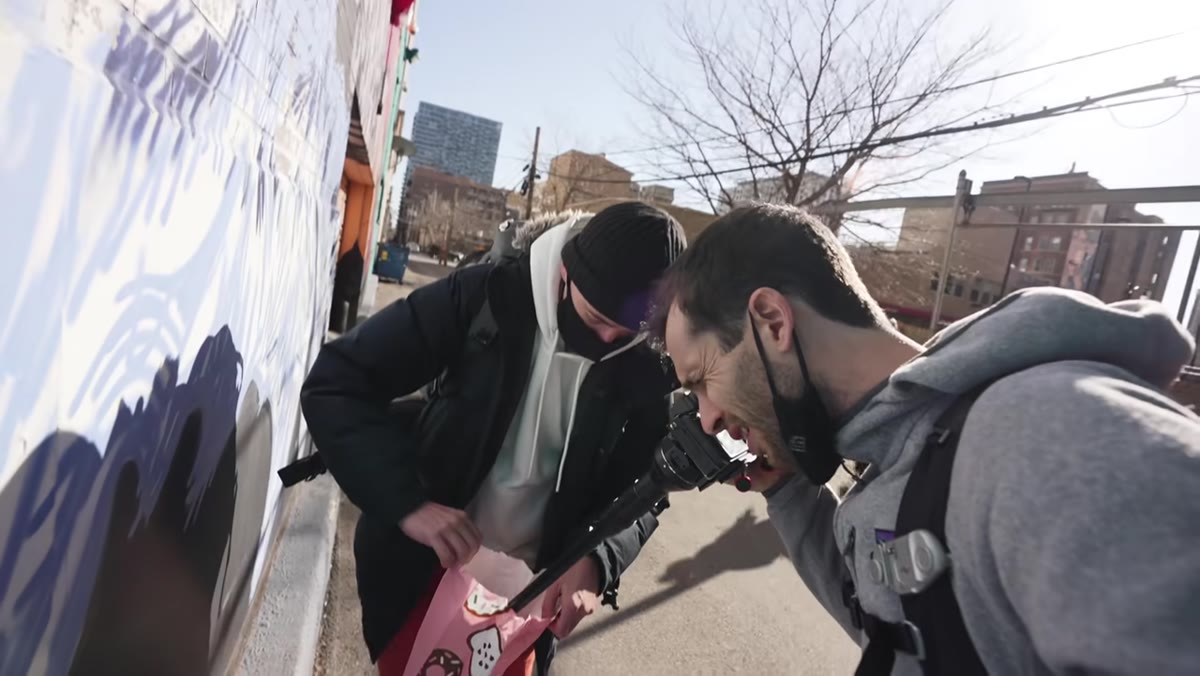 Joey holding a donut while Pierre shoots through the donut hole
This is the section that shifted how I think about foreground elements. Lambert uses a donut as a literal frame, shooting through the hole while his subject’s hand or eye sits just beyond it. The technique sounds like a gimmick but the resulting image geometry is striking. The tight focus distance means the donut in the foreground renders as a soft circular border while the subject behind it snaps into detail. To replicate this, find any circular or framed object, a mug, a ring, a bent wire, and hold it within a few inches of the front element. Then position your subject just beyond the object and manually rack focus until they’re sharp. The foreground element will blur naturally due to the lens’s behavior at close range.
Joey holding a donut while Pierre shoots through the donut hole
This is the section that shifted how I think about foreground elements. Lambert uses a donut as a literal frame, shooting through the hole while his subject’s hand or eye sits just beyond it. The technique sounds like a gimmick but the resulting image geometry is striking. The tight focus distance means the donut in the foreground renders as a soft circular border while the subject behind it snaps into detail. To replicate this, find any circular or framed object, a mug, a ring, a bent wire, and hold it within a few inches of the front element. Then position your subject just beyond the object and manually rack focus until they’re sharp. The foreground element will blur naturally due to the lens’s behavior at close range.
Step 5: Shoot Through the Frame at an Eye or Face
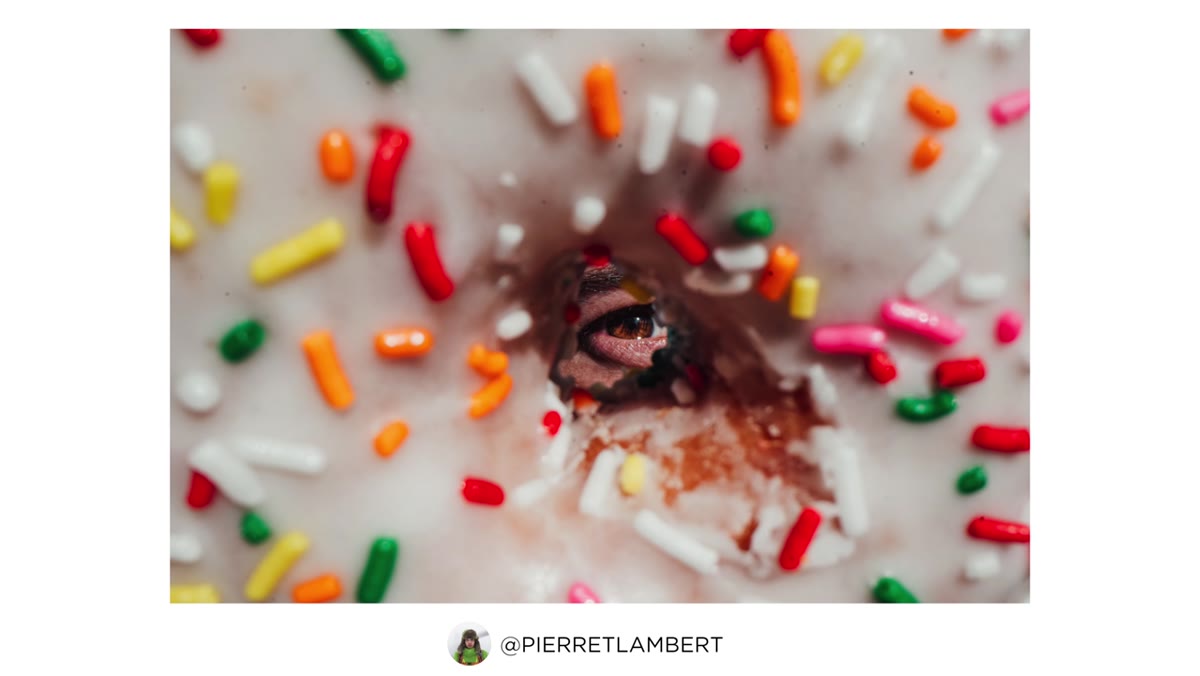 Pierre positioning the donut in front of Joey’s eye for close portrait
Lambert pushes the technique further by shooting through the donut hole to isolate his subject’s eye. This requires coordination. You need someone patient because you are poking a heavy lens very close to their face while manually adjusting focus. The practical approach: stabilize your elbows against your body, have your subject hold the frame object themselves so they control the distance, and use live view if your camera allows it for more precise focus confirmation. The keeper rate will be low. Lambert acknowledges this directly, the combination of manual focus and physical movement means you’re working fast and culling hard later.
Pierre positioning the donut in front of Joey’s eye for close portrait
Lambert pushes the technique further by shooting through the donut hole to isolate his subject’s eye. This requires coordination. You need someone patient because you are poking a heavy lens very close to their face while manually adjusting focus. The practical approach: stabilize your elbows against your body, have your subject hold the frame object themselves so they control the distance, and use live view if your camera allows it for more precise focus confirmation. The keeper rate will be low. Lambert acknowledges this directly, the combination of manual focus and physical movement means you’re working fast and culling hard later.
Step 6: Move to High-Contrast Backgrounds for Cleaner Results
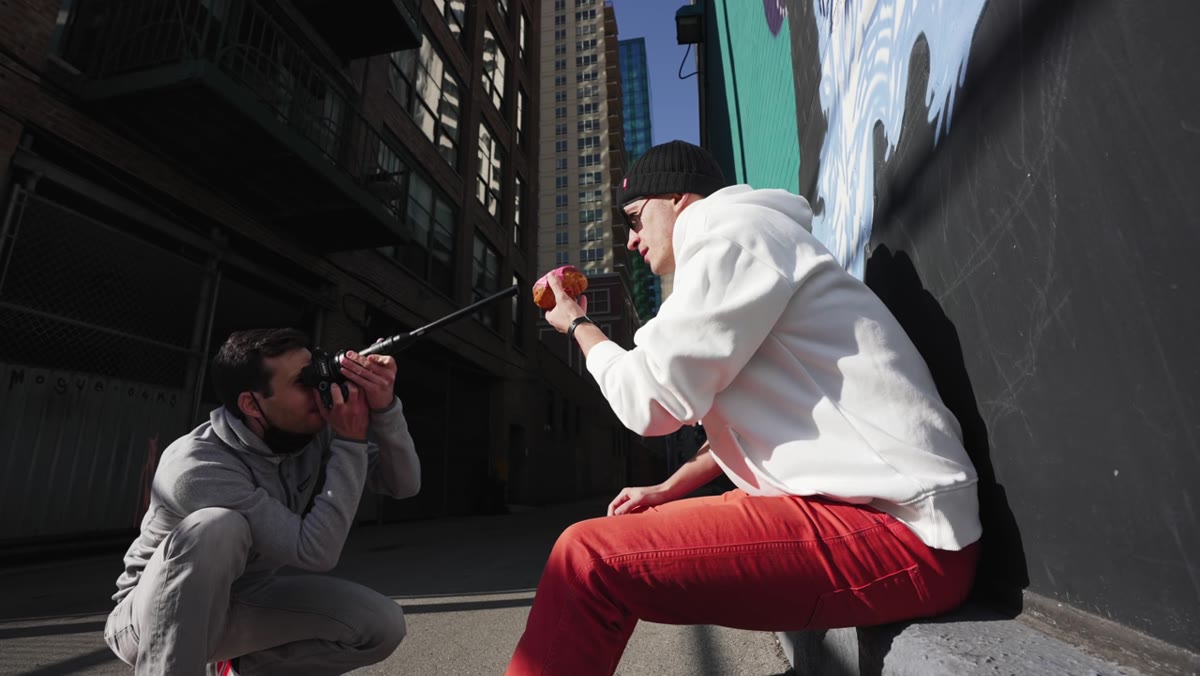 Pierre shooting subject against open sky or bright background
Near the end of the session, Lambert gravitates toward backgrounds with strong tonal separation, open sky, light pavement, bright storefronts. This is deliberate. When your aperture is stuck at f/14 to f/40 and your focus plane is razor thin, a busy background at those apertures can still hold enough detail to compete with your subject visually. A bright, simple background gives the image somewhere to breathe. If you’re adapting this technique with any close-focus or macro-style optic, scout your location for backgrounds before you think about your subject. The lens will handle the foreground. You need to manage everything behind it.
Pierre shooting subject against open sky or bright background
Near the end of the session, Lambert gravitates toward backgrounds with strong tonal separation, open sky, light pavement, bright storefronts. This is deliberate. When your aperture is stuck at f/14 to f/40 and your focus plane is razor thin, a busy background at those apertures can still hold enough detail to compete with your subject visually. A bright, simple background gives the image somewhere to breathe. If you’re adapting this technique with any close-focus or macro-style optic, scout your location for backgrounds before you think about your subject. The lens will handle the foreground. You need to manage everything behind it.
What I’d Do Differently With a Budget Version
I don’t own this specific lens and honestly it’s a niche buy for most shooters. But the technique Lambert demonstrates maps cleanly onto cheap extension tubes, which you can find for under $20 and which turn almost any standard lens into a close-focus optic. I’ve tested a few with my 50mm f/1.8 and the behavior is similar enough to practice everything Lambert shows here, shooting through physical frames, working with manual focus at close distances, using foreground objects to create depth. You lose the specific character of the pro blend lens, but you can develop the eye for this style of shooting before committing to any dedicated gear. That’s usually how I’d approach it: prove the concept cheap, then invest if it sticks.
The single most valuable thing Lambert demonstrates here is that constraint is a creative tool. A lens with no autofocus, narrow aperture options, and a focus distance measured in inches sounds like a liability. He turns every one of those limitations into a reason to get closer, slow down, and think harder about what’s actually in the frame. That’s a habit that transfers to any camera, any lens, any budget.
Watch the full tutorial on YouTube
Comments (3)
This is going in my reference folder. Incredibly useful.
Finally someone explains this in a way that actually makes sense.
Love this. I referenced a similar technique in one of my recent posts. Always good to see other perspectives.
Leave a Comment