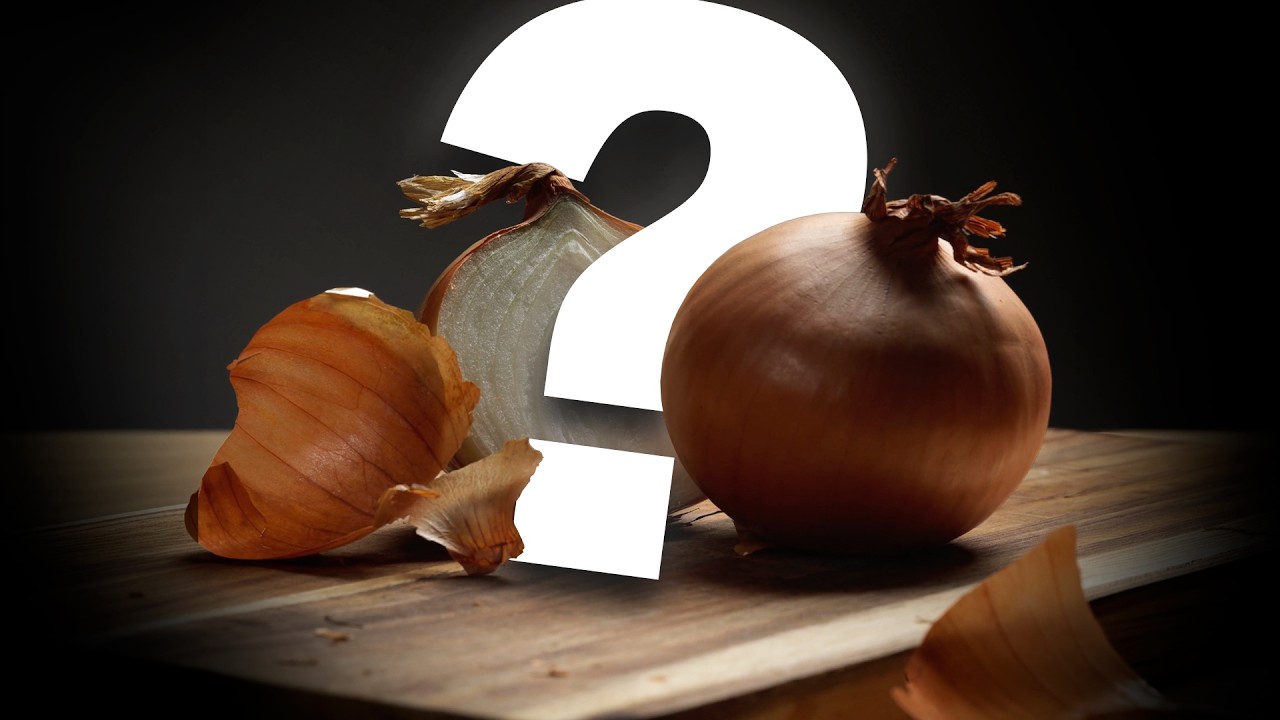
I’ve bought a lot of gear I didn’t need. Five tripods under $50, testing each one to death. A drawer full of adapters. More filters than I’ve used in a year. And for a long time, I assumed my lighting work was mediocre because I hadn’t bought the right softbox yet. That was the wrong assumption, and it cost me more money than I’d like to admit before I figured it out.
In this Visual Education tutorial, Watch the full tutorial on YouTube, the instructor runs a community challenge with a deliberately tight constraint: stay in your kitchen, use what you already have, and follow the physics. The subject? A couple of onions and a chopping board. The lesson buried inside that setup is one of the most useful things I’ve seen explained on camera. Once you understand what’s actually controlling the quality of light, you stop shopping to solve creative problems.
This is a step-by-step breakdown of what’s being taught, rewritten so you can follow it without pausing the video every thirty seconds.
Step 1: Set Up the Simplest Possible Subject
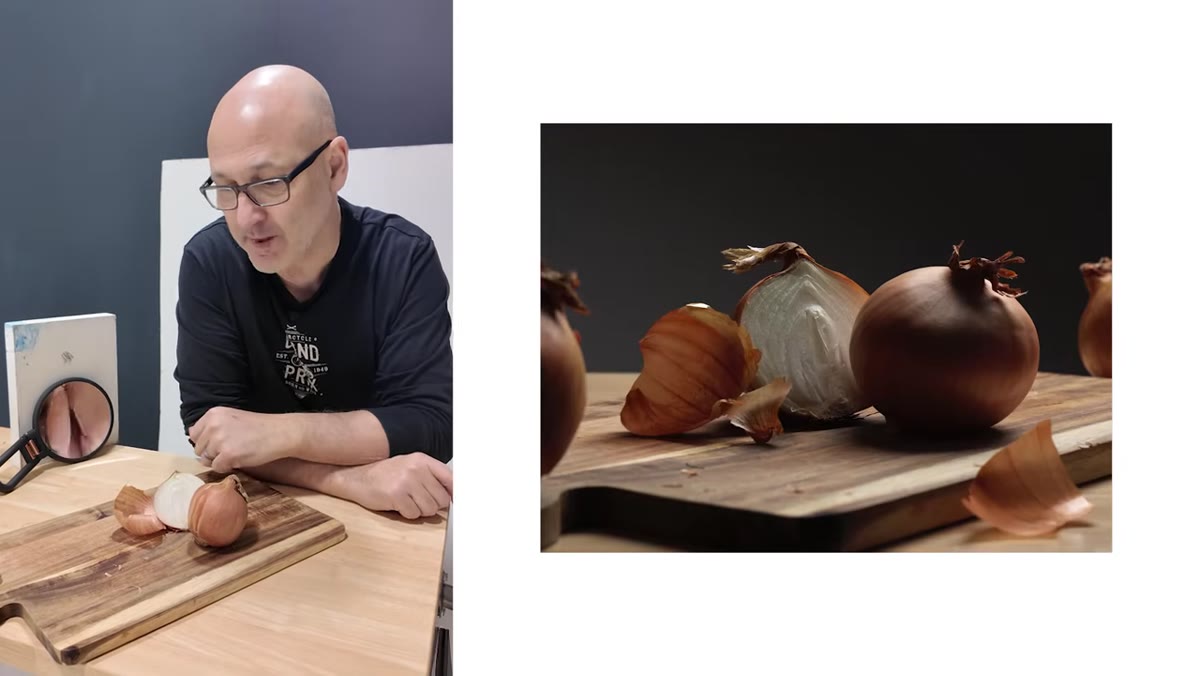 Two onions on a chopping board against a white wall
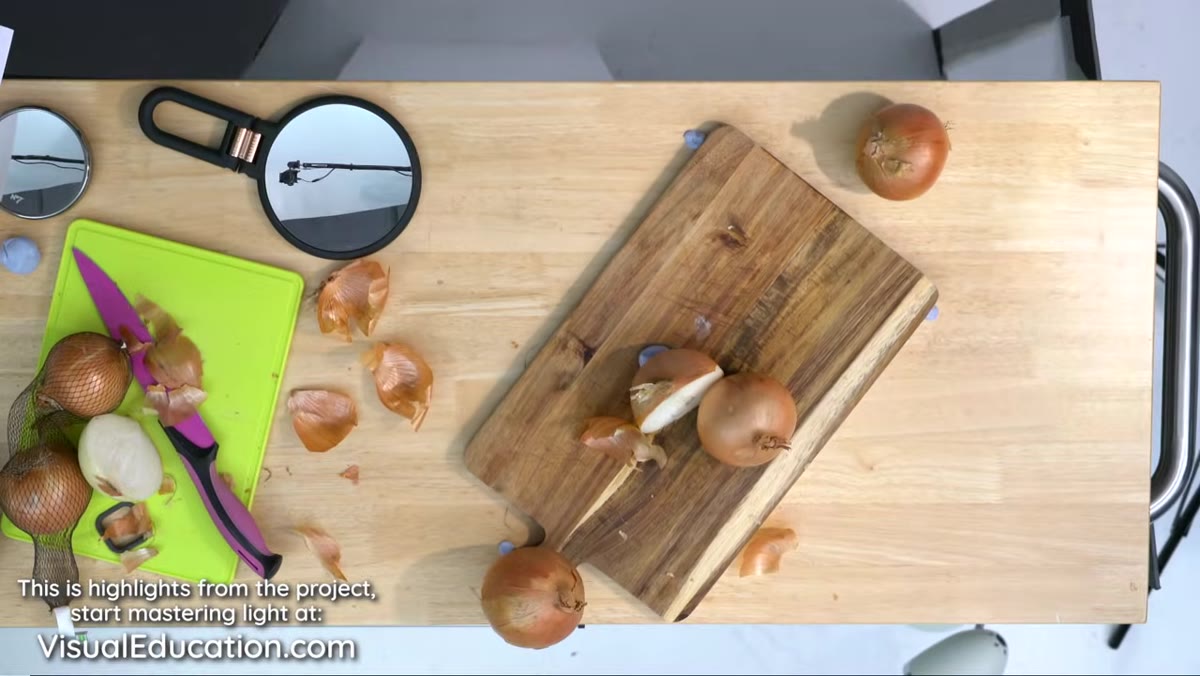
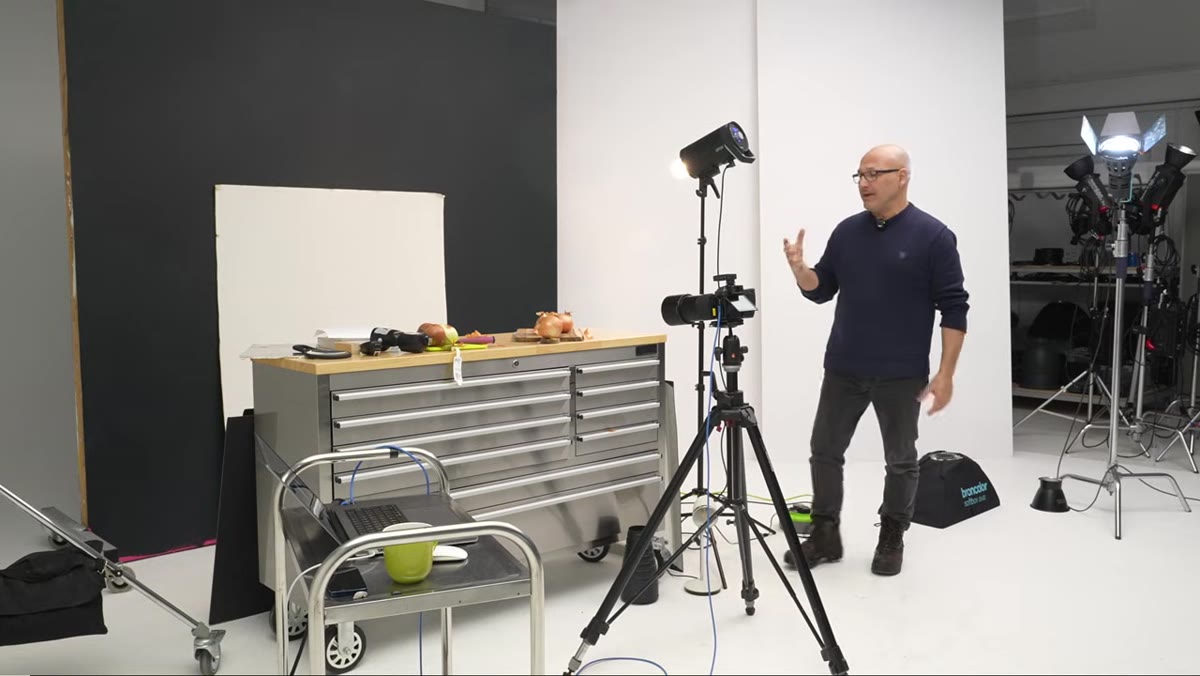
Don’t overthink the subject. The whole point of using onions, or any simple household object, is that they have visible texture, natural color variation, and enough three-dimensional form to show you exactly what light is doing. Place your object on a table against a plain white wall. You want a controlled, distraction-free scene so the lighting changes are the only variable you’re watching. If you swap the onions for a mug or an apple, the lesson still works. The object is just a canvas.
Two onions on a chopping board against a white wall
Don’t overthink the subject. The whole point of using onions, or any simple household object, is that they have visible texture, natural color variation, and enough three-dimensional form to show you exactly what light is doing. Place your object on a table against a plain white wall. You want a controlled, distraction-free scene so the lighting changes are the only variable you’re watching. If you swap the onions for a mug or an apple, the lesson still works. The object is just a canvas.
Step 2: Start with a Single Hard Light Source
 Desk lamp positioned close to subject, casting long shadows
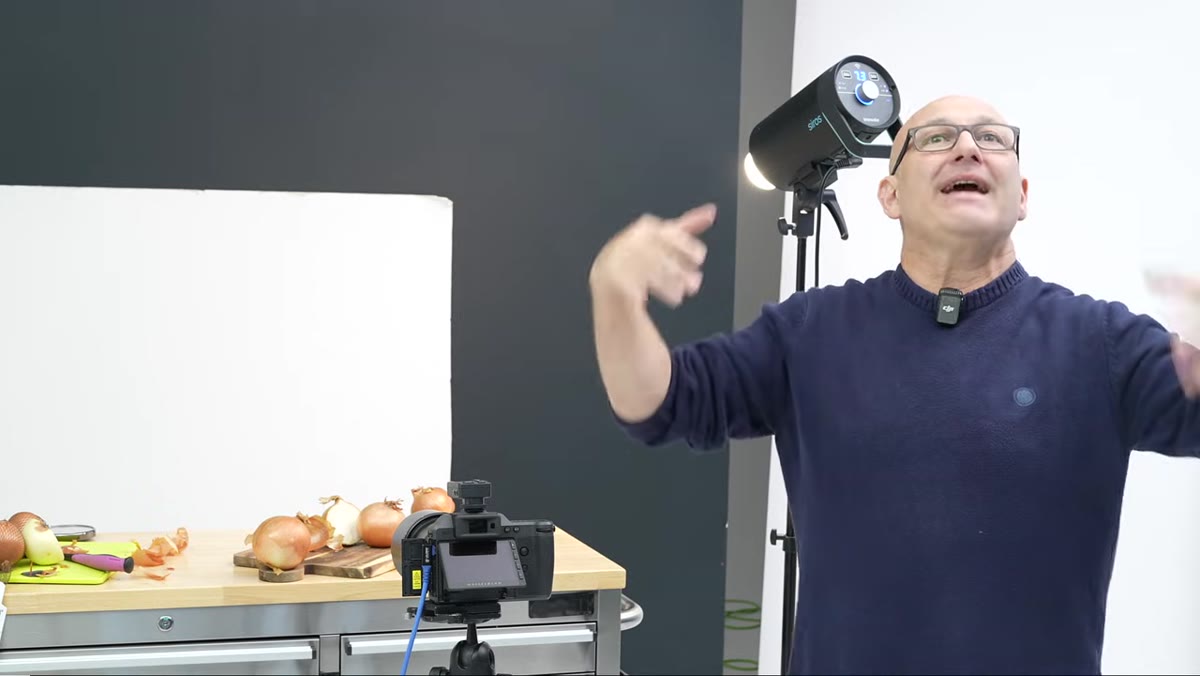
Position one light source close to your subject and off to one side. The instructor uses a desk lamp here to prove the point isn’t about equipment. A speedlight, a monoblock, a phone flashlight, it doesn’t matter yet. What you’re observing is shadow behavior. When a small light source is close, the shadows are defined and directional. Move that same light source further away and the shadows get longer and harder. This is the first physics principle worth burning into memory: distance changes shadow length, not just brightness.
Desk lamp positioned close to subject, casting long shadows
Position one light source close to your subject and off to one side. The instructor uses a desk lamp here to prove the point isn’t about equipment. A speedlight, a monoblock, a phone flashlight, it doesn’t matter yet. What you’re observing is shadow behavior. When a small light source is close, the shadows are defined and directional. Move that same light source further away and the shadows get longer and harder. This is the first physics principle worth burning into memory: distance changes shadow length, not just brightness.
Step 3: Learn Shadow Density Before You Touch Any Modifier
 Hard light showing deep shadow contrast on onion surface
Shadow density is the term used to describe how quickly the lit side of a subject transitions into shadow. Hard light produces dense, abrupt shadows. You can see this clearly on something textured, like an onion skin, where every ridge and layer gets its own shadow edge. The instructor points out that this quality of light is entirely about the apparent size of the light source relative to the subject, not about whether you’ve attached a modifier. Understanding shadow density is what lets you make intentional decisions instead of guessing.
Hard light showing deep shadow contrast on onion surface
Shadow density is the term used to describe how quickly the lit side of a subject transitions into shadow. Hard light produces dense, abrupt shadows. You can see this clearly on something textured, like an onion skin, where every ridge and layer gets its own shadow edge. The instructor points out that this quality of light is entirely about the apparent size of the light source relative to the subject, not about whether you’ve attached a modifier. Understanding shadow density is what lets you make intentional decisions instead of guessing.
Step 4: Understand Why Diffusion Alone Doesn’t Soften Light
 Diffusion paper placed over desk lamp, light quality unchanged
Here’s the part that trips up a lot of photographers. The instructor demonstrates that simply placing diffusion material over a small light source doesn’t meaningfully soften the light. The light hitting the onion is still coming from a small area, so the shadows stay hard. This is where the common advice to “just add a diffuser” falls apart. Diffusion material scatters light, but if the diffused surface is still small relative to your subject, the quality doesn’t change much. You’ve just made your light slightly less bright.
Diffusion paper placed over desk lamp, light quality unchanged
Here’s the part that trips up a lot of photographers. The instructor demonstrates that simply placing diffusion material over a small light source doesn’t meaningfully soften the light. The light hitting the onion is still coming from a small area, so the shadows stay hard. This is where the common advice to “just add a diffuser” falls apart. Diffusion material scatters light, but if the diffused surface is still small relative to your subject, the quality doesn’t change much. You’ve just made your light slightly less bright.
Step 5: Make the Light Source Bigger to Actually Soften the Light
 Softbox moved close to subject, shadow edges becoming gradual
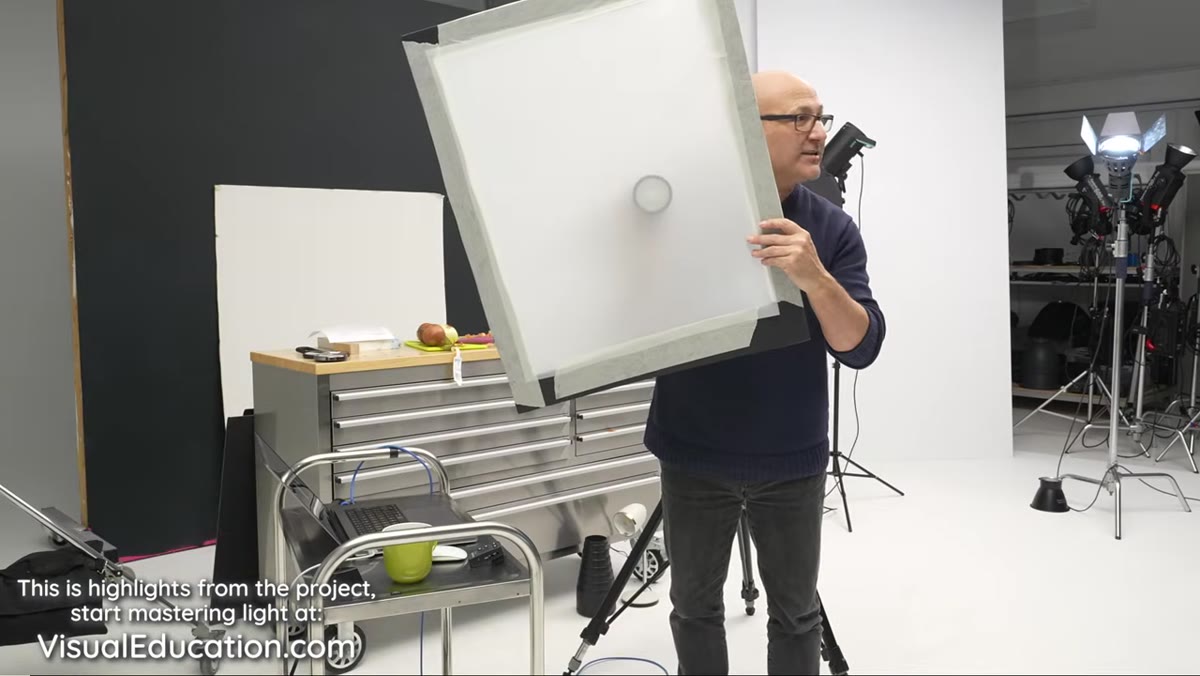
Soft light comes from one thing: a large light source relative to the subject. The instructor shows this by moving a softbox close to the onions. The shadows become gradual, the transitions smooth, and the texture on the onion skin nearly disappears under the wrap-around illumination. You can replicate this with a desk lamp by bouncing it off a white wall or ceiling, which turns the entire surface into the light source. The size of the emitting surface, not the price tag on your modifier, is what creates soft light.
Softbox moved close to subject, shadow edges becoming gradual
Soft light comes from one thing: a large light source relative to the subject. The instructor shows this by moving a softbox close to the onions. The shadows become gradual, the transitions smooth, and the texture on the onion skin nearly disappears under the wrap-around illumination. You can replicate this with a desk lamp by bouncing it off a white wall or ceiling, which turns the entire surface into the light source. The size of the emitting surface, not the price tag on your modifier, is what creates soft light.
Step 6: Change Light Position to Control Texture and Mood
 Softbox repositioned to side and rear, revealing texture dramatically
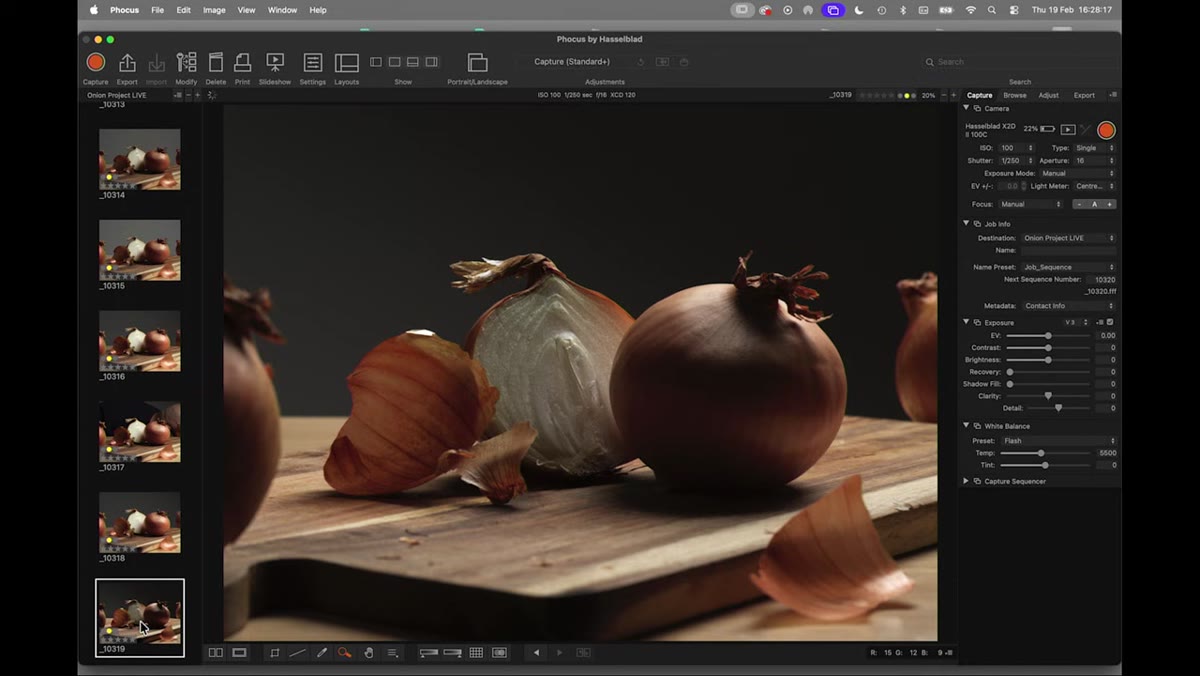
Once you’ve got soft light, move it. The instructor repositions the softbox toward the back of the subject, creating a sidelighting and backlighting effect. Texture comes alive when light skims across a surface at a low angle because every bump and ridge casts its own tiny shadow. When the light is flat and frontal, texture flattens out with it. This is the same physical principle whether you’re shooting onions or a portrait. The angle of the light determines what the subject’s surface reveals. Multiple looks, multiple emotional tones, one light, one object, no new purchases.
Softbox repositioned to side and rear, revealing texture dramatically
Once you’ve got soft light, move it. The instructor repositions the softbox toward the back of the subject, creating a sidelighting and backlighting effect. Texture comes alive when light skims across a surface at a low angle because every bump and ridge casts its own tiny shadow. When the light is flat and frontal, texture flattens out with it. This is the same physical principle whether you’re shooting onions or a portrait. The angle of the light determines what the subject’s surface reveals. Multiple looks, multiple emotional tones, one light, one object, no new purchases.
Step 7: Replicate Professional Results with a Desk Lamp
 Final desk lamp shot on long exposure matching softbox output
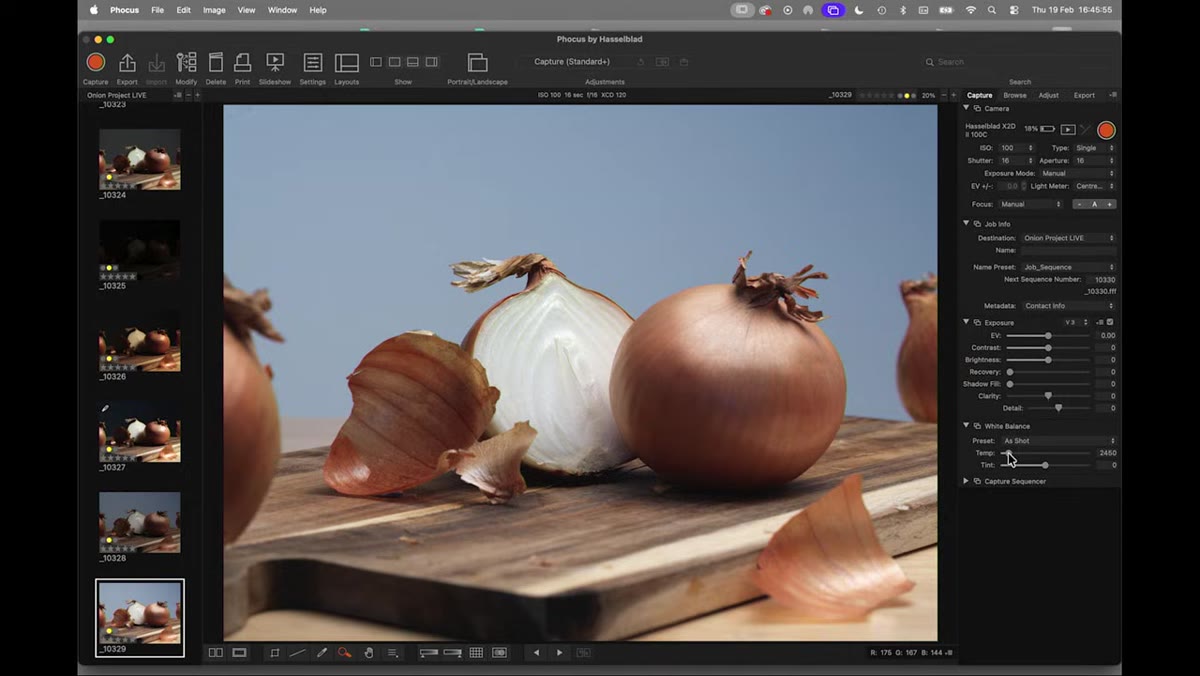
The instructor closes the demonstration by shooting a 16-second exposure with just a desk lamp and a piece of diffusion paper. The result matches the softbox setup from earlier in the tutorial. The practical lesson here is that once you know what you’re trying to achieve optically, you can reverse-engineer it with whatever you have. A long exposure compensates for a dim light source. Diffusion paper over a lamp, held close enough to the subject, increases the effective size of the emitting surface. Knowledge is doing the work, not the equipment.
Final desk lamp shot on long exposure matching softbox output
The instructor closes the demonstration by shooting a 16-second exposure with just a desk lamp and a piece of diffusion paper. The result matches the softbox setup from earlier in the tutorial. The practical lesson here is that once you know what you’re trying to achieve optically, you can reverse-engineer it with whatever you have. A long exposure compensates for a dim light source. Diffusion paper over a lamp, held close enough to the subject, increases the effective size of the emitting surface. Knowledge is doing the work, not the equipment.
What I’d Add from My Own Experience
The real test isn’t whether you can replicate this with a desk lamp once. It’s whether you can walk into any lighting situation and diagnose what you’re seeing. I started doing this as a mental exercise at coffee shops and restaurants, looking at how the window light was hitting people’s faces and asking myself whether the light was hard or soft, why the shadows fell where they did, and what I’d move if I were setting up the shot deliberately. It made me a faster shooter and, honestly, a more skeptical gear buyer. Every time I’ve been tempted to buy a new modifier, I ask myself whether I actually understand what modifier I need or whether I’m just hoping a purchase fixes a knowledge gap.
The single biggest takeaway from this tutorial is that soft light is a size relationship, not a product category. You can manufacture it with a sheet of printer paper and a lamp if you understand the physics. Visual Education is one of the few channels that explains the “why” clearly enough that you can actually transfer it to your own work.
Watch the full tutorial on YouTube and then grab whatever’s on your kitchen counter and try it yourself before you open another gear listing.
Comments
Leave a Comment