I spend a lot of time chasing the best gear-to-dollar ratio, and most of that time I’m looking at new releases. But the vintage lens market keeps pulling me back, mostly because the prices are absurd in the best possible way. A Nikon 105mm f/2.5 AI for under $100? A 50mm f/1.4 that renders like a dream? These lenses have been sitting on eBay for years while photographers chase autofocus. The problem I kept running into was the crop factor penalty on APS-C bodies. Stick a 28mm full-frame Nikon lens on a Fuji body with a basic adapter, and you’re suddenly shooting at something closer to 42mm. The focal lengths stop making sense and the whole point of the setup falls apart.
That’s exactly the problem Tony Northrup tackles in this breakdown of his personal travel kit. In this Tony & Chelsea Northrup tutorial, he walks through a setup he genuinely bought with his own money and uses for real family travel. No sponsorships, no sample units. That honesty matters to me, and it’s part of why I think the advice here translates directly into practice. The solution he lands on is elegant, and once you understand how it works, it reframes what legacy glass is actually worth on a modern mirrorless body.
Step 1: Choose Your Mirrorless Body Intentionally
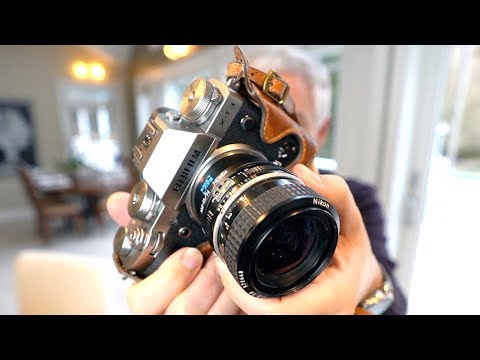
 Fujifilm X-T3 with half case and vintage lens attached
The Fuji X-T3 isn’t just a camera in this setup. It’s the interface. Tony makes the point that analog controls matter when you’re already shooting manual focus with manual aperture lenses. The X-T3 has physical dials for shutter speed and exposure compensation that match the tactile experience of working with old glass. It’s not about the specs sheet. It’s about whether the camera invites you to shoot or just tolerates you.
Fujifilm X-T3 with half case and vintage lens attached
The Fuji X-T3 isn’t just a camera in this setup. It’s the interface. Tony makes the point that analog controls matter when you’re already shooting manual focus with manual aperture lenses. The X-T3 has physical dials for shutter speed and exposure compensation that match the tactile experience of working with old glass. It’s not about the specs sheet. It’s about whether the camera invites you to shoot or just tolerates you.
If you’re building this kind of kit, look for a body where the physical controls do real work. The X-T30 is a valid lower-cost entry if you want to keep the same lens ecosystem. Sony APS-C bodies work mechanically but the control layout doesn’t give you the same feeling of cohesion with manual lenses. That cohesion is part of what makes the system usable in casual, low-pressure shooting.
Step 2: Use a Speed Booster, Not a Dumb Adapter
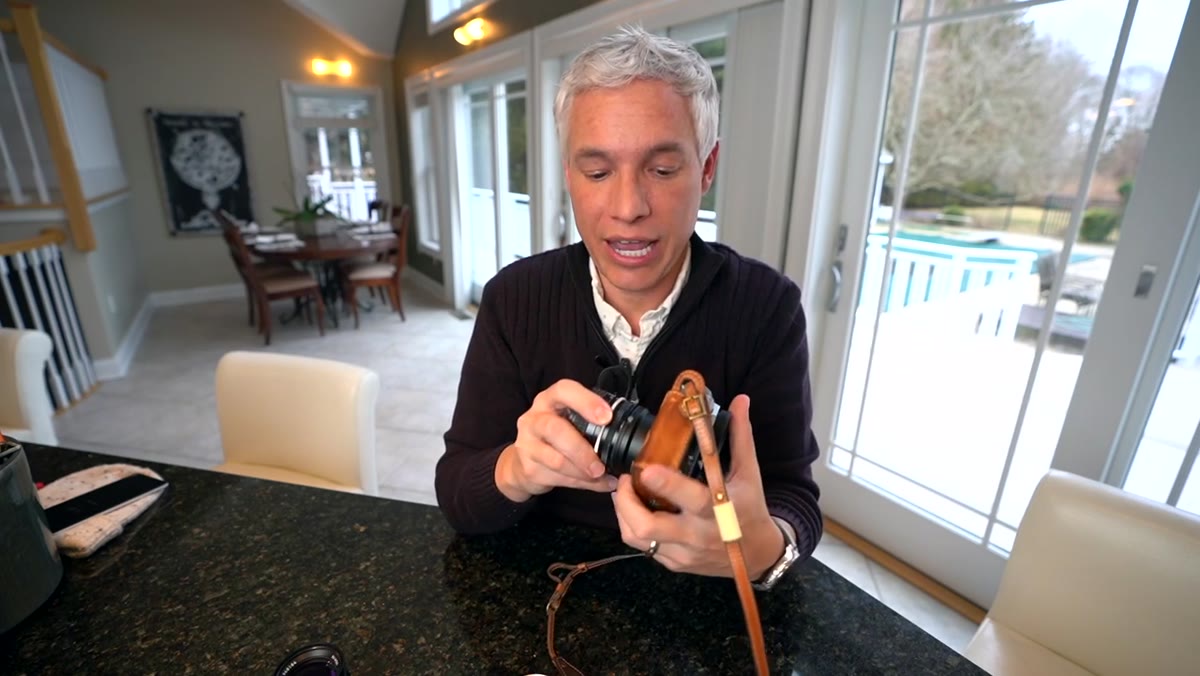 Speed booster adapter shown close-up with optical element visible
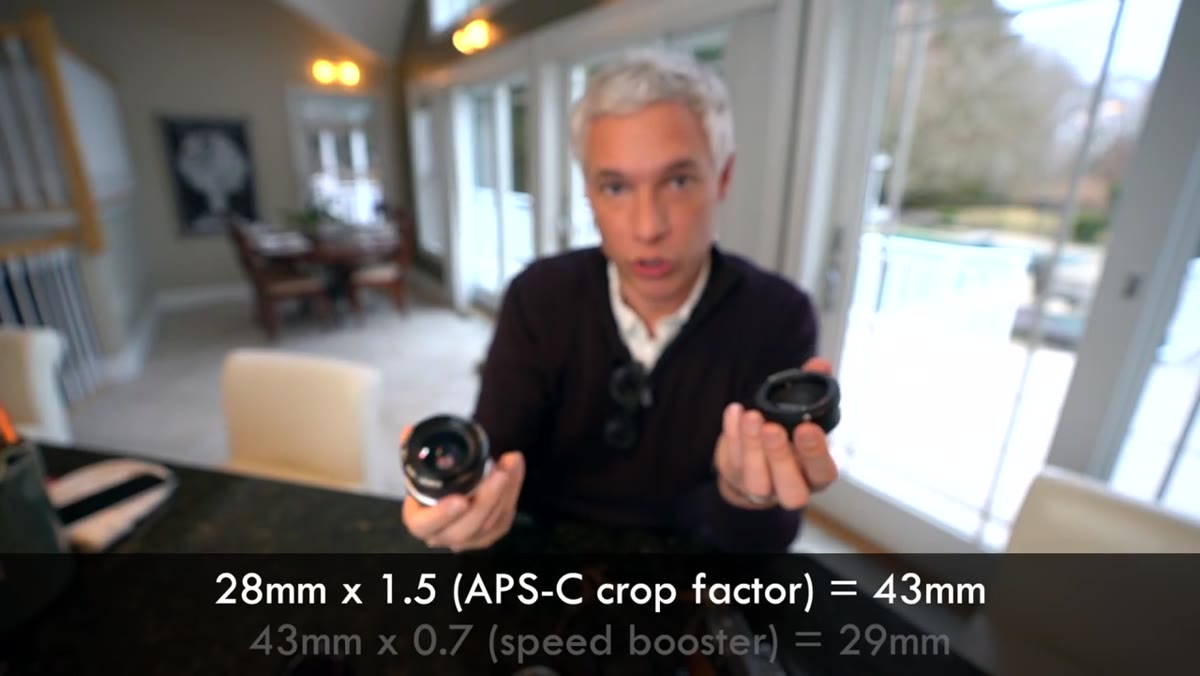
This is the technical core of the whole setup. A standard Nikon-to-Fuji adapter will mount the lens fine, but it preserves the 1.5x crop factor. So your 28mm becomes a 42mm, your 50mm becomes a 75mm, and you lose the wide and normal focal lengths entirely. A speed booster contains actual optics that compress the full-frame image circle down to match the APS-C sensor size. The result is that focal lengths behave as marked on the lens barrel.
Speed booster adapter shown close-up with optical element visible
This is the technical core of the whole setup. A standard Nikon-to-Fuji adapter will mount the lens fine, but it preserves the 1.5x crop factor. So your 28mm becomes a 42mm, your 50mm becomes a 75mm, and you lose the wide and normal focal lengths entirely. A speed booster contains actual optics that compress the full-frame image circle down to match the APS-C sensor size. The result is that focal lengths behave as marked on the lens barrel.
That 28mm acts like a 28mm. The 50mm f/1.4 stays a 50mm, and you get a slight light-gathering bonus on top of that. You’re not losing a stop of light the way you would with a normal adapter. Metabones and Viltrox both make speed boosters for the Nikon-to-Fuji pairing at different price points. Do not cheap out on no-name versions here. The optics inside the booster affect image quality, and a poor-quality booster will undermine lenses that deserve better.
Step 3: Pick Your Lenses Around Actual Use Cases
 Three Nikon vintage lenses laid out: 28mm, 50mm, 105mm
Tony’s specific kit is three lenses: a 28mm f/2.8 for wide shots, a 50mm f/1.4 as his standard, and a 105mm f/2.5 for portraits. That’s a complete set covering wide, normal, and short telephoto without any redundancy. Each lens has a manual aperture ring, which matters because you want to be changing aperture on the lens barrel itself, not digging through menus.
Three Nikon vintage lenses laid out: 28mm, 50mm, 105mm
Tony’s specific kit is three lenses: a 28mm f/2.8 for wide shots, a 50mm f/1.4 as his standard, and a 105mm f/2.5 for portraits. That’s a complete set covering wide, normal, and short telephoto without any redundancy. Each lens has a manual aperture ring, which matters because you want to be changing aperture on the lens barrel itself, not digging through menus.
When sourcing Nikon AI or AI-S lenses on the used market, check the aperture blades for oil and the focus ring for smooth travel. Avoid lenses with haze or fungus inside unless you’re confident in DIY cleaning. The 105mm f/2.5 is specifically worth hunting down. It was a professional portrait lens in its film era and the optical formula holds up. Right now these regularly appear under $120 in good condition, which is a price that makes no logical sense for what the lens produces.
Step 4: Configure the EVF to Work With Manual Focus
 EVF display showing black-and-white viewfinder with focus peaking active
One of the strongest arguments for putting these lenses on a mirrorless body instead of a DSLR is what the electronic viewfinder gives you back. Tony runs his X-T3 viewfinder in black and white while shooting, which helps him see tonal contrast and compose more intentionally. But the practical tool here is focus peaking.
EVF display showing black-and-white viewfinder with focus peaking active
One of the strongest arguments for putting these lenses on a mirrorless body instead of a DSLR is what the electronic viewfinder gives you back. Tony runs his X-T3 viewfinder in black and white while shooting, which helps him see tonal contrast and compose more intentionally. But the practical tool here is focus peaking.
Focus peaking highlights the edges that are in focus in a color overlay, usually red or white, so you can see exactly what the lens is locked onto as you turn the focus ring. Turn it on in your camera’s display settings and pick a peaking color that contrasts well against your typical subjects. The EVF also shows you real depth of field preview in real time as you change aperture. On a DSLR with an optical viewfinder, stopping down to f/8 makes the viewfinder noticeably dim. On the X-T3, the display compensates and you see the actual field of focus without squinting into a dark eyepiece.
Step 5: Add a Half Case for Practical Handling
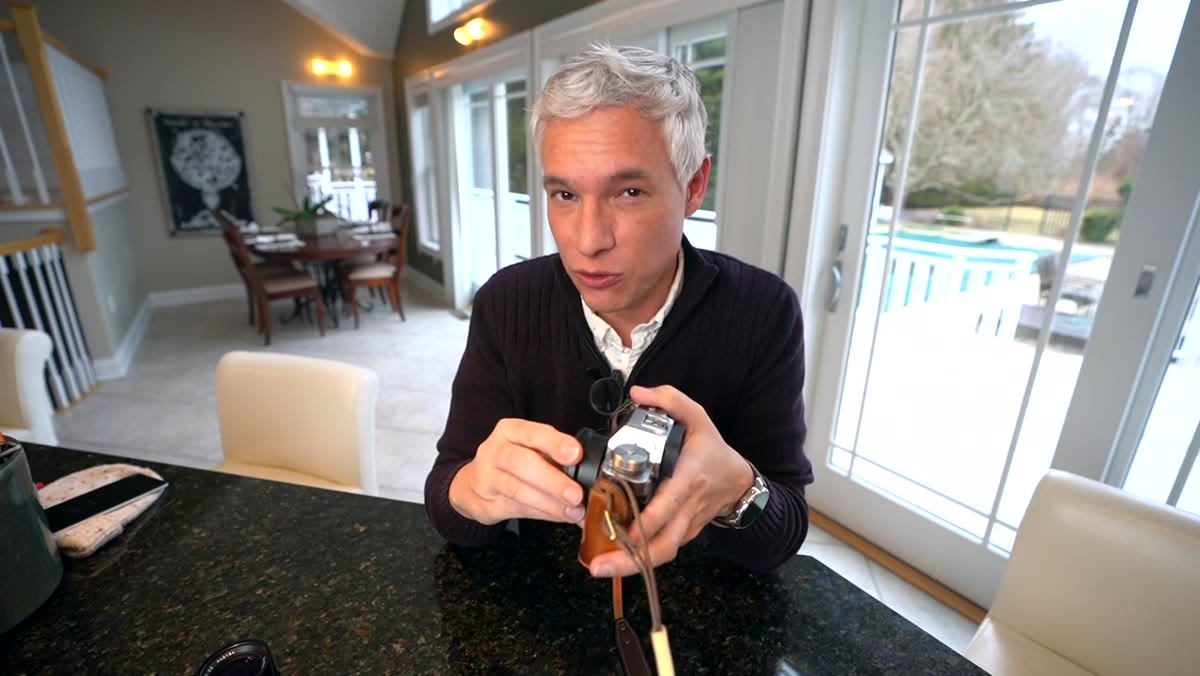
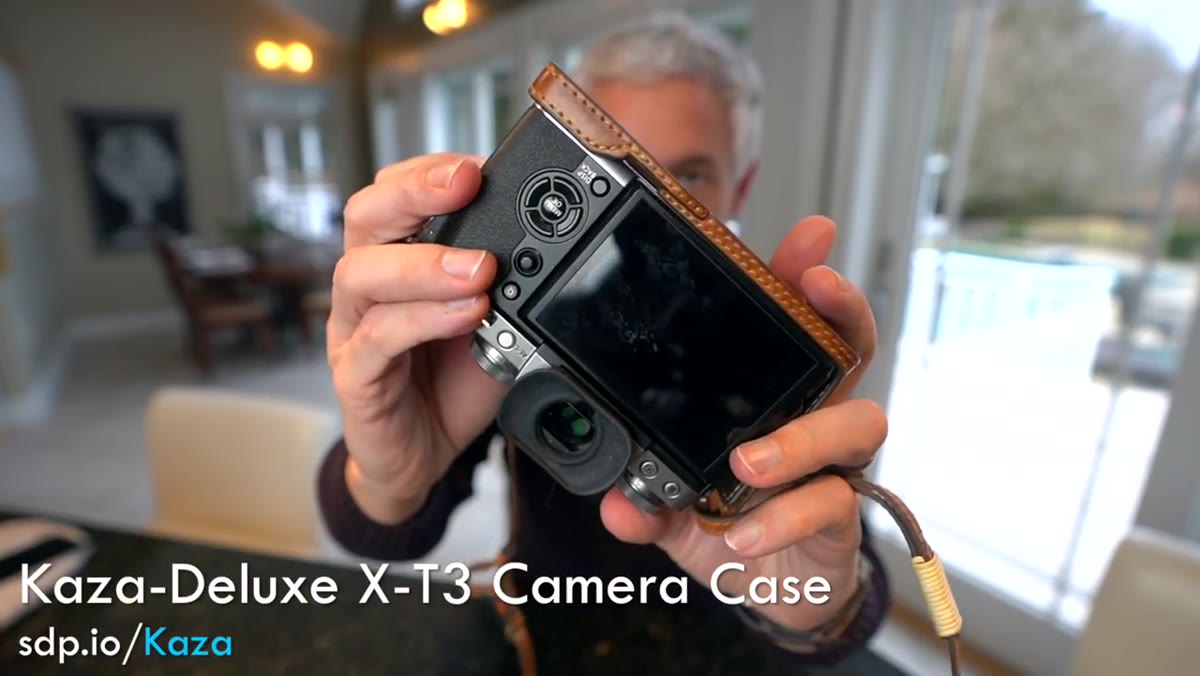 Kaza half case fitted on X-T3 body
Tony mentions a Kaza half case, and while it sounds like a minor detail, it’s not. Vintage Nikon lenses are metal and glass. They are not light. A half case gives you better grip security, protects the bottom of the body, and gives the whole setup a visual consistency that matches the era of the lenses. Functionally it also means you’re not white-knuckling a small mirrorless body while it has a 105mm lens attached.
Kaza half case fitted on X-T3 body
Tony mentions a Kaza half case, and while it sounds like a minor detail, it’s not. Vintage Nikon lenses are metal and glass. They are not light. A half case gives you better grip security, protects the bottom of the body, and gives the whole setup a visual consistency that matches the era of the lenses. Functionally it also means you’re not white-knuckling a small mirrorless body while it has a 105mm lens attached.
Half cases for the X-T3 run from budget-friendly third-party leather options to the pricier Kaza version Tony uses. If you’re already spending money on a speed booster and vintage glass, I’d at least get a case with a decent strap lug. The combo deserves a proper grip.
My Extension: Test the Combo Before You Commit to a Full Set
I’ve tested enough adapted lenses to know that not every Nikon lens plays well with every speed booster. Before you buy a three-lens set, pick up one lens and the adapter and shoot with it for two weeks. Check corner sharpness at wide apertures, look for vignetting, and confirm the focus throw feels usable in real shooting conditions. My own spreadsheet of budget glass has several lenses that looked great in theory and disappointed in actual use. The 50mm f/1.4 is almost always a safe first purchase. Start there.
The whole point of this kit is that it lowers the stakes. You’re not paying $1,500 for a native Fuji prime. You’re spending $80 on a lens and finding out if you love shooting this way before going deeper. That’s smart budgeting and smart creative practice at the same time.
The biggest takeaway here is that the speed booster is what makes this setup honest. Without it, you’re fighting the crop factor the whole time and the focal lengths feel wrong. With it, you get the vintage rendering, the tactile manual controls, and the correct field of view, all for a fraction of what native glass costs. If you shoot Fuji and you’ve never tried legacy Nikon lenses, this is a low-risk way to find out if analog shooting is actually your thing.
Watch the full tutorial on YouTube to see the kit in Tony’s hands and get a feel for how the whole system comes together.
Comments (2)
Shared this with my photography group. Everyone loved it.
Simple but effective. Sometimes that's all you need.
Leave a Comment