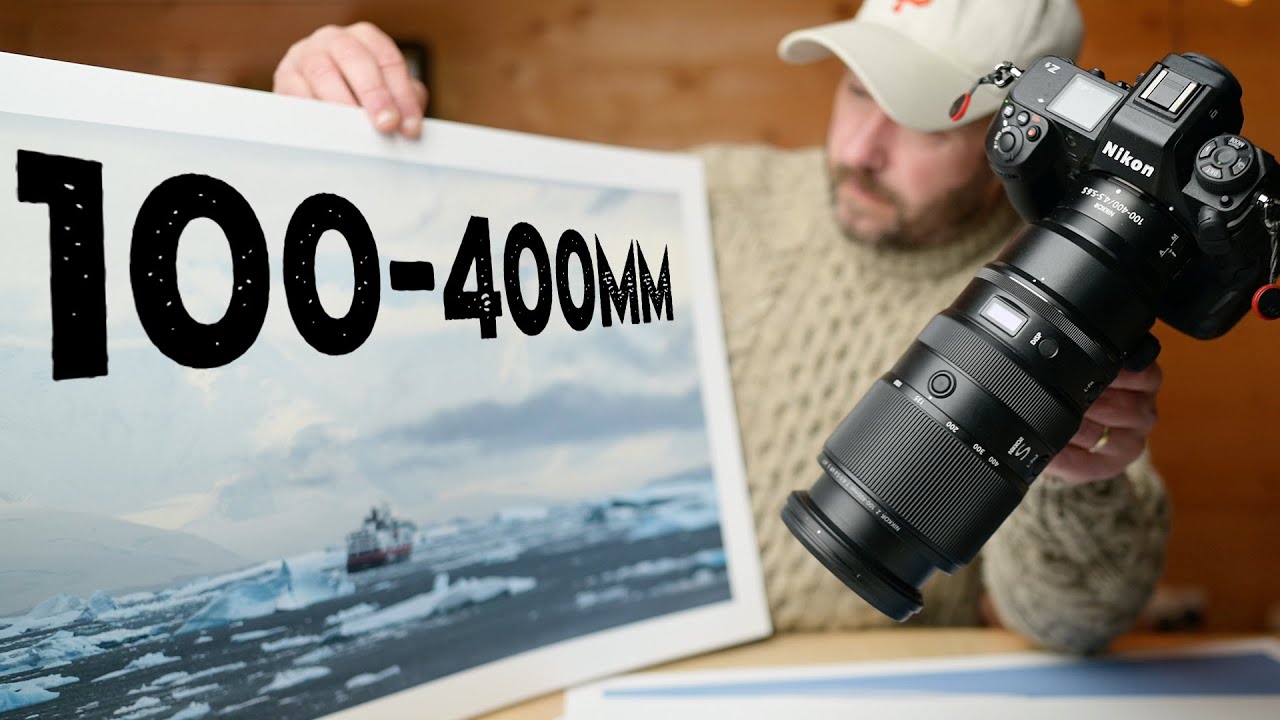
Most landscape photographers treat a wide-angle lens like a security blanket. I get it. I spent years defaulting to the widest thing in my bag the second I hit a scenic overlook. Wide feels safe. Wide feels epic. But wide also flattens everything into a postcard that looks like every other postcard from the same spot. That’s the problem Nigel Danson’s recent Antarctica tutorial cracked open for me in a way I wasn’t expecting.
In this Nigel Danson tutorial on the 100-400mm Nikon Z lens, Danson breaks down what happened when he brought a long telephoto zoom to one of the most remote and visually overwhelming places on the planet, and discovered it became his most-used focal length by a wide margin. Seventy percent of his shots from that trip came through that one lens. For someone who reviews budget gear and obsesses over what a lens actually does in the field (yes, I have a spreadsheet), that number stopped me cold.
What makes this useful beyond “telephoto good, actually” is that Danson was shooting from zodiacs and ships for most of the trip, not standing on a tripod in a meadow. That constraint drove everything. And those same constraints, shooting from a moving platform, dealing with distance, trying to isolate detail in a massive scene, show up in a lot of landscape situations that aren’t Antarctica. Think shooting from a kayak, from a ridgeline, or from any location where you physically can’t get closer to your subject.
Step 1: Reframe What “Landscape Lens” Even Means
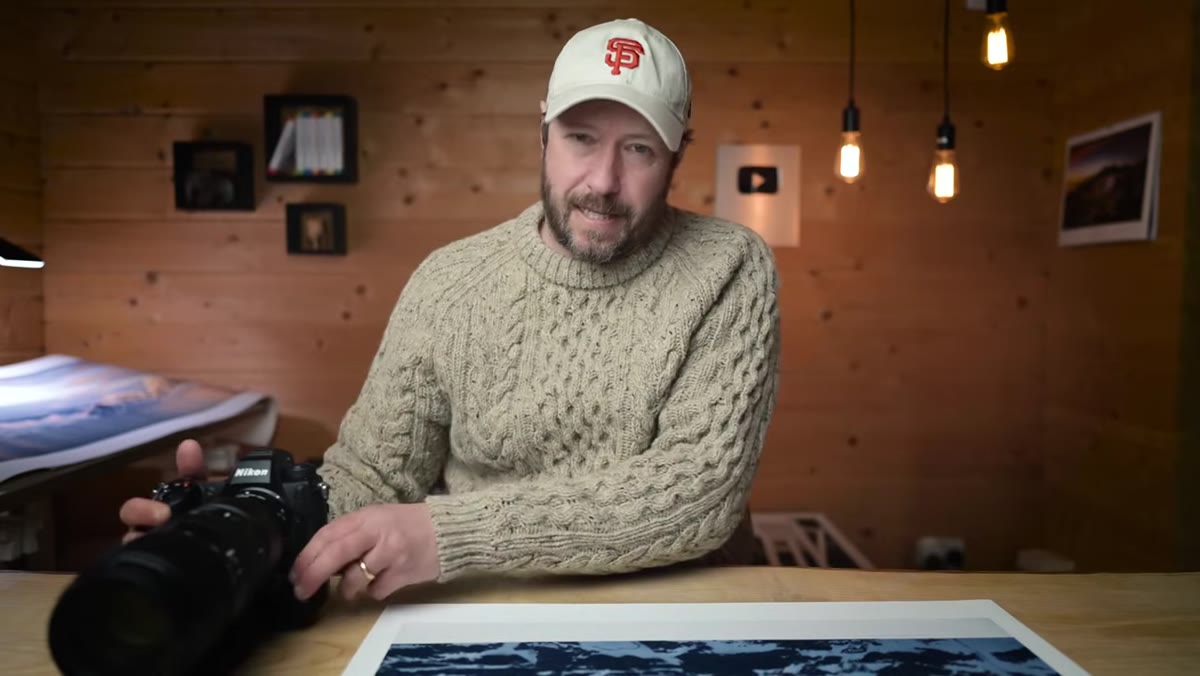
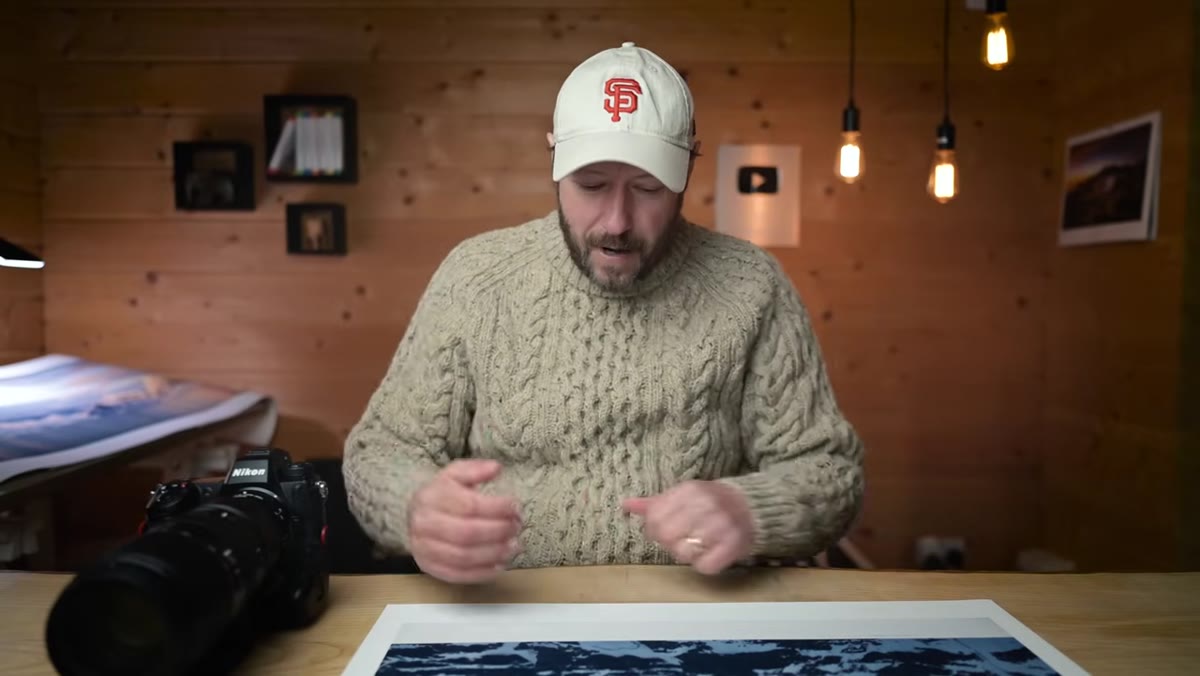
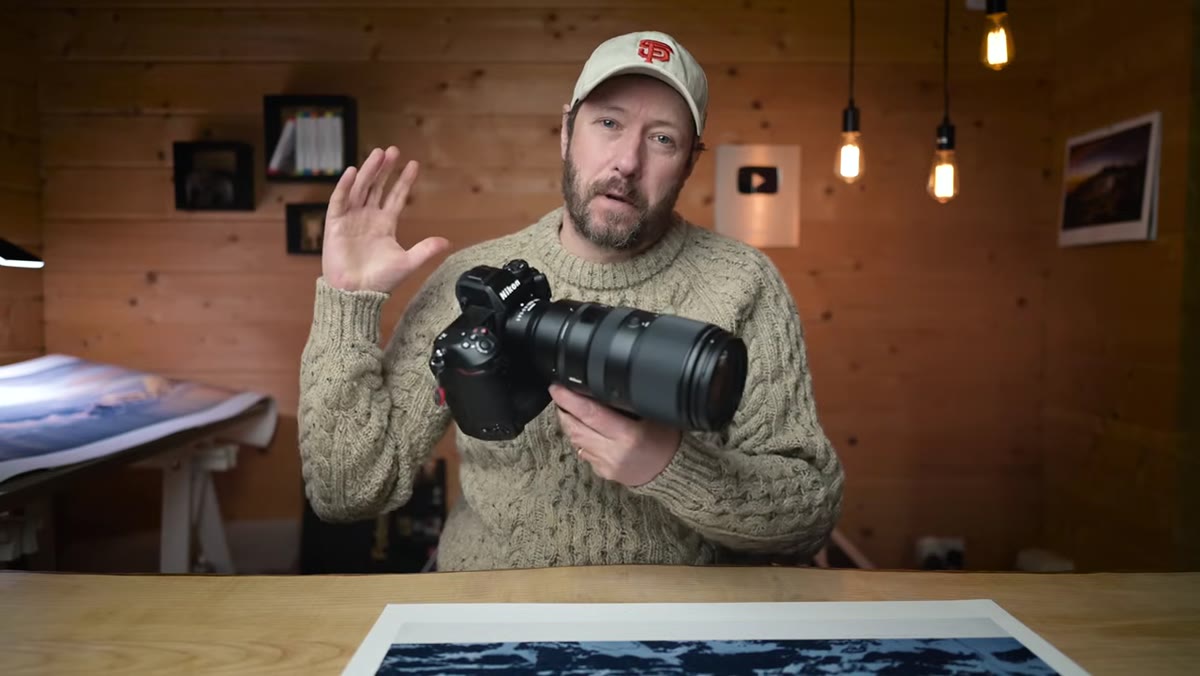 Nigel holding the 100-400mm Z lens up to camera
Before worrying about any settings, Danson’s first move is conceptual. He challenges the assumption that landscape photography requires wide-angle coverage. When you’re shooting at distance, whether that’s across a fjord or toward a glacier calving in the background, a wide lens captures everything and isolates nothing. A 100-400mm lets you pick the specific story inside the larger scene. That shift in thinking is step one. Ask yourself: what is the actual subject here, and how do I fill the frame with just that?
Nigel holding the 100-400mm Z lens up to camera
Before worrying about any settings, Danson’s first move is conceptual. He challenges the assumption that landscape photography requires wide-angle coverage. When you’re shooting at distance, whether that’s across a fjord or toward a glacier calving in the background, a wide lens captures everything and isolates nothing. A 100-400mm lets you pick the specific story inside the larger scene. That shift in thinking is step one. Ask yourself: what is the actual subject here, and how do I fill the frame with just that?
Step 2: Use the Telephoto Range to Compress and Layer the Scene
 Antarctic landscape with layered ice formations in background
One of the most underused qualities of a long zoom in landscape work is compression. At the 300-400mm end, distant elements stack together visually, which turns what would be empty foreground-middle-background compositions into dense, layered images. Danson demonstrates this with shots of ice formations and mountain ridgelines where multiple planes of the landscape read as one cohesive, textured surface. Try shooting toward a distant subject with something of visual interest at mid-range, let the focal length do the compression work, and you often get a more powerful image than any wide-angle version of the same scene.
Antarctic landscape with layered ice formations in background
One of the most underused qualities of a long zoom in landscape work is compression. At the 300-400mm end, distant elements stack together visually, which turns what would be empty foreground-middle-background compositions into dense, layered images. Danson demonstrates this with shots of ice formations and mountain ridgelines where multiple planes of the landscape read as one cohesive, textured surface. Try shooting toward a distant subject with something of visual interest at mid-range, let the focal length do the compression work, and you often get a more powerful image than any wide-angle version of the same scene.
Step 3: Shoot from Unstable Platforms Using Fast Shutter Speeds
 Zodiac boat on water with camera pointed at shoreline
A huge portion of Danson’s Antarctica shooting happened from zodiacs, small inflatable boats that move constantly. His fix is straightforward: keep shutter speed high enough to freeze both camera shake and subject motion. On the Z9, he leaned on the in-body stabilization combined with the lens stabilization, but he didn’t rely on it as an excuse to drop shutter speed. In rough conditions, stay at 1/500s or faster even in lower light, push the ISO to compensate, and accept that modern sensors handle noise better than a blurry shot handles anything. Stabilization is a backup, not a primary tool.
Zodiac boat on water with camera pointed at shoreline
A huge portion of Danson’s Antarctica shooting happened from zodiacs, small inflatable boats that move constantly. His fix is straightforward: keep shutter speed high enough to freeze both camera shake and subject motion. On the Z9, he leaned on the in-body stabilization combined with the lens stabilization, but he didn’t rely on it as an excuse to drop shutter speed. In rough conditions, stay at 1/500s or faster even in lower light, push the ISO to compensate, and accept that modern sensors handle noise better than a blurry shot handles anything. Stabilization is a backup, not a primary tool.
Step 4: Isolate Wildlife Within the Landscape Without Switching Lenses
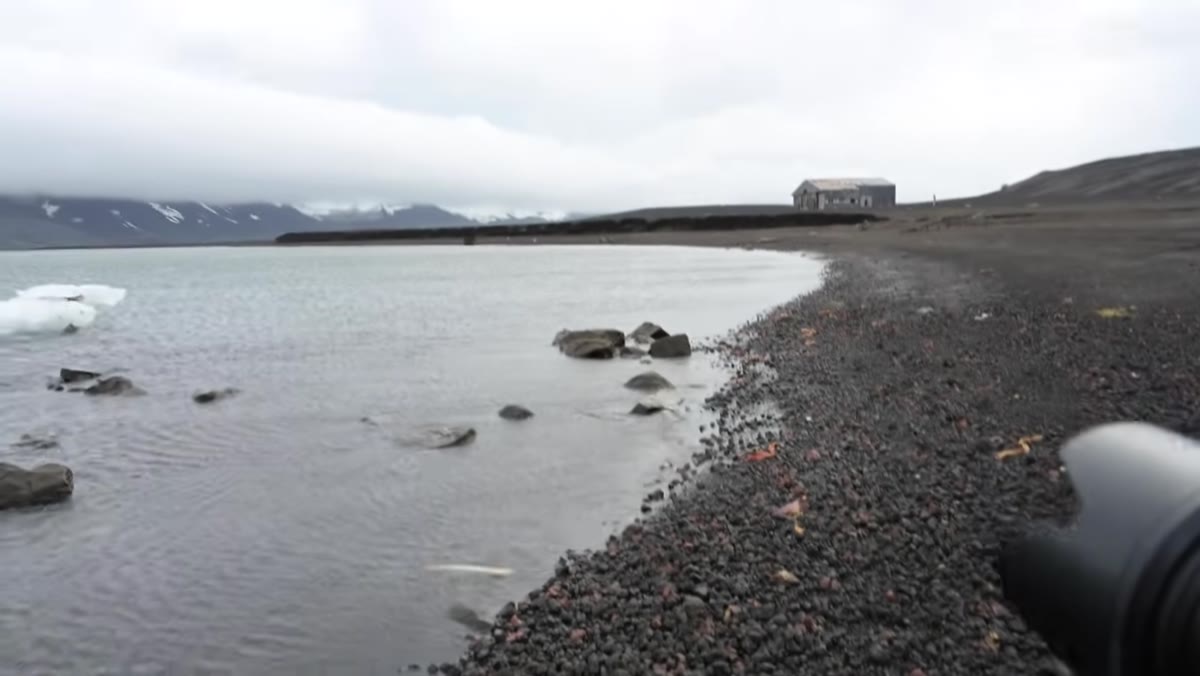 Penguins small in frame against volcanic rock on Deception Island
One of the practical wins Danson keeps coming back to is the ability to go from a wide landscape composition to a tighter wildlife or detail shot without swapping glass. At Deception Island, an active volcano he describes as feeling straight out of a spy film, he captures penguins as small figures against massive geological backdrops, then tightens in to make them the dominant subject using the same lens. The 100-400mm range gives you that flexibility in a single zoom ring rotation. If you’re in a situation where changing lenses means missing the shot or risking gear exposure to elements, this matters a lot.
Penguins small in frame against volcanic rock on Deception Island
One of the practical wins Danson keeps coming back to is the ability to go from a wide landscape composition to a tighter wildlife or detail shot without swapping glass. At Deception Island, an active volcano he describes as feeling straight out of a spy film, he captures penguins as small figures against massive geological backdrops, then tightens in to make them the dominant subject using the same lens. The 100-400mm range gives you that flexibility in a single zoom ring rotation. If you’re in a situation where changing lenses means missing the shot or risking gear exposure to elements, this matters a lot.
Step 5: Look for Detail Shots That Wide Angles Would Ignore
 Close detail of ice texture or geological feature shot at longer focal length
Danson specifically calls out how the telephoto range pushed him to look for images he would have walked past with a wide lens in hand. Texture in ice, the curve of a distant ridgeline, the negative space between a penguin colony and a snowfield. These aren’t “zoom in because you can’t get closer” shots. They’re images that only exist because the focal length forces you to edit the world before you press the shutter. Practice walking a location with only your longest focal length available for one session. You’ll find compositions that have been sitting there invisible to you every time you showed up with a 16-35mm.
Close detail of ice texture or geological feature shot at longer focal length
Danson specifically calls out how the telephoto range pushed him to look for images he would have walked past with a wide lens in hand. Texture in ice, the curve of a distant ridgeline, the negative space between a penguin colony and a snowfield. These aren’t “zoom in because you can’t get closer” shots. They’re images that only exist because the focal length forces you to edit the world before you press the shutter. Practice walking a location with only your longest focal length available for one session. You’ll find compositions that have been sitting there invisible to you every time you showed up with a 16-35mm.
Step 6: Let the Environment Dictate Focal Length, Not Habit
 Wide establishing shot of Antarctic landing strip before lens discussion
The final practical lesson from Danson’s breakdown is about workflow rather than any single setting. He didn’t bring the 100-400mm expecting to love it this much. The shooting conditions in Antarctica, distance, movement, environmental protection rules limiting land access, pushed him toward the telephoto naturally. His takeaway, and mine after watching this twice, is to make gear decisions based on the actual shooting environment rather than what you’re comfortable with. Before your next landscape session, think through where you’ll physically be relative to your subjects, and let that determine what goes in the bag.
Wide establishing shot of Antarctic landing strip before lens discussion
The final practical lesson from Danson’s breakdown is about workflow rather than any single setting. He didn’t bring the 100-400mm expecting to love it this much. The shooting conditions in Antarctica, distance, movement, environmental protection rules limiting land access, pushed him toward the telephoto naturally. His takeaway, and mine after watching this twice, is to make gear decisions based on the actual shooting environment rather than what you’re comfortable with. Before your next landscape session, think through where you’ll physically be relative to your subjects, and let that determine what goes in the bag.
My Take: Budget Telephoto Zooms Are Worth a Serious Look Right Now
I don’t shoot a Nikon Z9. That body sits well above what I’d recommend to most people reading this site. But the compositional and technical logic Danson lays out applies directly to third-party telephoto zooms that come in at a fraction of the price. The Tamron 100-400mm for Sony E-mount, the Sigma 100-400mm Contemporary for L-mount and others, these lenses pull off the same compression and isolation techniques at far lower cost. I’ve been running a comparison of budget telephoto zooms in the 100-400mm range and the quality gap between these and first-party glass has closed dramatically in the last two years. If this tutorial pushes you toward experimenting with longer focal lengths for landscape work, you don’t need to spend Nikon Z glass money to find out if it’s for you.
The biggest shift this tutorial delivers is permission to stop treating the telephoto as a specialty tool you bring out for wildlife and sports. Danson used it for 70% of his shots in one of the most visually extraordinary places on Earth. That’s not a quirk of Antarctica. That’s a compositional mindset worth stealing.
Watch the full tutorial on YouTube to see the actual images from the trip alongside Danson’s breakdown.
Comments (2)
This saved me so much time on my last edit. Wish I'd found this sooner.
Solid advice. Especially the part about taking your time with it.
Leave a Comment