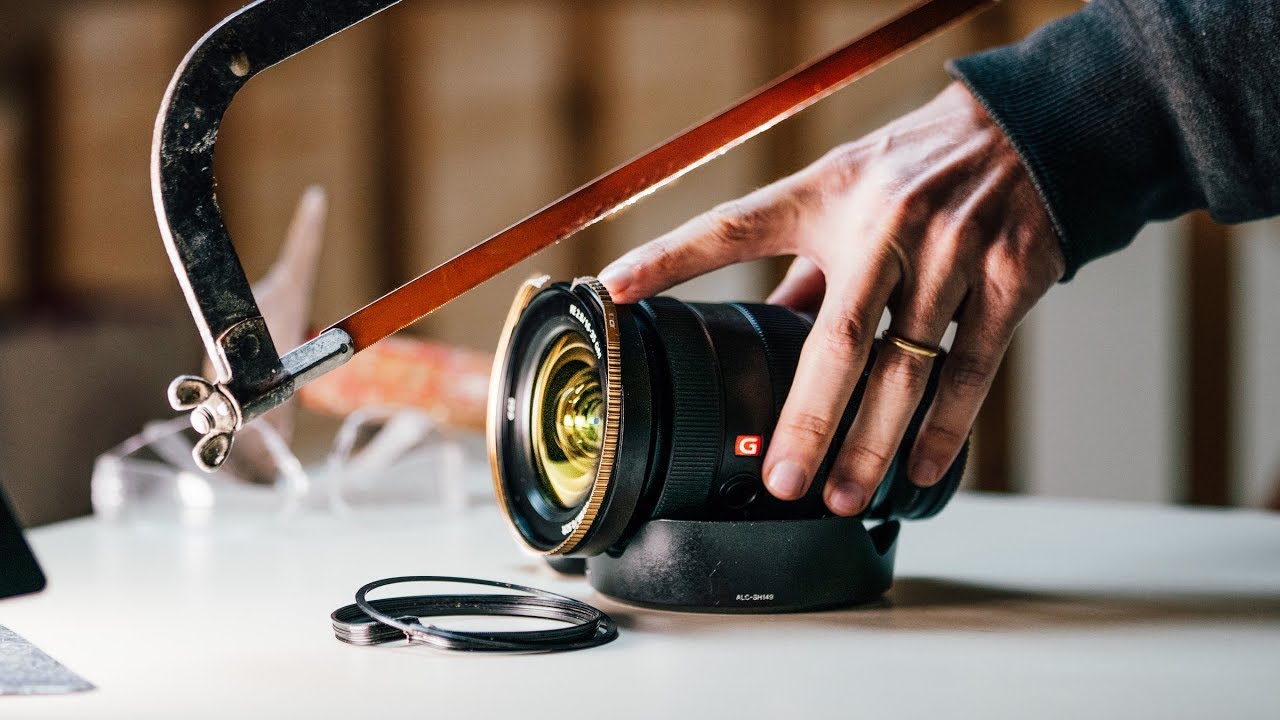
I track every lens I’ve ever tested in a spreadsheet. Budget primes, kit zooms, third-party glass — I’ve run hundreds of dollars of gear through its paces specifically to figure out what’s worth your money and what’s marketing. So when a photographer drops a $2,300 Sony 16-35mm f/2.8 GM and then fixes it for $100 using a spare part he guessed at online, that gets my attention fast. Not because I’ll ever drop two grand on a single lens without serious hand-wringing, but because the repair logic applies to every piece of glass you own, regardless of what you paid for it.
In this Pierre T. Lambert tutorial, Pierre walks through the entire arc of the disaster: a pre-sunrise tripod accident in the Maldives, three weeks of shooting with a bent, stuck zoom ring, and finally a successful teardown and rebuild back home in France. Watch the full tutorial on YouTube — but if you want the condensed version with the actual repair steps and some hard-won lessons baked in, keep reading.
What makes this useful beyond the drama is that Pierre documents a real-world repair process, including the part identification problem that nobody talks about. There’s no official Sony repair manual floating around the internet. There are no labeled diagrams. You’re making educated guesses, and watching someone else make those guesses successfully is genuinely instructive.
Step 1: Assess the Damage Before You Do Anything Else
 caption: Visible bent outer barrel on the Sony 16-35mm zoom ring
When Pierre’s tripod went over, his first instinct was to check whether the camera body survived. That’s the right call, but the secondary check is just as important: test the lens functionality before you assume anything is or isn’t broken. In his case, the camera fired fine, but the zoom ring was completely frozen at 16mm and the filter ring was bent badly enough to trap his UV filter in place.
caption: Visible bent outer barrel on the Sony 16-35mm zoom ring
When Pierre’s tripod went over, his first instinct was to check whether the camera body survived. That’s the right call, but the secondary check is just as important: test the lens functionality before you assume anything is or isn’t broken. In his case, the camera fired fine, but the zoom ring was completely frozen at 16mm and the filter ring was bent badly enough to trap his UV filter in place.
Before attempting any removal or repair, document exactly what’s wrong. Can the zoom ring move at all? Does autofocus still engage? Is the glass itself cracked, or is the damage structural? Pierre confirmed his glass was intact, which made the repair viable. If the front or rear element had shattered, no amount of DIY work would bring the lens back.
Step 2: Attempt Controlled Filter Removal Without Worsening the Bend
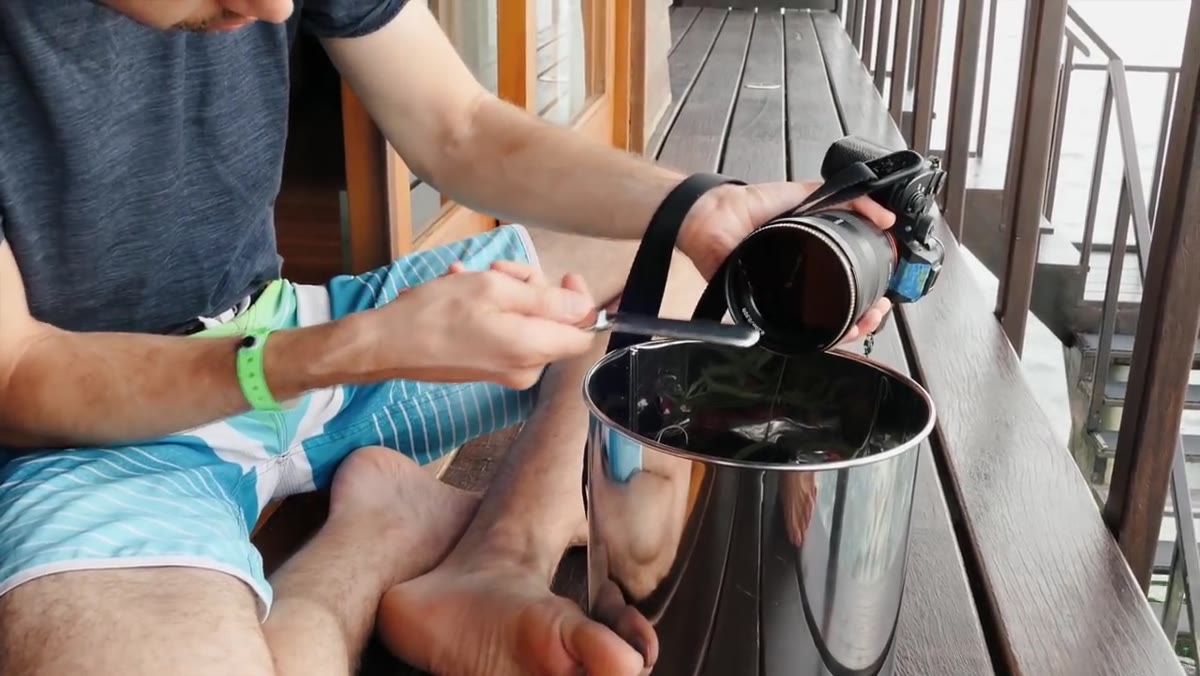 caption: Pierre carefully working on the stuck filter ring at night
A bent filter ring is a separate problem from a bent barrel, and Pierre addresses them independently. The filter was jammed onto the ring from the impact, and forcing it off aggressively risks scratching the front element or warping the ring further. His approach in the field at 3am: slow, deliberate pressure, avoiding any contact with the glass behind it.
caption: Pierre carefully working on the stuck filter ring at night
A bent filter ring is a separate problem from a bent barrel, and Pierre addresses them independently. The filter was jammed onto the ring from the impact, and forcing it off aggressively risks scratching the front element or warping the ring further. His approach in the field at 3am: slow, deliberate pressure, avoiding any contact with the glass behind it.
If you’re ever in this situation, a rubber grip pad or a silicone lens-opening tool will give you far better leverage than bare hands. Pierre didn’t have either in the Maldives, which is a good reminder to pack a small filter wrench in your camera bag. They cost about $8 and weigh almost nothing. The goal is to rotate the filter out cleanly rather than prying it, which can deform the ring even more.
Step 3: Shoot Through the Damage If You Have No Alternative
 caption: Pierre deciding to continue shooting despite the bent barrel
This step is basically Pierre making a working photographer’s decision rather than a gear enthusiast’s decision: he kept shooting for the remaining three weeks with the lens stuck at 16mm. The barrel was bent, the zoom was frozen, but the image quality at that focal length was still acceptable. Edge sharpness suffered, but the lens was functional enough to complete the assignment.
caption: Pierre deciding to continue shooting despite the bent barrel
This step is basically Pierre making a working photographer’s decision rather than a gear enthusiast’s decision: he kept shooting for the remaining three weeks with the lens stuck at 16mm. The barrel was bent, the zoom was frozen, but the image quality at that focal length was still acceptable. Edge sharpness suffered, but the lens was functional enough to complete the assignment.
The practical takeaway here is that a bent barrel doesn’t automatically mean the optics are misaligned enough to ruin every shot. Test it. Shoot a few frames at different distances and check sharpness in the corners. You might have more usable life left in a damaged lens than you think, especially if you’re in a situation where there’s no replacement available.
Step 4: Fully Disassemble the Lens Once You’re Back at a Proper Workspace
 caption: Lens fully opened on a workbench, internal components visible
Back in France, Pierre did the complete teardown. The damage wasn’t at the front of the lens where you’d expect from an impact. It was much deeper: the piece holding the front element had broken at the screws. The screws had been driven inward on impact, which cracked the plastic housing and caused the entire outer barrel to shift out of alignment.
caption: Lens fully opened on a workbench, internal components visible
Back in France, Pierre did the complete teardown. The damage wasn’t at the front of the lens where you’d expect from an impact. It was much deeper: the piece holding the front element had broken at the screws. The screws had been driven inward on impact, which cracked the plastic housing and caused the entire outer barrel to shift out of alignment.
Full disassembly requires a clean, well-lit surface, a set of JIS screwdrivers (not Phillips, which will strip Japanese camera screws), and a tray system for keeping small parts organized by the order you removed them. Pierre also notes that some metallic components had shifted and needed to be repositioned before reassembly. If you’re going this route, photograph every layer as you open it. Your memory will not be reliable when you’re trying to reconstruct the order of six small rings and a handful of identical-looking screws.
Step 5: Identify the Broken Part and Source a Replacement
 caption: Broken plastic lens component held up for camera inspection
This is where the tutorial gets genuinely useful in a way that most repair videos skip. Pierre couldn’t find the part by name. There were no photos on the parts listing website he was using, no clear diagram, and no identifying text on the component itself. He made an educated guess based on the part’s position in the disassembly and its general description on the parts site, ordered it for around $100, and waited ten days.
caption: Broken plastic lens component held up for camera inspection
This is where the tutorial gets genuinely useful in a way that most repair videos skip. Pierre couldn’t find the part by name. There were no photos on the parts listing website he was using, no clear diagram, and no identifying text on the component itself. He made an educated guess based on the part’s position in the disassembly and its general description on the parts site, ordered it for around $100, and waited ten days.
The key move here is to cross-reference your lens’s service manual if one exists, search iFixit and similar communities for teardown photos of your specific lens model, and post close-up images in photography forums where someone may have done the same repair. Pierre got lucky with his guess. You can reduce the luck factor by doing more research upfront before committing to a part.
Step 6: Reassemble and Test Before Declaring Victory
Once the new part arrived and confirmed to be correct, Pierre reassembled the lens layer by layer, repositioned the displaced metal components, and seated the new housing piece properly. The test after reassembly is non-negotiable: mount the lens, run autofocus, cycle through the full zoom range, and shoot test frames at multiple apertures and distances. Pierre confirmed the lens was working fully before breathing easy.
Don’t skip the edge sharpness check at wide apertures. A misaligned element from an imprecise reassembly can show up as soft corners that only appear at f/2.8 and disappear when you stop down. Shoot a flat, high-detail surface straight-on to evaluate this properly.
My Caveat: The Lens Hood Is Doing More Work Than You Think
Pierre mentions something almost in passing that deserves its own conversation: this was the second time he’d damaged a filter ring from a fall, and both times he wasn’t using his lens hood. That’s not a coincidence.
Lens hoods are not just for flare control. On a physical impact, the hood absorbs a significant amount of the force before it reaches the filter ring and barrel. I’ve bought and tested dozens of budget tripods and camera accessories over the years, and the pattern holds across all of them: the accessories that provide physical protection for your gear pay off disproportionately compared to their cost. A $15 third-party lens hood can save you $100 in parts, or it can save you the entire lens. Keep it on. There’s no real reason not to.
The single most important thing Pierre’s repair story demonstrates is that expensive glass is more repairable than most photographers assume, and the barrier to attempting it is lower than it looks when you’re staring at a bent barrel. Know what broke, find the part, take your time on reassembly, and test thoroughly. That $2,300 lens came back for $100 and ten days of patience.
Watch the full tutorial on YouTube to see the complete teardown and reassembly process in real time.
Comments
Leave a Comment