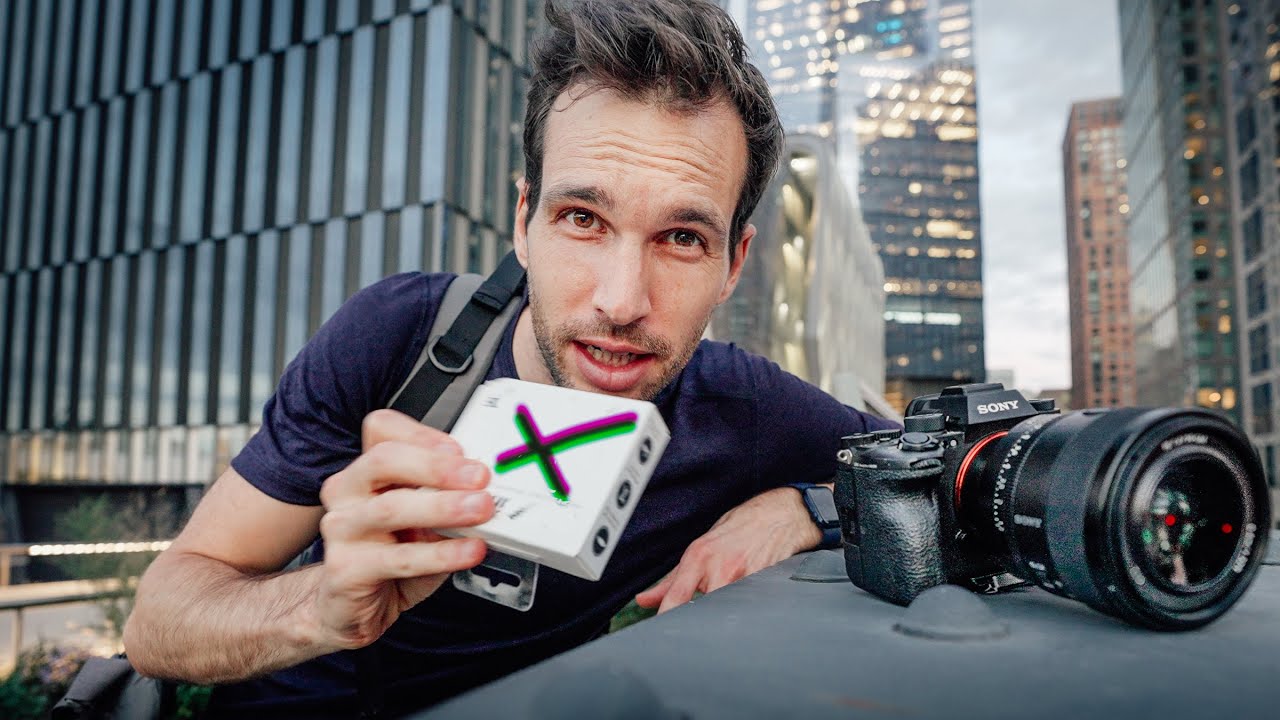
There’s a specific kind of gear paralysis that hits when you’re standing in a camera store surrounded by accessories you half-recognize from YouTube thumbnails. You pick something up, you put it down, you second-guess yourself, and you walk out with nothing or with the wrong thing. I’ve done it more times than I’ll admit. What actually helps me cut through that noise isn’t specs sheets or manufacturer pages. It’s watching someone who shoots for a living walk through a store and explain, in real time, what they reach for and why. That’s exactly what Pierre T. Lambert delivers in this shopping walkthrough filmed in New York City, and it’s worth breaking down piece by piece.
Watch the full tutorial on YouTube
In this Pierre T. Lambert tutorial, the format is deceptively simple: he’s shopping, he’s talking, and he’s making the kind of off-the-cuff judgments that most reviewers only make after weeks of testing. That spontaneity is the value. You’re not watching a polished unboxing. You’re watching someone’s actual decision-making process, which is a much better model for how you should shop than any top-ten list.
What I want to do here is extract the structure from his store run and turn it into a usable guide, the kind you can take with you mentally the next time you’re evaluating accessories, whether you’re in a Manhattan camera shop or scrolling a deal site at 7am like I usually am.
Step 1: Walk In With a Category, Not a Product
 Entering the camera shop, shelves of accessories visible
Lambert doesn’t walk into the store chasing a specific SKU. He’s browsing by category, which is a discipline worth copying. When you lock onto a product before you walk in, you stop seeing alternatives. The better move is to know what problem you’re solving, say, audio quality for run-and-gun video, and then let the store show you what exists in that space. This keeps you open to options you didn’t know were available and stops you from overpaying for brand recognition when a lesser-known option does the same job.
Entering the camera shop, shelves of accessories visible
Lambert doesn’t walk into the store chasing a specific SKU. He’s browsing by category, which is a discipline worth copying. When you lock onto a product before you walk in, you stop seeing alternatives. The better move is to know what problem you’re solving, say, audio quality for run-and-gun video, and then let the store show you what exists in that space. This keeps you open to options you didn’t know were available and stops you from overpaying for brand recognition when a lesser-known option does the same job.
Step 2: Handle Everything Before Committing
 Hands-on with a microphone or small accessory at the counter
One of the clearest things Lambert demonstrates is the tactile evaluation. He picks things up. He holds them. He checks how they mount and how they feel under actual hands. This sounds obvious until you remember how many of us buy gear purely from product photos and then get it home and hate the build quality. In the store, you can test the cold shoe mount, check if a grip actually fits your hand, feel whether a strap attachment point is going to drive you crazy after an hour of shooting. That information is not in the Amazon listing.
Hands-on with a microphone or small accessory at the counter
One of the clearest things Lambert demonstrates is the tactile evaluation. He picks things up. He holds them. He checks how they mount and how they feel under actual hands. This sounds obvious until you remember how many of us buy gear purely from product photos and then get it home and hate the build quality. In the store, you can test the cold shoe mount, check if a grip actually fits your hand, feel whether a strap attachment point is going to drive you crazy after an hour of shooting. That information is not in the Amazon listing.
Step 3: Prioritize Audio Accessories Early
 Examining a small microphone, possibly a shotgun or lav type
Lambert spends real time in the microphone section, and that’s deliberate. Audio is the most underloved category in camera accessories and the one where cheap solutions cause the most visible damage to your final product. A blurry shot is forgivable. Muffled, echo-heavy audio makes everything look amateur. What Lambert models here is treating microphone selection as seriously as lens selection, which is the right call. If you’re shopping for accessories and you’re skipping the audio aisle, you’re leaving your biggest quality gap unaddressed.
Examining a small microphone, possibly a shotgun or lav type
Lambert spends real time in the microphone section, and that’s deliberate. Audio is the most underloved category in camera accessories and the one where cheap solutions cause the most visible damage to your final product. A blurry shot is forgivable. Muffled, echo-heavy audio makes everything look amateur. What Lambert models here is treating microphone selection as seriously as lens selection, which is the right call. If you’re shopping for accessories and you’re skipping the audio aisle, you’re leaving your biggest quality gap unaddressed.
Step 4: Evaluate Portability as a Feature, Not a Compromise
 Looking at compact or travel-friendly gear options
A theme running through Lambert’s picks is that smaller and lighter is often better, not just more convenient. He’s drawn to accessories that don’t change how you move or how quickly you can react to a scene. This maps directly to something I’ve learned the hard way: the best accessory is the one that’s actually on your camera when the shot happens, not the one sitting in your bag because it’s too bulky to bother with. When you’re evaluating any accessory, ask whether it changes your shooting behavior in a negative way. If the answer is yes, it’s probably not worth it regardless of what it does on paper.
Looking at compact or travel-friendly gear options
A theme running through Lambert’s picks is that smaller and lighter is often better, not just more convenient. He’s drawn to accessories that don’t change how you move or how quickly you can react to a scene. This maps directly to something I’ve learned the hard way: the best accessory is the one that’s actually on your camera when the shot happens, not the one sitting in your bag because it’s too bulky to bother with. When you’re evaluating any accessory, ask whether it changes your shooting behavior in a negative way. If the answer is yes, it’s probably not worth it regardless of what it does on paper.
Step 5: Check Build Quality Against Price, Not Against Ideal
 Close inspection of a piece of gear, checking construction
Lambert handles products with the critical eye of someone who’s had cheap gear fail at the wrong moment. But he’s not dismissing budget options wholesale. What he’s doing is checking whether the build quality matches the ask. A $30 accessory that feels like a $30 accessory is fine. A $30 accessory that feels like it’ll snap the second clip you attach it to is a problem. The standard isn’t “does this feel like a $200 product.” The standard is “does this feel like it’ll survive the conditions I’m going to put it through.” That’s a more honest and more useful question.
Close inspection of a piece of gear, checking construction
Lambert handles products with the critical eye of someone who’s had cheap gear fail at the wrong moment. But he’s not dismissing budget options wholesale. What he’s doing is checking whether the build quality matches the ask. A $30 accessory that feels like a $30 accessory is fine. A $30 accessory that feels like it’ll snap the second clip you attach it to is a problem. The standard isn’t “does this feel like a $200 product.” The standard is “does this feel like it’ll survive the conditions I’m going to put it through.” That’s a more honest and more useful question.
Step 6: Let the Store Run Inform Your Online Shopping List
 Reviewing a selection of accessories laid out or on display
The smartest thing you can do in a physical camera store is treat it as a research session, not necessarily a buying session. Lambert’s walkthrough effectively gives you a shortlist. You see what a working photographer actually pauses at, what he picks up twice, what he puts back immediately. Take that information home and then compare prices. I almost never buy at retail if I can find the same product with better margins online, but I do use store visits to eliminate the guesswork about what’s worth researching at all.
Reviewing a selection of accessories laid out or on display
The smartest thing you can do in a physical camera store is treat it as a research session, not necessarily a buying session. Lambert’s walkthrough effectively gives you a shortlist. You see what a working photographer actually pauses at, what he picks up twice, what he puts back immediately. Take that information home and then compare prices. I almost never buy at retail if I can find the same product with better margins online, but I do use store visits to eliminate the guesswork about what’s worth researching at all.
My Take: The Budget Filter Nobody Talks About
Here’s the caveat I’d add from my own experience: Lambert shops as someone with real income from his creative work, which means his floor price is different from mine and probably yours. When I watch his picks, I’m always running a parallel question: what is this product actually replacing, and is there a version of the same solution that costs 60% less and solves 90% of the problem? That’s how I ended up finding a $12 accessory that killed a $200 brand-name product in my own testing, and it’s why I never buy on enthusiasm alone. Watch what Lambert gravitates toward. Then ask whether the function, not the brand, is available at a lower price point before you commit.
The single thing I’d want you to take from Lambert’s NYC shopping run is this: buying camera accessories well is a skill, and it’s a skill built from watching how experienced shooters actually evaluate gear in person, not from reading spec comparisons. The way he handles products, the categories he prioritizes, and the questions he’s implicitly asking are all replicable even if you’re shopping on a completely different budget.
Watch the full tutorial on YouTube and pay attention to what he slows down for. That’s where the real curriculum is.
Comments (1)
Been doing this wrong for years apparently. Thanks for the wake-up call.
Leave a Comment