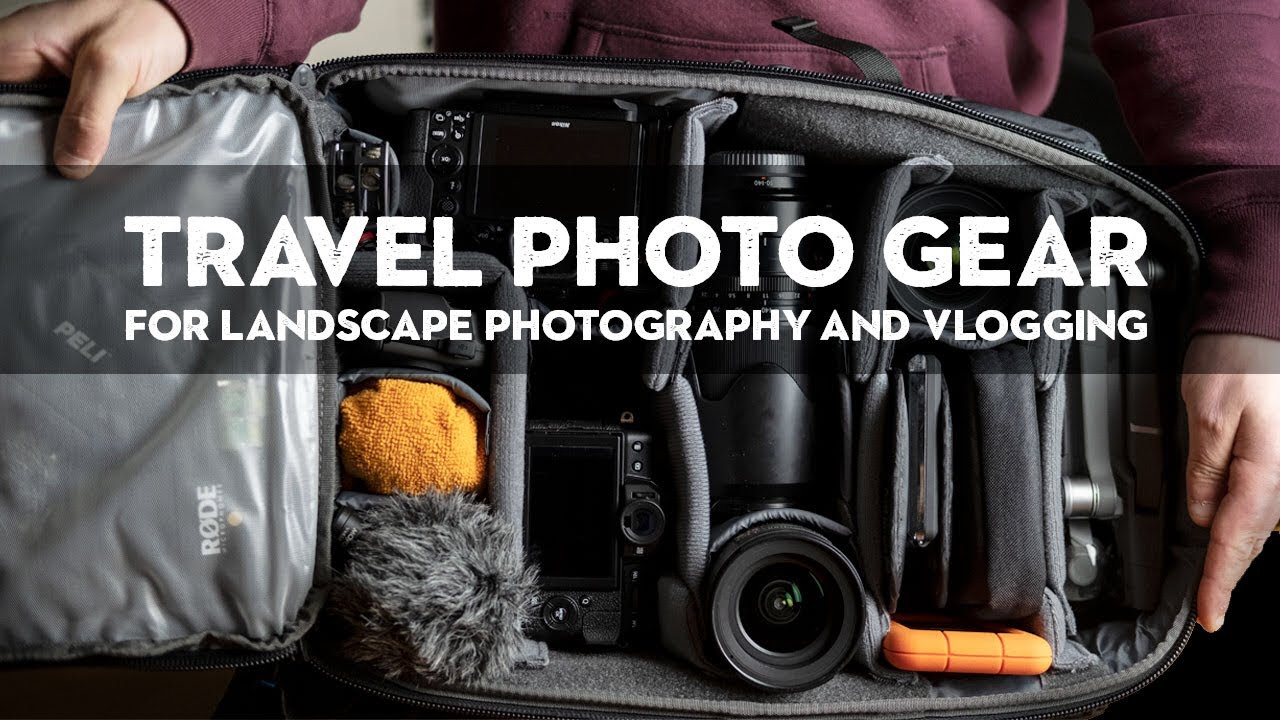
I’ve spent an embarrassing amount of time researching other photographers’ gear lists. Not because I’m chasing the same kit, but because the reasoning behind someone’s choices is often more useful than the choices themselves. When a working professional explains why they packed three lenses instead of five, or why one camera goes in the carry-on and another doesn’t, that’s real-world decision-making you can apply regardless of your budget. In this Nigel Danson tutorial, he does exactly that, walking through everything he brought to Iceland for a landscape photography workshop, including cameras, lenses, and the supporting accessories that actually made the trip work.
Watch the full tutorial on YouTube
What I appreciate about Danson’s approach is that he doesn’t just list gear. He admits when he overpacked, explains the trade-offs between his two camera systems, and even flags a lens he probably didn’t need. That kind of honesty is rare and it’s exactly what helps you make better decisions about your own kit.
Step 1: Choose a Carry-On Bag That Fits Your System
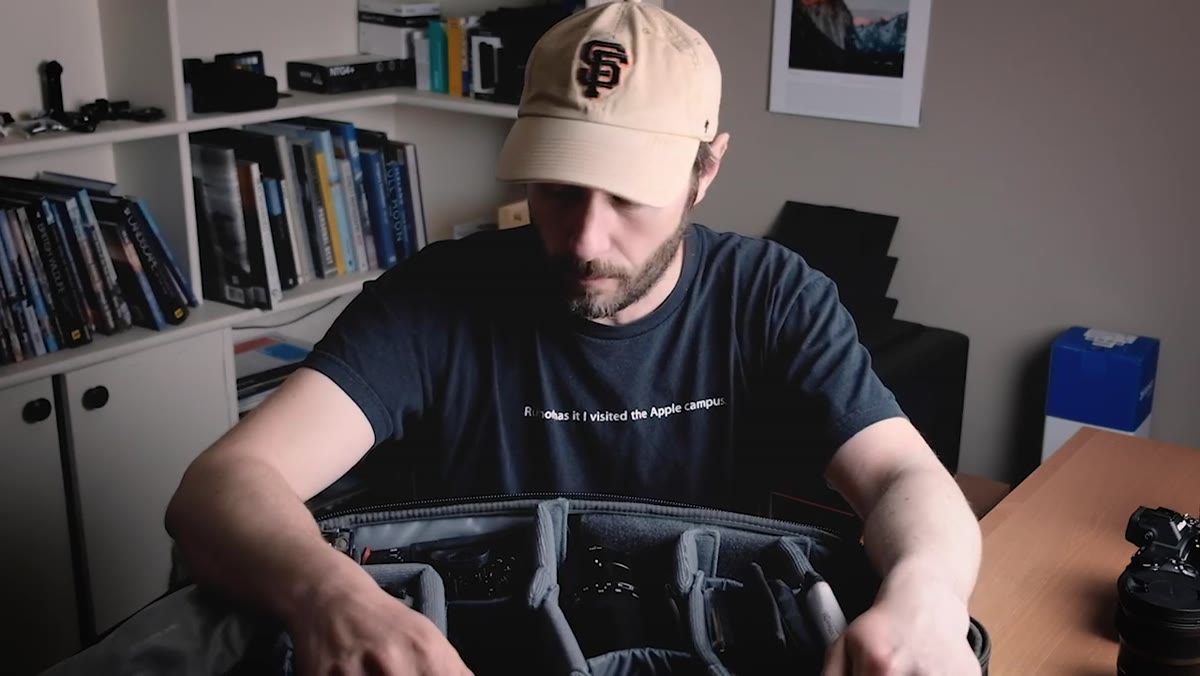
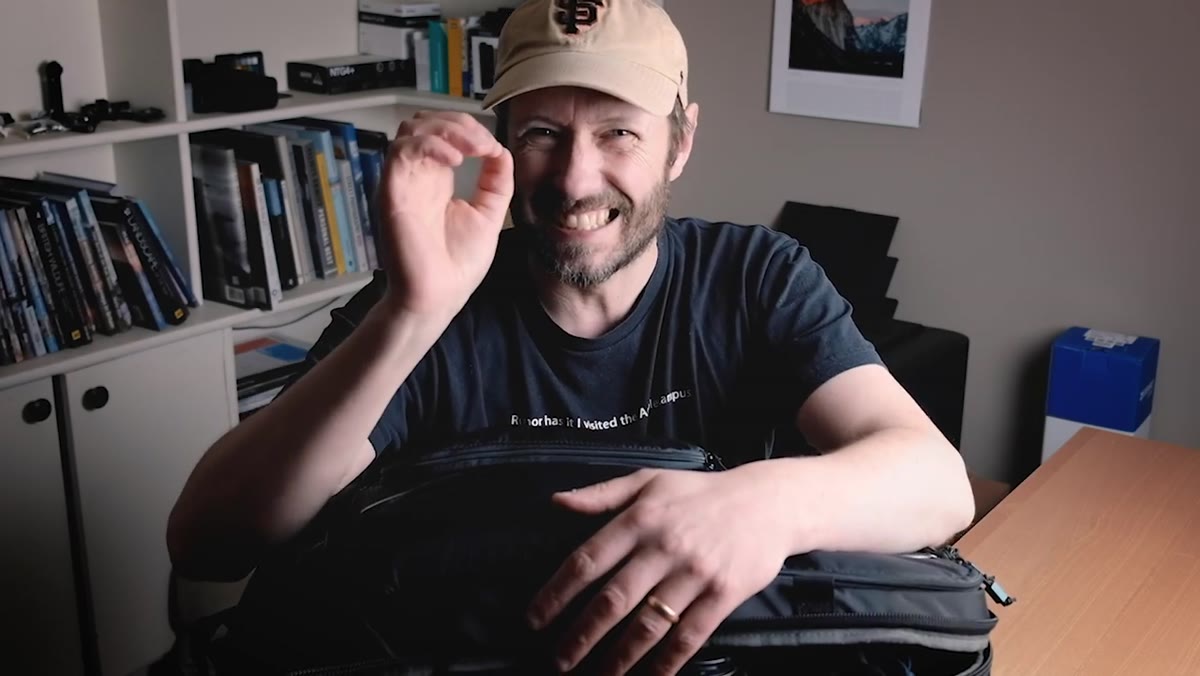 Nigel opening the Thule 32L backpack on a table
Danson uses a Thule 32L backpack as his main carry-on. He’s upfront that it’s slightly over the standard size limit for most airlines, but notes he’s always managed to get it through. The key advantage of this bag for mirrorless shooters is that it allows cameras to be stored lens-down, which saves vertical space and keeps the setup more stable. If you’re flying with gear, the carry-on is where your irreplaceable equipment belongs. Checked luggage gets thrown around. Your cameras and lenses do not go in the hold.
Nigel opening the Thule 32L backpack on a table
Danson uses a Thule 32L backpack as his main carry-on. He’s upfront that it’s slightly over the standard size limit for most airlines, but notes he’s always managed to get it through. The key advantage of this bag for mirrorless shooters is that it allows cameras to be stored lens-down, which saves vertical space and keeps the setup more stable. If you’re flying with gear, the carry-on is where your irreplaceable equipment belongs. Checked luggage gets thrown around. Your cameras and lenses do not go in the hold.
Step 2: Build Around One Primary Stills Camera
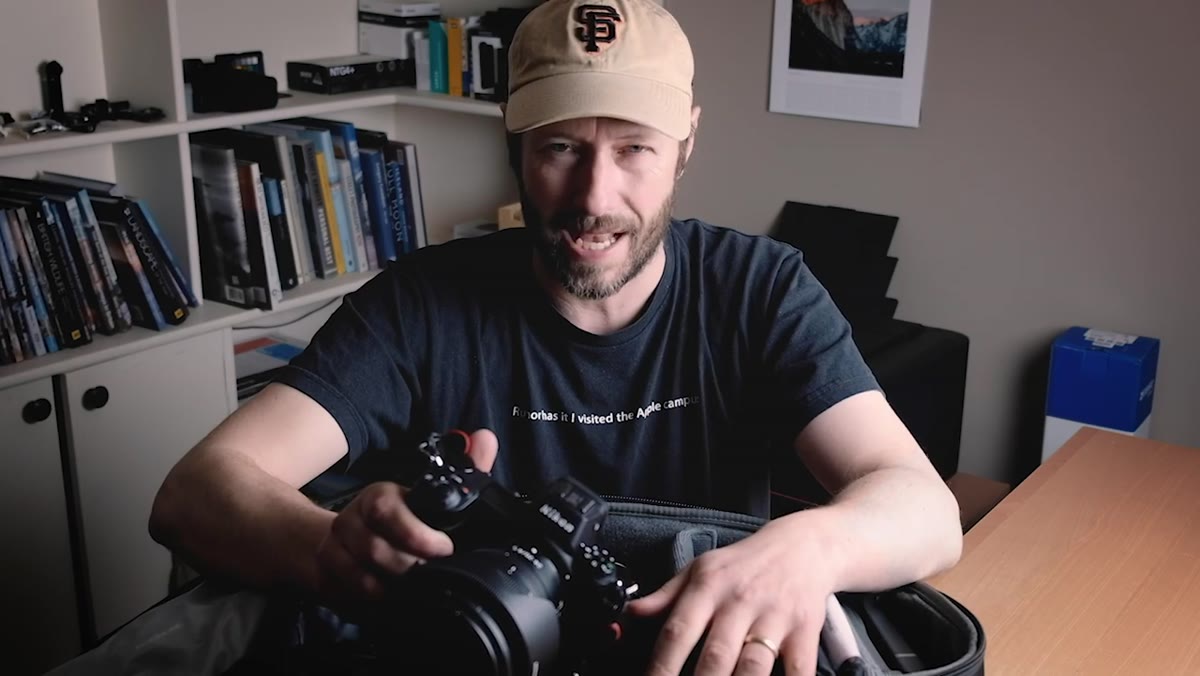
 Nikon Z7 with 24-70mm lens and L-bracket attached
His primary camera is the Nikon Z7, mounted with a 24-70mm lens and an L-bracket specifically fitted to that body. The L-bracket is worth calling out here because it’s one of those small accessories that changes how you work. It lets you switch between landscape and portrait orientation on a tripod without repositioning the whole head, which matters a lot when you’re shooting sunrises with a narrow window of good light. If you don’t already have one fitted to your main camera, fix that before your next trip.
Nikon Z7 with 24-70mm lens and L-bracket attached
His primary camera is the Nikon Z7, mounted with a 24-70mm lens and an L-bracket specifically fitted to that body. The L-bracket is worth calling out here because it’s one of those small accessories that changes how you work. It lets you switch between landscape and portrait orientation on a tripod without repositioning the whole head, which matters a lot when you’re shooting sunrises with a narrow window of good light. If you don’t already have one fitted to your main camera, fix that before your next trip.
Step 3: Add a Dedicated Video Camera as Your Second Body
 Fuji XT3 with Peak Design strap tabs visible
Rather than carrying two identical bodies, Danson splits the workload. The Nikon Z7 handles stills exclusively, while a Fuji XT3 handles most of the video work, particularly the talking-head footage where he’s explaining compositions in the field. This two-system approach makes sense if you’re producing content alongside shooting landscapes. The Fuji’s film simulation modes and video-focused features mean you’re not compromising either role. For most people shooting purely stills, a second body for backup is still worth the bag space, even if it’s an older model.
Fuji XT3 with Peak Design strap tabs visible
Rather than carrying two identical bodies, Danson splits the workload. The Nikon Z7 handles stills exclusively, while a Fuji XT3 handles most of the video work, particularly the talking-head footage where he’s explaining compositions in the field. This two-system approach makes sense if you’re producing content alongside shooting landscapes. The Fuji’s film simulation modes and video-focused features mean you’re not compromising either role. For most people shooting purely stills, a second body for backup is still worth the bag space, even if it’s an older model.
Step 4: Pack Lenses With Specific Roles, Not Overlapping Ranges
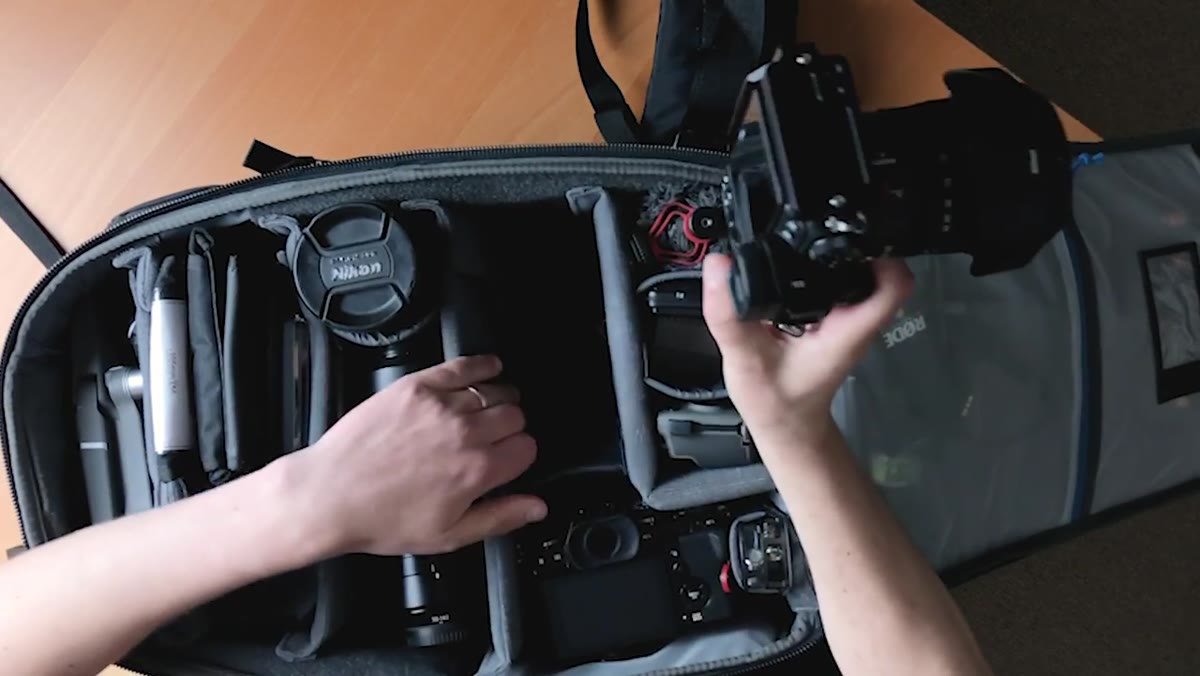
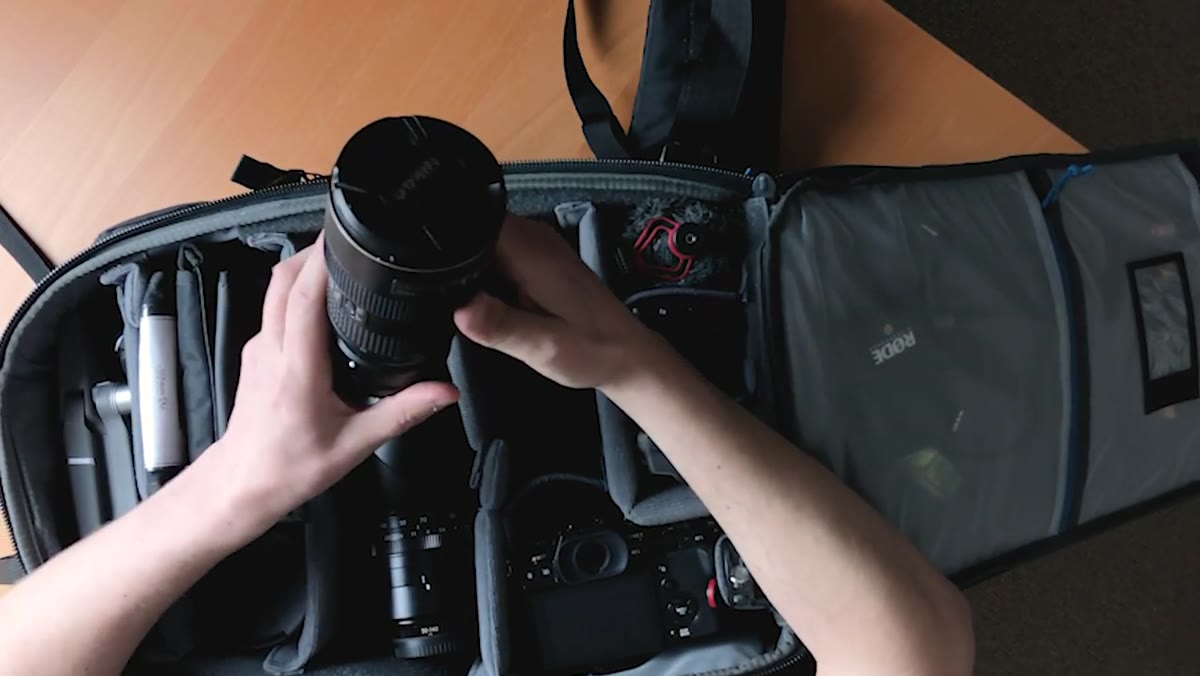 16-35mm wide angle lens with adapter for Z mount
Beyond the 24-70mm already on the Z7, Danson brings a 16-35mm wide angle with a lens adapter for the Z mount. He’s transparent that this lens has taken some damage over the years and he’s planning to replace it with a native Z-mount option. The adapter works, but native glass is sharper and smaller. The third lens is a Sigma 24mm f/1.4, brought specifically for astrophotography and for landscapes where he wants a shallow depth of field effect in the foreground. He acknowledges he didn’t use it as much as expected, which is a useful lesson: even experienced photographers occasionally overpack glass.
16-35mm wide angle lens with adapter for Z mount
Beyond the 24-70mm already on the Z7, Danson brings a 16-35mm wide angle with a lens adapter for the Z mount. He’s transparent that this lens has taken some damage over the years and he’s planning to replace it with a native Z-mount option. The adapter works, but native glass is sharper and smaller. The third lens is a Sigma 24mm f/1.4, brought specifically for astrophotography and for landscapes where he wants a shallow depth of field effect in the foreground. He acknowledges he didn’t use it as much as expected, which is a useful lesson: even experienced photographers occasionally overpack glass.
Step 5: Bring the Right Accessories, Skip the Rest
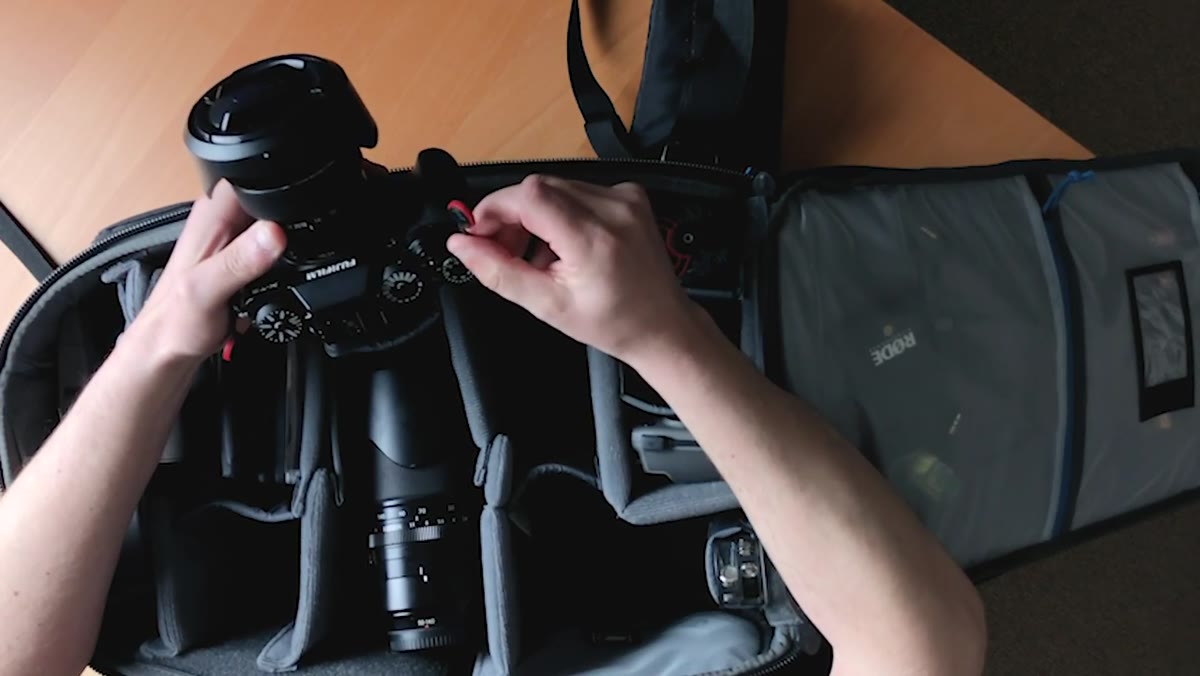 Peak Design strap system on the Fuji XT3
The Peak Design strap system gets a mention for good reason. The tab-and-clip setup lets you swap straps between cameras quickly and detach completely when the camera goes on a tripod. On a trip like Iceland where you’re moving between handheld and tripod work constantly, fumbling with a conventional strap wastes time and creates noise. Small accessories with clear functional value are worth every penny of the bag weight they add.
Peak Design strap system on the Fuji XT3
The Peak Design strap system gets a mention for good reason. The tab-and-clip setup lets you swap straps between cameras quickly and detach completely when the camera goes on a tripod. On a trip like Iceland where you’re moving between handheld and tripod work constantly, fumbling with a conventional strap wastes time and creates noise. Small accessories with clear functional value are worth every penny of the bag weight they add.
Step 6: Think About What You Left Out
 Nikon gear laid out showing no telephoto lens present
Danson specifically notes the absence of a long telephoto lens, and this is one of the more instructive moments in the video. Iceland is primarily a wide-angle destination. Waterfalls, glaciers, volcanic landscapes, these all compress better with a wider field of view. Packing a 400mm lens because you theoretically might see wildlife is a weight penalty that rarely pays off. Every trip has a “home range” focal length range, and packing outside of it usually means carrying dead weight. Know your location before you finalize your glass selection.
Nikon gear laid out showing no telephoto lens present
Danson specifically notes the absence of a long telephoto lens, and this is one of the more instructive moments in the video. Iceland is primarily a wide-angle destination. Waterfalls, glaciers, volcanic landscapes, these all compress better with a wider field of view. Packing a 400mm lens because you theoretically might see wildlife is a weight penalty that rarely pays off. Every trip has a “home range” focal length range, and packing outside of it usually means carrying dead weight. Know your location before you finalize your glass selection.
What Budget Shooters Can Actually Take From This
I’ll be straight with you: the Nikon Z7 and Sigma Art glass combination Danson is working with sits well outside most people’s budgets. But the framework he’s using is free. One primary body optimized for your main output, one secondary body for the other role, lenses with non-overlapping purposes, one or two small accessories that genuinely change how you work in the field. That’s a kit philosophy, not a price point.
I’ve tested this approach myself with much cheaper gear, and the discipline of assigning a clear job to each piece of equipment is what makes a travel kit functional rather than just heavy. When I started out, I shot with a single crop-sensor kit lens and had to be ruthless about how I used it. That constraint actually taught me more about focal length decisions than any upgrade I’ve made since. Danson’s kit costs more than most people’s cars, but his logic for building it is sound at any price.
The single most important thing to take from this tutorial is the idea that packing is an editorial decision. Every item you bring should have a specific job it does better than anything else in the bag. If two lenses cover similar ranges, one of them probably shouldn’t be there.
Watch the full tutorial on YouTube to see Danson walk through each piece of gear hands-on and explain the Iceland-specific decisions behind his kit.
Comments (2)
This should be required reading for anyone starting out.
I tried this on a client project yesterday and the results were way better than expected.
Leave a Comment