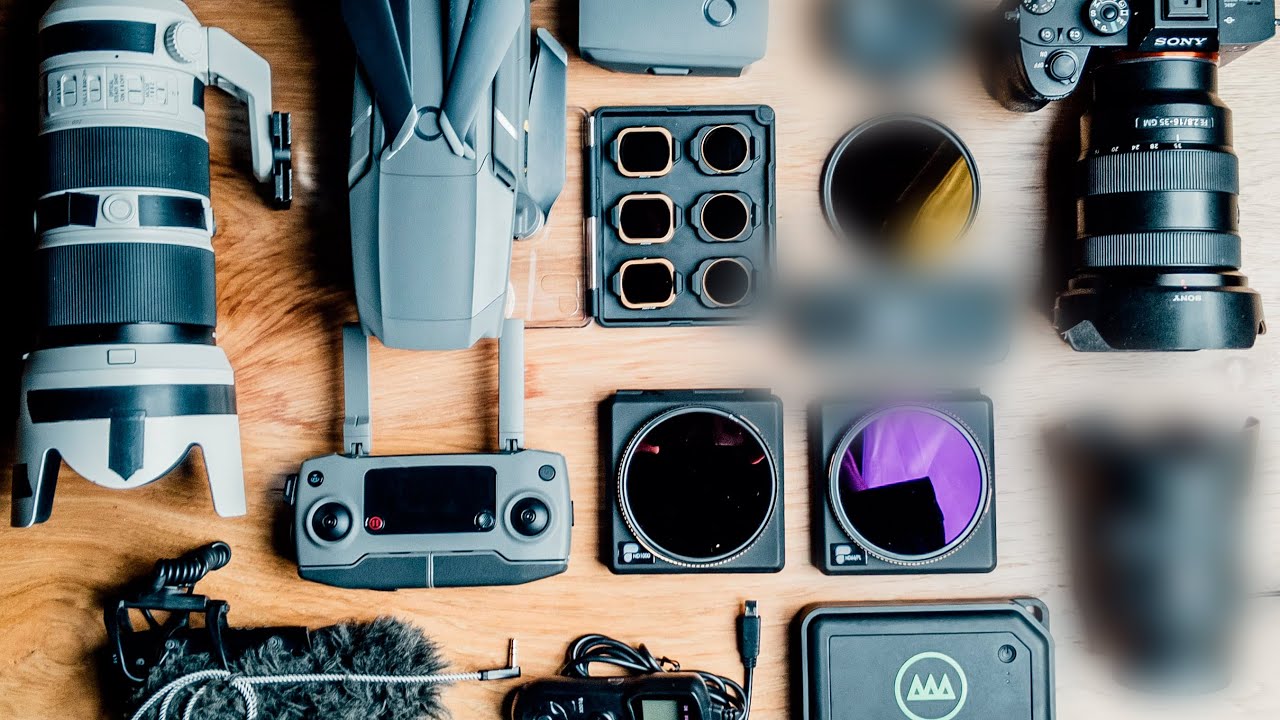
Every few months I’ll watch a gear video from a photographer whose work I respect, not to copy their kit, but to reverse-engineer their decision-making. The interesting stuff is never the gear itself. It’s why they kept something, why they almost cut it, and how they organize the bag for a real trip. That thought process is harder to find than another 4K lens review.
In this Pierre T. Lambert tutorial, filmed on location in California while he was preparing for a trip to Polynesia, Pierre walks through every piece of gear in his travel and street photography bag for 2019. Pierre shoots Sony mirrorless, runs a large YouTube following built around travel storytelling, and has the kind of long-term kit relationship most of us are still working toward. He’s not unboxing anything. He’s explaining why things stayed or got cut after years of real use. That framing is worth paying attention to. Watch the full tutorial on YouTube if you want to follow along.
What I pulled from this video isn’t a shopping list. It’s a packing philosophy that holds up whether you’re spending $500 or $5,000.
Step 1: Start With the Bag Itself, Not the Gear Inside
 F-stop camera backpack shown from outside on location
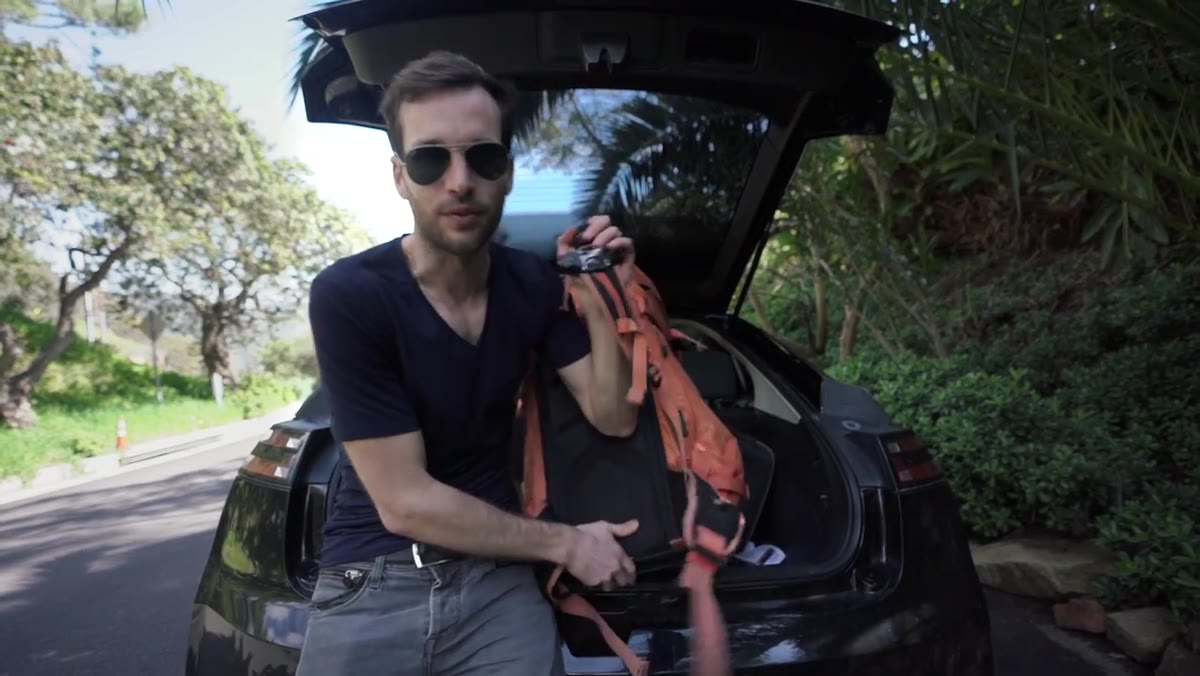
Pierre opens with the bag before touching a single lens, and that’s the right instinct. He’s been using the F-stop Anja pack for about three years. It’s gone through sand, snow, rain, and ocean spray, and it’s still functional. The lesson isn’t “buy this bag.” It’s that a bag you trust completely disappears from your mind on a trip. One that’s failing takes up mental space you need for shooting.
F-stop camera backpack shown from outside on location
Pierre opens with the bag before touching a single lens, and that’s the right instinct. He’s been using the F-stop Anja pack for about three years. It’s gone through sand, snow, rain, and ocean spray, and it’s still functional. The lesson isn’t “buy this bag.” It’s that a bag you trust completely disappears from your mind on a trip. One that’s failing takes up mental space you need for shooting.
The more important detail is the ICU, which stands for Internal Camera Unit. It’s a removable padded insert that customizes the interior layout. Pierre recently upgraded from a medium ICU to a larger one to accommodate more gear for Polynesia. If you’re evaluating any modular bag system, this kind of adaptability matters more than the outer shell’s branding.
Step 2: Attach Your Camera Carry System Before You Leave the Hotel
 Peak Design clip system mounted on outside of bag strap
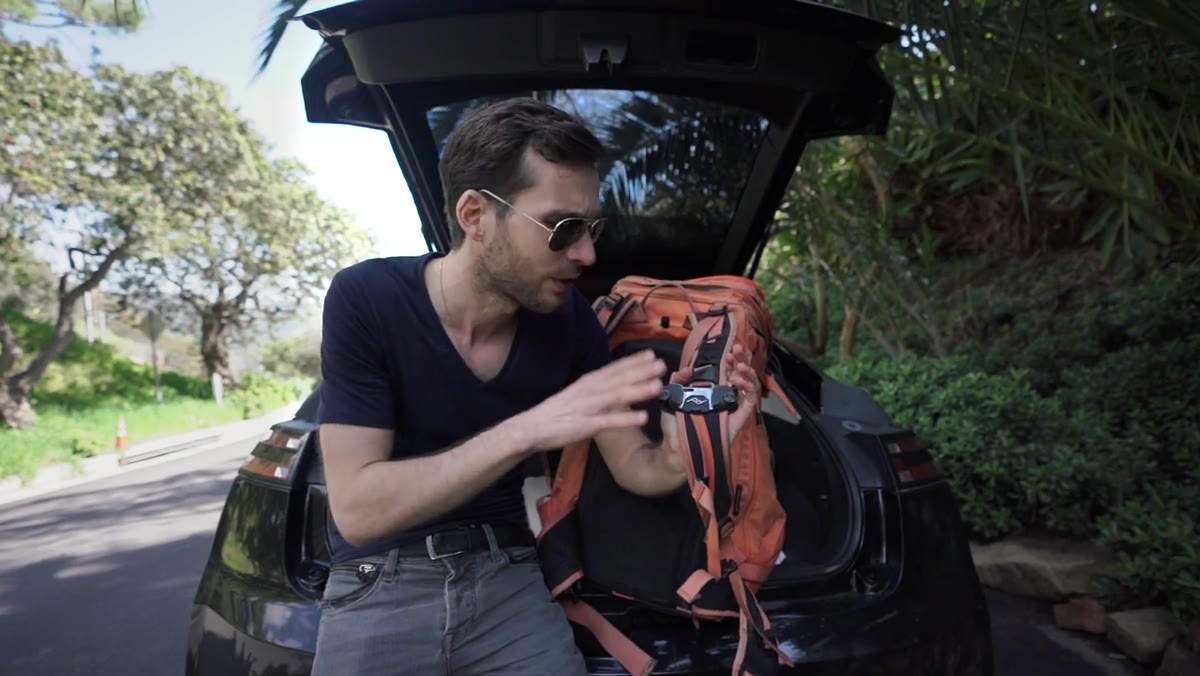
On the outside of the bag, Pierre keeps a Peak Design capture clip system. He’s had it for over a year and uses it daily. The camera lives on this clip whenever he’s moving between shots, so it’s always accessible without digging into the bag.
Peak Design clip system mounted on outside of bag strap
On the outside of the bag, Pierre keeps a Peak Design capture clip system. He’s had it for over a year and uses it daily. The camera lives on this clip whenever he’s moving between shots, so it’s always accessible without digging into the bag.
For street and travel work, the difference between a camera on a clip and a camera buried in a bag can be the difference between getting a shot and missing it. I’ve tested a few off-brand capture clip alternatives that run a fraction of the price, and while the budget versions do work, the locking mechanism on the real Peak Design holds tighter. This is one of the few accessories where I’d tell you the name-brand version earns its price.
Step 3: Pack Your Heaviest Lens at the Bottom
 Sony 70-200mm f/2.8 lens placed at the bottom of the ICU
Pierre places his Sony 70-200mm f/2.8 at the bottom of the ICU first. This is a hiking and backpacking principle that translates directly to camera bags. Heavy weight low in the pack keeps the load close to your center of gravity and reduces fatigue over a long shooting day.
Sony 70-200mm f/2.8 lens placed at the bottom of the ICU
Pierre places his Sony 70-200mm f/2.8 at the bottom of the ICU first. This is a hiking and backpacking principle that translates directly to camera bags. Heavy weight low in the pack keeps the load close to your center of gravity and reduces fatigue over a long shooting day.
The 70-200 is also the lens Pierre debates cutting most often. For city street work, he’d leave it home and travel with just an 85mm f/1.8 for the weight savings. But for a destination trip like Polynesia, where he wants compression and the ability to punch in even further using Sony’s APS-C crop mode to simulate roughly 300mm, the zoom earns its spot. That kind of honest cost-benefit thinking, per trip rather than in general, is how you build a kit that doesn’t weigh you down.
Step 4: Choose Your Primary Body Based on Your Priority, Low Light or Resolution
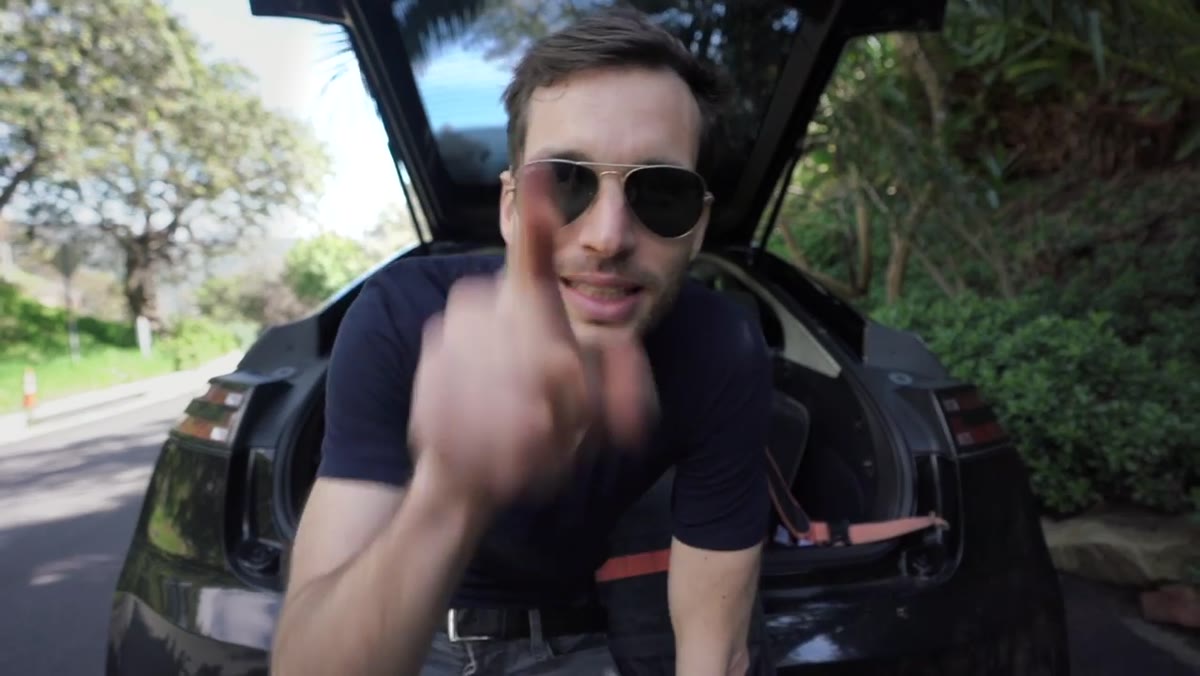 Sony A7R III body removed from bag and held up to camera
Pierre shoots on the Sony A7R III, which he’s had since launch. His reason for choosing it over the A7S III is straightforward: he wants the resolution for cropping flexibility. But he calls out the tradeoff directly. If your priority is low-light video performance, the A7S line is the better tool. Neither answer is wrong. They’re just different jobs.
Sony A7R III body removed from bag and held up to camera
Pierre shoots on the Sony A7R III, which he’s had since launch. His reason for choosing it over the A7S III is straightforward: he wants the resolution for cropping flexibility. But he calls out the tradeoff directly. If your priority is low-light video performance, the A7S line is the better tool. Neither answer is wrong. They’re just different jobs.
This is the kind of spec clarity that saves people from expensive mistakes. Identify the one or two things that matter most to how you actually shoot, then match the body to those priorities. Don’t buy resolution you’ll never use because the spec sheet looks impressive.
Step 5: Match Your Microphone to Your Use Case, Then Stick With It
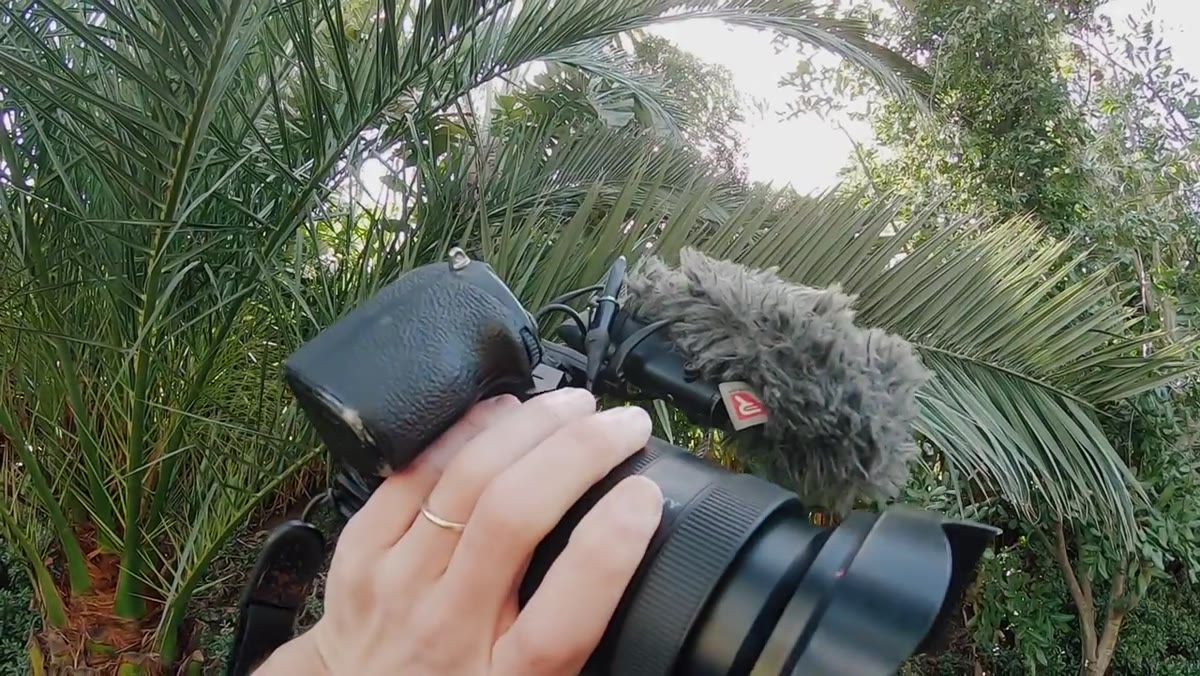 Shure VP83 microphone shown alongside camera body
For audio, Pierre runs the Shure VP83 shotgun microphone and has for three years. His one complaint is that the cable connection has needed some attention over time. But he keeps it because the audio quality hasn’t let him down.
Shure VP83 microphone shown alongside camera body
For audio, Pierre runs the Shure VP83 shotgun microphone and has for three years. His one complaint is that the cable connection has needed some attention over time. But he keeps it because the audio quality hasn’t let him down.
Three years with one microphone is a signal. A lot of travel shooters cycle through audio gear constantly chasing marginal improvements. If something works reliably across three years and multiple continents, that’s more useful information than any review I could write after two weeks with a unit.
Step 6: Build the Rest of the ICU Around the Anchor Pieces
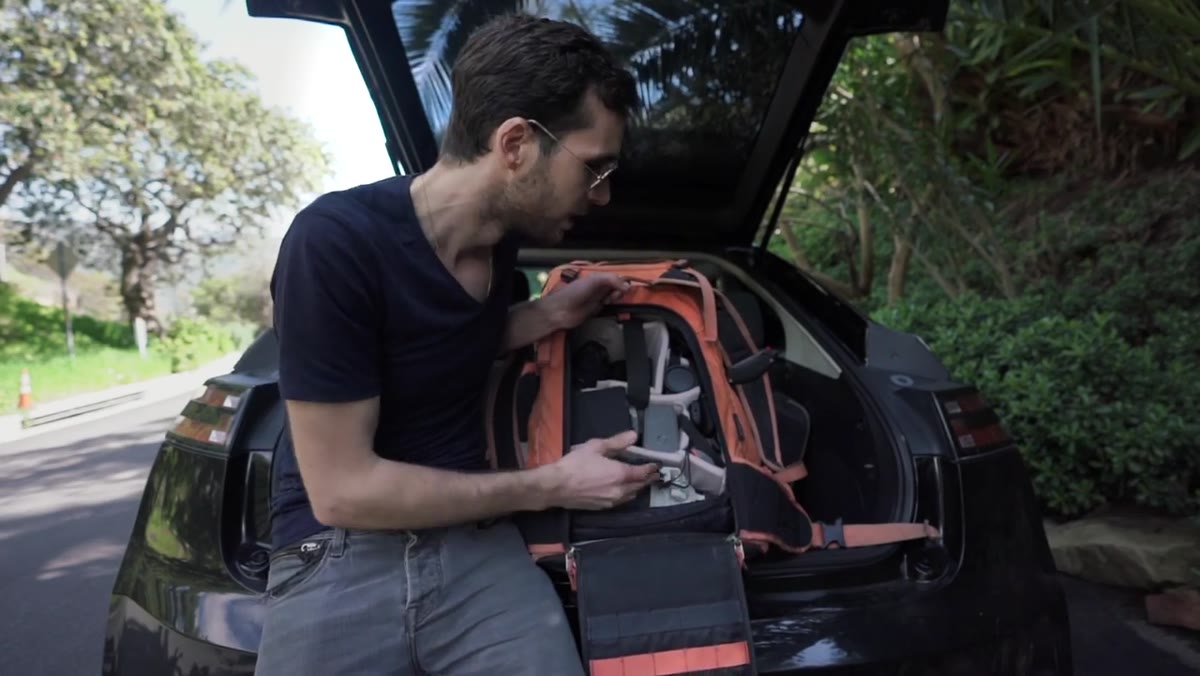 Full ICU contents being organized from bottom to top
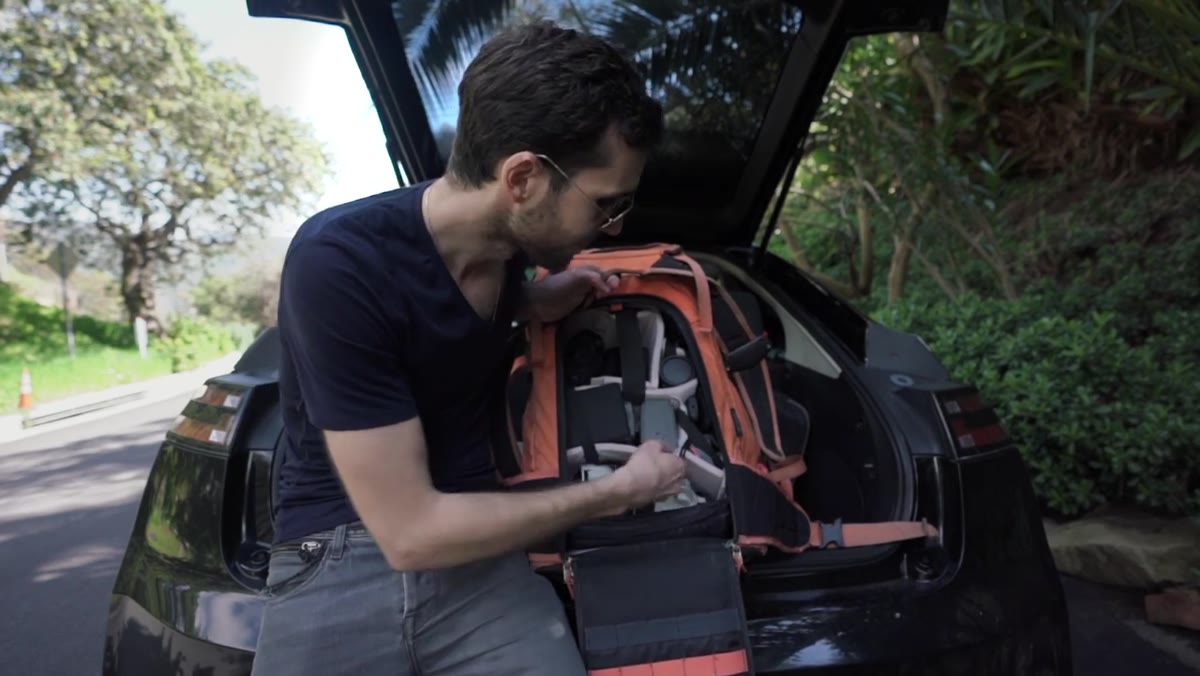
Once the heaviest items are placed, Pierre fills the remaining ICU space from bottom to top by weight. This isn’t complicated, but it’s easy to skip when you’re packing in a hurry. The result is a bag that sits better on your back and protects optics from rattling against each other.
Full ICU contents being organized from bottom to top
Once the heaviest items are placed, Pierre fills the remaining ICU space from bottom to top by weight. This isn’t complicated, but it’s easy to skip when you’re packing in a hurry. The result is a bag that sits better on your back and protects optics from rattling against each other.
The upgrade from a medium to large ICU for this particular trip also demonstrates something worth remembering. Your bag configuration should change based on the assignment. A fixed layout that works for a city weekend won’t necessarily serve you on a two-week island trip where you want every lens you own within reach.
What I’d Add From My Own Testing
Pierre’s gear selections are thoughtful, but they’re also pro-budget gear at every line. That 70-200 f/2.8 from Sony is a serious investment, and the A7R III body isn’t cheap either. The framework he’s using, evaluating by trip type, putting heavy items low, choosing one primary body and knowing its tradeoff, applies just as well to a $600 kit.
The ICU concept especially translates down-market. Several third-party modular inserts exist at a fraction of F-stop’s pricing. I’ve used the Shimoda designs and a few generic Amazon inserts. The quality gap is real but not always deal-breaking depending on how hard you travel. If you’re doing weekend trips twice a year, a $25 padded insert works fine. If you’re pulling the bag out of boats in saltwater, spend the money on the real thing.
The biggest takeaway from this video isn’t any specific piece of gear. It’s that Pierre has a reason for everything in that bag, and an honest answer for everything he’s considering cutting. That level of intentionality is free. It just takes time to build.
Watch the full tutorial on YouTube to see the complete kit breakdown and Pierre’s full packing walkthrough in sequence.
Comments (2)
Love how you break down complex stuff into manageable steps.
I keep coming back to this article. It's that useful.
Leave a Comment