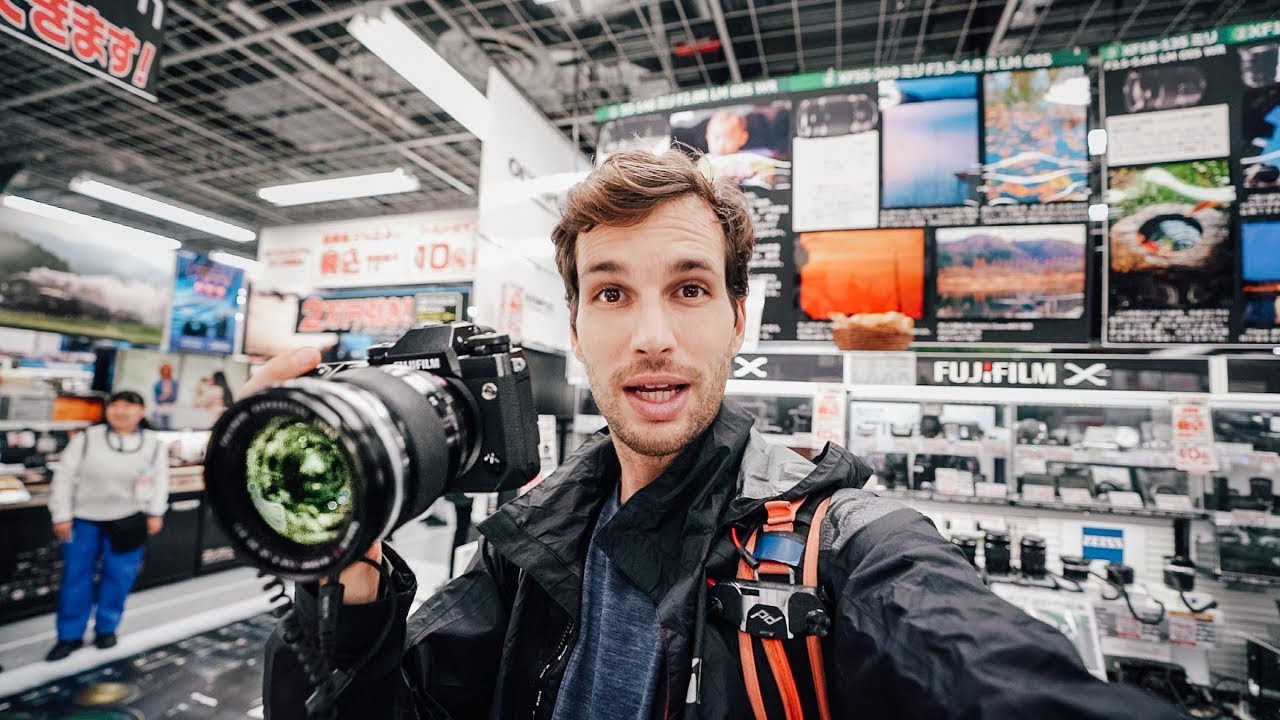
There’s a version of gear addiction that looks responsible. You tell yourself you’re just researching. You watch reviews, read forums, compare MTF charts. I know this cycle intimately because I’ve lived it, and honestly, building a spreadsheet comparing every budget lens I’ve tested is basically my personality at this point. The trap isn’t wanting better gear. The trap is confusing hands-on testing with buying decisions made from spec sheets alone. That’s exactly why a video like this one caught my attention.
In this Pierre T. Lambert tutorial, Pierre walks through Yodobashi Camera in Tokyo, one of the largest camera retail stores on the planet, and does something most of us never get to do before spending money: he actually picks up the lenses, mounts them, and shoots through them on the spot. Watch the full tutorial on YouTube. The store spans multiple floors and stocks everything from entry-level kit lenses to cinema glass most photographers will never afford. What Pierre pulls out of this visit is more useful than any spec comparison because it comes from feel, image quality, and real-world handling rather than marketing copy.
What follows is a breakdown of the practical lessons from his walkthrough, translated into a framework you can use whether you’re shopping in Tokyo, a local camera shop, or just narrowing down your next purchase online.
Step 1: Go In With a Focal Length Priority, Not a Brand Loyalty
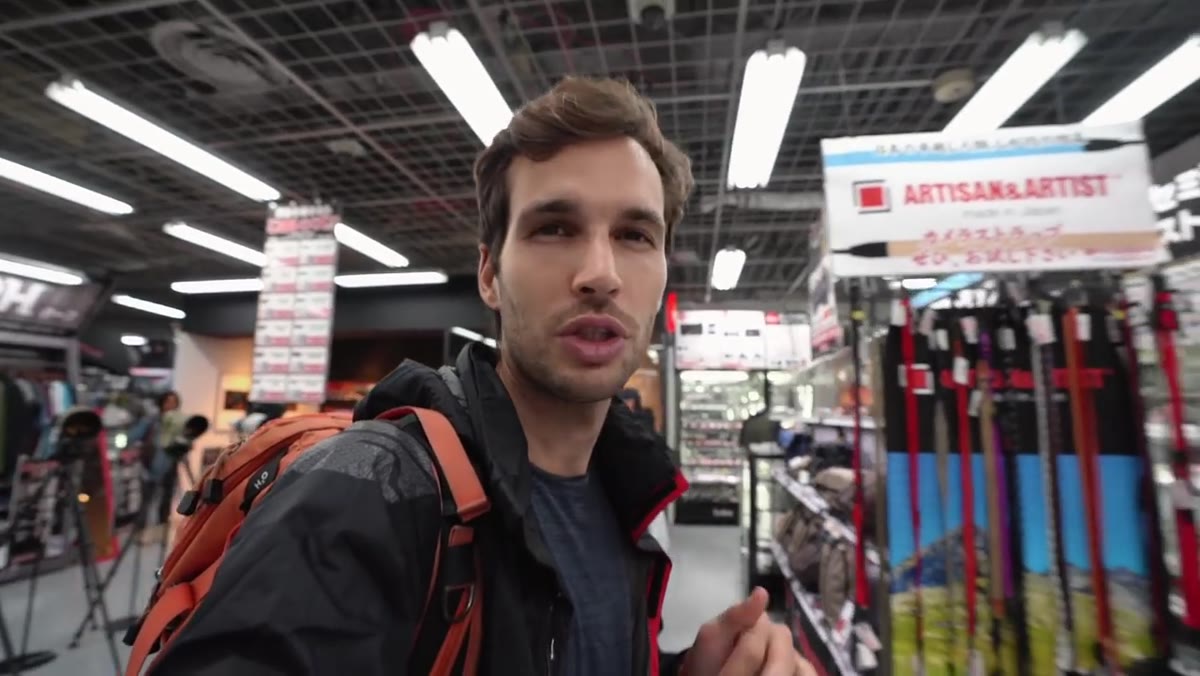 Pierre scanning Sigma lens shelf, discussing Sony versions
Pierre enters the store already knowing what he wants to evaluate: Sigma lenses, specifically whether their Sony E-mount versions are available yet. This isn’t browsing. It’s targeted testing. Before you walk into any camera store (or open a product page), decide which focal length gap you’re actually trying to fill. If you shoot street and portraits, your 35mm and 85mm slots matter more than chasing a 70-200 because it looks impressive on a shelf. Pierre’s focus on Sigma’s lineup for Sony is a reminder that third-party lenses deserve serious attention, especially when the optical performance-to-price ratio is strong.
Pierre scanning Sigma lens shelf, discussing Sony versions
Pierre enters the store already knowing what he wants to evaluate: Sigma lenses, specifically whether their Sony E-mount versions are available yet. This isn’t browsing. It’s targeted testing. Before you walk into any camera store (or open a product page), decide which focal length gap you’re actually trying to fill. If you shoot street and portraits, your 35mm and 85mm slots matter more than chasing a 70-200 because it looks impressive on a shelf. Pierre’s focus on Sigma’s lineup for Sony is a reminder that third-party lenses deserve serious attention, especially when the optical performance-to-price ratio is strong.
If you’re shopping online and can’t test in person, use this same filter: identify the one focal length you reach for most and research three lenses in that range across different price tiers. Don’t let the store, or the algorithm, decide what you need.
Step 2: Handle Bodies for Ergonomics Before You Judge Specs
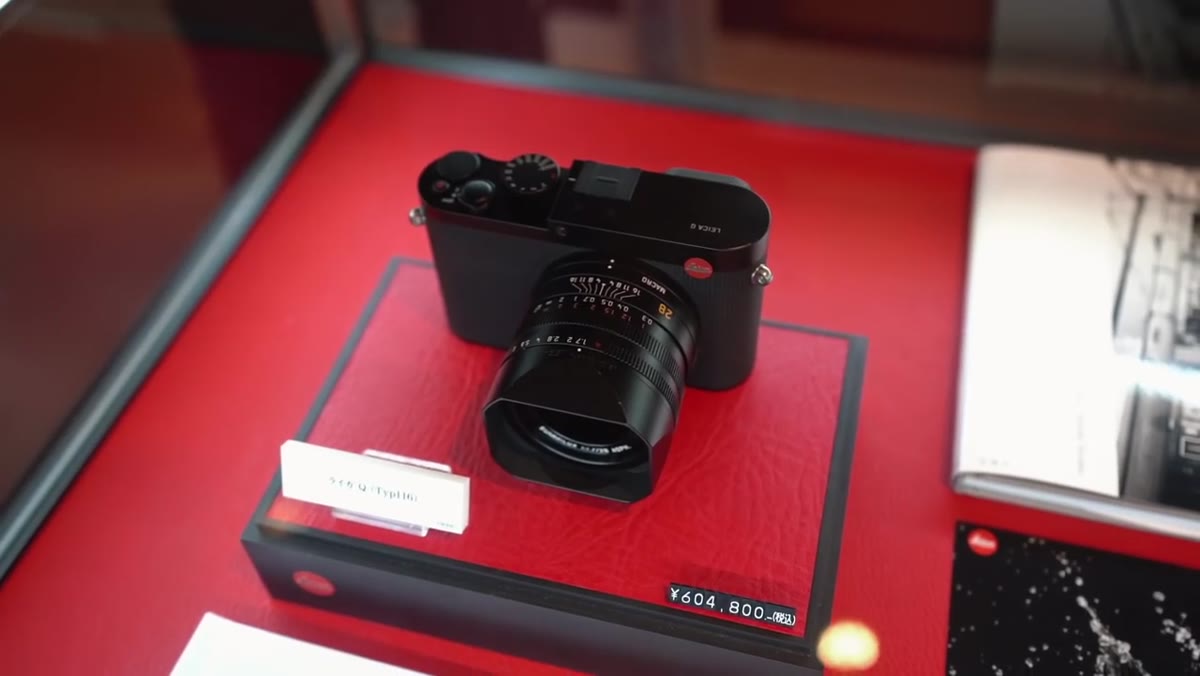 Pierre holding a large DSLR body, commenting on grip
Pierre picks up a larger DSLR body and immediately notes it feels too big without a substantial grip. This is something no product page tells you. He had considered the Canon D850-class body size before settling on the Sony A7R III, and the hands-on comparison confirmed his decision. Ergonomics affect how long you shoot, whether you get the shot in unpredictable situations, and how much strain you carry home after a long day.
Pierre holding a large DSLR body, commenting on grip
Pierre picks up a larger DSLR body and immediately notes it feels too big without a substantial grip. This is something no product page tells you. He had considered the Canon D850-class body size before settling on the Sony A7R III, and the hands-on comparison confirmed his decision. Ergonomics affect how long you shoot, whether you get the shot in unpredictable situations, and how much strain you carry home after a long day.
When you’re evaluating a body, hold it for at least five minutes with the heaviest lens you plan to use regularly. Pierre notes that even a 60mm f/2.8 felt oversized on a large DSLR body. Balance matters as much as specs. If a body forces you to grip awkwardly to reach the shutter, you’ll feel it on long shoots.
Step 3: Test Wide Aperture Lenses at Their Widest First
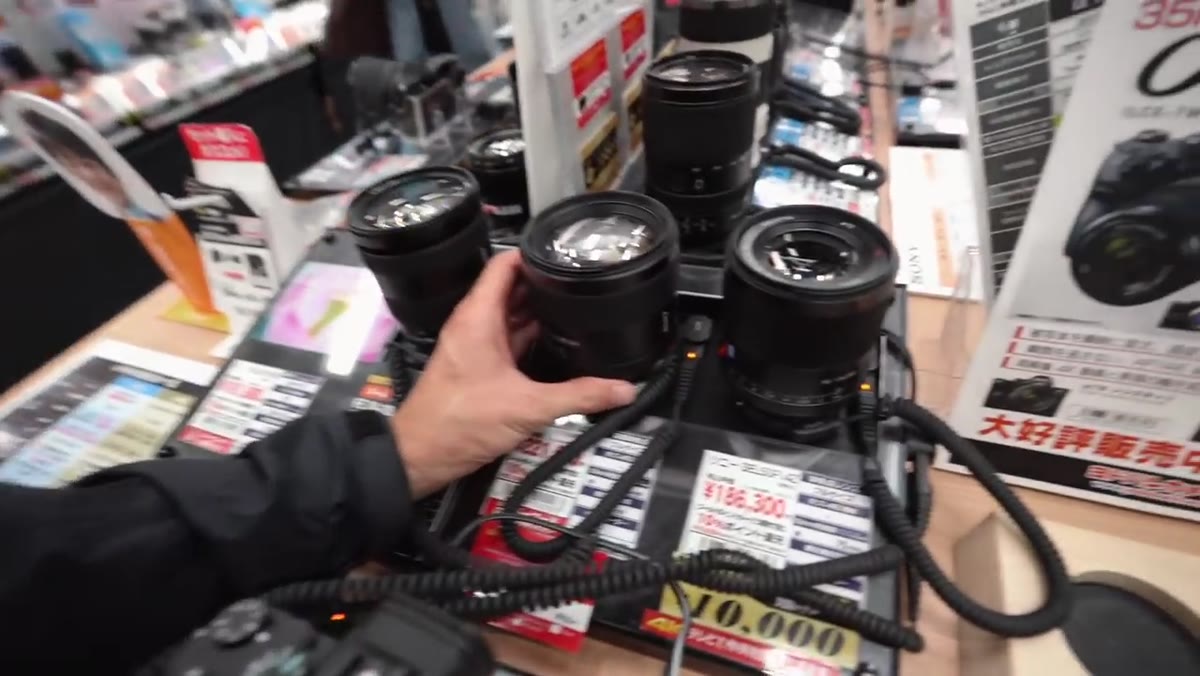 Pierre looking through 85mm f/1.4 Sony lens in store
Pierre picks up the Sony 85mm f/1.4 and immediately shoots wide open. His reaction is immediate: the bokeh is striking, the rendering is beautiful, and the depth of field is dramatic. This is the right testing sequence. Wide aperture lenses are sold on their wide-open character. If you’re spending the money for f/1.4, the stopped-down performance is almost always acceptable. What you’re actually buying is how the lens renders at its widest setting.
Pierre looking through 85mm f/1.4 Sony lens in store
Pierre picks up the Sony 85mm f/1.4 and immediately shoots wide open. His reaction is immediate: the bokeh is striking, the rendering is beautiful, and the depth of field is dramatic. This is the right testing sequence. Wide aperture lenses are sold on their wide-open character. If you’re spending the money for f/1.4, the stopped-down performance is almost always acceptable. What you’re actually buying is how the lens renders at its widest setting.
When testing a fast prime in store, shoot a static subject at f/1.4 or f/1.8, then check the result on the camera’s LCD zoomed to 100 percent. Look for focus accuracy, corner softness, and how the out-of-focus areas render. Don’t let a salesperson show you the image on the store screen at default zoom. Pixel peep it yourself.
Step 4: Flag Autofocus Hunting as a Deal-Breaker, Not a Quirk
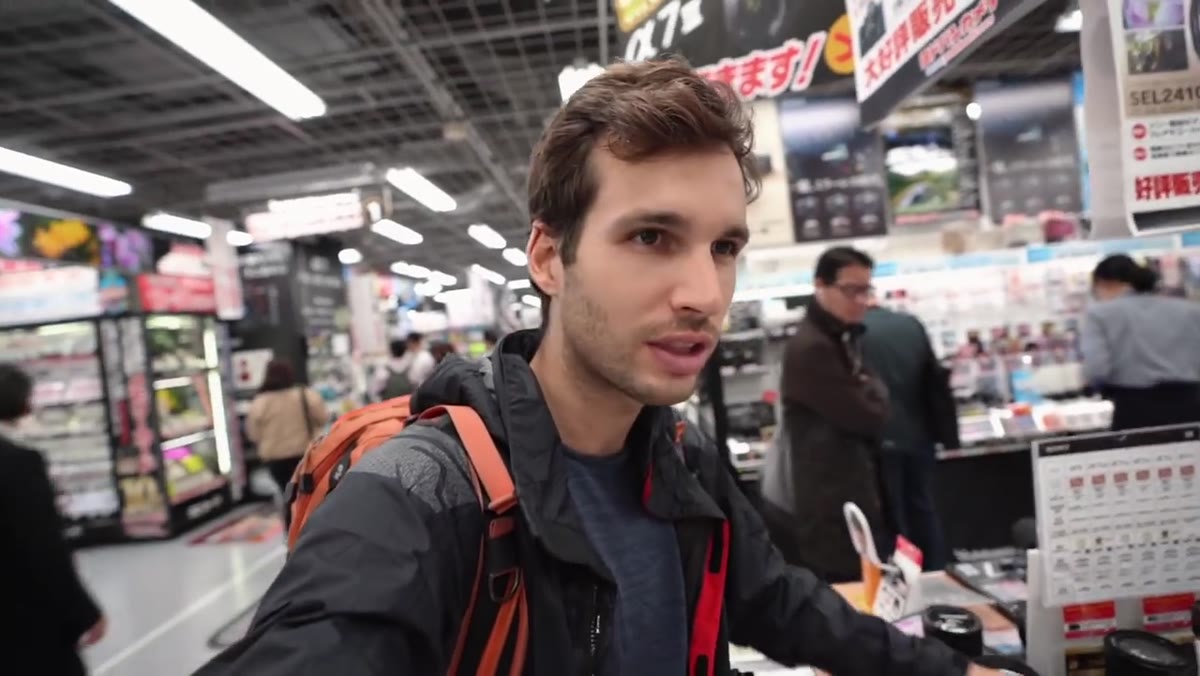 Pierre testing 50mm f/1.4, noting focus hunting issues
Pierre tests a 50mm f/1.4 and flags that it was hunting more than he expected. He was hoping for better. This is a detail that gets buried in written reviews but shows up immediately in real-world use. Autofocus hunting, where the lens racks back and forth before locking, is painful for video work and frustrating for any fast-moving subject. It also suggests the lens may struggle in lower light where it has less contrast to lock onto.
Pierre testing 50mm f/1.4, noting focus hunting issues
Pierre tests a 50mm f/1.4 and flags that it was hunting more than he expected. He was hoping for better. This is a detail that gets buried in written reviews but shows up immediately in real-world use. Autofocus hunting, where the lens racks back and forth before locking, is painful for video work and frustrating for any fast-moving subject. It also suggests the lens may struggle in lower light where it has less contrast to lock onto.
If you’re testing a lens in store, wave your hand slowly in front of the subject while in continuous autofocus mode. If the system hesitates or loses lock, that’s how it’ll behave on the street or at an event. Don’t assume the store lighting is the problem. Assume it’s a preview of performance.
Step 5: Compare Ultra-Wide Options Back-to-Back, Not in Isolation
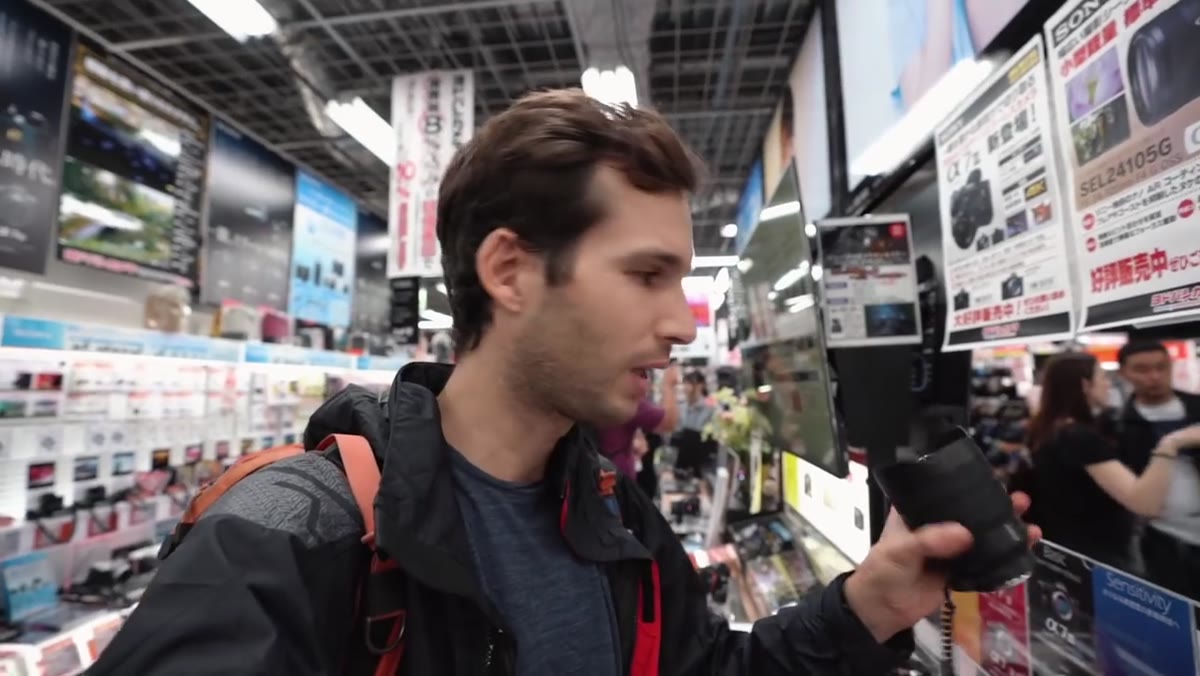 Pierre switching to 12-24mm lens, reacting to field of view
Pierre compares a 16-35mm against a 12-24mm by actually swapping them and shooting the same scene. The difference is immediate and dramatic on camera. He notes that the 16-35 already gives strong wide-angle coverage on a full-frame body, but the 12-24 is a different tool entirely, better suited for landscape work where you can get close to a foreground subject and still retain sky and context.
Pierre switching to 12-24mm lens, reacting to field of view
Pierre compares a 16-35mm against a 12-24mm by actually swapping them and shooting the same scene. The difference is immediate and dramatic on camera. He notes that the 16-35 already gives strong wide-angle coverage on a full-frame body, but the 12-24 is a different tool entirely, better suited for landscape work where you can get close to a foreground subject and still retain sky and context.
The lesson here applies directly to buying decisions: if you’re torn between two wide zooms, the answer almost always comes down to whether you shoot architecture or landscape where the extra width justifies the trade-offs in size and price. If you shoot travel or street, 16-35 coverage is usually enough, and the lens will be more versatile day-to-day.
Step 6: Factor in the System Cost, Not Just the Lens Price
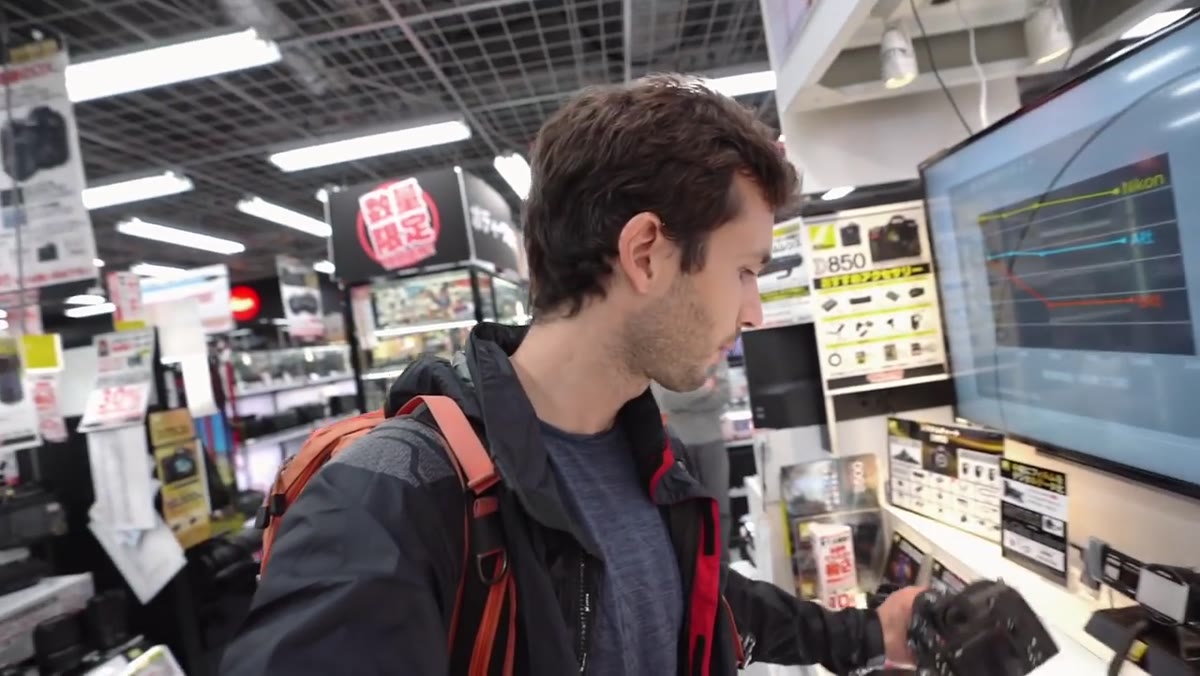 Pierre discussing his Sony A7R III choice versus larger DSLRs
Pierre explains why he passed on a larger Canon body even though he liked the menu system: he would have needed to rebuild his glass collection. He already owned the Sony-compatible glass that mattered most to him, and switching systems would have reset that investment entirely. This is a calculation that’s easy to ignore when a shiny new body is in your hands.
Pierre discussing his Sony A7R III choice versus larger DSLRs
Pierre explains why he passed on a larger Canon body even though he liked the menu system: he would have needed to rebuild his glass collection. He already owned the Sony-compatible glass that mattered most to him, and switching systems would have reset that investment entirely. This is a calculation that’s easy to ignore when a shiny new body is in your hands.
Before any system upgrade, list every lens you own and price out its nearest equivalent in the new system. Include adapters if you’re planning to use legacy glass. The body is almost never the expensive part of switching.
What I’d Add From My Own Testing
Pierre’s approach to this store visit mirrors how I evaluate gear, but from the opposite end of the price spectrum. The handling test he runs on expensive Sony primes is the same test I run on lenses that cost a tenth of the price. Autofocus behavior, bokeh rendering at maximum aperture, and ergonomic balance on the body you actually own are universal quality signals regardless of price tier. The times I’ve done side-by-side comparisons at local meetups, budget lenses that get these fundamentals right consistently surprise people who assume price equals performance. The focal length and aperture you choose matter more than the brand name on the barrel.
The single most transferable lesson from Pierre’s Tokyo camera run is this: test the thing before you trust the spec sheet, and test it in the conditions that match how you actually shoot. Controlled store lighting with a static subject tells you something. It doesn’t tell you everything. Build your gear decisions on as many real-world data points as you can gather before the money leaves your account.
Watch the full tutorial on YouTube to see Pierre’s live reactions and the full Yodobashi walkthrough, including the cinema lens section that’s worth a look even if you’re nowhere near that budget.
Comments (1)
I keep coming back to this article. It's that useful.
Leave a Comment