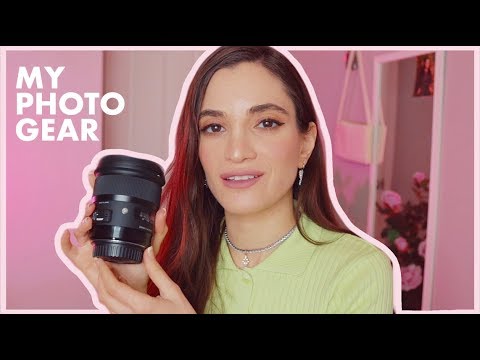
Every time I publish a gear roundup, I get the same email: “Tyler, what camera should I actually buy?” Not what’s newest. Not what some influencer is sponsored to use. What actually works on real shoots, week after week. That question is hard to answer in the abstract, which is why I pay close attention when working photographers walk through their kits honestly, without a sponsorship baked into every pick.
In this Jessica Kobeissi tutorial from 2020, she does exactly that. She lays out the full contents of her camera bag: digital bodies, lenses, film gear, accessories, all of it. What caught my attention wasn’t the price tags on her equipment. It was how clearly she articulated why each piece earned its spot. That’s the kind of reasoning most gear videos skip entirely, and it’s the part that actually transfers to your own buying decisions.
I’ve been reviewing budget gear long enough to know that the specific body or lens matters less than understanding the logic behind choosing it. Jessica’s breakdown gives you that logic in plain terms. Here’s what she covers, and how I’d translate it for photographers who aren’t working with a pro’s budget. Watch the full tutorial on YouTube
Step 1: Start With Your Go-To Combo, Not Your Dream Combo
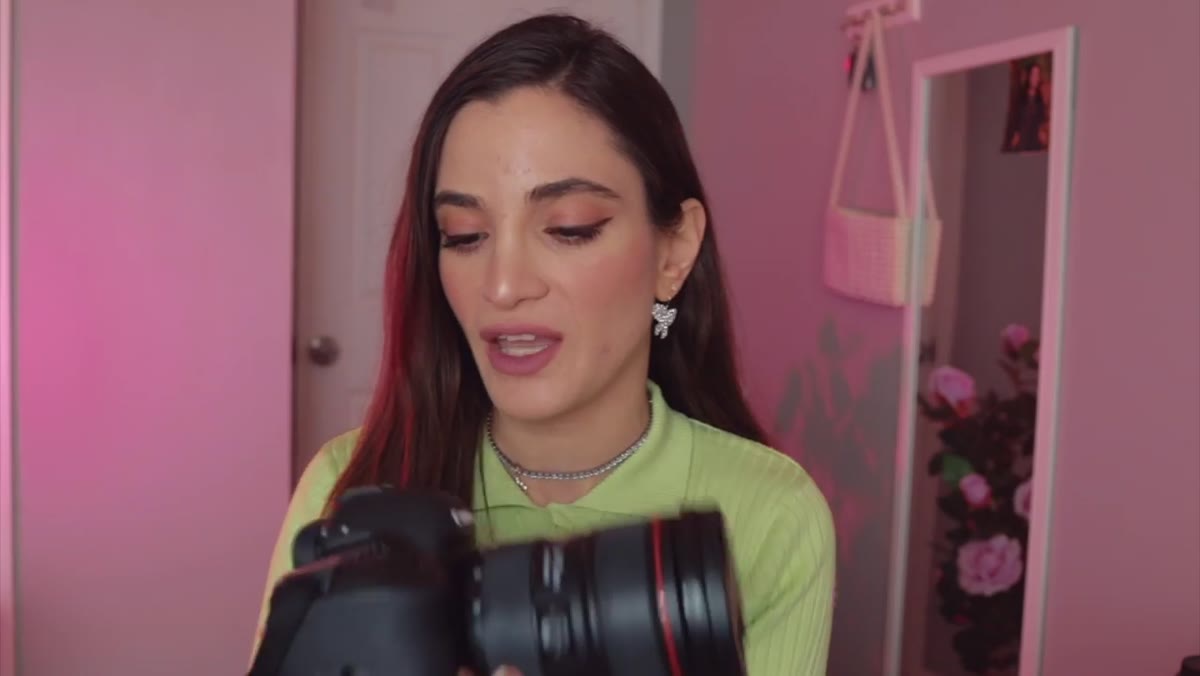 Jessica holding Canon 5D Mark IV with 24-70mm lens
Jessica opens with the setup she reaches for on almost every shoot: the Canon 5D Mark IV paired with the Canon 24-70mm f/2.8 L Series lens. She’s direct about the fact that a huge portion of her published work came from this exact combination. The reason isn’t magic, it’s versatility. A 24-70 lets you frame a tight portrait and then step back for an environmental shot without swapping glass.
The lesson here isn’t “buy a 5D Mark IV.” It’s that your primary kit should be one body and one lens that handles 80% of your jobs without making you think. Whatever that combo costs you, that’s where your money should go first.
Step 2: Don’t Upgrade the Body Until the Body Is the Problem
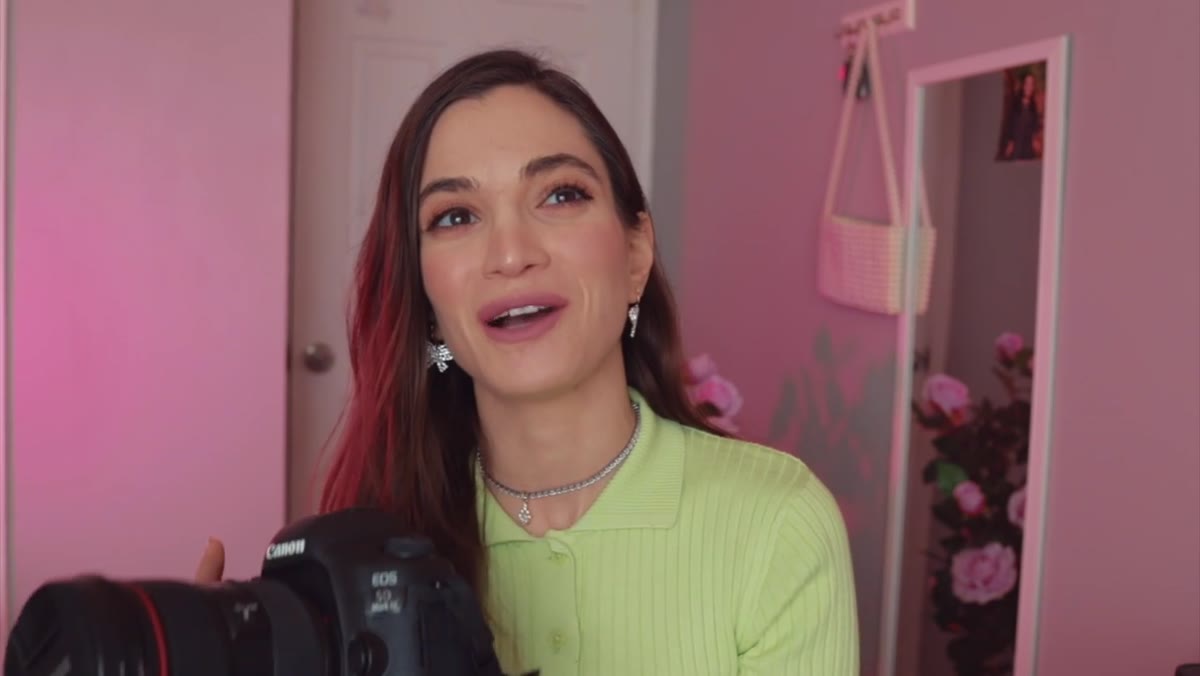 Jessica holding Canon 5D Mark IV, speaking directly to camera
Jessica gets asked constantly whether she’s switching to mirrorless, and her answer is genuinely refreshing: she’s not, because her current body isn’t holding her back. She acknowledges that mirrorless quality is strong, but she’s comfortable with her system and sees no practical reason to change mid-stride. That’s not stubbornness. That’s professional discipline.
The upgrade itch is expensive and mostly psychological. If your images are limited by light, composition, or skill, a new body won’t fix that. Before you spend $2,500 on a mirrorless system, spend two hours figuring out whether your current body is actually the bottleneck.
Step 3: Buy Used Lenses From Reputable Sellers to Close the Budget Gap
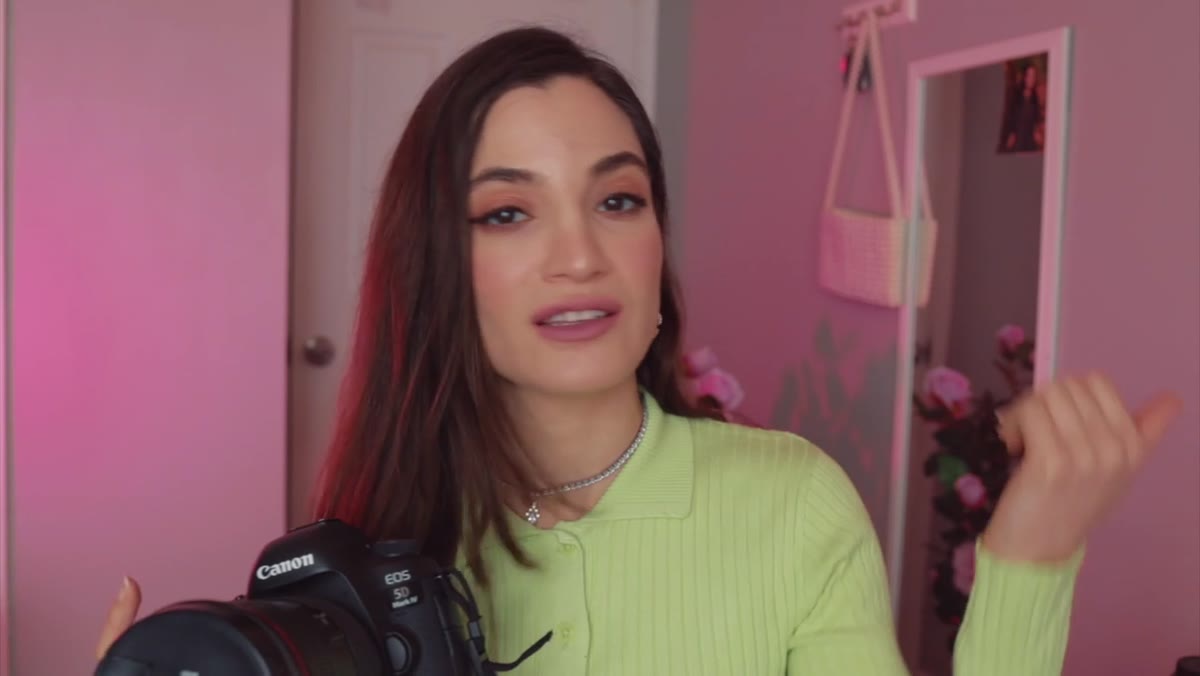 Jessica explaining where she found the 24-70mm lens for less
Here’s the part of the video that made me want to write this article. Jessica mentions she found her 24-70mm f/2.8, a lens that retails over $2,000 new, on eBay for roughly $500 less by buying used. She’s clear about the caveats: check the condition rating carefully, read seller feedback, and walk away if the price seems impossibly low.
This is the exact framework I use when I’m hunting deals. Reputable used sellers on eBay, KEH, and MPB list condition grades honestly because their business depends on it. A lens rated “Excellent” on KEH is not the same as a random “like new” listing from a zero-feedback seller. The glass in most lenses is far more durable than people assume. A few cosmetic marks on the barrel mean nothing for image quality. The savings on a used L Series lens can fund an entire second kit.
Step 4: Match the Lens to the Shoot Type, Not to Your Ego
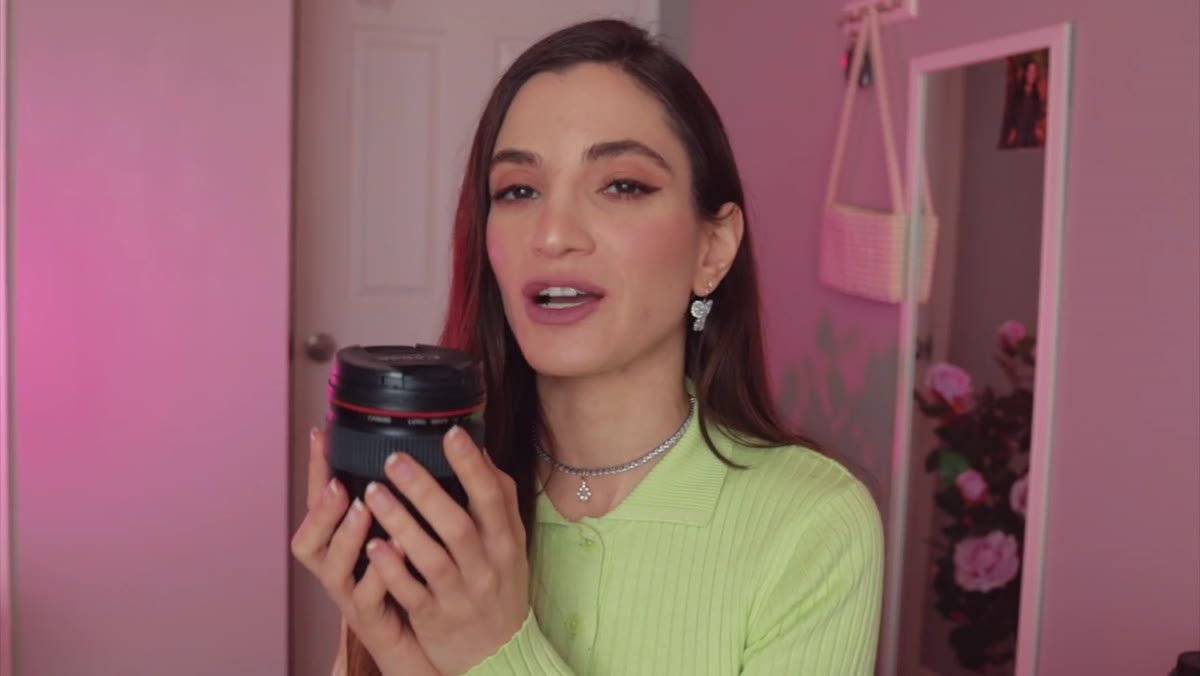 Jessica holding the Canon 35mm f/1.4 lens
Jessica uses the Canon 35mm f/1.4 almost exclusively for weddings. She doesn’t use it for model shoots. That specificity is important. The 35mm gives her enough width to capture the environment around a couple, which tells a story that a tighter focal length can’t, while still rendering portraits with real character. Wide aperture at a venue with tricky light is also a practical necessity, not a vanity spec.
The takeaway: stop building a lens collection based on what pros own and start building one based on what your actual clients need. If you shoot portraits in studios with controlled light, you don’t need f/1.2. If you shoot events in dark venues, you might need it more than anything else in your bag.
Step 5: The 50mm f/1.2 vs. f/1.4 Decision Is Simpler Than It Looks
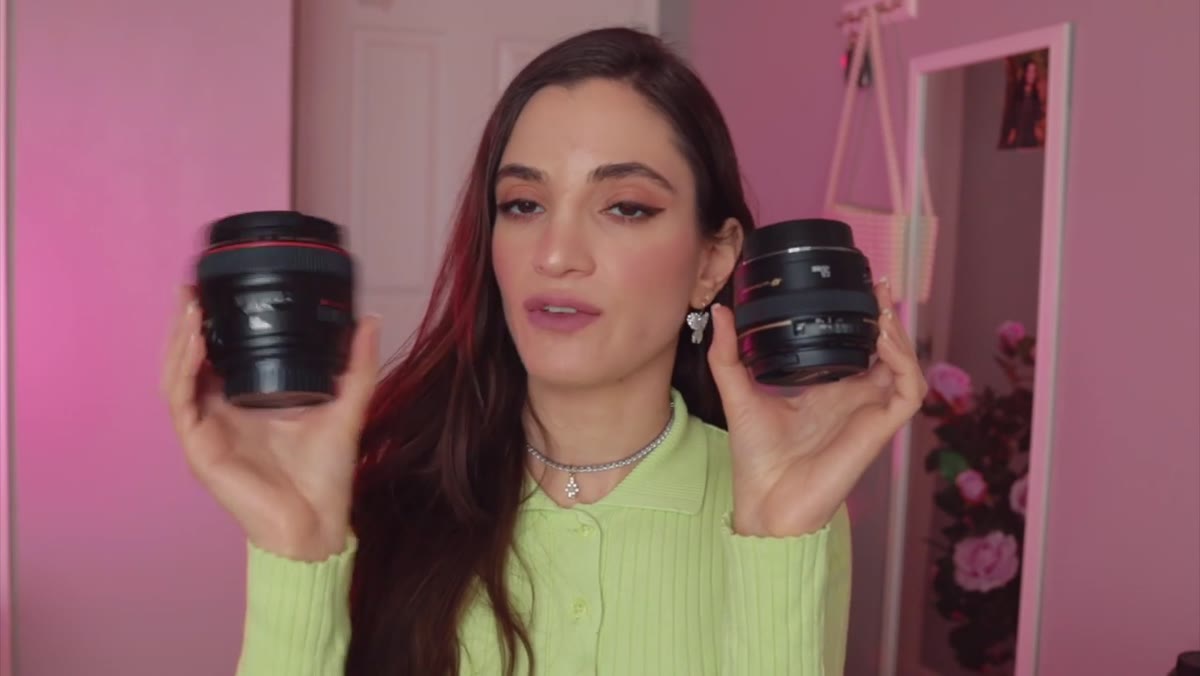 Jessica holding both 50mm lenses side by side
Jessica owns both the Canon 50mm f/1.2 and the Canon 50mm f/1.4, and she gives a genuinely honest answer about which one she actually grabs: the f/1.4, because it’s lighter. She doesn’t try to justify the more expensive lens with performance differences that only show up in lab tests. She picks up the one that doesn’t tire her wrist out over a six-hour shoot.
If you’re debating between these two, the f/1.4 is the correct starting point for almost everyone. Save the money. The f/1.2 exists for edge cases, very low light, or a particular depth-of-field look that you should be able to articulate before spending the premium. If you can’t describe the specific shot that requires it, you don’t need it yet.
What I’d Add From My Own Testing
The used gear point Jessica makes is where I’d push even harder. I’ve run comparison shoots with used lenses that cost $300 and their $900 brand-new equivalents. In print at standard sizes, the differences don’t survive real-world scrutiny. I once showed a mixed gallery at a local meetup and nobody in the room could reliably identify which images came from the expensive glass.
My standing advice: set a firm budget for each focal length you need, search KEH and MPB first, and only go new if nothing meets your condition threshold. You will almost always find what you need used. The money you save buys you another lens, better lighting, or time to actually practice.
Jessica’s kit is proof that consistency and clarity of purpose beat novelty every time. Her most-used lens isn’t the flashiest one she owns. Her body isn’t the newest on the market. What she has is a system she understands completely, and that understanding shows up in her work.
The single most transferable idea from this video is this: know why each piece of gear is in your bag. If you can’t answer that question, you probably don’t need it.
Watch the full tutorial on YouTube and pay attention to how Jessica frames her choices. The reasoning matters more than the gear list.
Comments (1)
Would love to see a follow-up going deeper into this topic.
Leave a Comment