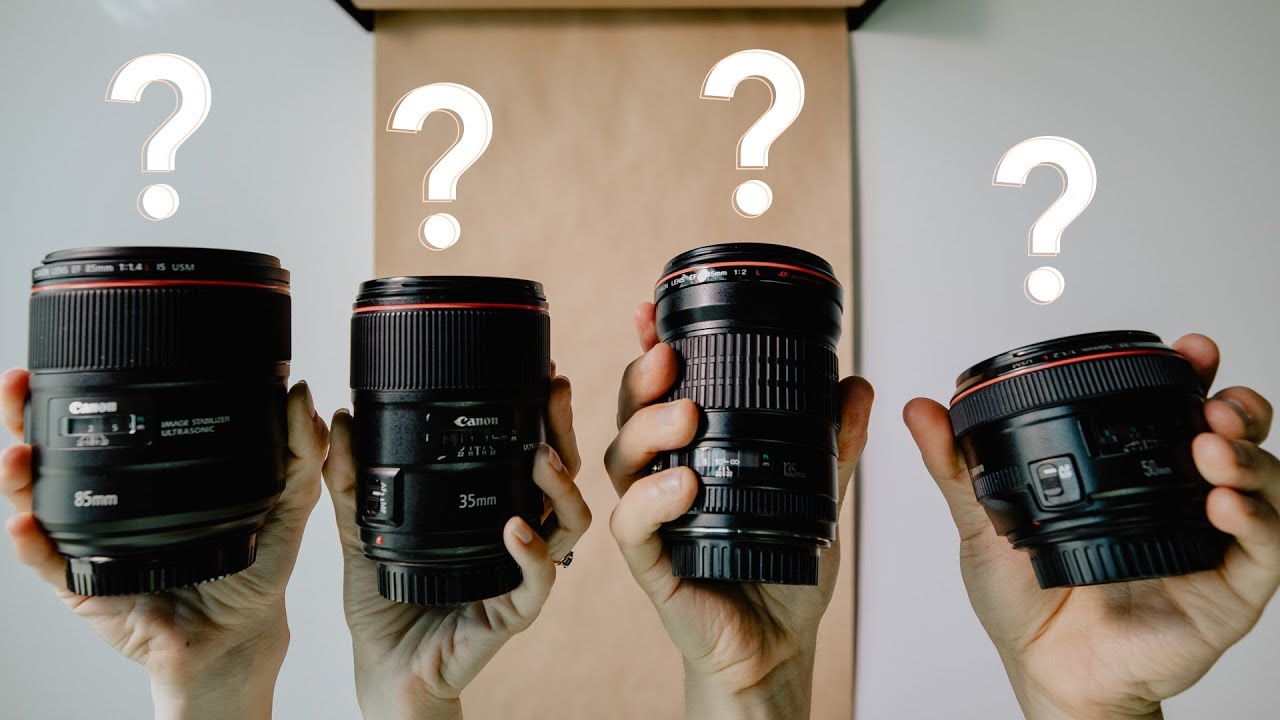
I’ve spent more hours researching lenses than I care to admit. Before I even touch breakfast, I’m usually knee-deep in price trackers and forum threads trying to figure out whether a deal is real or just marketing noise. So when Mango Street dropped a mega Q&A covering everything from bokeh settings to whether beginners should trust autofocus, I watched it twice and took notes. Not because it’s flashy, but because it cuts through the kind of overthinking that keeps new photographers from actually buying something and going out to shoot.
Watch the full tutorial on YouTube
In this Mango Street tutorial, Rachel and Daniel field over a hundred viewer questions and manage to pack in real, practical guidance without padding it with gear worship or brand loyalty. What I appreciate most is that the advice applies whether you’re shopping for a $150 nifty fifty or a $900 prime. The principles don’t change with your budget, and that’s exactly what I try to remind people of on this site every single day.
The questions jump around, but there’s a clear throughline: stop obsessing over gear specifications and start making decisions based on how you actually shoot. Here’s how I’d break that down into a practical process.
Step 1: Nail Your Bokeh Settings Before You Blame Your Lens
 Camera aperture settings shown at f/1.2 and f/1.4
If someone asks me why their portraits look flat, the answer nine times out of ten is aperture. Mango Street is direct about this: if you want creamy background separation, you need to shoot wide open. That means f/1.2 or f/1.4 if your lens goes there, or at minimum f/1.8. Pair that with subjects positioned away from the background and some light sources behind them, and you’ll get the separation people assume requires a $2,000 lens.
Camera aperture settings shown at f/1.2 and f/1.4
If someone asks me why their portraits look flat, the answer nine times out of ten is aperture. Mango Street is direct about this: if you want creamy background separation, you need to shoot wide open. That means f/1.2 or f/1.4 if your lens goes there, or at minimum f/1.8. Pair that with subjects positioned away from the background and some light sources behind them, and you’ll get the separation people assume requires a $2,000 lens.
The mistake I see constantly is people buying faster lenses but still shooting at f/4 out of habit or fear of missed focus. A $120 Canon 50mm f/1.8 shot at f/1.8 will outperform a $600 zoom shot at f/4 for portraits every single time. Know your aperture before you upgrade your glass.
Step 2: Use Autofocus, Period
 Camera autofocus mode selector on screen
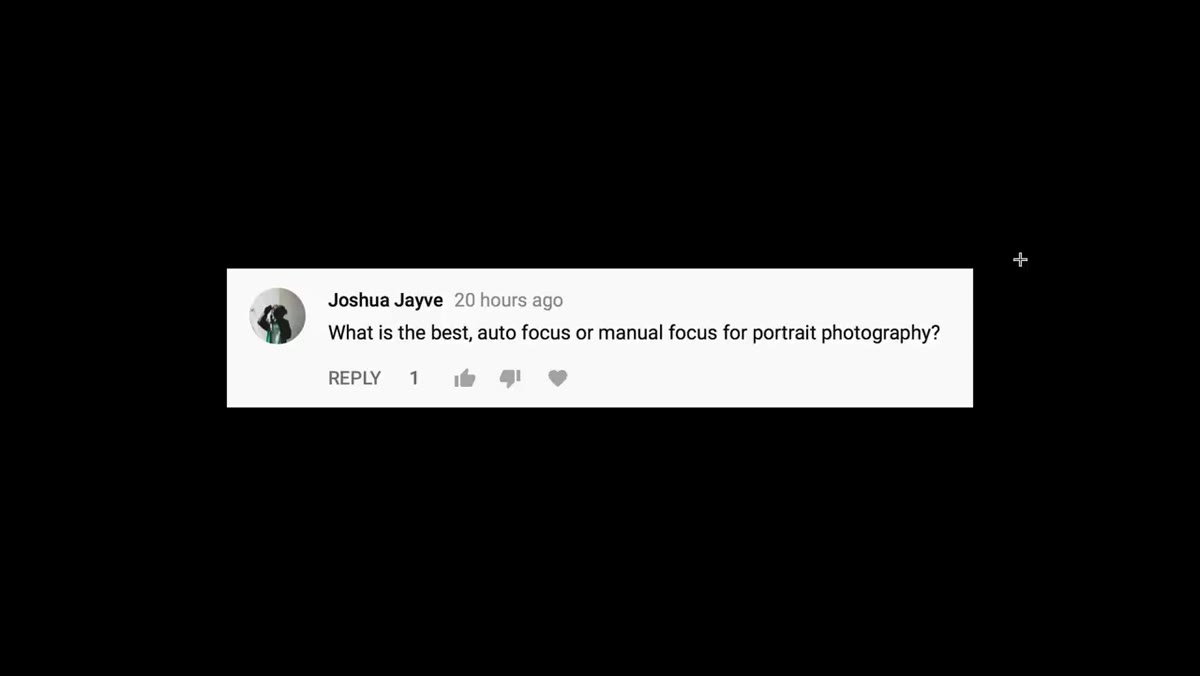
This one sounds obvious but it needs to be said out loud: use autofocus. Mango Street’s answer to the autofocus vs. manual focus debate is refreshingly blunt. Your camera’s autofocus system is almost certainly more reliable than your eye for critical focus, especially in real shooting conditions with moving subjects or changing light.
Camera autofocus mode selector on screen
This one sounds obvious but it needs to be said out loud: use autofocus. Mango Street’s answer to the autofocus vs. manual focus debate is refreshingly blunt. Your camera’s autofocus system is almost certainly more reliable than your eye for critical focus, especially in real shooting conditions with moving subjects or changing light.
Manual focus has its place in controlled studio setups or video work where you’re pulling focus on a marked lens. But for portraits, events, or street work, trusting yourself to nail manual focus consistently is a liability. I’ve seen photographers at meetups struggle with soft eyes on every shot because they were convinced manual focus was more “authentic.” It isn’t. It’s just slower and less reliable. Use the tools your camera gives you.
Step 3: Build Your Style Through Repetition, Not Gear Swaps
 Hosts discussing photography style development
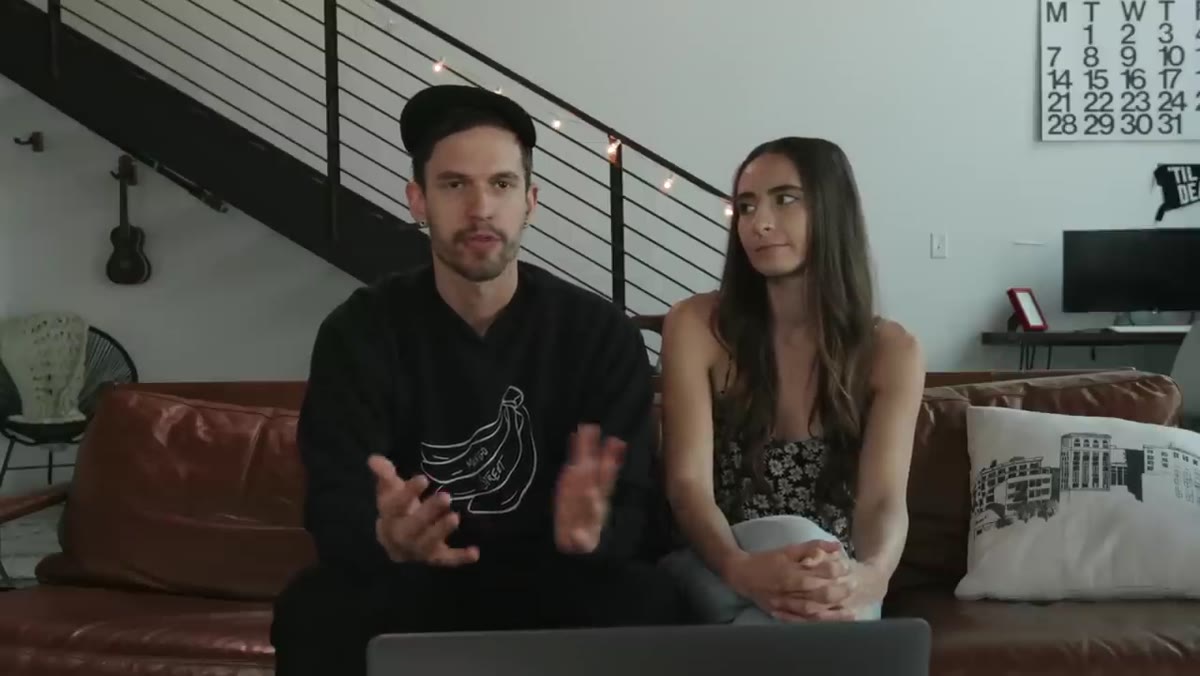
When asked how they developed their photography style, the answer was simple: lots of trial and error. No mention of a specific lens or camera body. That’s not an accident. Style is a byproduct of shooting volume and honest self-review, not equipment upgrades.
Hosts discussing photography style development
When asked how they developed their photography style, the answer was simple: lots of trial and error. No mention of a specific lens or camera body. That’s not an accident. Style is a byproduct of shooting volume and honest self-review, not equipment upgrades.
I started with a $300 kit camera and shot a wedding on it. Those photos ended up in a local magazine. I wasn’t thinking about glass; I was thinking about light, timing, and composition. The photographers who grow fastest are the ones shooting constantly with whatever they have, not the ones researching their next purchase. Buy one solid lens, learn it inside and out, then consider upgrading.
Step 4: Prioritize Video Story Over Technical Gimmicks
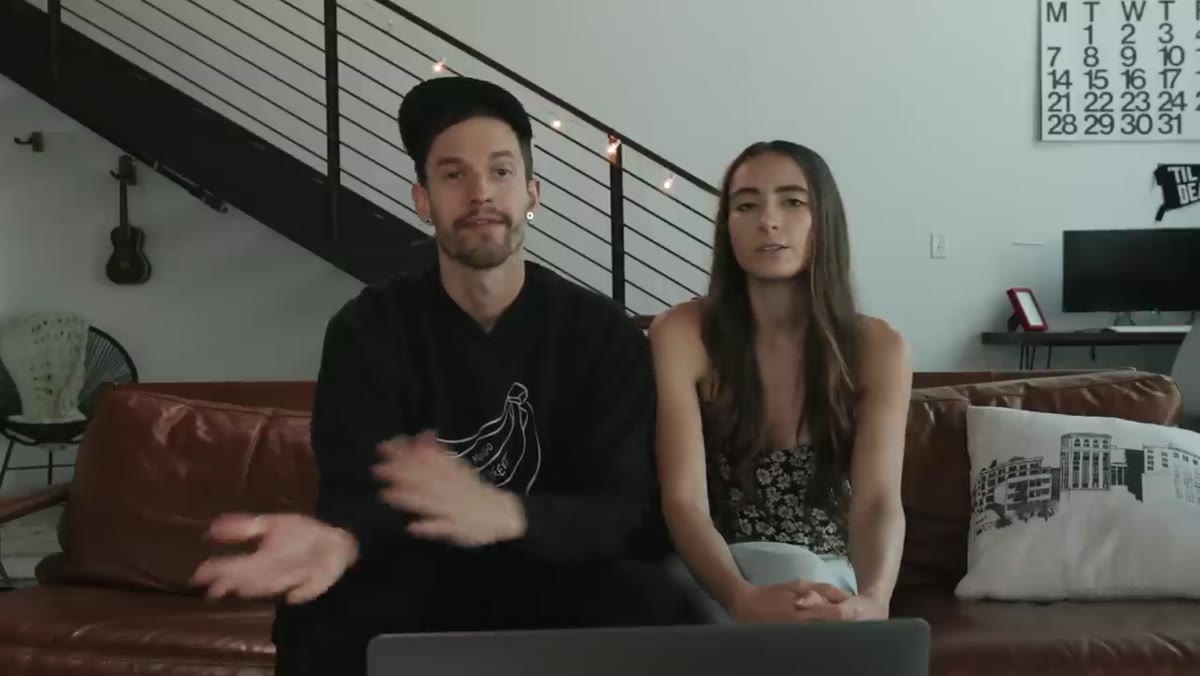 Discussion of video creation process and storytelling
Mango Street’s advice on creating good video content applies directly to photography portfolios and client work: lead with story, support it with execution, and treat gimmicks as the last layer, not the first. If you’re shooting for social media or building a portfolio, a technically perfect photo of nothing interesting will always lose to a slightly imperfect photo with genuine emotion or narrative.
Discussion of video creation process and storytelling
Mango Street’s advice on creating good video content applies directly to photography portfolios and client work: lead with story, support it with execution, and treat gimmicks as the last layer, not the first. If you’re shooting for social media or building a portfolio, a technically perfect photo of nothing interesting will always lose to a slightly imperfect photo with genuine emotion or narrative.
This matters for gear decisions too. Don’t buy a lens because it produces a trendy flare effect or a specific rendering style. Buy it because it helps you execute the type of work you’re already trying to make. The focal length and aperture should serve the story, not define it.
Step 5: Consistency Beats Variety for Instagram and Portfolio Cohesion
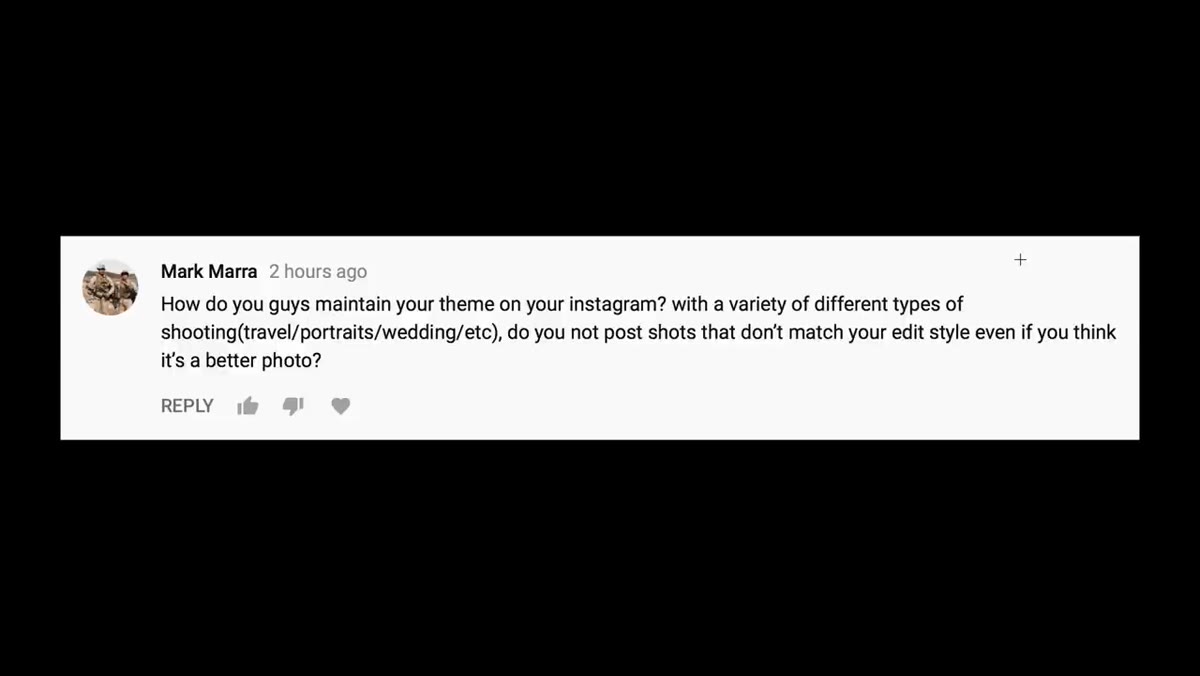 Instagram feed and preset consistency discussion
Maintaining a consistent visual identity doesn’t require shooting the same subject in the same location forever. Mango Street’s approach is practical: apply the same preset or color treatment across different types of work to create tonal consistency even when the subjects vary.
Instagram feed and preset consistency discussion
Maintaining a consistent visual identity doesn’t require shooting the same subject in the same location forever. Mango Street’s approach is practical: apply the same preset or color treatment across different types of work to create tonal consistency even when the subjects vary.
For lens choices, this means picking a focal length you return to most often and making it your signature range. If 85% of your portfolio is shot at 50mm, lean into that. Clients and followers recognize consistency before they recognize quality. One lens you know deeply will serve your brand better than five lenses you rotate through randomly.
Step 6: Work Harder and Stand Out, Don’t Chase Trends
 Advice for aspiring photographers entering the workforce
The career advice in this Q&A is the most transferable part: outwork people and be creative enough to stand out. In practical gear terms, this means investing time in understanding what you already own before spending money on something new. The photographers getting hired aren’t the ones with the newest kit. They’re the ones with the sharpest eyes and the most consistent output.
Advice for aspiring photographers entering the workforce
The career advice in this Q&A is the most transferable part: outwork people and be creative enough to stand out. In practical gear terms, this means investing time in understanding what you already own before spending money on something new. The photographers getting hired aren’t the ones with the newest kit. They’re the ones with the sharpest eyes and the most consistent output.
Stop following the hype cycle. When a new lens drops and everyone’s posting sample shots, the smart move is usually to wait three months until real-world reviews surface and the price stabilizes. I check deal aggregators every morning not to spend money but to understand the actual market value of gear I’m already considering.
What I’d Add From My Own Testing
The one thing missing from this Q&A, understandably given the format, is a framework for prioritizing your first or next lens purchase based on your actual shooting volume. My suggestion: track what you shoot for two weeks before buying anything. Look at what focal lengths you’re reaching for on your kit lens and what apertures you’re wishing you had. That data is worth more than any YouTube recommendation, including this one.
I keep a spreadsheet comparing every budget lens I’ve tested against its price-per-stop and sharpness-per-dollar metrics. The conclusion is almost always the same: the first fast prime you buy will change your photography more than any subsequent upgrade. Get there first.
The single most important takeaway from this tutorial is also the simplest: stop using gear decisions as a substitute for creative decisions. Choose your aperture deliberately, trust your autofocus, develop style through repetition, and buy lenses that serve the work you’re already doing rather than the work you imagine doing with better gear.
Watch the full tutorial on YouTube and pay attention to how often the real answers have nothing to do with which specific product you own.
Comments (4)
Would love to see a follow-up going deeper into this topic.
Clear and practical. No fluff. Appreciate that.
I tried this on a client project yesterday and the results were way better than expected.
This is fantastic. I've been recommending this approach to my readers too.
Leave a Comment