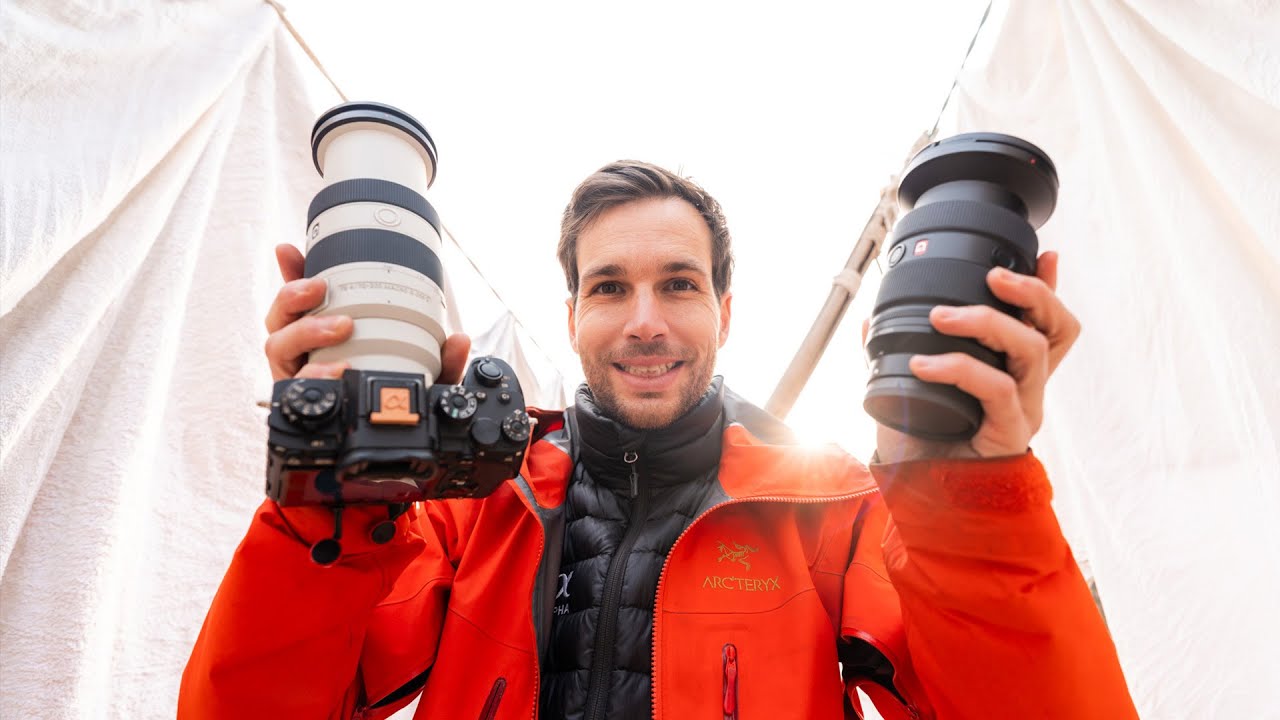
Packing camera gear for an international trip is one of those problems that sounds simple until you’re standing in your living room at midnight surrounded by three camera bodies, a tangle of cables, and a carry-on that weighs as much as a golden retriever. I’ve been there more times than I want to admit. The question is never really “what do I want to bring?” It’s “what can I actually justify carrying through two airports and a crowded street market?” That tension between wanting options and needing mobility is exactly what makes this topic worth studying from photographers who have figured it out the hard way.
In this Pierre T. Lambert tutorial, he walks through the exact gear he’s bringing on a photography trip to Nepal, including Kathmandu and several other cities. Watch the full tutorial on YouTube before or after reading this breakdown. What makes Lambert’s approach interesting isn’t the price of his gear. It’s the reasoning behind each choice, and a few honest moments of chaos, including a lens cap situation that will make you feel better about your own pre-trip scrambles.
What I pulled from this video is a repeatable framework anyone can use: assign a job to every item, mix formats intentionally, and accept that something will go wrong before you even get to the gate.
Step 1: Start With a Hero Camera and a Versatile Zoom
 Sony A1 with 24-70mm lens laid out on surface
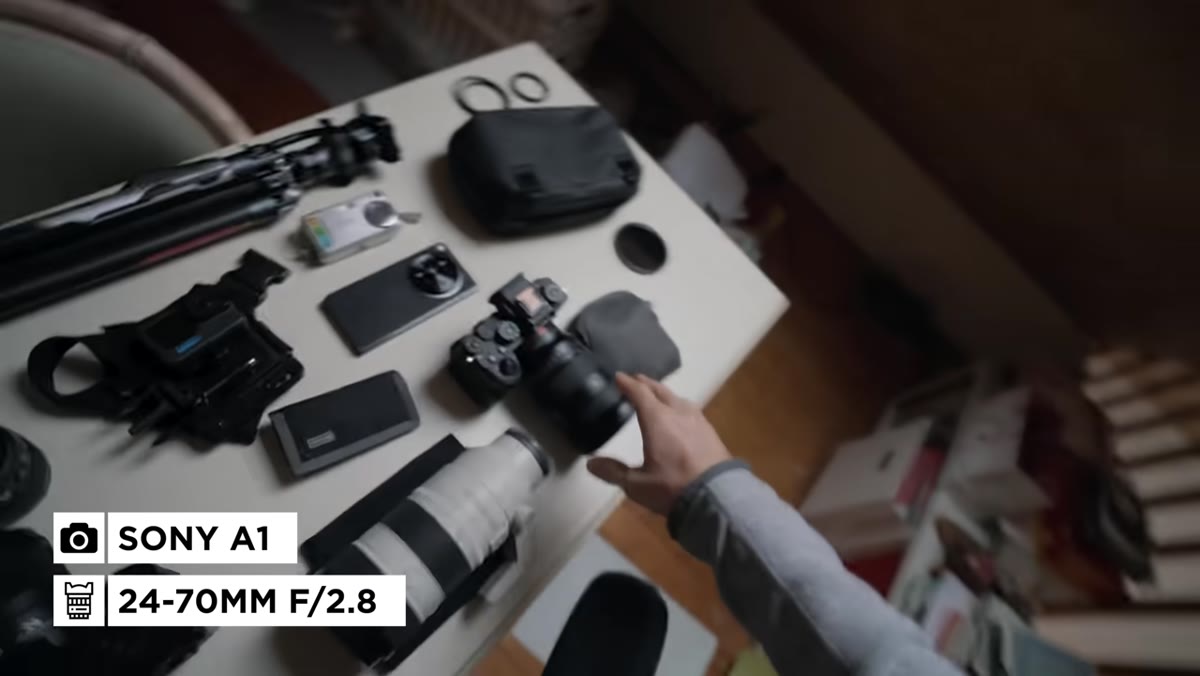
Lambert leads with his Sony A1 paired with a 24-70mm lens, and he frames it simply as his all-rounder for street photography and general daytime shooting. The logic here is sound for any trip: one body, one zoom that covers most situations, and you build everything else around it. If you’re packing for travel, your hero camera should be the one you’d keep if a customs agent made you ditch everything else. Pick it based on how you actually shoot in the field, not based on specs you read on a forum.
Sony A1 with 24-70mm lens laid out on surface
Lambert leads with his Sony A1 paired with a 24-70mm lens, and he frames it simply as his all-rounder for street photography and general daytime shooting. The logic here is sound for any trip: one body, one zoom that covers most situations, and you build everything else around it. If you’re packing for travel, your hero camera should be the one you’d keep if a customs agent made you ditch everything else. Pick it based on how you actually shoot in the field, not based on specs you read on a forum.
For most photographers, this doesn’t need to be a flagship body. A mid-range mirrorless with a 24-70 equivalent is enough to cover 90% of what you’ll actually shoot on a busy travel day.
Step 2: Add a Telephoto for Distance Subjects
 70-200mm telephoto lens alongside the camera bag
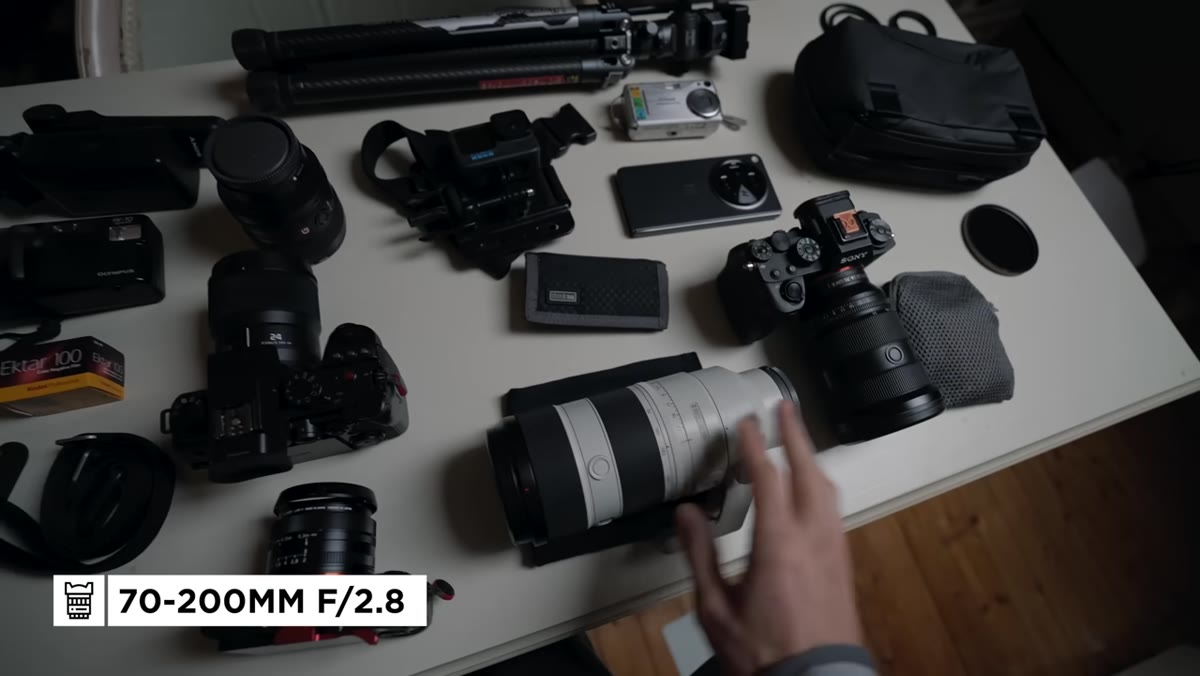
Lambert packs a 70-200mm specifically because Nepal means mountains in the background and wildlife, including yaks, potentially at a distance. This is the kind of decision that only makes sense if you know your destination. A telephoto is dead weight in a dense urban market and essential on an open hillside. The practical move is to research your shooting locations before you finalize your lens list. If more than half your planned shots could use reach, bring the long glass.
70-200mm telephoto lens alongside the camera bag
Lambert packs a 70-200mm specifically because Nepal means mountains in the background and wildlife, including yaks, potentially at a distance. This is the kind of decision that only makes sense if you know your destination. A telephoto is dead weight in a dense urban market and essential on an open hillside. The practical move is to research your shooting locations before you finalize your lens list. If more than half your planned shots could use reach, bring the long glass.
If you’re working with a tighter budget, a 70-300mm zoom in the under-$400 range from Tamron or Sigma covers this same use case without the flagship price. The compression you get even at f/5.6 on a distant mountain ridge is more than good enough for travel work.
Step 3: Pack a Compact or Second Body for Low-Profile Shooting
 Sony RX1R II compact camera held up separately
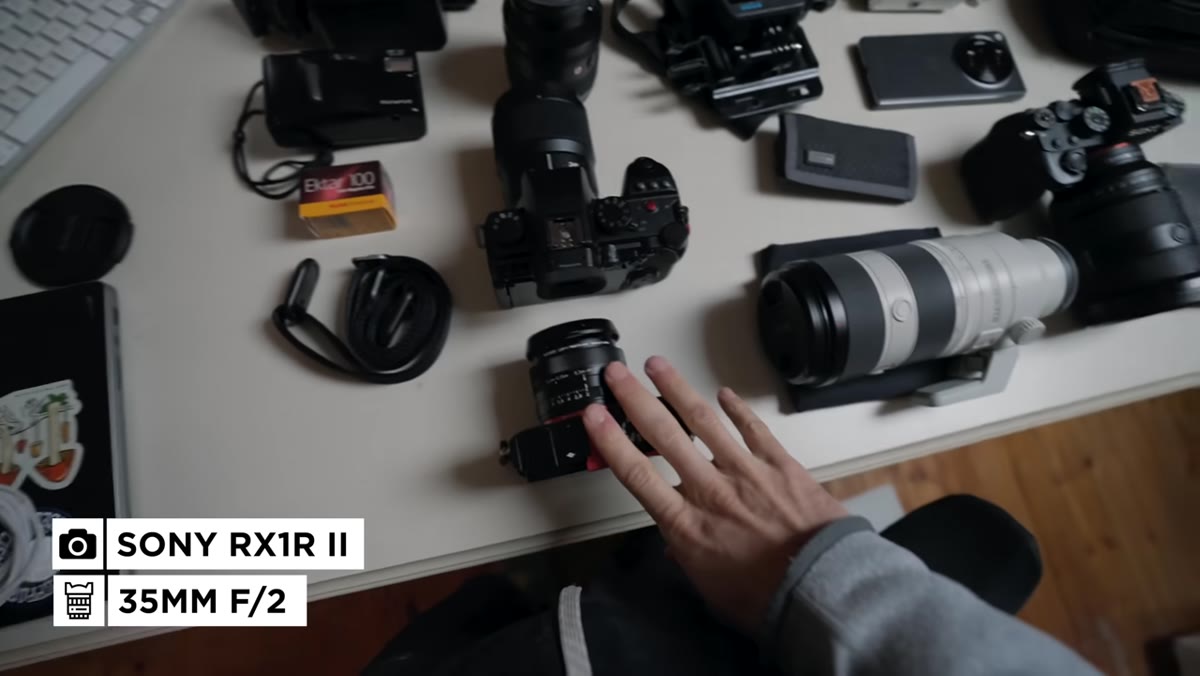
Lambert brings his Sony RX1R II as an everyday carry option, partly for video documentation and partly for moments when he wants a smaller footprint. The concept here matters more than the specific camera: always have a shooting option that doesn’t announce itself. Some of the best street photos happen because the photographer didn’t look like a photographer. A compact, a premium point-and-shoot, or even a capable smartphone fills this role without adding serious weight.
Sony RX1R II compact camera held up separately
Lambert brings his Sony RX1R II as an everyday carry option, partly for video documentation and partly for moments when he wants a smaller footprint. The concept here matters more than the specific camera: always have a shooting option that doesn’t announce itself. Some of the best street photos happen because the photographer didn’t look like a photographer. A compact, a premium point-and-shoot, or even a capable smartphone fills this role without adding serious weight.
Lambert also mentions his OnePlus Open smartphone as a legitimate tool for street shooting when he wants nothing in his hands at all. That’s not a concession. That’s smart redundancy.
Step 4: Introduce a Second Camera System for a Specific Creative Goal
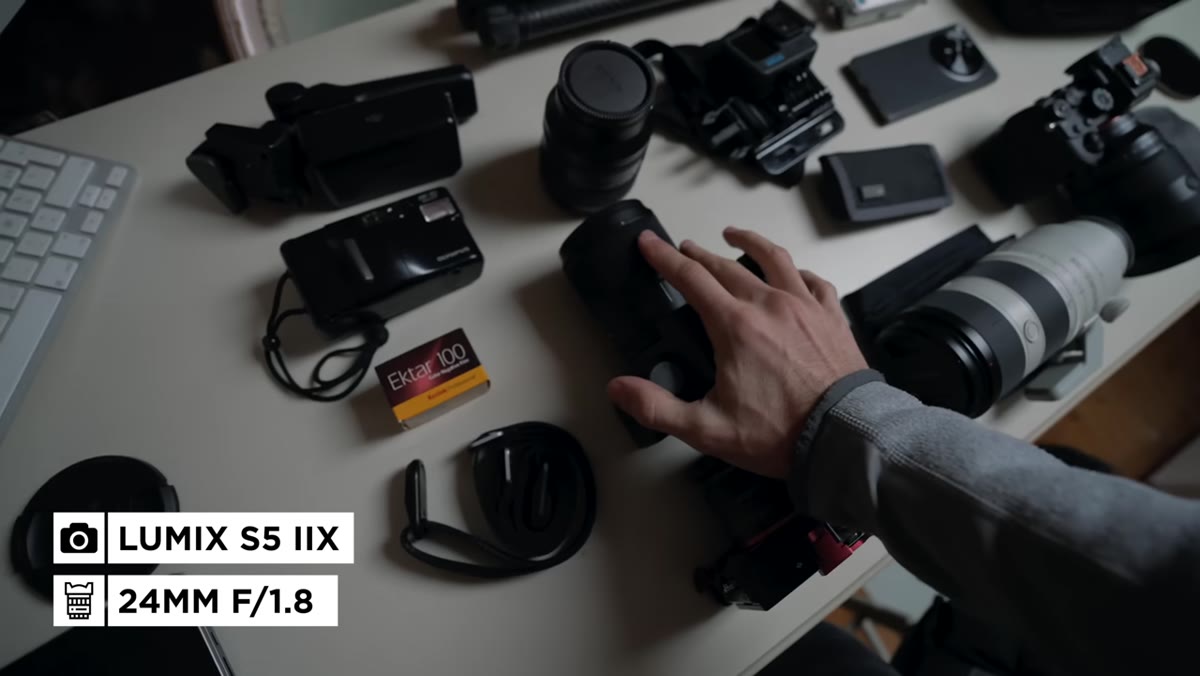 Lumix S5 II with wide angle lens set aside
This is where Lambert’s packing gets interesting. He brings a Lumix S5 II with a wide-angle lens specifically because he wants to shoot content for his French-language YouTube channel using that camera. Each body has a defined purpose. This prevents the common travel trap of bringing three cameras that all do the same thing and never committing to any of them.
Lumix S5 II with wide angle lens set aside
This is where Lambert’s packing gets interesting. He brings a Lumix S5 II with a wide-angle lens specifically because he wants to shoot content for his French-language YouTube channel using that camera. Each body has a defined purpose. This prevents the common travel trap of bringing three cameras that all do the same thing and never committing to any of them.
If you’re going to pack a second system, write down the one specific thing it’s for before it goes in the bag. If you can’t write it down, leave it home.
Step 5: Bring One Film Camera and Commit to Using It
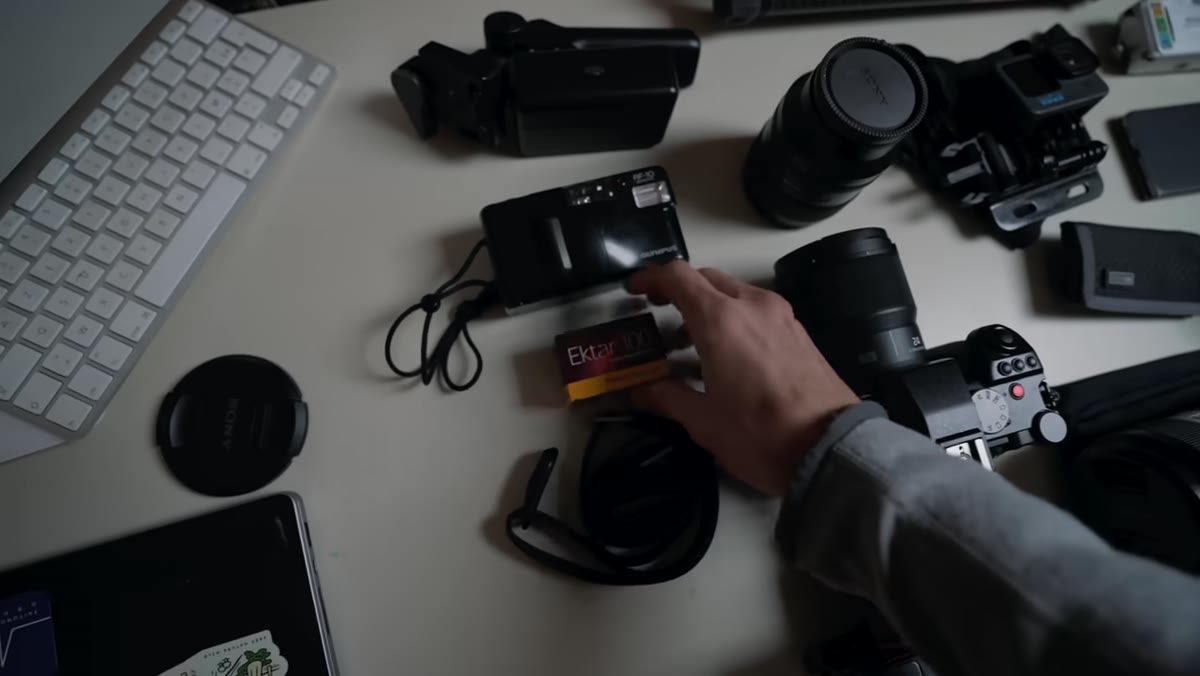 Olympus Miju AF-10 film camera with Ektachrome 100 film
Lambert opens the video with an Olympus Miju AF-10 point-and-shoot he found in his parents’ basement, loaded with Kodak Ektachrome 100 slide film. He’s not bringing it as a backup. He’s bringing it because he wants to make a dedicated video about shooting with it in Nepal. Ektachrome 100 is a slow, punishing film stock that rewards bright light and intentional exposure. It’s the opposite of a safety net, which is exactly why it’s worth shooting on a trip with strong natural light.
Olympus Miju AF-10 film camera with Ektachrome 100 film
Lambert opens the video with an Olympus Miju AF-10 point-and-shoot he found in his parents’ basement, loaded with Kodak Ektachrome 100 slide film. He’s not bringing it as a backup. He’s bringing it because he wants to make a dedicated video about shooting with it in Nepal. Ektachrome 100 is a slow, punishing film stock that rewards bright light and intentional exposure. It’s the opposite of a safety net, which is exactly why it’s worth shooting on a trip with strong natural light.
The broader lesson: one experimental element per trip keeps you from getting complacent. Whether that’s a film camera, a single prime lens, or a completely new shooting style, constraint produces creativity.
Step 6: Handle the Logistics Honestly, Including What Goes Wrong
 Missing lens cap problem, cardboard and rubber bands improvised
One of the most useful parts of this video is Lambert realizing mid-pack that he’s missing lens caps for a body and lens he wants to bring. His solution is a square of cardboard and rubber bands, which he acknowledges is not something he’d recommend to anyone. But it works as a temporary solution for getting the lens safely into a padded bag compartment.
Missing lens cap problem, cardboard and rubber bands improvised
One of the most useful parts of this video is Lambert realizing mid-pack that he’s missing lens caps for a body and lens he wants to bring. His solution is a square of cardboard and rubber bands, which he acknowledges is not something he’d recommend to anyone. But it works as a temporary solution for getting the lens safely into a padded bag compartment.
The real takeaway is practical: before any trip, do a full gear check at least 48 hours out. Lens caps, body caps, batteries charged, memory cards formatted and tested. Losing a lens cap sounds minor until you’re in a dusty market with no way to protect a $1,200 piece of glass. Replacement caps are two dollars on Amazon. Order a spare set now and keep them in your bag permanently.
What I’d Do Differently Based on My Own Experience
Lambert’s bag weighed in around 16 kilograms, and he was genuinely stressed about Air India’s carry-on enforcement. That’s a real risk. Airlines have gotten stricter, and camera gear is specifically heavy for its size. My rule for international trips is to get the carry-on on a scale before I leave the house, not in the airport check-in line.
I’ve also found that a well-padded 20-liter daypack with a camera cube insert is harder for gate agents to question than a dedicated camera backpack with foam-padded panels and a tripod strapped to the outside. One looks like a camera bag. The other looks like luggage. Presentation matters more than it should.
The most important thing this video reinforced for me is that having a purpose for every item beats having every option available. Lambert’s bag is heavy, but nothing in it is random. That’s the standard worth shooting for.
Watch the full tutorial on YouTube to see exactly how Lambert organizes his Atlas bag and which camera he ultimately had to leave behind at the airport.
Comments
Leave a Comment