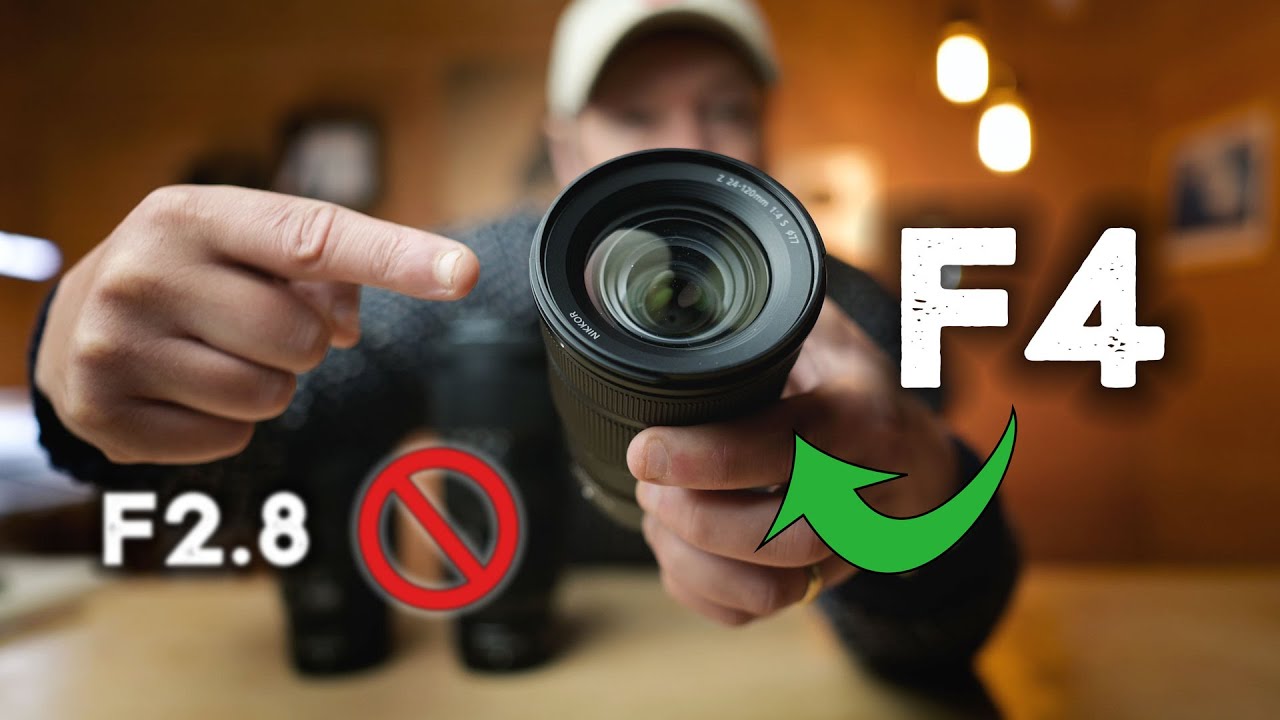
There’s a version of me that used to think f/2.8 was the finish line. Get the fast glass, get the sharp glass, get the glass that sounds impressive when you name it at a meetup. I’ve spent enough time with my lens comparison spreadsheet to know that instinct is wrong more often than not — but it still takes seeing a working pro walk away from expensive gear to really drive the point home.
In this Nigel Danson tutorial, Watch the full tutorial on YouTube, Danson takes his dog out to Padley Gorge in the UK’s Peak District for a foggy woodland session and uses the shoot to explain why he sold his f/2.8 zooms and replaced them with a cheaper f/4. He’s a landscape photographer with a serious following, and his reasoning is practical enough to matter whether you’re shooting with a $500 kit or a $3,000 Nikon Z setup.
The problem he’s solving is one I hear constantly from landscape shooters: they buy the “best” zoom for sharpness and maximum light, then find themselves frustrated when they can’t fill the frame the way they want. The fix wasn’t a new technique. It was a longer lens at a slower aperture, and it cost him less money. Here’s how he breaks it down.
Step 1: Identify What’s Actually Limiting Your Compositions
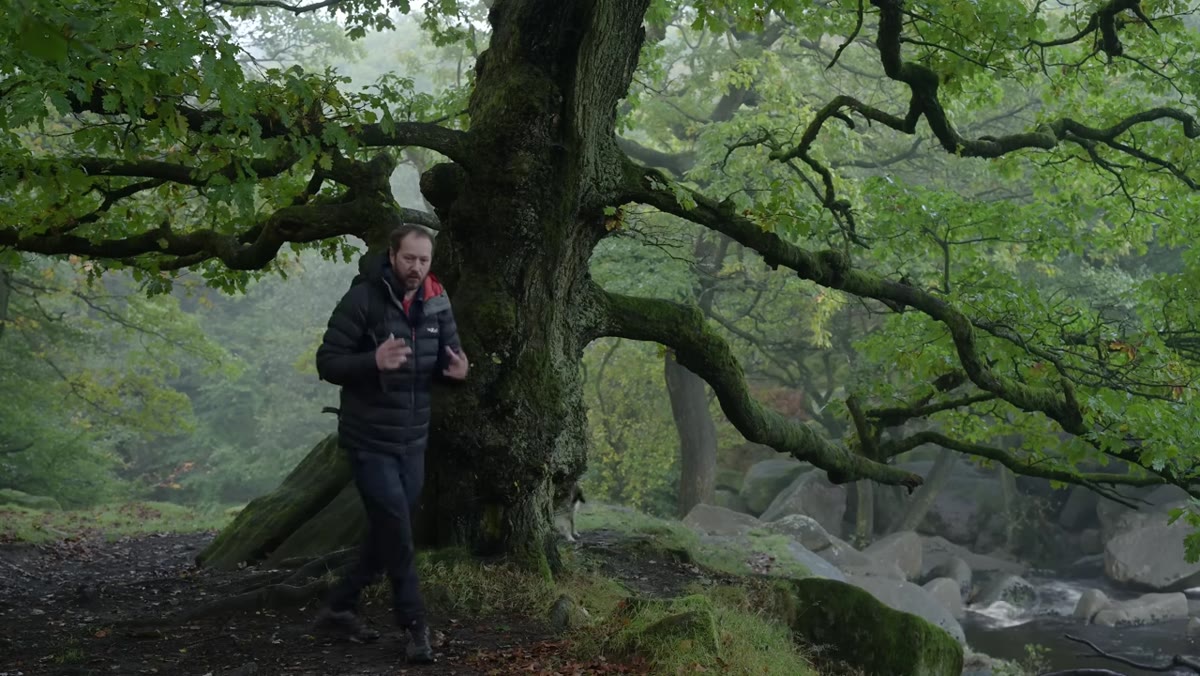 Danson walking through foggy woodland explaining lens switch
Before Danson even touches camera settings, he frames the core issue while walking through the woods. He had been shooting with a 24-70mm f/2.8 and a 70-200mm f/2.8. Both are industry-standard lenses. Both are expensive. And yet he kept running into the same problem on woodland shoots: 70mm wasn’t enough reach to isolate subjects, compress backgrounds, or pull distant details into a composition.
Danson walking through foggy woodland explaining lens switch
Before Danson even touches camera settings, he frames the core issue while walking through the woods. He had been shooting with a 24-70mm f/2.8 and a 70-200mm f/2.8. Both are industry-standard lenses. Both are expensive. And yet he kept running into the same problem on woodland shoots: 70mm wasn’t enough reach to isolate subjects, compress backgrounds, or pull distant details into a composition.
If you’ve shot in dense woodland or any layered environment, you know the feeling. You see something great through the trees, you zoom to 70mm, and the shot is almost there but not quite. Most people’s instinct is to move closer, which often destroys the compression and layering that made the scene interesting in the first place. Danson’s instinct was to question the lens ceiling, not his position.
Step 2: Understand the Reach-vs-Aperture Trade-Off
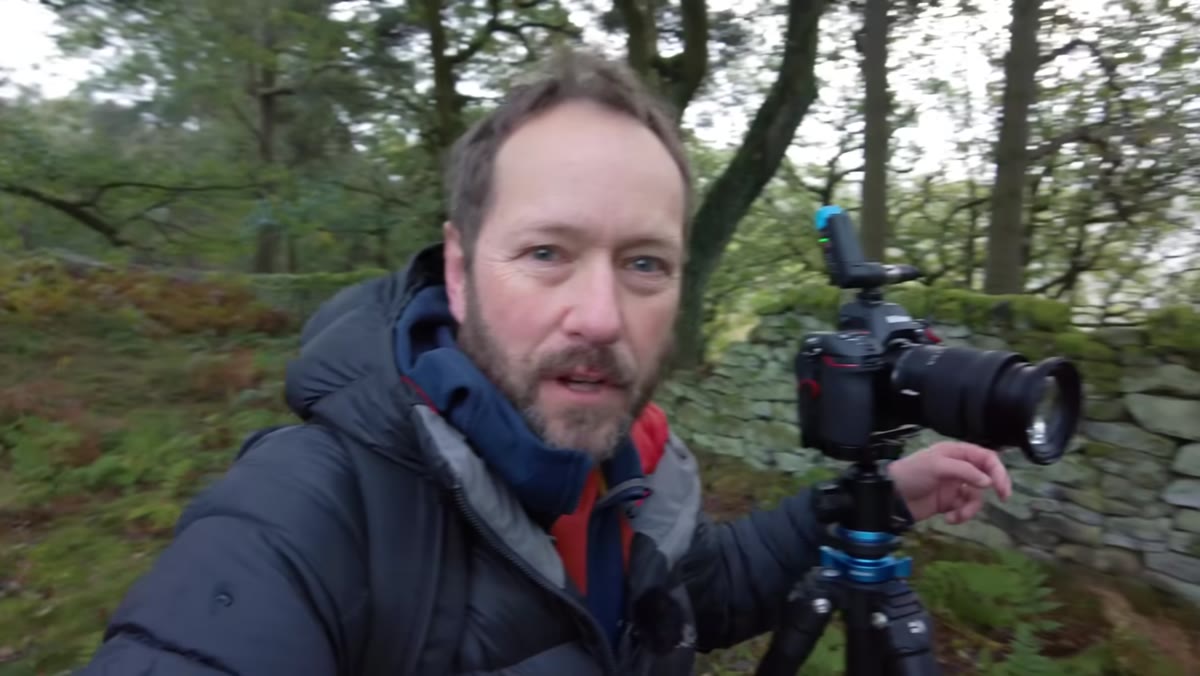 Danson holding the Nikon 24-120mm f/4 S lens up to camera
The lens Danson switched to is the Nikon Z 24-120mm f/4 S. It’s a slower aperture than his old f/2.8 zooms, and he’s upfront that it’s not quite as sharp wide open. But for landscape photography specifically, those trade-offs barely matter. He’s typically shooting stopped down to f/8 or beyond for depth of field anyway, so the f/2.8 advantage was essentially theoretical in his workflow.
Danson holding the Nikon 24-120mm f/4 S lens up to camera
The lens Danson switched to is the Nikon Z 24-120mm f/4 S. It’s a slower aperture than his old f/2.8 zooms, and he’s upfront that it’s not quite as sharp wide open. But for landscape photography specifically, those trade-offs barely matter. He’s typically shooting stopped down to f/8 or beyond for depth of field anyway, so the f/2.8 advantage was essentially theoretical in his workflow.
What he gained is the range from 70mm to 120mm, and that extra reach changes everything in a forest. The difference between 70mm and 120mm isn’t subtle. It’s the difference between a decent frame and a compelling one when your subject is a mossy tree trunk 40 feet away or a band of mist sitting just above a ridgeline.
Step 3: Use Focal Length Range as a Compositional Tool
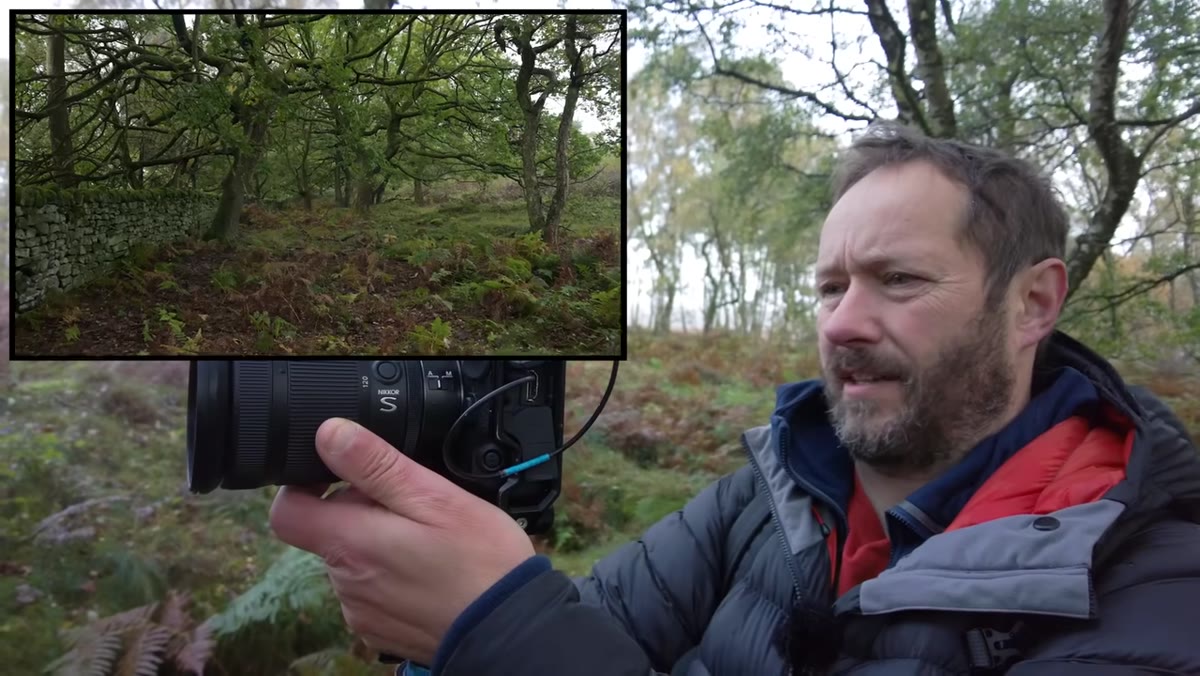 Live demo showing scene at 24mm vs 70mm vs 120mm
Danson demonstrates this live during the shoot by showing the same woodland scene at different focal lengths. At 24mm, he captures the full environment. At 70mm, a tighter version emerges. But at 120mm, he’s able to isolate specific elements, a single tree, a foggy gap between branches, a stretch of stone wall, in a way that 70mm simply can’t deliver.
Live demo showing scene at 24mm vs 70mm vs 120mm
Danson demonstrates this live during the shoot by showing the same woodland scene at different focal lengths. At 24mm, he captures the full environment. At 70mm, a tighter version emerges. But at 120mm, he’s able to isolate specific elements, a single tree, a foggy gap between branches, a stretch of stone wall, in a way that 70mm simply can’t deliver.
Try this yourself on your next shoot. Before pressing the shutter at your default focal length, zoom all the way to your maximum and work backward. You’ll often find the strongest composition lives somewhere between your “default wide” and your maximum reach. The 24-120mm range essentially lets Danson carry one lens that covers what used to require two.
Step 4: Scout Actively and Let the Focal Length Guide Framing
 Danson evaluating a V-shaped tree with overhanging branch
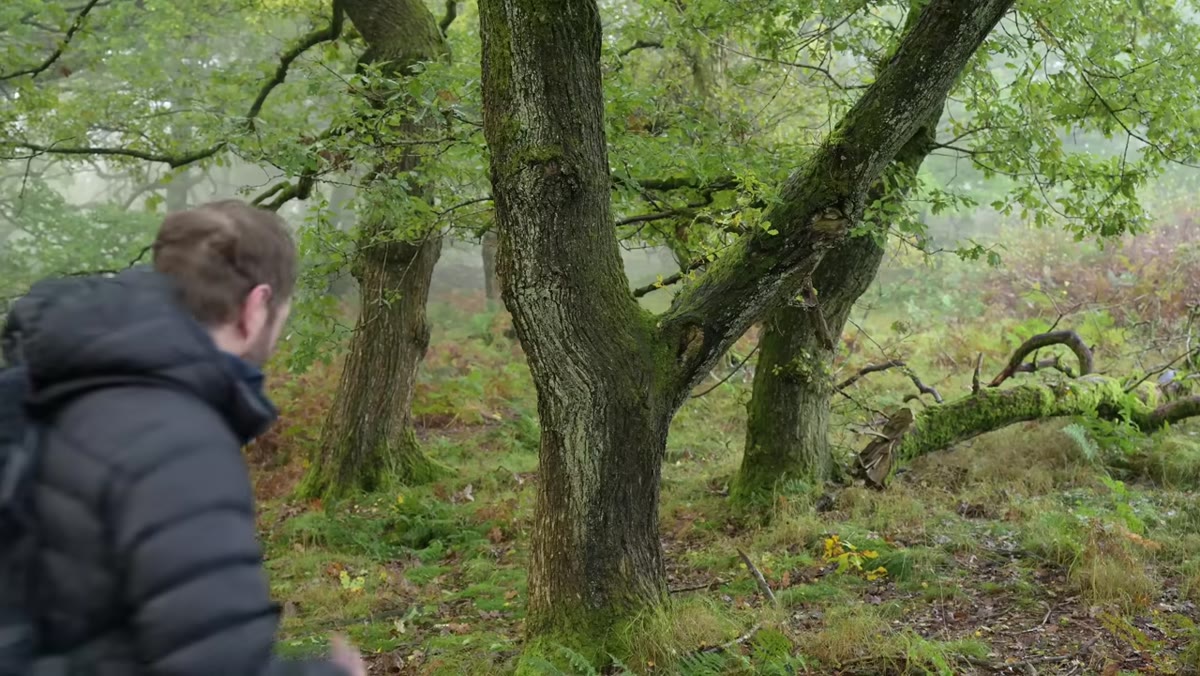
One thing Danson does throughout the video that’s easy to miss: he doesn’t plant his tripod and then decide what lens to use. He scouts with the camera in hand, zooming through the range as he evaluates a scene. He finds a V-shaped tree with a branch arching to one side and a stone wall running through the frame, then works through focal lengths to decide how dominant each element should be.
Danson evaluating a V-shaped tree with overhanging branch
One thing Danson does throughout the video that’s easy to miss: he doesn’t plant his tripod and then decide what lens to use. He scouts with the camera in hand, zooming through the range as he evaluates a scene. He finds a V-shaped tree with a branch arching to one side and a stone wall running through the frame, then works through focal lengths to decide how dominant each element should be.
This is a workflow shift worth adopting. Treat your zoom range as a framing conversation, not a magnification tool. Ask what the shot needs at 120mm versus 70mm versus 35mm before committing to a position. With a wider zoom range available, you have more of that conversation to work with before you ever extend the tripod legs.
Step 5: Prioritize Conditions Over Gear Specifications
 Danson climbing higher through woodland to chase fog
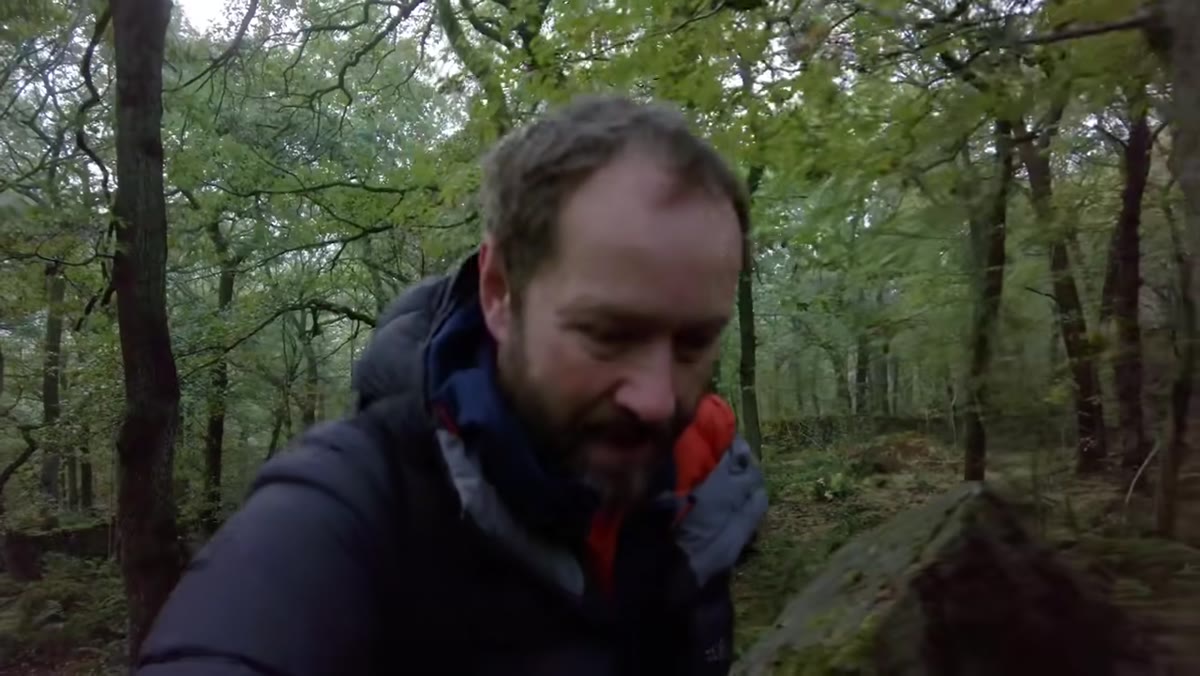
There’s a sequence in the video where the fog burns off in the lower gorge and Danson hikes higher to find it. He spends real time chasing the light rather than optimizing camera settings. It’s a small thing, but it’s a reminder that the single biggest image quality upgrade on any given morning is being in the right place when the light cooperates.
Danson climbing higher through woodland to chase fog
There’s a sequence in the video where the fog burns off in the lower gorge and Danson hikes higher to find it. He spends real time chasing the light rather than optimizing camera settings. It’s a small thing, but it’s a reminder that the single biggest image quality upgrade on any given morning is being in the right place when the light cooperates.
A sharp f/2.8 lens in flat midday light is going to produce a worse photo than a soft f/4 lens in fog-filtered morning sun. Danson’s whole point is that he’d rather have a versatile, affordable lens that he carries everywhere and uses in great conditions than a premium lens that tempts him to stay comfortable and shoot in average ones.
The Budget Angle Nobody Talks About
I’ve tested a lot of lenses in the f/2.8 range, and the price gap between a top-tier f/2.8 zoom and a quality f/4 alternative is often $800 to $1,200 or more. That’s a second camera body. That’s a prime lens for portraits. That’s a lot of travel fund for locations that will improve your photography more than extra sharpness ever will.
The Nikon Z 24-120mm f/4 S isn’t a budget lens on its own, but the principle applies across systems. Sony’s 24-105mm f/4 G OSS, Canon’s RF 24-105mm f/4L, and Tamron’s third-party alternatives all offer similar range at a lower cost than their f/2.8 counterparts. In my experience, shooting landscapes stopped down past f/5.6, the real-world sharpness difference between these options and premium f/2.8 glass is close enough that you’d need to pixel-peep a print at arm’s length to find it. The extra zoom range, though, shows up in every frame.
The takeaway from Danson’s video isn’t that f/2.8 lenses are bad. It’s that the spec most photographers fixate on, maximum aperture, is often the least relevant spec for the kind of shooting they actually do. Focal length range is a composition tool. Aperture is a low-light tool. If you’re shooting landscapes in decent light, you’re paying a premium for a tool you’re not using.
Watch the full tutorial on YouTube to see Danson walk through the reasoning in real time, with the foggy gorge doing a lot of the convincing on its own.
Comments (1)
I've been looking for exactly this kind of tutorial. Perfect timing.
Leave a Comment