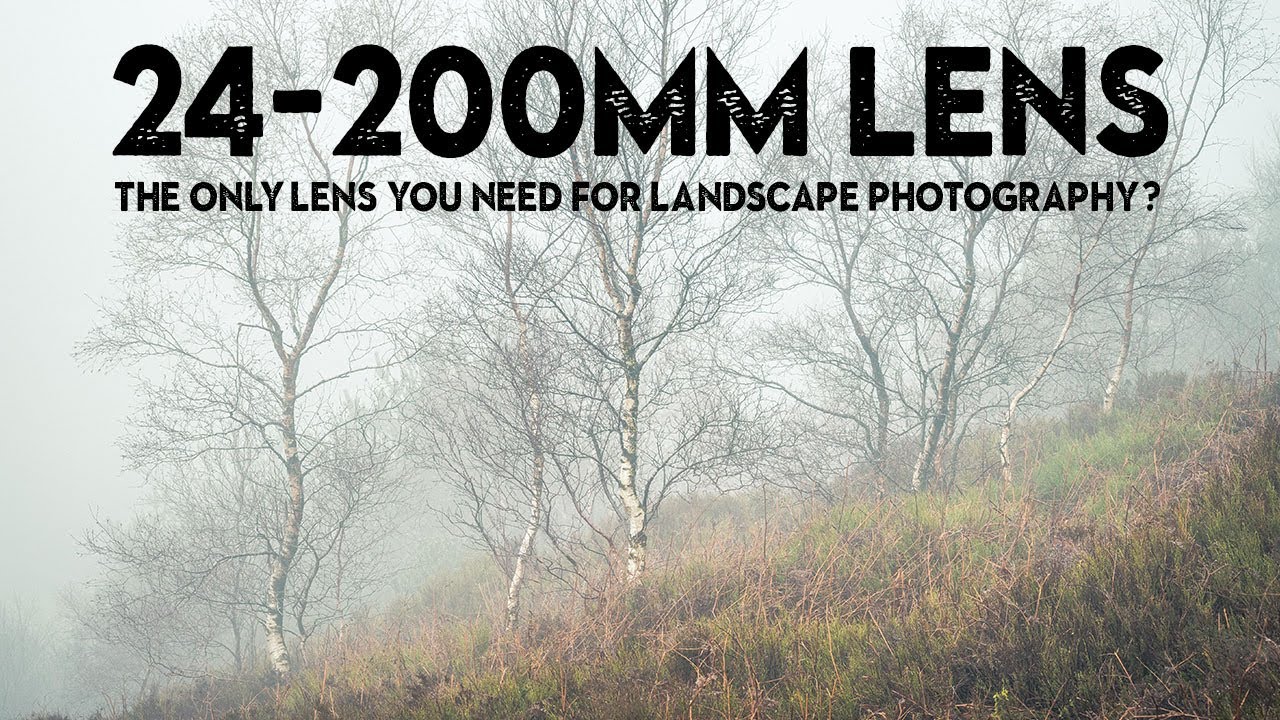
I have a spreadsheet with 47 lenses on it. I have bought, borrowed, and stress-tested more budget glass than most photographers will touch in a lifetime. And the question I keep coming back to is never “which lens is sharpest?” It’s always “which lens are you actually going to bring?” That distinction matters more than any MTF chart, and it’s exactly what pushed me to pay close attention when Nigel Danson made his case for adding a 24-200mm all-in-one zoom to his landscape kit. Watch the full tutorial on YouTube
In this Nigel Danson tutorial, he walks through three specific reasons he picked up the Nikon Z 24-200mm f/4-6.3 despite already owning a 24-70 and a 70-200. That setup is a lot of glass. It’s also a lot of weight on a five-hour mountain hike. His argument isn’t that the 24-200 replaces those lenses. It’s that there are entire categories of shooting situations where the all-in-one wins before you even press the shutter, because you actually have it with you.
This isn’t a lens for studio work or controlled portrait sessions. It’s built for the chaos of real-world landscape photography, where the light changes fast, the trail is steep, and switching lenses in a snowstorm is a great way to ruin a sensor. Here is how Danson breaks it down, and what I think every photographer chasing value should take from it.
Step 1: Weigh the Trade-Off Before You Even Leave the House
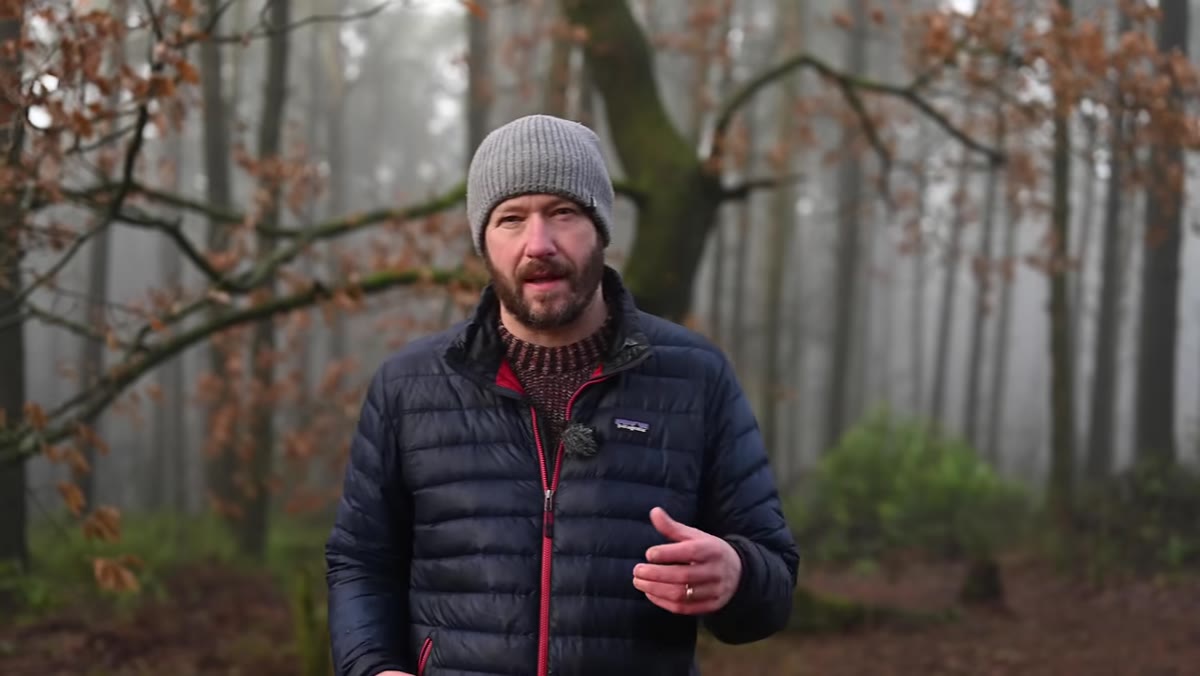
 Danson holding the 24-200 lens and explaining its 600g weight
The first thing Danson does is put numbers on the problem. The 24-200mm lens weighs around 600 grams. His 24-70mm f/2.8 and 70-200mm f/2.8 together push past 3.5 kilograms. Even swapping to f/4 versions of both lenses still leaves you carrying roughly double the weight. Before you evaluate image quality, you have to evaluate whether you will physically carry the gear into the field.
Danson holding the 24-200 lens and explaining its 600g weight
The first thing Danson does is put numbers on the problem. The 24-200mm lens weighs around 600 grams. His 24-70mm f/2.8 and 70-200mm f/2.8 together push past 3.5 kilograms. Even swapping to f/4 versions of both lenses still leaves you carrying roughly double the weight. Before you evaluate image quality, you have to evaluate whether you will physically carry the gear into the field.
This is what I call the gear tax. Every kilogram you add to your pack costs you something, stamina, willingness to go further, patience to wait for better light. Danson frames it as a “quality versus opportunity” trade-off, and that framing is genuinely useful. A sharper lens left in the car has zero image quality. A lens that makes it up the mountain with you, even if it loses a little corner resolution at 200mm, is the one that gets the shot.
Step 2: Identify the Shooting Conditions Where Lens Changes Hurt You Most
 Danson walking a trail and describing bad-weather lens-change problems
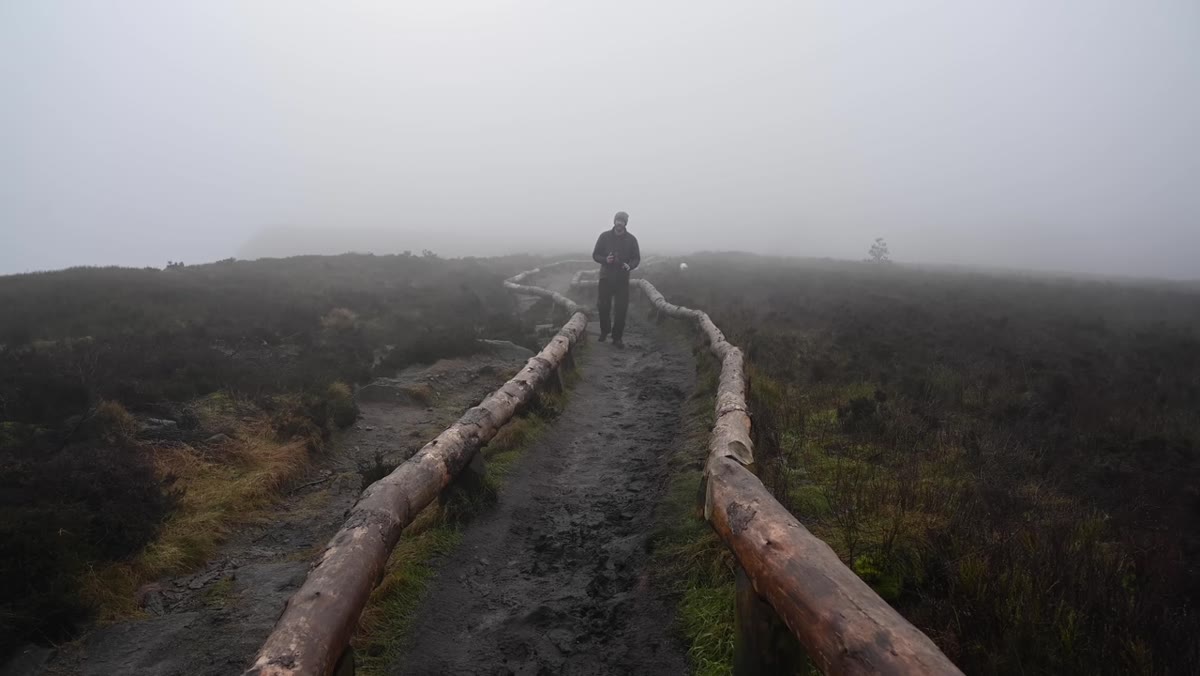
Danson’s second reason is about weather and convenience, but he is really describing a specific failure mode that most photographers have experienced. You are out in heavy rain or blowing snow. You want to go wider for an environmental shot, then tighter to isolate a detail. Every lens swap is a gamble: dust on the sensor, moisture in the mount, the shot disappearing while you fumble with a bag.
Danson walking a trail and describing bad-weather lens-change problems
Danson’s second reason is about weather and convenience, but he is really describing a specific failure mode that most photographers have experienced. You are out in heavy rain or blowing snow. You want to go wider for an environmental shot, then tighter to isolate a detail. Every lens swap is a gamble: dust on the sensor, moisture in the mount, the shot disappearing while you fumble with a bag.
His example is a friend who was shooting wild ponies in the Lake District during a snowstorm, handheld, moving fast. That kind of spontaneous wildlife-adjacent landscape work is exactly where a fixed two-lens system breaks down. You either commit to one focal length and miss shots, or you swap lenses and risk your equipment. A single 24-200mm eliminates that decision entirely. You stay in the moment instead of managing your kit.
Step 3: Use the Focal Range Intentionally, Not as a Crutch
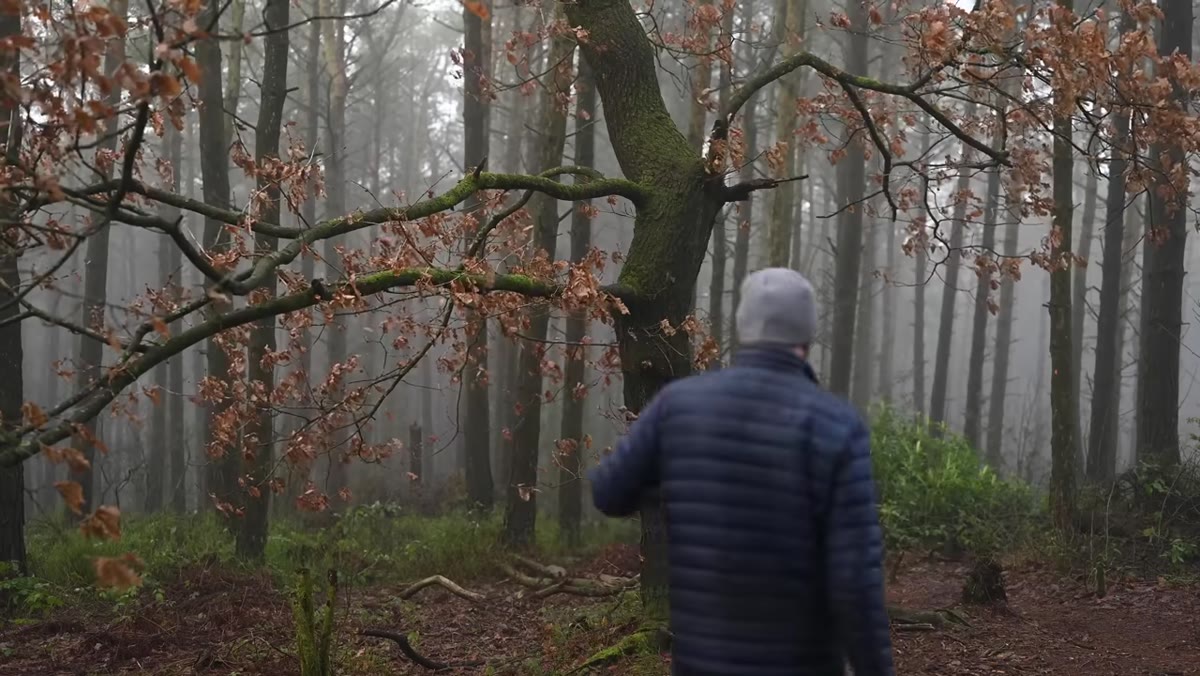 Danson composing a foggy tree scene, dialing between 24mm and 50mm
One thing I appreciate about how Danson shoots is that he is deliberate about focal length even on an all-in-one zoom. He does not just stand in one spot and zoom until the composition looks okay. He identifies his subject first, in this case a single tree against a foggy hillside background, and then decides which focal length will serve that subject. He is shooting between 24mm and 50mm for the foreground tree, and planning to move up the hill to use 200mm for compression shots down into the valley.
Danson composing a foggy tree scene, dialing between 24mm and 50mm
One thing I appreciate about how Danson shoots is that he is deliberate about focal length even on an all-in-one zoom. He does not just stand in one spot and zoom until the composition looks okay. He identifies his subject first, in this case a single tree against a foggy hillside background, and then decides which focal length will serve that subject. He is shooting between 24mm and 50mm for the foreground tree, and planning to move up the hill to use 200mm for compression shots down into the valley.
That discipline matters. A wide zoom range is only a creative asset if you use it with intention. Zoom lenses get a bad reputation partly because beginners use them to avoid thinking about their feet. Danson is doing the opposite: he is using the range to plan two completely different types of shots in one outing, without swapping glass. If you are going to make this kind of lens work, commit to actually walking to the right distance rather than zooming to compensate for a lazy position.
Step 4: Accept the Quality Compromise with Clear Eyes
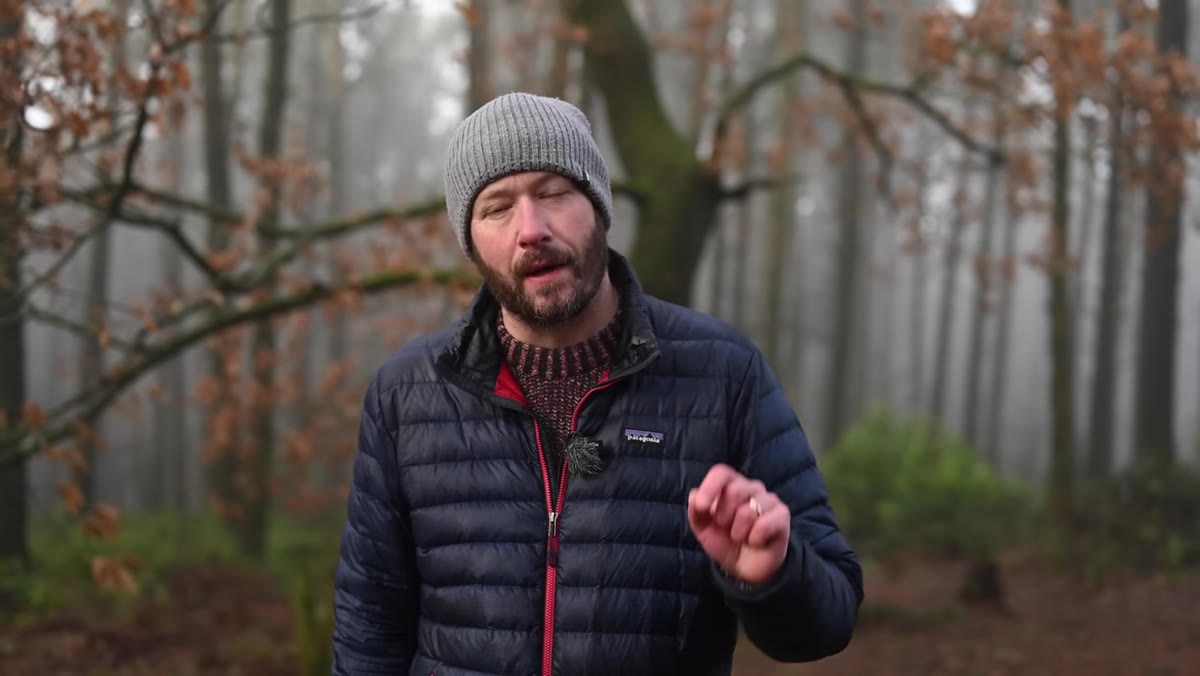 Danson acknowledging quality trade-offs while walking toward a foggy scene
Danson is honest that the 24-200mm is not going to match his prime glass or his fast f/2.8 zooms wide open. He says it plainly, and then he moves on. The compromise is real and worth naming: you will lose some sharpness at the long end, especially at wider apertures. Bokeh will be less creamy. Low light performance takes a hit because the maximum aperture at 200mm is f/6.3 on most versions of this lens.
Danson acknowledging quality trade-offs while walking toward a foggy scene
Danson is honest that the 24-200mm is not going to match his prime glass or his fast f/2.8 zooms wide open. He says it plainly, and then he moves on. The compromise is real and worth naming: you will lose some sharpness at the long end, especially at wider apertures. Bokeh will be less creamy. Low light performance takes a hit because the maximum aperture at 200mm is f/6.3 on most versions of this lens.
But Danson is shooting landscapes in daylight, often stopping down to f/8 or smaller for depth of field anyway. At those apertures, on a modern high-resolution mirrorless body, the real-world difference between this lens and a dedicated 70-200mm shrinks considerably. Know what you are giving up. Then decide if what you are getting, the weight savings, the speed of deployment, the range in a single barrel, is worth it for your specific work. For hiking and travel landscape photography, Danson’s answer is yes, and he makes a convincing case.
My Take: Budget Shooters Should Run This Math on Every Lens Decision
I have been preaching the quality-versus-opportunity framework for years without calling it that. When I started out, I shot with a $300 camera kit because it was what I had. I could not afford to build out a two-lens system, so I stayed with whatever was on the camera. What that forced me to do was think harder about the shots I could get rather than the shots I was theoretically equipped for.
The 24-200mm category is genuinely compelling for anyone who shoots landscapes on foot. I would add one caveat Danson does not dwell on: check the optical stabilization specs carefully before you buy. At 200mm handheld, you are counting on that stabilization to do serious work, and there is a meaningful performance gap between manufacturers right now. Also look at filter thread size. A lot of all-in-one zooms use large filter diameters that add cost if you are buying ND or polarizer filters to go with it. Run the full cost comparison including filters and a second battery before you decide this is actually the budget move.
The single most important thing Danson demonstrates in this video is not a camera setting or a compositional trick. It is a mental model: stop evaluating gear in isolation and start evaluating it inside the specific context where you actually shoot. Gear that makes it into the field beats gear that stays home every single time.
Watch the full tutorial on YouTube to see Danson’s actual sample shots from the foggy hillside and hear him talk through quality at different focal lengths in the field.
Comments (1)
Clear and practical. No fluff. Appreciate that.
Leave a Comment