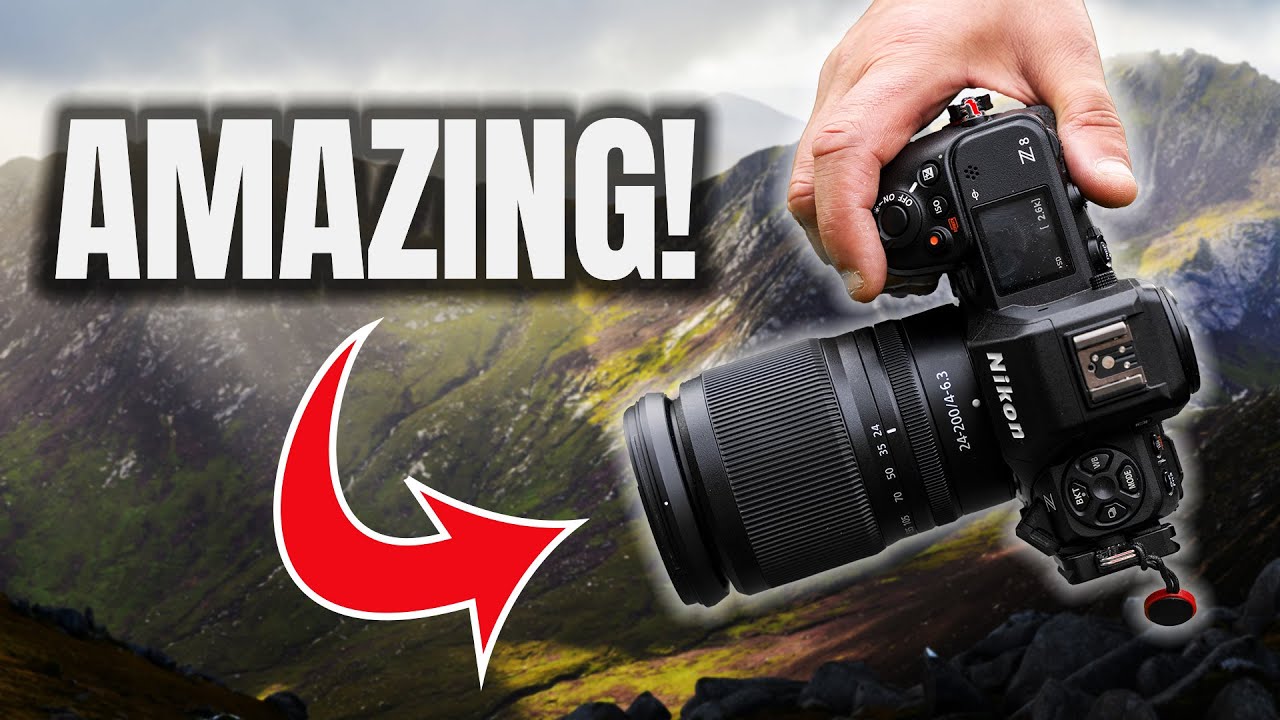
I used to be that guy hauling a full lens kit up every trail. Three primes, a mid-range zoom, a wide angle “just in case” - my shoulders paid the price and honestly, my keeper rate didn’t improve. The gear-head logic sounds bulletproof until you’re 600 meters up a wet Scottish mountain and your back is screaming. That’s exactly the situation Nigel Danson puts himself in, and what he demonstrates in his one-lens hiking tutorial is something I’ve been preaching in a different context for years: constraints force better decisions.
Watch the full tutorial on YouTube
In this Nigel Danson tutorial, he climbs Goat Fell on the Isle of Arran with nothing but a Nikon Z8 and a 24-200mm zoom. No tripod, no second body, no backup glass. He’s got a back condition that makes weight a real concern, and he uses that limitation to show what a capable superzoom can actually do in dramatic mountain light. The lesson isn’t “buy a Z8.” It’s about the shooting philosophy, and that translates to any camera bag and any budget.
What grabbed me isn’t just the gear minimalism. It’s the specific trick he previews early on - getting an effective ultra-wide look from a lens that only goes to 24mm. That alone is worth breaking down step by step.
Step 1: Choose One Lens That Covers Your Full Shooting Range
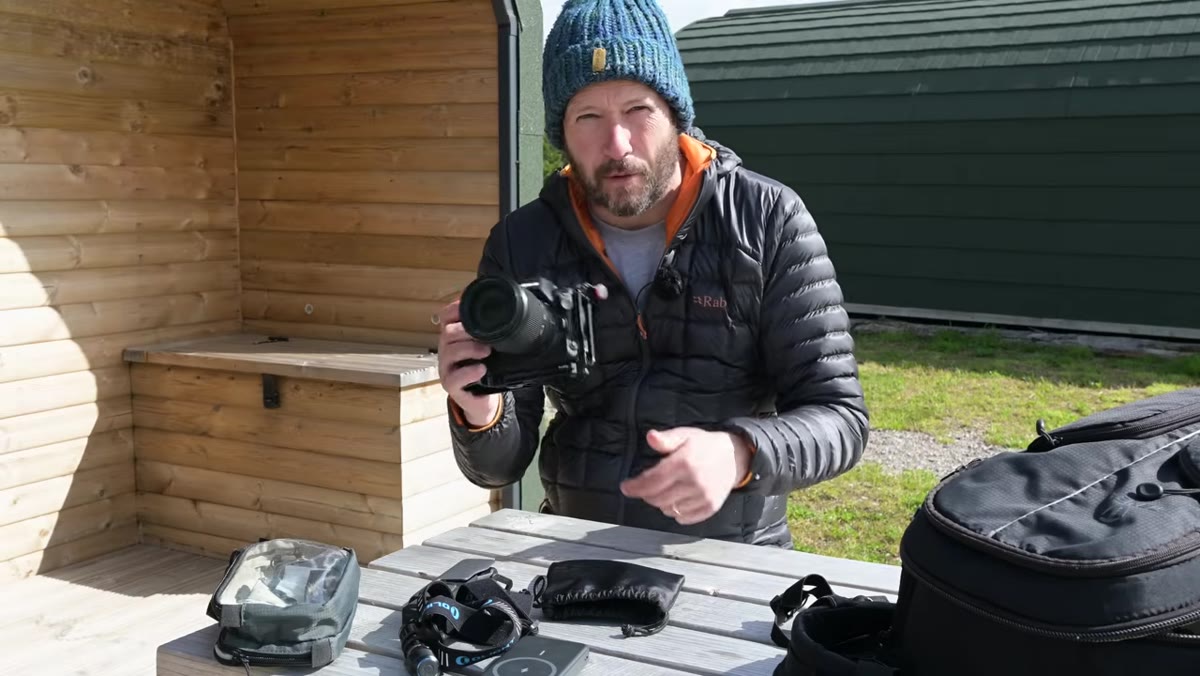 Nigel holding the Z8 with 24-200mm attached at trailhead
Before you leave the car park, make the commitment. Danson chose the 24-200mm specifically because it covers everything from environmental wide shots to compressed telephoto landscapes in a single barrel. The weight savings over carrying a 14-24mm wide, a standard zoom, and a telephoto are significant - we’re talking about dropping a kilogram or more depending on your system.
The practical rule here is to pick the zoom with the widest focal length spread you own, not the sharpest lens in the bag. Sharpness matters less than having the right focal length at the right moment. If you’re on a budget, the Sony 18-135mm, the Canon 18-150mm for RF-S, or the Tamron 18-300mm all follow the same logic at a fraction of the cost of premium primes.
Step 2: Pack for the Mountain First, Gear Second
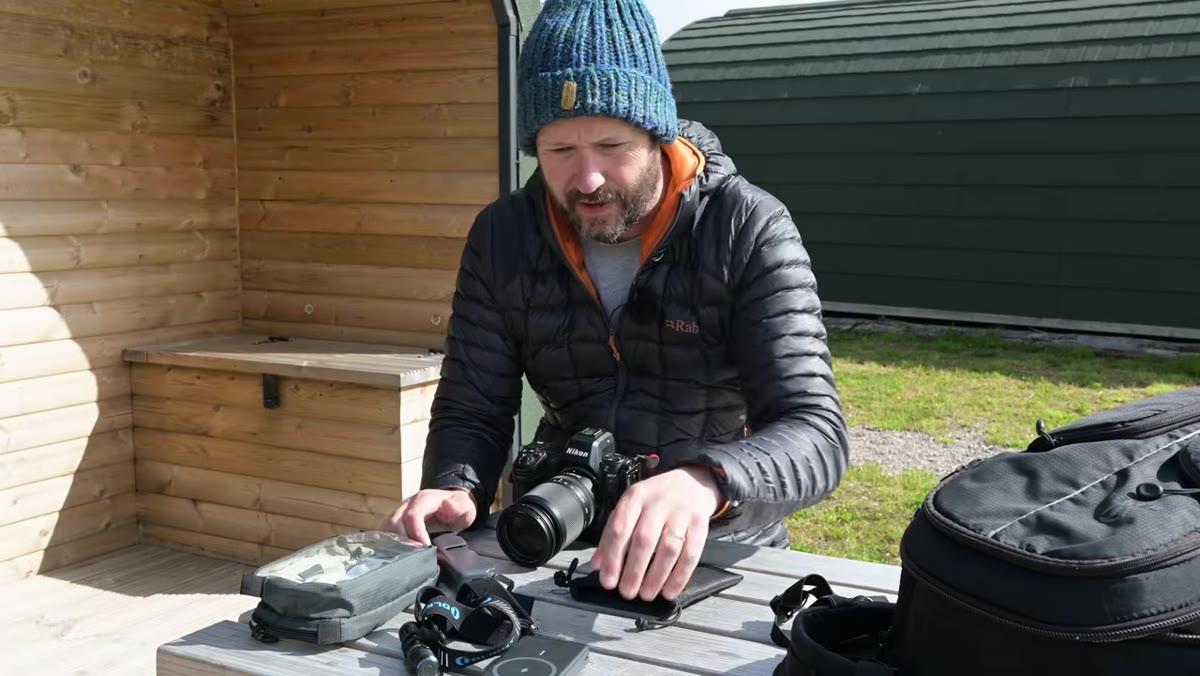 Nigel listing kit items including phone charger and head torch
Danson specifically calls out what else is in his bag: phone charger, head torch for the descent, food. The camera is one item among several survival essentials, not the centerpiece of the pack. This is the mindset shift most photographers resist. When your lens choice is dictated by the weight budget left over after safety gear, you make smarter calls.
Set yourself a hard weight limit before you start packing glass. On a full-day mountain hike, I’d argue anything over 1.5kg of camera equipment is a choice that will cost you shots because you’ll be too tired or too cautious about pulling the gear out in bad weather.
Step 3: Shoot Handheld in Challenging Conditions, Lean Into the Light
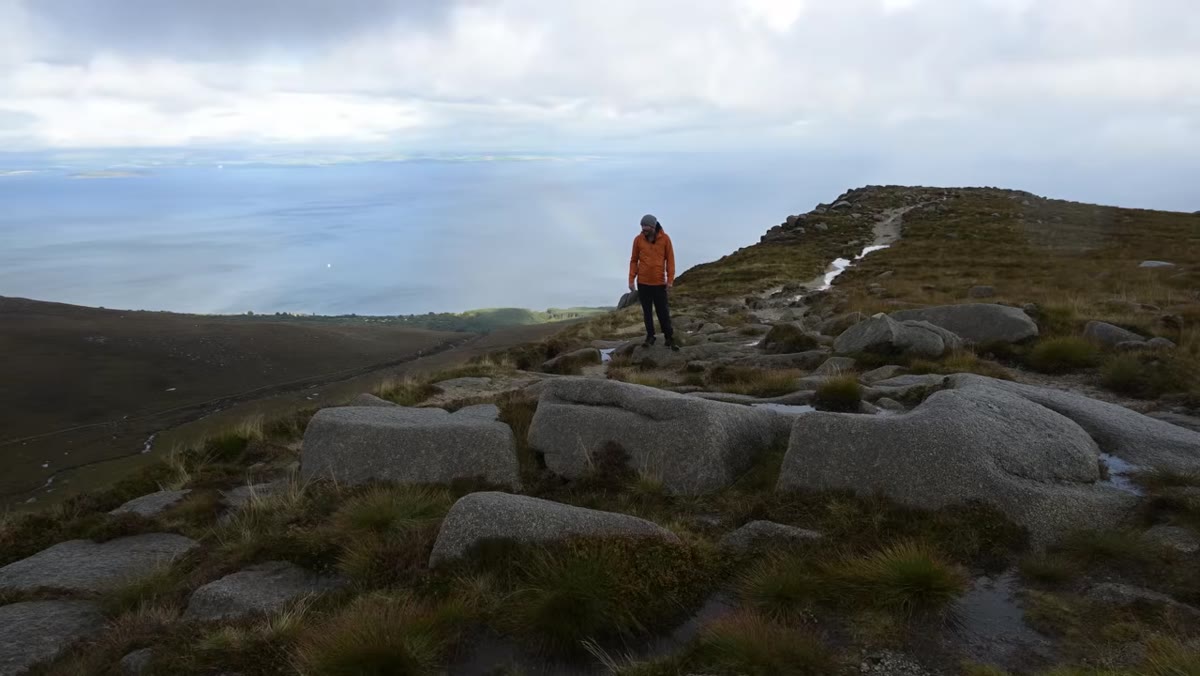 Handheld shot being taken on the wet, windy upper mountain
Partway up, Danson spots a rainbow forming and takes a quick handheld shot toward it with the sun at his back. No tripod, no hesitation. The lesson is that fast-moving mountain light won’t wait for you to set up. Modern sensors - and even budget mirrorless bodies - handle the high ISO required for stopping motion in low-contrast overcast light far better than sensors did five years ago.
The compositional cue here is directional: keep the sun behind you when shooting toward weather. Rainbows, cloud drama, and light breaking through gaps all read better with light falling forward onto your subject. Danson is deliberately positioning himself on the mountain to maintain that relationship with the sun, not just hiking toward the summit.
Step 4: Use the Long End for Compression, Not Just Reach
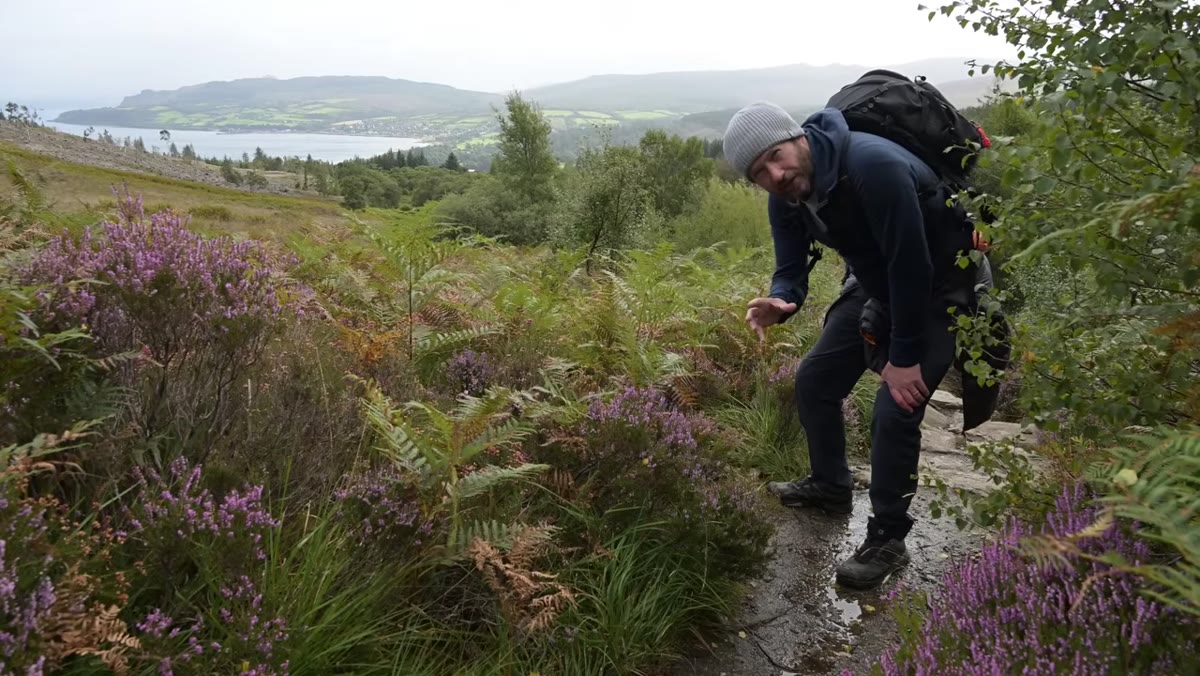 Discussing the range advantage of the 24-200mm while still climbing
At the longer focal lengths, a 200mm on a full-frame body produces subject compression that makes distant ridgelines stack up behind each other in a way a wide angle simply cannot replicate. Danson uses this to pull in distant features and make the landscape feel more dramatic and dense. This is one area where a superzoom genuinely outperforms a single wide prime in a hiking context.
When you’re shooting at 150-200mm, watch your shutter speed. A reasonable starting point is 1/320s or faster to eliminate camera shake when shooting handheld at full reach. If the light is dropping, raise ISO before you drop the shutter speed below 1/focal length.
Step 5: Get the Ultra-Wide Look Using In-Camera Panorama Stitching
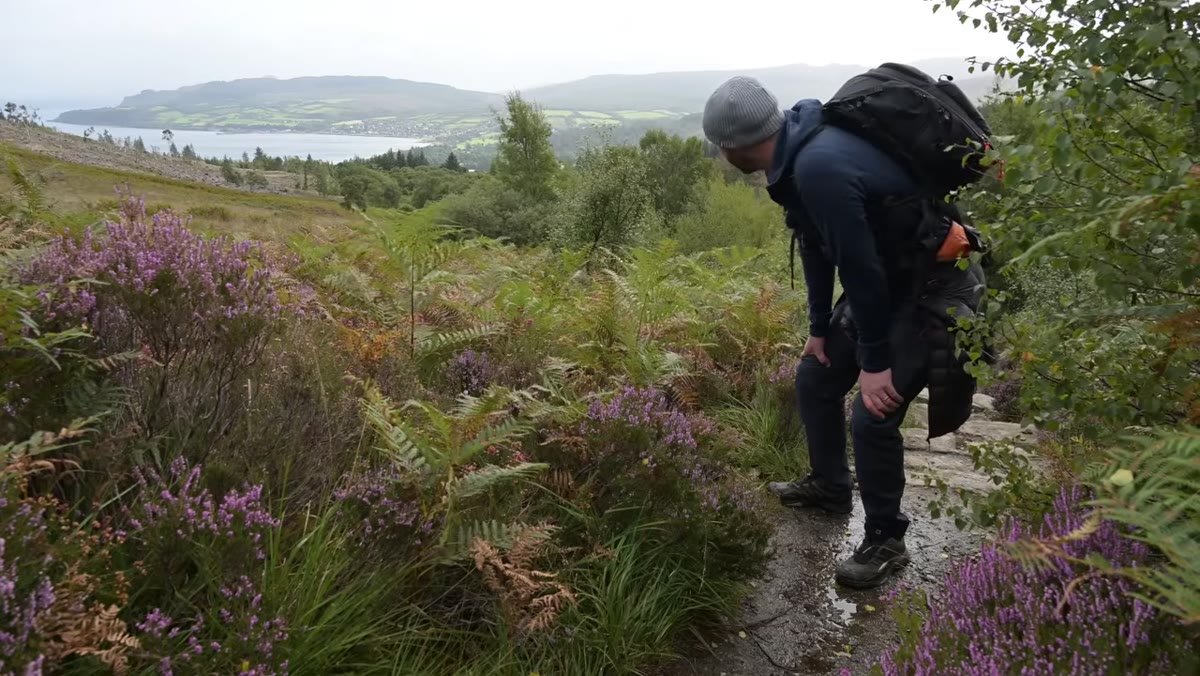 Nigel previewing the panorama stitching trick on the mountainside
This is the technique Danson teases early and it’s genuinely useful. Even though the 24-200mm only reaches 24mm at its widest, you can replicate the look of a 14mm or even wider by shooting a panoramic sequence of overlapping frames and stitching them together - either in-camera on supported bodies or in Lightroom afterward.
The method: set your lens to its widest focal length, orient the camera vertically for maximum height in the final stitch, and shoot a series of frames with roughly 30-40% overlap as you pan horizontally. Keep your exposure locked in manual mode so the sky doesn’t shift tone between frames. In Lightroom, Photo Merge - Panorama handles the rest in under a minute. The resulting file gives you the field of view of an ultra-wide with no extra glass in the bag.
Step 6: Scout While You Hike, Shoot on the Way Back
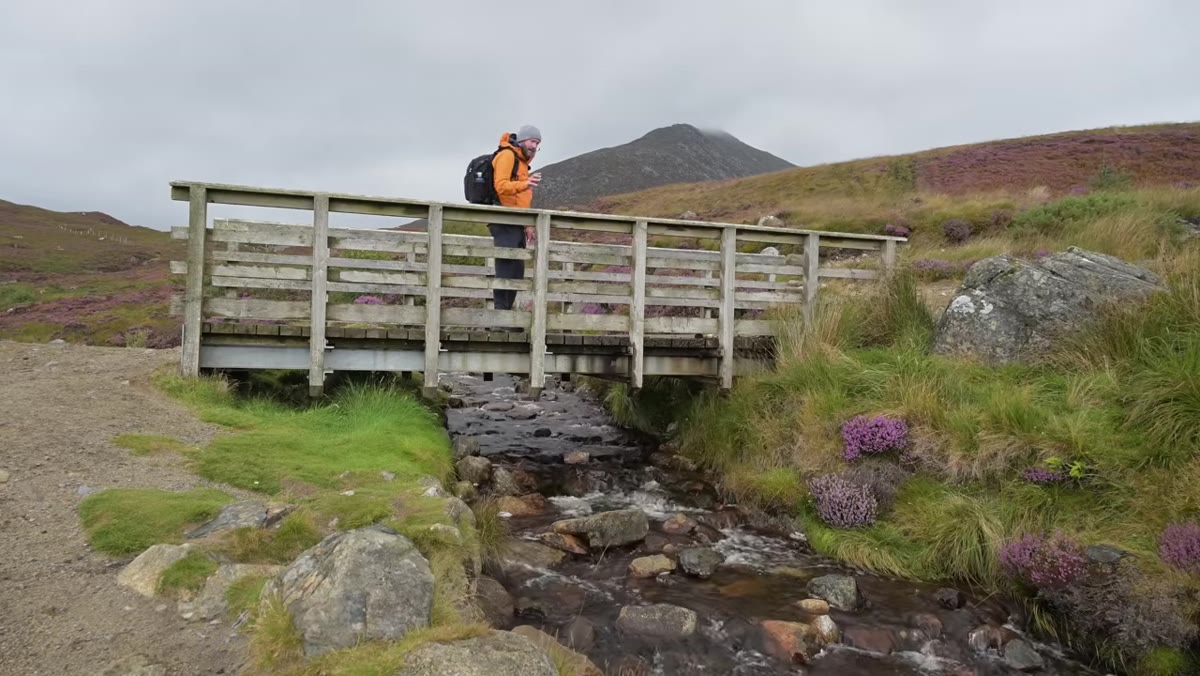 Noticing the heather and river shot opportunity while continuing upward
Danson spots a composition near a river in the heather on the way up and makes a mental note to return to it rather than stopping the climb. This is smart mountain photography workflow. Conditions at the summit or during golden hour will be different, and stopping for every interesting shot on the ascent burns energy and costs you time at the best light.
Keep a voice memo or a quick photo on your phone to mark locations worth revisiting. On the descent, with the light lower and the pressure off, those spots you flagged often produce better results than the summit shots anyway.
My Take: This Works Even Better on Cheaper Glass
I ran a version of this experiment on a trail near Evergreen, Colorado, last fall with a used Tamron 28-200mm I picked up for under $300 on MPB. Not the sharpest lens I own - I’ve got spreadsheet data to prove it. But for an eight-hour hike where I was also carrying water and layers, it was the only realistic choice, and I came home with shots I was genuinely happy with.
The panorama stitching trick in particular closed the gap between that lens and my wider primes almost entirely. The stitched files had more resolution than a single frame from a wide angle would have given me anyway. Optical imperfections matter a lot less when you’re choosing between a great shot and no shot because you left the heavy glass in the car.
The single most important idea here is that the best lens for hiking isn’t the one with the best MTF chart - it’s the one you’ll actually carry to the top. Danson proves it at 830 meters in the rain, and it holds at any elevation.
Watch the full tutorial on YouTube to see the actual results he pulls from this setup - the light he catches at the summit makes the whole argument for you.
Comments
Leave a Comment