There’s a version of me from a few years back who showed up to a winter sunrise shoot in a hoodie and running shoes. I lasted about 40 minutes before my hands locked up and I was speed-walking back to my car with maybe a dozen frames worth keeping. That was an expensive lesson, not in money lost but in light lost. Golden hour doesn’t wait for you to warm up.
This is exactly why a recent Visual Education tutorial caught my attention. Watch the full tutorial on YouTube - it’s a short field video, but the photographer makes a point that most gear content completely ignores: the clothing and footwear you wear while shooting is functional photography equipment. It affects how long you can stay out, how well you can operate your camera, and whether you come home with the shot or just a story about being cold.
The video is shot during what looks like a coastal winter session around magic hour, with the creator setting up multi-image stitches and working with off-camera lights in the kind of conditions where most of us would’ve bailed early. The cold-weather gear walkthrough is tucked into the middle of the video almost as an aside, but it’s the part I’ve been thinking about ever since. Here’s how to apply it practically.
Step 1: Accept That Temperature Management Is Part of Shoot Planning
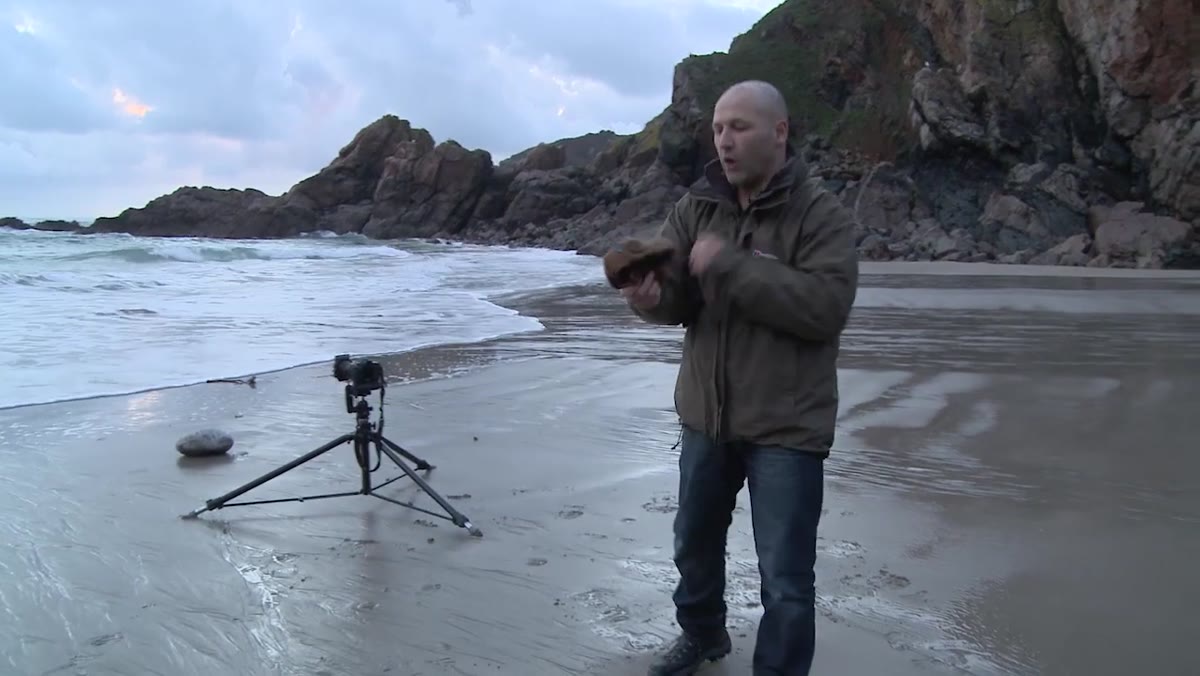 Photographer pausing mid-shoot to address the camera about cold
At around the 4-5 degree Celsius mark (that’s roughly 39-40 degrees Fahrenheit), the cold isn’t immediately brutal - but it compounds. The photographer in the video makes this point clearly: it’s not that you freeze, it’s that the cold grinds you down over time until you want to quit. That’s the real enemy. Before any winter shoot, factor in your total expected time outside and plan your layers accordingly. If you’re only out for 20 minutes, you can get away with less. If you’re chasing a stitch series or waiting on specific light, you need to be comfortable for an hour or more.
Photographer pausing mid-shoot to address the camera about cold
At around the 4-5 degree Celsius mark (that’s roughly 39-40 degrees Fahrenheit), the cold isn’t immediately brutal - but it compounds. The photographer in the video makes this point clearly: it’s not that you freeze, it’s that the cold grinds you down over time until you want to quit. That’s the real enemy. Before any winter shoot, factor in your total expected time outside and plan your layers accordingly. If you’re only out for 20 minutes, you can get away with less. If you’re chasing a stitch series or waiting on specific light, you need to be comfortable for an hour or more.
Step 2: Start With a Waterproof, Windproof Outer Layer
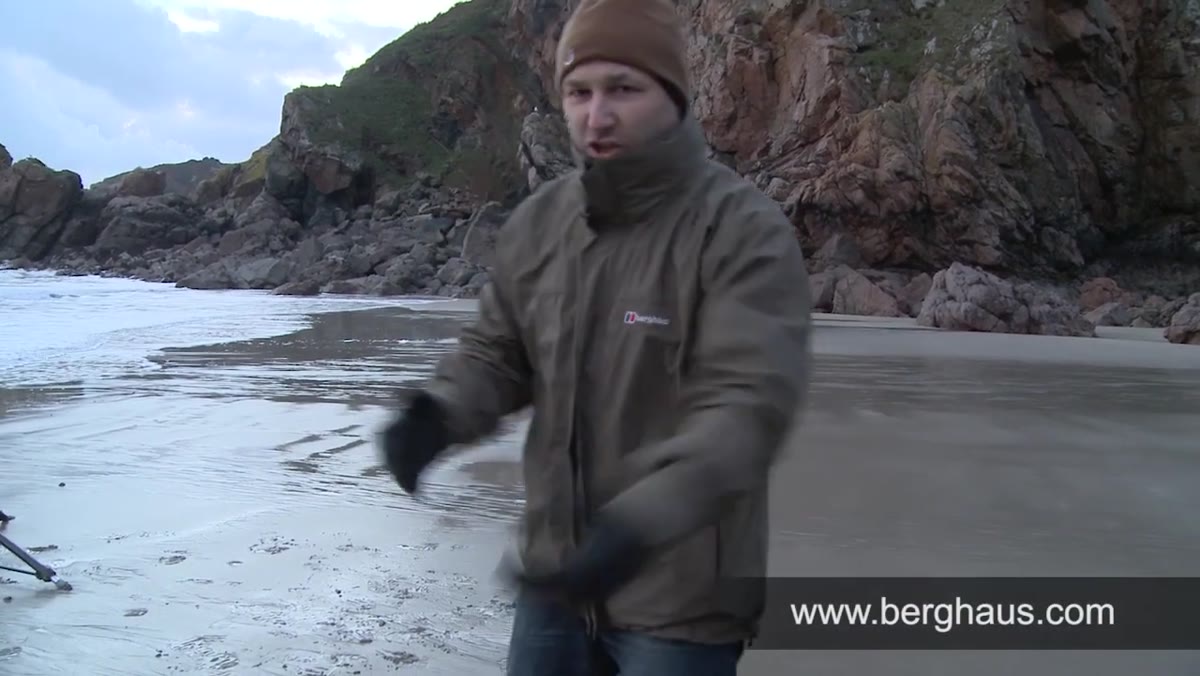 Creator gesturing to waterproof jacket while standing on coastal rocks
The outer shell is your first line of defense and the one most people underinvest in. The tutorial highlights a Berghaus jacket specifically for being fully waterproof and windproof. You don’t have to buy that exact brand, but the spec matters: seam-sealed construction, a packable hood, and a fit that still lets you raise your arms without the jacket riding up over your waist. Shooting near water in winter means spray, mist, and wind, and a jacket that handles only two of those three is going to fail you. I’ve found solid waterproof shells from lesser-known brands for under $80 that match the performance of jackets three times the price - the key is checking the waterproof rating (look for 10,000mm hydrostatic head or higher) rather than buying on name alone.
Creator gesturing to waterproof jacket while standing on coastal rocks
The outer shell is your first line of defense and the one most people underinvest in. The tutorial highlights a Berghaus jacket specifically for being fully waterproof and windproof. You don’t have to buy that exact brand, but the spec matters: seam-sealed construction, a packable hood, and a fit that still lets you raise your arms without the jacket riding up over your waist. Shooting near water in winter means spray, mist, and wind, and a jacket that handles only two of those three is going to fail you. I’ve found solid waterproof shells from lesser-known brands for under $80 that match the performance of jackets three times the price - the key is checking the waterproof rating (look for 10,000mm hydrostatic head or higher) rather than buying on name alone.
Step 3: Get Gloves That Let You Actually Use Your Camera
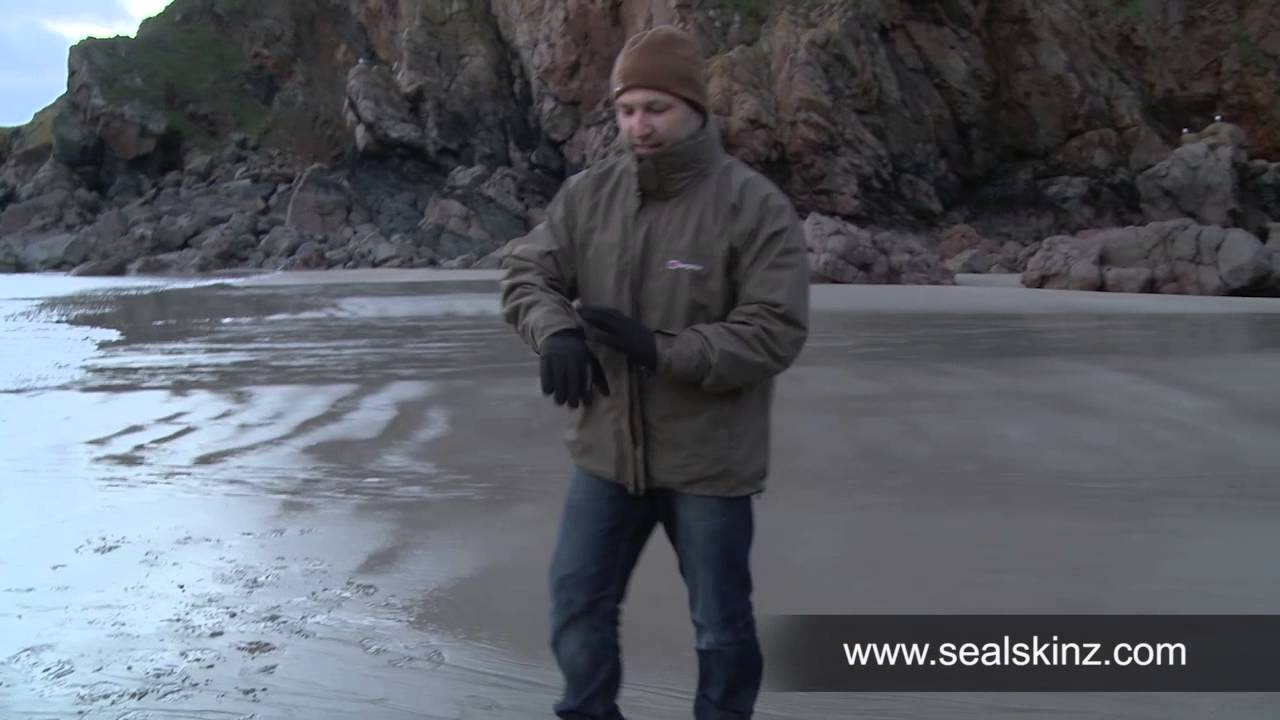
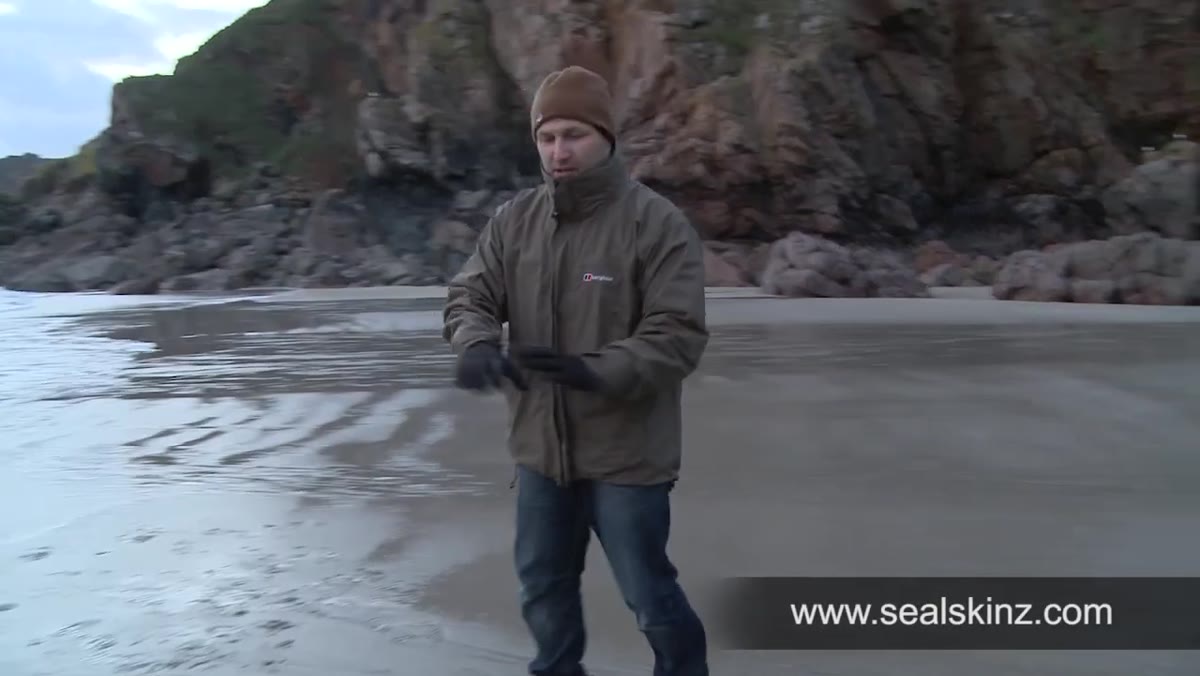 Close-up of Sealskinz gloves on the photographer’s hands
This is where most photographers cut corners and pay for it immediately. Standard winter gloves make operating your camera a fumbling nightmare. The video recommends Sealskinz gloves with a leather grip on the palm, which are designed to stay waterproof while still giving you enough tactile sensitivity to work your controls. The creator mentions a version with a fold-back finger release for the shutter finger, which is worth looking into if you’re doing any manual focusing or precise dial work. I’ve tested a handful of budget alternatives to premium waterproof gloves, and the honest answer is: gloves are one of the places where paying a bit more tends to earn it. A $15 pair that forces you to take them off every time you touch your camera is worse than useless in the field.
Close-up of Sealskinz gloves on the photographer’s hands
This is where most photographers cut corners and pay for it immediately. Standard winter gloves make operating your camera a fumbling nightmare. The video recommends Sealskinz gloves with a leather grip on the palm, which are designed to stay waterproof while still giving you enough tactile sensitivity to work your controls. The creator mentions a version with a fold-back finger release for the shutter finger, which is worth looking into if you’re doing any manual focusing or precise dial work. I’ve tested a handful of budget alternatives to premium waterproof gloves, and the honest answer is: gloves are one of the places where paying a bit more tends to earn it. A $15 pair that forces you to take them off every time you touch your camera is worse than useless in the field.
Step 4: Layer Underneath - The Shell Is Not Enough
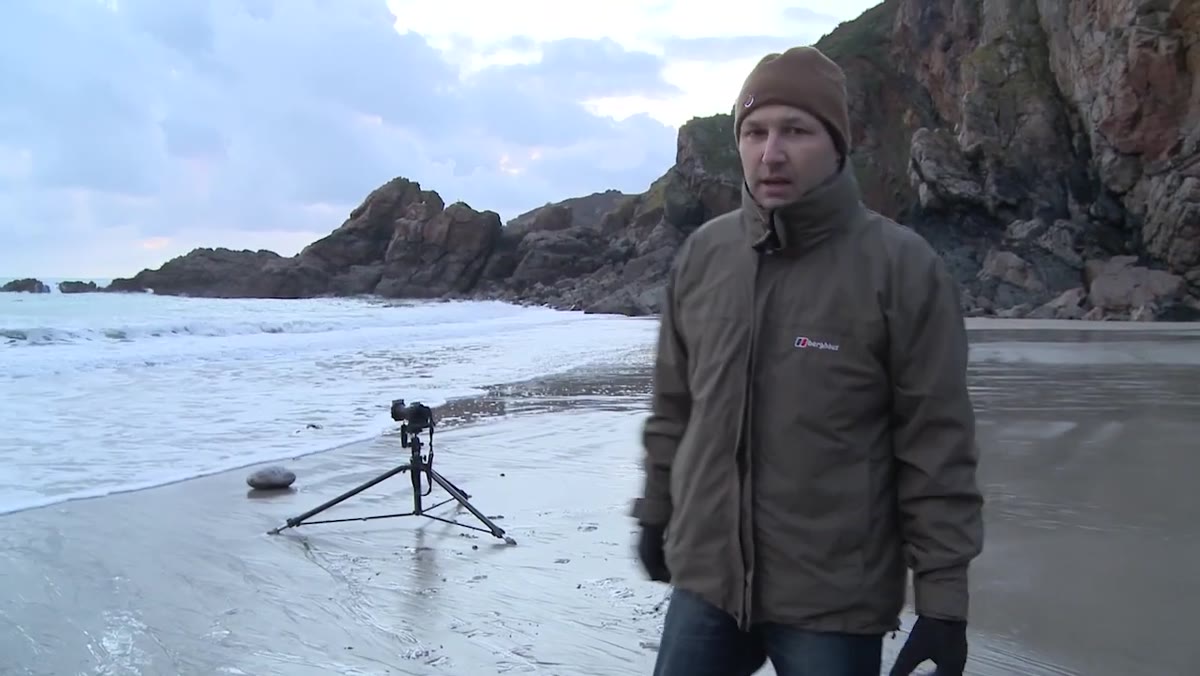 Photographer referencing layers worn beneath outer jacket
The outer jacket is only as good as what’s underneath it. The video makes a passing but important reference to layering under the shell. A moisture-wicking base layer keeps sweat off your skin, a mid-layer (fleece or light down) traps heat, and then the waterproof shell does its job on top. Skipping the mid-layer is the most common mistake I see at cold-weather meetups. People show up in a heavy coat with nothing underneath and wonder why they’re still cold. The layering system works because each piece handles a different job, and the combination is what keeps your core temperature stable over a long shoot.
Photographer referencing layers worn beneath outer jacket
The outer jacket is only as good as what’s underneath it. The video makes a passing but important reference to layering under the shell. A moisture-wicking base layer keeps sweat off your skin, a mid-layer (fleece or light down) traps heat, and then the waterproof shell does its job on top. Skipping the mid-layer is the most common mistake I see at cold-weather meetups. People show up in a heavy coat with nothing underneath and wonder why they’re still cold. The layering system works because each piece handles a different job, and the combination is what keeps your core temperature stable over a long shoot.
Step 5: Choose Footwear Based on Terrain and Season
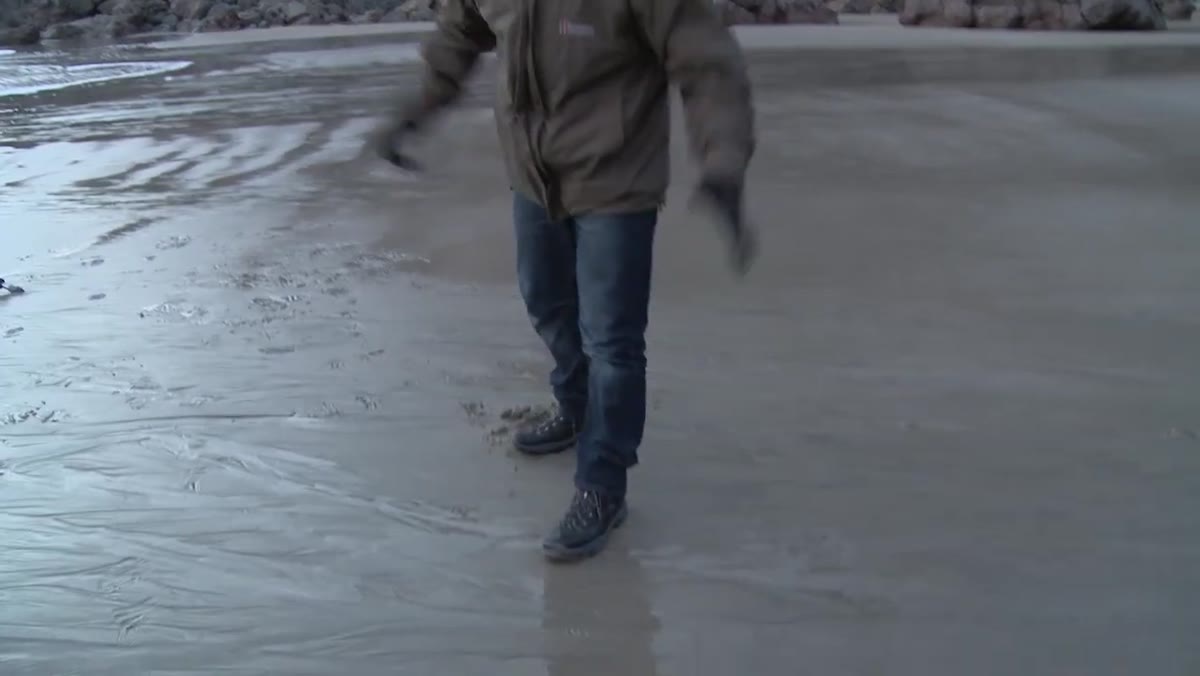 Berghaus hiking boots shown on rocky coastal terrain
The tutorial is refreshingly direct about footwear: trainers work fine in summer even if your feet get wet, but in midwinter you need waterproof hiking boots with real grip. The reasoning is practical - waders and wellies look sensible until you’re on wet, slippery rocks, at which point they become a liability. Waterproof hiking boots give you ankle support, grip, and dryness without the instability. For most landscape and coastal shooting, this is the right call. I shoot a lot in Colorado where the terrain shifts from mud to ice to loose gravel on the same trail, and a solid waterproof hiking boot has kept me upright in conditions where I’d have gone down in anything else.
Berghaus hiking boots shown on rocky coastal terrain
The tutorial is refreshingly direct about footwear: trainers work fine in summer even if your feet get wet, but in midwinter you need waterproof hiking boots with real grip. The reasoning is practical - waders and wellies look sensible until you’re on wet, slippery rocks, at which point they become a liability. Waterproof hiking boots give you ankle support, grip, and dryness without the instability. For most landscape and coastal shooting, this is the right call. I shoot a lot in Colorado where the terrain shifts from mud to ice to loose gravel on the same trail, and a solid waterproof hiking boot has kept me upright in conditions where I’d have gone down in anything else.
Step 6: Don’t Forget Head Coverage
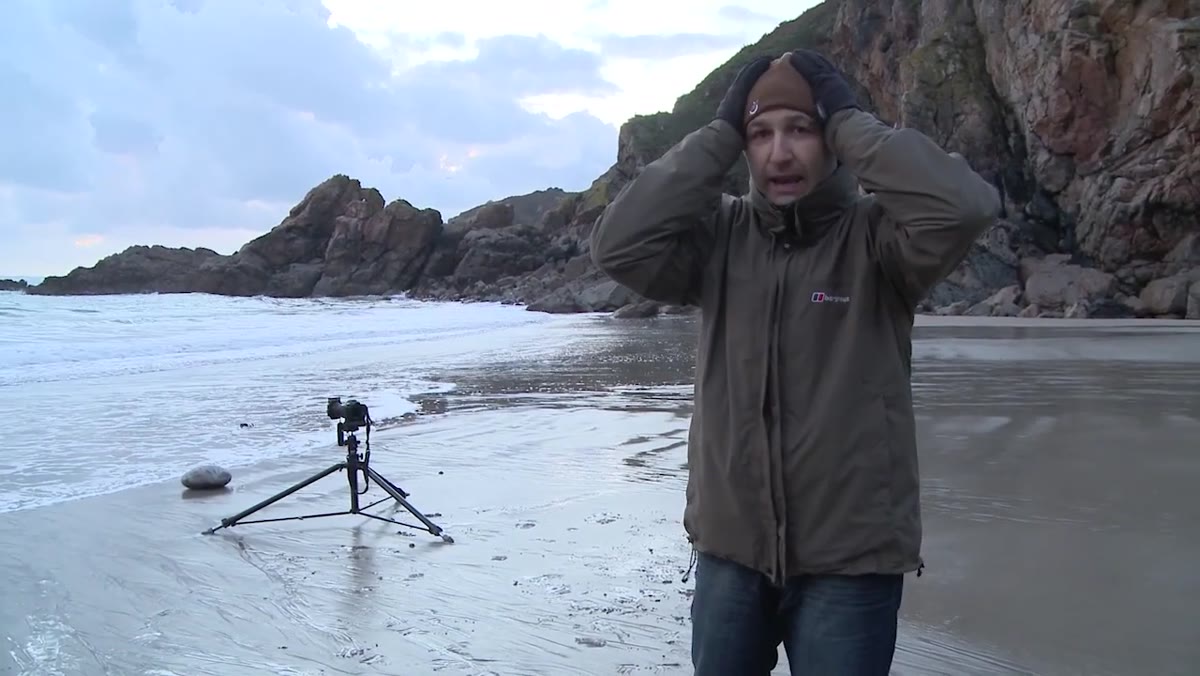 Photographer wearing Sealskinz waterproof beanie hat
Heat loss through your head is real, and a wet beanie is worse than no beanie. The video specifically calls out a waterproof beanie hat, which is a detail most people skip. A standard wool hat soaks through and then sits cold and heavy on your head for the rest of the shoot. Waterproof beanies aren’t expensive. Combined with the hood built into a decent shell jacket, you have flexible options depending on wind conditions - beanie alone when it’s calm, hood cinched down when it picks up.
Photographer wearing Sealskinz waterproof beanie hat
Heat loss through your head is real, and a wet beanie is worse than no beanie. The video specifically calls out a waterproof beanie hat, which is a detail most people skip. A standard wool hat soaks through and then sits cold and heavy on your head for the rest of the shoot. Waterproof beanies aren’t expensive. Combined with the hood built into a decent shell jacket, you have flexible options depending on wind conditions - beanie alone when it’s calm, hood cinched down when it picks up.
What I’d Add: Budget-Proof Your Cold-Weather Kit
None of this has to cost a fortune, but I’d encourage you to prioritize differently than most people do. Most photographers agonize over the camera and treat the clothing as an afterthought. Flip that logic for winter. A $70 waterproof shell, a decent mid-layer you might already own, and $40 waterproof gloves will do more for your winter output than a new lens filter. I’ve put together full cold-weather shooting kits for under $150 by shopping end-of-season sales and checking outdoor gear outlets. The brands don’t matter as much as the specs - waterproof rating, wind resistance, and grip are the numbers to chase.
The single most important thing this tutorial reminded me of is something obvious that still gets ignored all the time: if you’re uncomfortable, you rush, and rushed shots in good light are still wasted shots. Staying warm isn’t about comfort for its own sake. It’s about staying sharp long enough to do the work properly.
Watch the full tutorial on YouTube to see the full session, including the stitched panorama setup and the lighting approach the creator uses during the magic hour segment. The gear conversation is brief in the video but it’s worth pausing on - it’s the kind of practical advice that doesn’t get enough airtime.
Comments
Leave a Comment