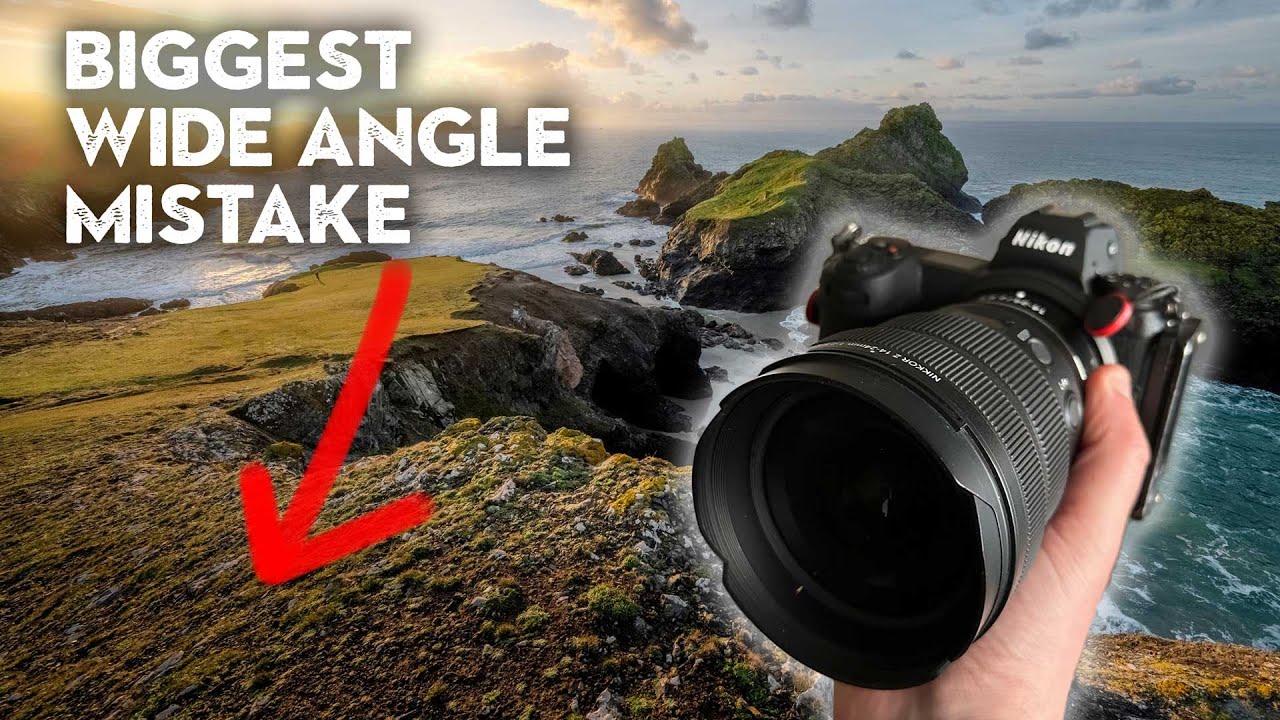
I used to blame my wide angle lens every time a shot came back looking empty and lifeless. The foreground was boring, the subject felt distant, and the whole image had that stretched-out, “nothing going on here” quality that kills otherwise great light. I spent months thinking I needed a sharper, more expensive optic. Turns out the glass wasn’t the problem. My approach to using it was.
In this Nigel Danson tutorial, he heads out to Gannet’s Cove at sunrise with his camera and a very honest field report, including what happens when you go the wrong direction and arrive fifteen minutes late to your own location. That kind of real-world messiness is exactly why this video is worth your time. Danson isn’t shooting on a perfect morning with a clean shot list. He’s adapting, problem-solving, and explaining his decisions out loud as the light changes. Watch the full tutorial on YouTube
The core lesson is this: wide angle lenses punish lazy composition more than any other focal length. The field of view is generous, which means the camera will happily include everything, interesting and dull alike, unless you actively control what goes in and where. Here is how Danson works through that problem in the field.
Step 1: Arrive Early Enough to Evaluate the Scene Before You Shoot
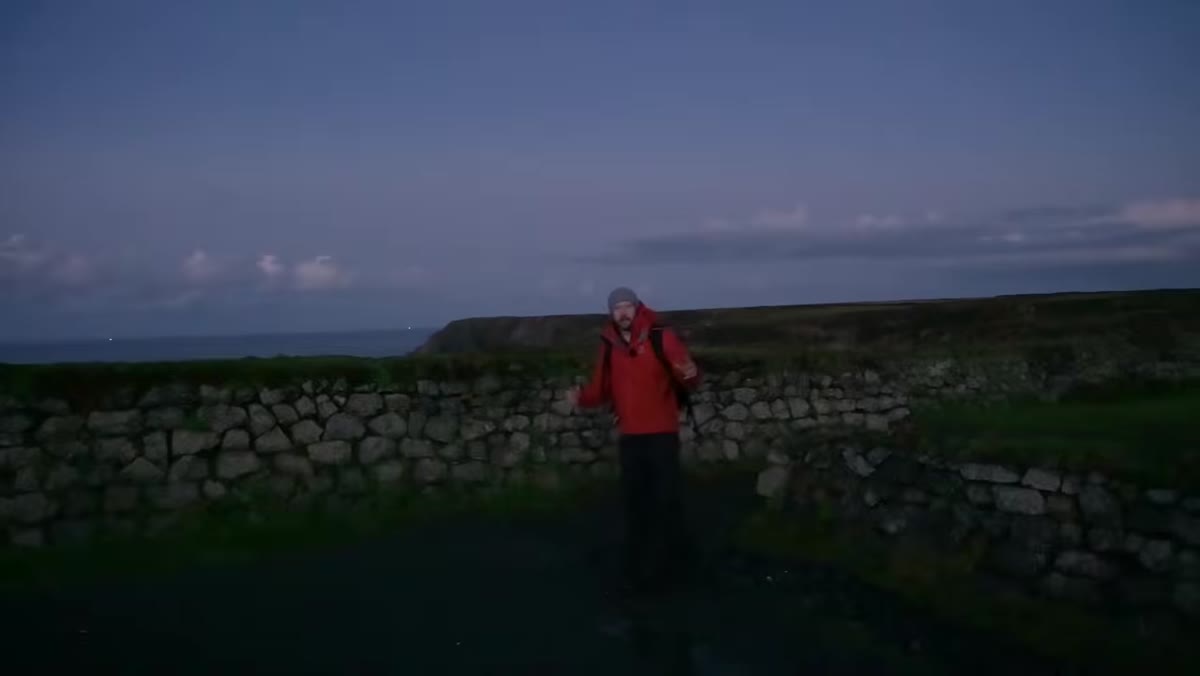 Danson arriving at Gannet’s Cove with sunrise light visible
This sounds obvious but it is the step most photographers skip. Danson and his shooting partner arrive slightly late due to navigation issues, and he is upfront about how much that costs them. Even with a narrow window, he immediately starts reading the scene rather than just pointing the camera. He identifies the headland, the rock formations, and where the light is going to fall before he touches his settings. A wide angle lens needs a reason to exist in a shot. Scouting, even for five minutes, is how you find that reason.
Danson arriving at Gannet’s Cove with sunrise light visible
This sounds obvious but it is the step most photographers skip. Danson and his shooting partner arrive slightly late due to navigation issues, and he is upfront about how much that costs them. Even with a narrow window, he immediately starts reading the scene rather than just pointing the camera. He identifies the headland, the rock formations, and where the light is going to fall before he touches his settings. A wide angle lens needs a reason to exist in a shot. Scouting, even for five minutes, is how you find that reason.
Step 2: Build the Composition Around Separation and Layers
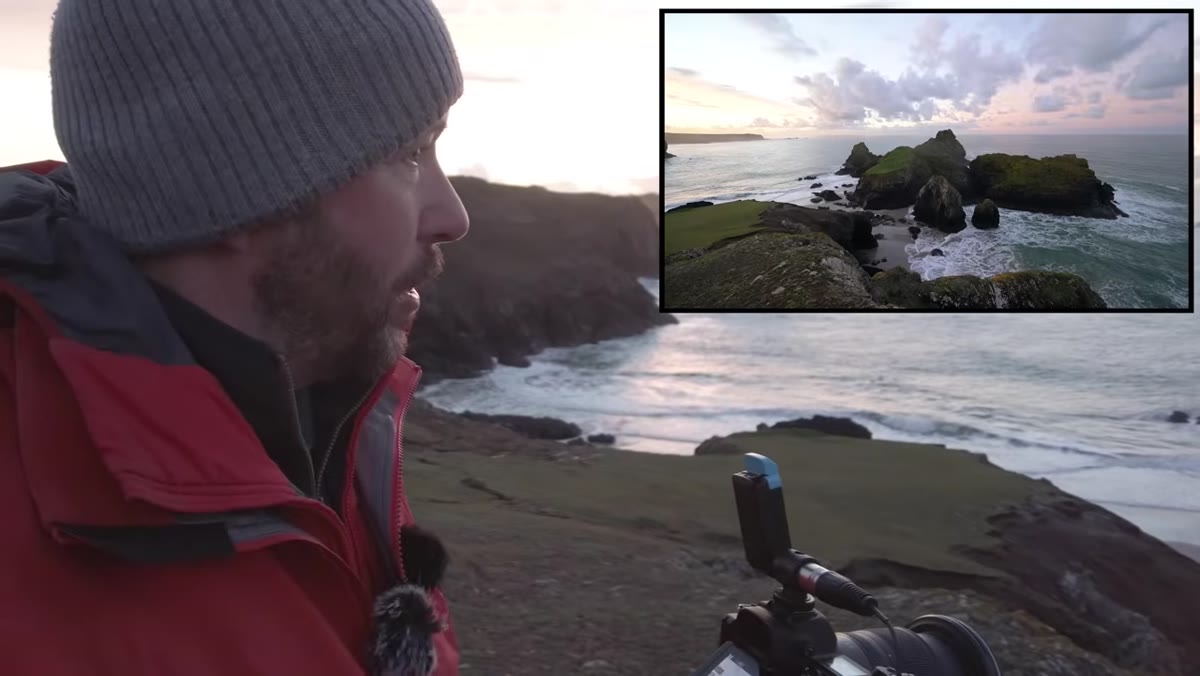 Danson explaining foreground rock placement and headland separation
Danson walks through his composition verbally while waiting for the light to hit the cliffs, and the breakdown is genuinely useful. He identifies a foreground rock element on the left, notes that it is not his favorite part of the frame, and immediately flags that he will darken it in post to reduce its visual weight. Then he traces the eye path through the image: foreground rocks, the headland catching side light, and a deliberate gap between two rock masses to create separation. That separation is the key move. Without it, a wide angle image collapses into a single cluttered plane. With it, you have depth. He also notes a rock formation curving into the frame from one side, which gives the eye somewhere to travel. Every element has a job.
Danson explaining foreground rock placement and headland separation
Danson walks through his composition verbally while waiting for the light to hit the cliffs, and the breakdown is genuinely useful. He identifies a foreground rock element on the left, notes that it is not his favorite part of the frame, and immediately flags that he will darken it in post to reduce its visual weight. Then he traces the eye path through the image: foreground rocks, the headland catching side light, and a deliberate gap between two rock masses to create separation. That separation is the key move. Without it, a wide angle image collapses into a single cluttered plane. With it, you have depth. He also notes a rock formation curving into the frame from one side, which gives the eye somewhere to travel. Every element has a job.
Step 3: Check Your Foreground Honestly, Not Optimistically
 Danson noting uninteresting ground texture near his position
One of the most useful moments in the video is when Danson looks down at the ground immediately in front of his tripod and says, plainly, that it is not very interesting and he wishes it had more texture. He does not try to make it work. He acknowledges it as a weakness in the frame and moves on. This is the discipline wide angle shooting demands. Your foreground is not decoration. It is load-bearing. If the ground two feet in front of your lens is muddy, featureless sand or cracked pavement with nothing going on, the whole image suffers. Either reposition to find better foreground, or switch to a longer focal length where foreground matters less.
Danson noting uninteresting ground texture near his position
One of the most useful moments in the video is when Danson looks down at the ground immediately in front of his tripod and says, plainly, that it is not very interesting and he wishes it had more texture. He does not try to make it work. He acknowledges it as a weakness in the frame and moves on. This is the discipline wide angle shooting demands. Your foreground is not decoration. It is load-bearing. If the ground two feet in front of your lens is muddy, featureless sand or cracked pavement with nothing going on, the whole image suffers. Either reposition to find better foreground, or switch to a longer focal length where foreground matters less.
Step 4: Match Your Shutter Speed to What the Water Is Actually Doing
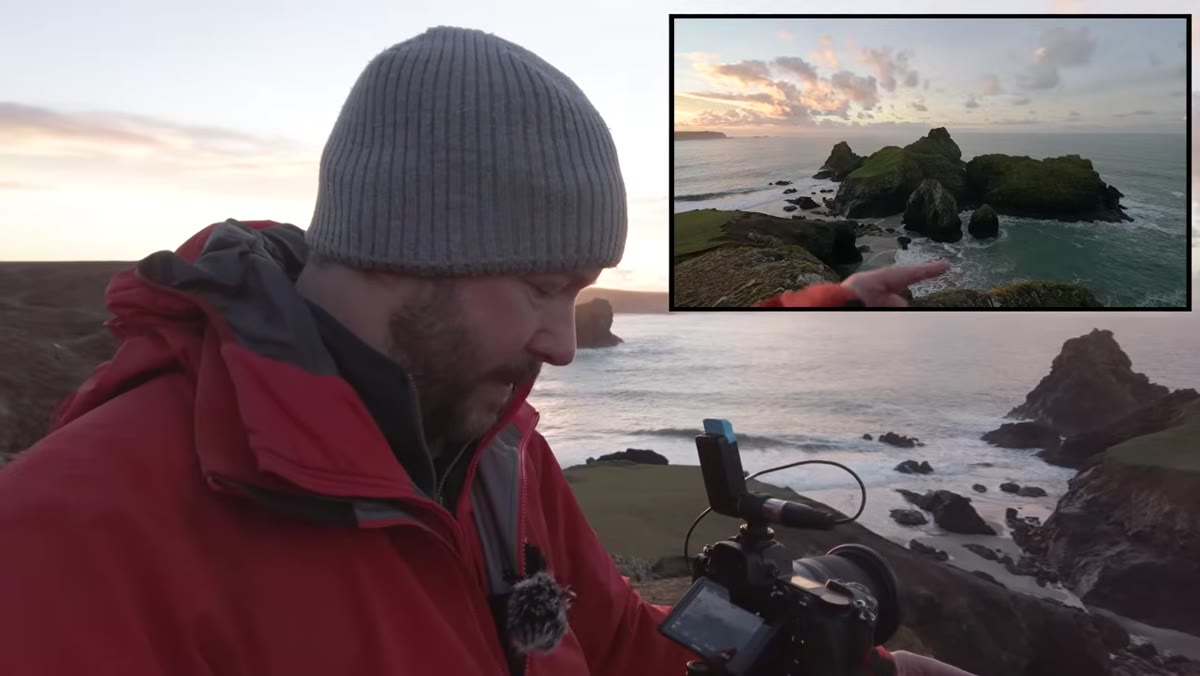 Danson adjusting shutter speed settings while waves move in background
Danson mentions he is shooting around one second at this location, but he is thinking about it relative to his distance from the water. Because he is positioned further back from the wave action, the motion in frame is slower than it would be if he were right at the waterline. He flags that he will adjust toward a faster speed as the light increases. The practical takeaway: one second is not a magic number for water. It depends on how close you are and how fast the water is actually moving. Slow shutter on gentle distant water often looks muddy rather than silky. Fast shutter on crashing close surf can freeze texture that would otherwise blur into white nothing. Read the water, then pick the speed.
Danson adjusting shutter speed settings while waves move in background
Danson mentions he is shooting around one second at this location, but he is thinking about it relative to his distance from the water. Because he is positioned further back from the wave action, the motion in frame is slower than it would be if he were right at the waterline. He flags that he will adjust toward a faster speed as the light increases. The practical takeaway: one second is not a magic number for water. It depends on how close you are and how fast the water is actually moving. Slow shutter on gentle distant water often looks muddy rather than silky. Fast shutter on crashing close surf can freeze texture that would otherwise blur into white nothing. Read the water, then pick the speed.
Step 5: Shoot Vertically When the Sky Earns It
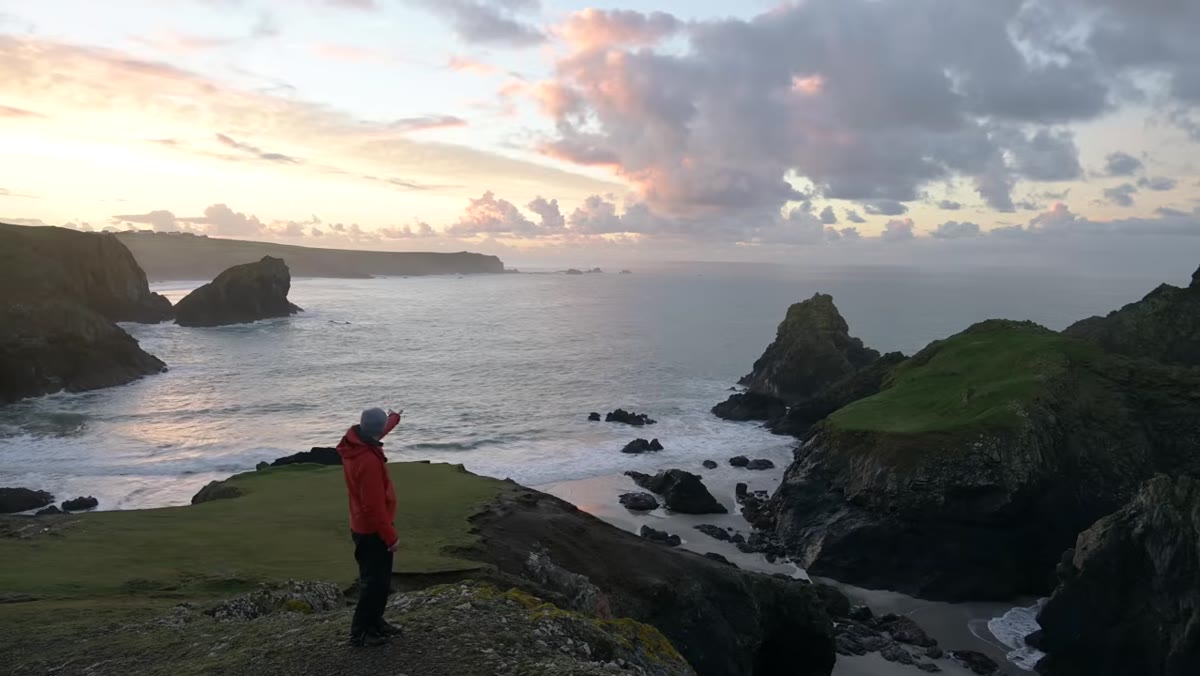 Danson taking a vertical frame to include dramatic cloud formations above
When the clouds above the scene become more interesting than the composition he originally planned, Danson pivots and takes a vertical shot to include them. He mentions that a longer lens might serve the sky well too. This is worth internalizing: wide angle does not mean horizontal by default. A vertical wide frame can compress a dramatic sky down into a scene in a way that feels monumental rather than just large. If you have got strong cloud structure, golden light spilling across cumulus, or a vivid gradient from horizon to zenith, rotate the camera and see what happens. Danson makes this switch instinctively, which only comes from being willing to move away from your original plan.
Danson taking a vertical frame to include dramatic cloud formations above
When the clouds above the scene become more interesting than the composition he originally planned, Danson pivots and takes a vertical shot to include them. He mentions that a longer lens might serve the sky well too. This is worth internalizing: wide angle does not mean horizontal by default. A vertical wide frame can compress a dramatic sky down into a scene in a way that feels monumental rather than just large. If you have got strong cloud structure, golden light spilling across cumulus, or a vivid gradient from horizon to zenith, rotate the camera and see what happens. Danson makes this switch instinctively, which only comes from being willing to move away from your original plan.
Step 6: Revise the Composition When the Light Changes the Scene
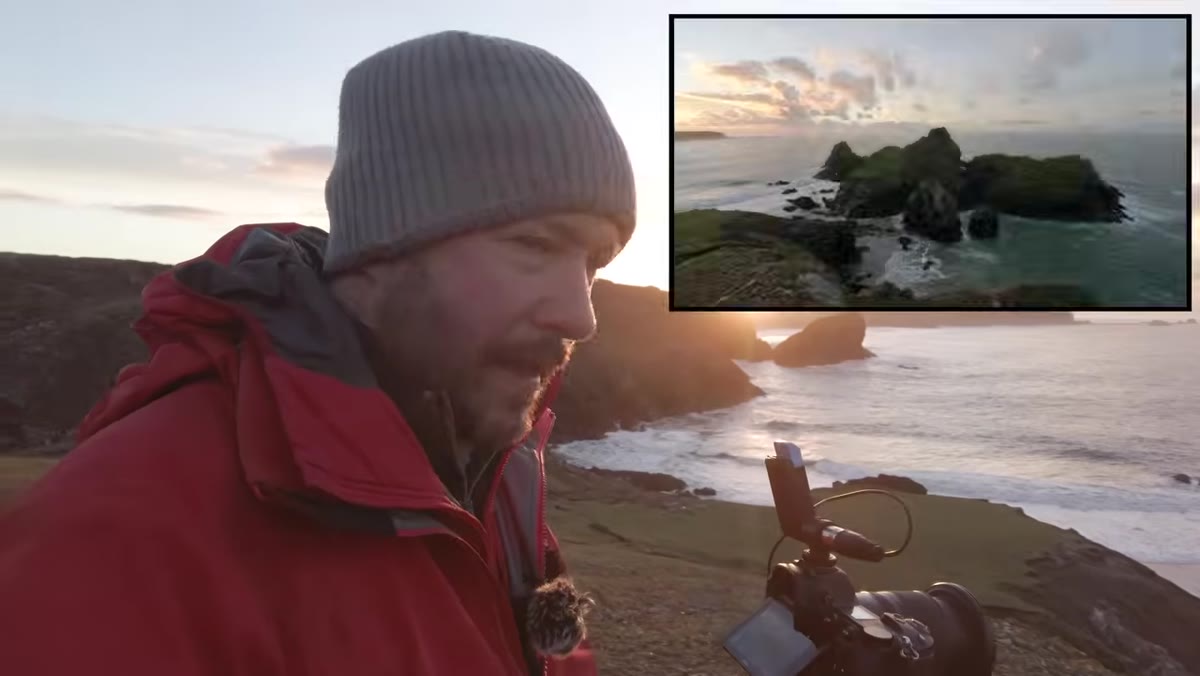
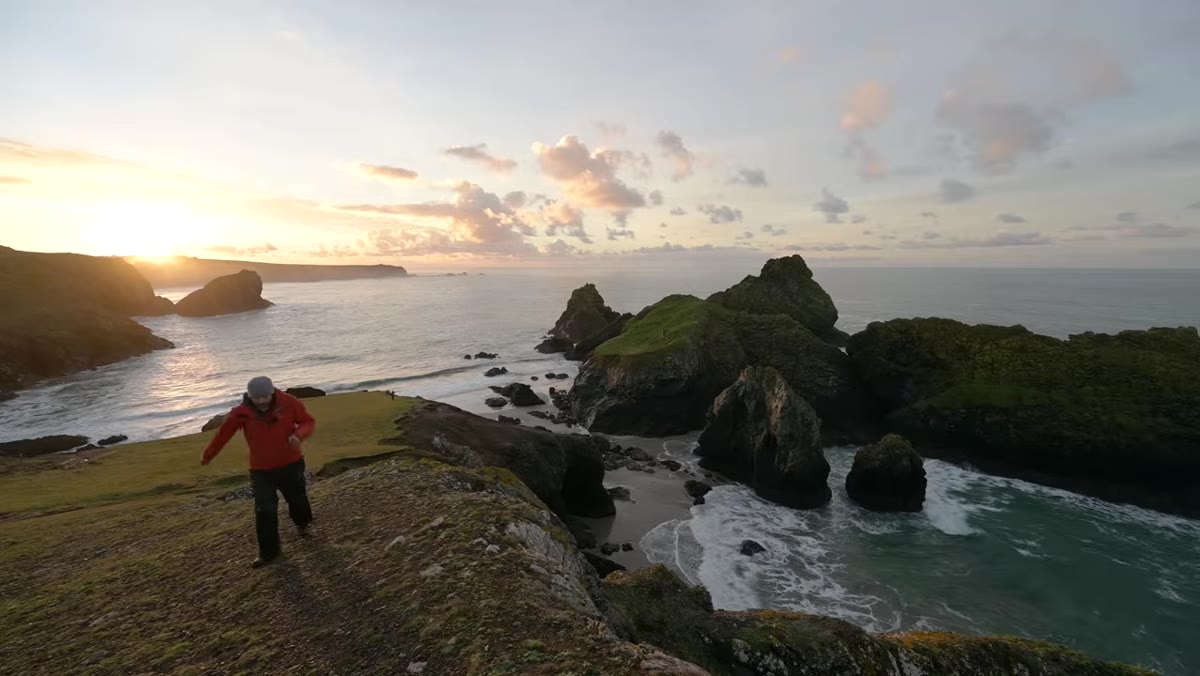 Danson describing a changed composition as stronger sunlight arrives
Once the sun breaks through properly, Danson changes his composition. He does not stick with his original framing just because he committed to it. Stronger, more directional light changes which elements are worth including and which are now a distraction. This is wide angle discipline at its most advanced: the scene is not static, and your framing should not be either. Bracket compositions the same way you bracket exposures. The shot that made sense under flat pre-dawn light may need to be rebuilt entirely once the sun clears the horizon.
Danson describing a changed composition as stronger sunlight arrives
Once the sun breaks through properly, Danson changes his composition. He does not stick with his original framing just because he committed to it. Stronger, more directional light changes which elements are worth including and which are now a distraction. This is wide angle discipline at its most advanced: the scene is not static, and your framing should not be either. Bracket compositions the same way you bracket exposures. The shot that made sense under flat pre-dawn light may need to be rebuilt entirely once the sun clears the horizon.
What I Would Add for Budget Shooters
The gear Danson is using is solid, but none of the compositional thinking he demonstrates requires an expensive wide angle prime. I have tested a lot of budget options from brands like Samyang, 7Artisans, and Viltrox, and the ones in the 10-18mm range on crop sensors give you everything you need to practice every single technique he shows here. The mistake is not in the lens. It is in treating the wide field of view as a feature that solves composition for you. It does not. It only amplifies whatever compositional choices you make, good or bad.
If you are still building your kit and not sure which wide angle is worth the money at a reasonable price, I have comparison notes in my lens spreadsheet I am happy to share. The short answer: buy the cheaper option, go out and practice this framing approach, and upgrade only when your composition is consistently stronger than your glass.
The single most important thing Danson demonstrates is this: a wide angle lens is a commitment to the entire frame. You cannot ignore the corners, the foreground, or the edges and expect a strong image. Every part of the rectangle has to earn its place. Once that clicks, the lens stops feeling like a problem and starts feeling like a tool.
Watch the full tutorial on YouTube to see Danson work through all of this in real time, including the part where he nearly gets cut off by the tide.
Comments (3)
I've watched a dozen tutorials on this and yours is the clearest by far.
This saved me so much time on my last edit. Wish I'd found this sooner.
This is going in my reference folder. Incredibly useful.
Leave a Comment