I spent an embarrassing amount of time in my early years convinced that shooting primes was the mark of a serious photographer. I’ve got a spreadsheet with every budget lens I’ve tested, and for a long time the prime column had a halo around it. Then reality started poking holes in that logic every time I actually went out to shoot. The gear that looks best in a spec comparison doesn’t always win when you’re moving around a subject, changing compositions on the fly, or just trying to get the shot before the light changes.
That tension is exactly what gets addressed in this Daniel Norton Photographer tutorial on why zoom lenses deserve more credit than the photography internet gives them. Watch the full tutorial on YouTube. Norton shoots professionally in New York City, primarily studio portraits and commercial work, so his take isn’t theoretical. It comes from someone who has made the same decision dozens of times per shoot, day after day, with real clients and real deadlines.
What changed my own thinking wasn’t a chart or an MTF curve. It was asking the same question Norton asks in this video: what does the work actually require? If your answer is honest, a lot of the prime-vs-zoom debate collapses pretty fast.
Step 1: Understand Why the “Primes Are Better” Myth Persists
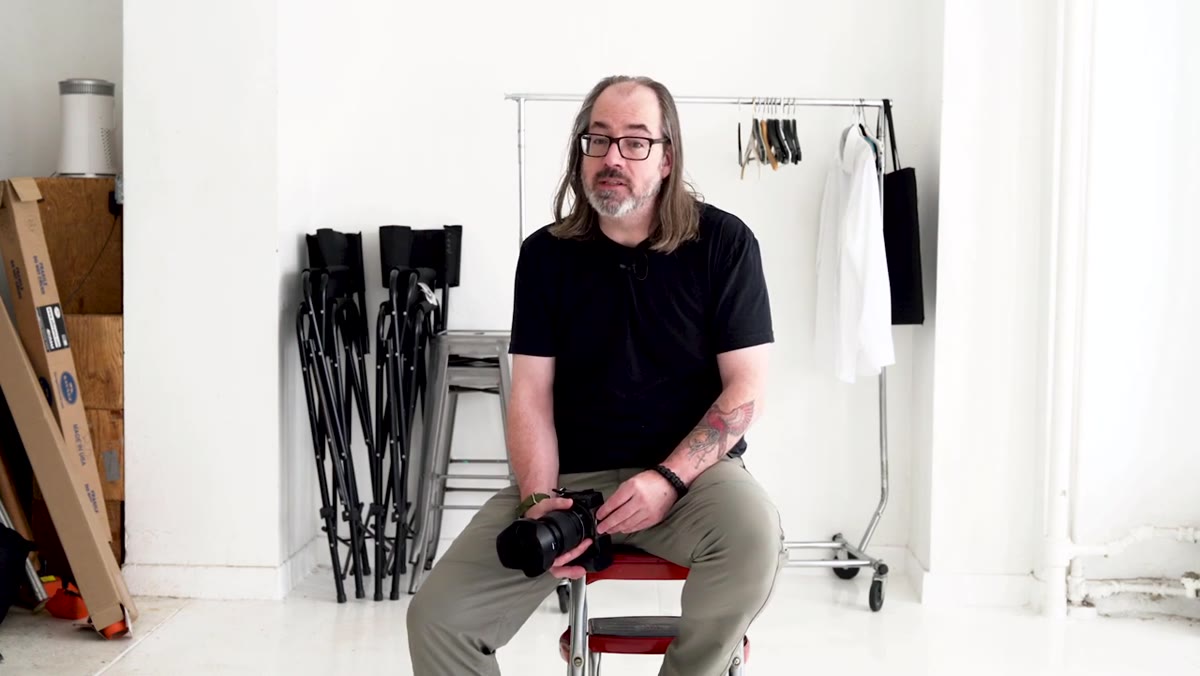 Daniel holding zoom lens, explaining outdated lens advice
The reason so many photographers still repeat the “primes are sharper, therefore better” line is that it used to be true, and that information never really got updated. Norton points out that zoom lenses from the 1970s and 1980s were genuinely inferior, often built with variable apertures like f/3.5 to f/5.6 and optical quality that couldn’t keep up with even inexpensive primes of the era. That was a legitimate knock at the time. The problem is that the criticism outlived the reality by decades.
Daniel holding zoom lens, explaining outdated lens advice
The reason so many photographers still repeat the “primes are sharper, therefore better” line is that it used to be true, and that information never really got updated. Norton points out that zoom lenses from the 1970s and 1980s were genuinely inferior, often built with variable apertures like f/3.5 to f/5.6 and optical quality that couldn’t keep up with even inexpensive primes of the era. That was a legitimate knock at the time. The problem is that the criticism outlived the reality by decades.
The first step in reframing your lens strategy is simply acknowledging that modern zoom lens engineering is a fundamentally different product. If your gear knowledge is based on forum posts or advice passed down from film-era shooters, it’s worth questioning which parts of that advice still apply and which parts are just inherited bias.
Step 2: Do an Honest Audit of How You Actually Shoot
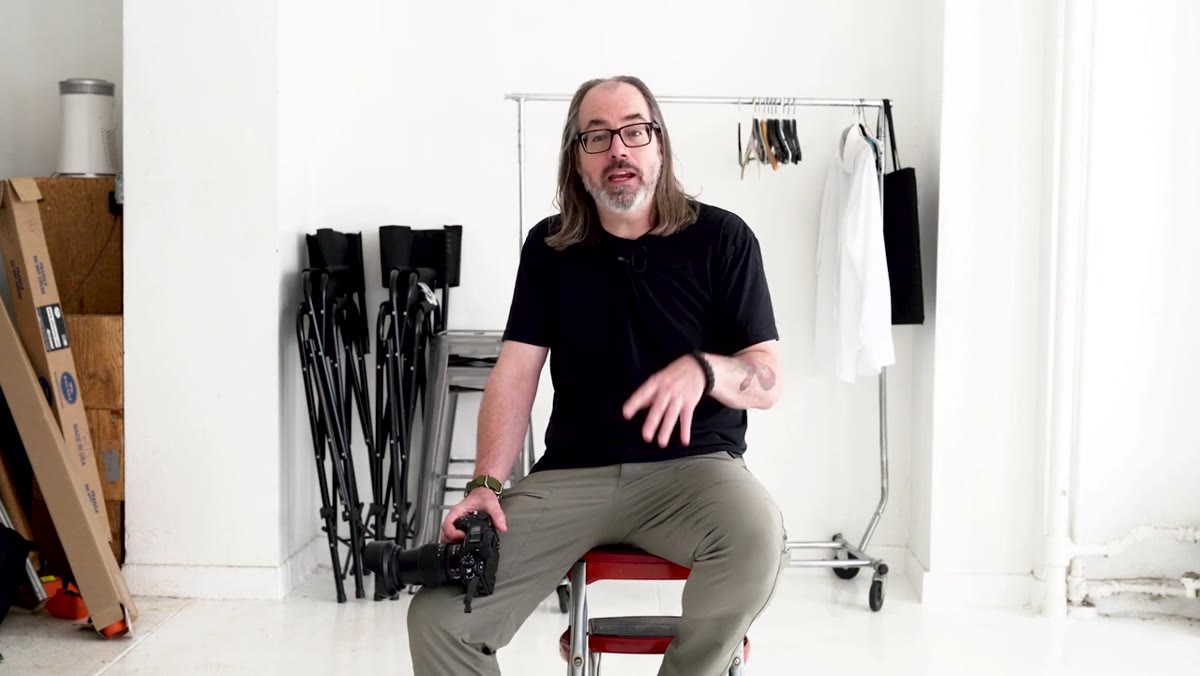 Daniel comparing zoom lens weight against a 50mm prime
Before you evaluate any lens on paper, Norton’s framework pushes you to evaluate your own shooting habits first. He’s explicit about this: he shoots studio portraits, he’s rarely handholding a camera for extended periods, and he’s not conducting sharpness tests on wall targets. That context matters enormously. A wildlife photographer working at the edge of available light has completely different requirements than a portrait shooter in a controlled studio environment.
Daniel comparing zoom lens weight against a 50mm prime
Before you evaluate any lens on paper, Norton’s framework pushes you to evaluate your own shooting habits first. He’s explicit about this: he shoots studio portraits, he’s rarely handholding a camera for extended periods, and he’s not conducting sharpness tests on wall targets. That context matters enormously. A wildlife photographer working at the edge of available light has completely different requirements than a portrait shooter in a controlled studio environment.
Sit down and think through three things: What apertures do you actually use most of the time? How often are you switching focal lengths during a single shoot? And are you comparing a single zoom to a single prime, or a single zoom to the four or five primes you’d need to cover the same range? The answers will tell you more about the right lens choice than any review site comparison.
Step 3: Reconsider Whether You Really Need a Fast Aperture
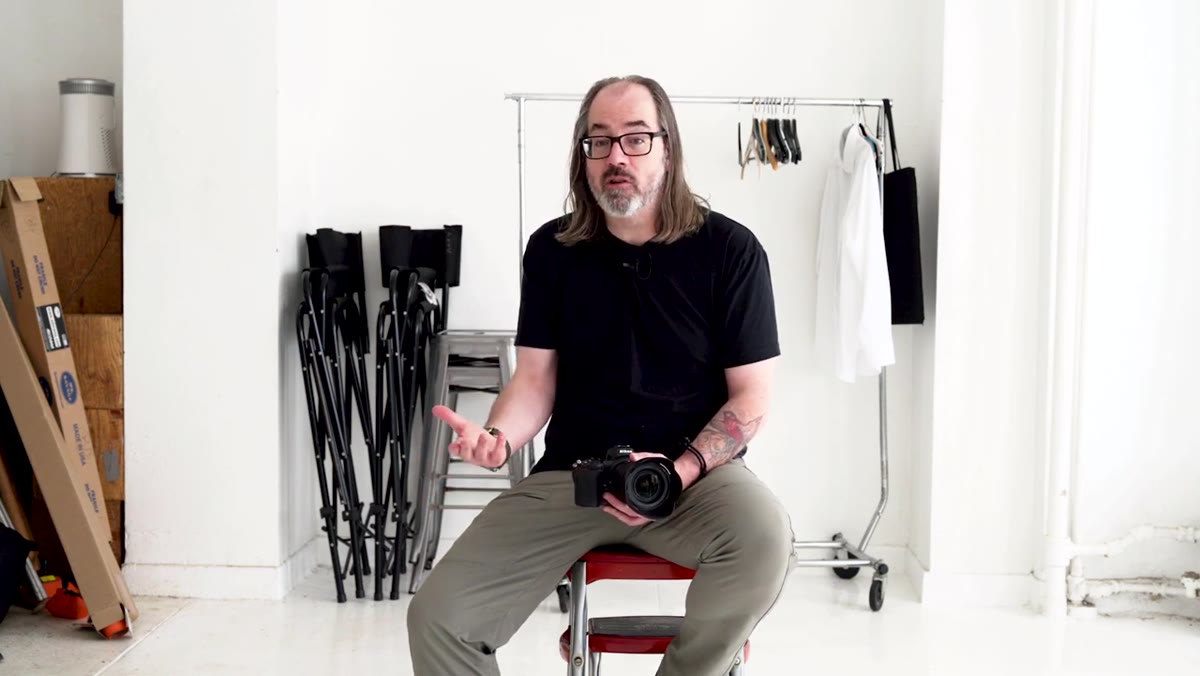 Daniel explaining f/4 zoom aperture for commercial portrait work
Norton makes a point here that I think a lot of photographers gloss over: he shoots at f/5.6 roughly 80 percent of the time. For studio and commercial portrait work, shooting wide open is often a liability, not a feature. You want some depth of field. You want a little margin for focus error. The fact that his 24-70mm zoom is an f/4 lens rather than an f/1.8 prime doesn’t cost him anything in that context.
Daniel explaining f/4 zoom aperture for commercial portrait work
Norton makes a point here that I think a lot of photographers gloss over: he shoots at f/5.6 roughly 80 percent of the time. For studio and commercial portrait work, shooting wide open is often a liability, not a feature. You want some depth of field. You want a little margin for focus error. The fact that his 24-70mm zoom is an f/4 lens rather than an f/1.8 prime doesn’t cost him anything in that context.
The calculation also shifts when you factor in how well modern cameras handle higher ISOs. Needing to push your aperture wide open to get a usable exposure was a much bigger constraint in the film era. If you’re shooting at ISO 800 today, the resulting image will be cleaner than what photographers were getting from ISO 400 film, and you’re still sitting at f/4 with plenty of depth of field control. The fast aperture argument holds in specific situations, but it doesn’t hold as a universal reason to avoid zooms.
Step 4: Compare the Full Kit Weight, Not Individual Lenses
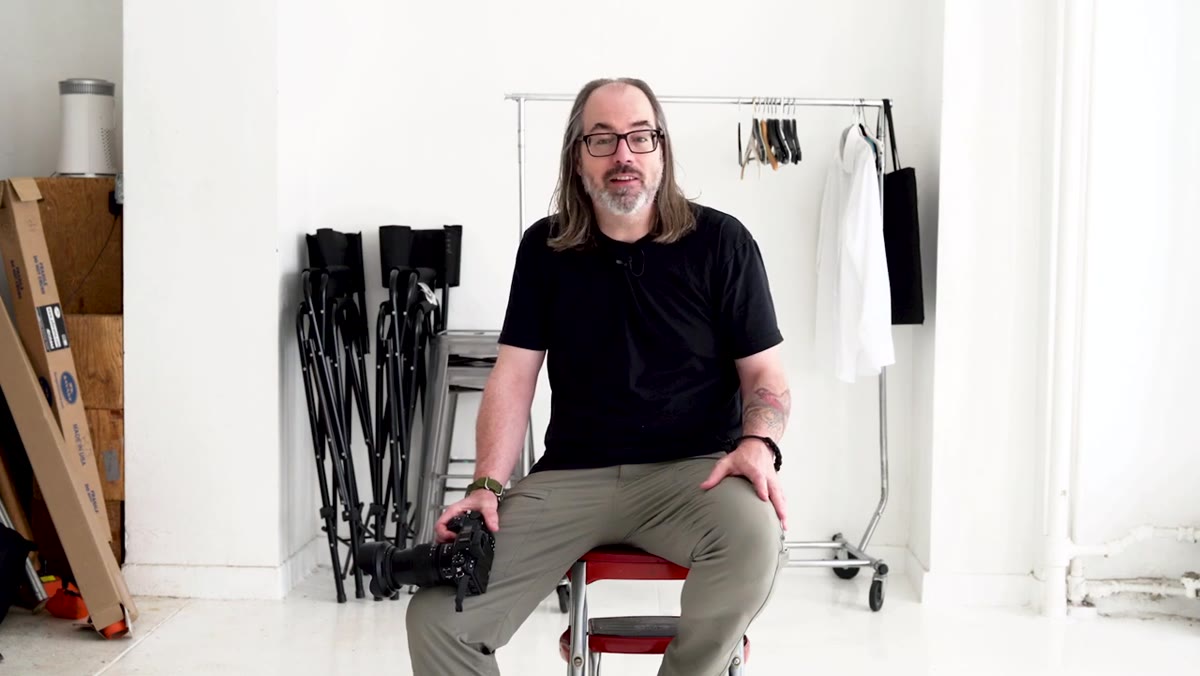 Daniel naming the prime focal lengths needed to replace one zoom
This is the comparison that rarely gets made in prime-vs-zoom articles. Norton lines it up directly: one 24-70mm zoom versus a 24mm, 35mm, 50mm, and 85mm set of primes. Yes, each individual prime is smaller and lighter than the zoom. But if you’re carrying all four of them, plus the time spent swapping glass during a shoot, the math doesn’t favor the primes as heavily as it first appears.
Daniel naming the prime focal lengths needed to replace one zoom
This is the comparison that rarely gets made in prime-vs-zoom articles. Norton lines it up directly: one 24-70mm zoom versus a 24mm, 35mm, 50mm, and 85mm set of primes. Yes, each individual prime is smaller and lighter than the zoom. But if you’re carrying all four of them, plus the time spent swapping glass during a shoot, the math doesn’t favor the primes as heavily as it first appears.
When you’re working with a client on a tight timeline, the ability to reframe a shot without digging through your bag is genuinely valuable. That convenience isn’t a lazy shortcut. It’s a professional efficiency that directly affects the quality of your working session.
Step 5: Match Your Lens Choice to Your Default Shooting Focal Length
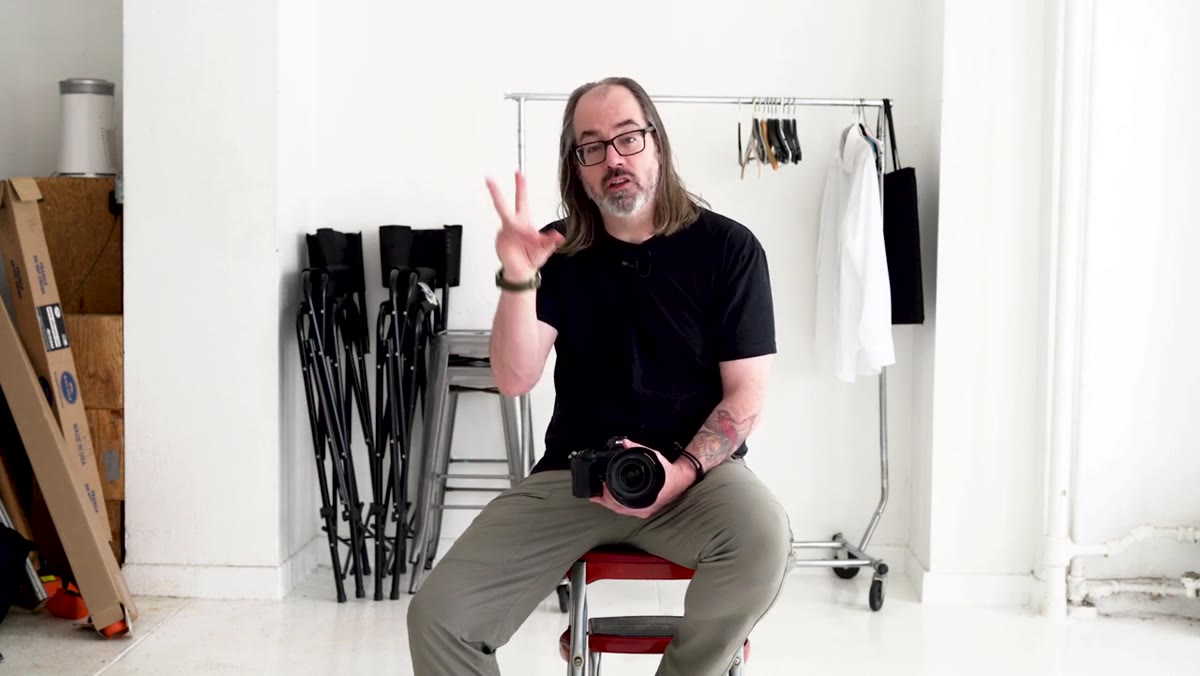 Daniel discussing shooting portraits on the wider side at 50mm
Norton mentions that he tends to shoot portraits on the wider side, often around 50mm, rather than the traditional 85mm or longer portrait focal length. This is a personal style preference, but it illustrates a practical point: if you know your default focal length, you can evaluate a zoom by how well it covers that range and what it gives you on either side.
Daniel discussing shooting portraits on the wider side at 50mm
Norton mentions that he tends to shoot portraits on the wider side, often around 50mm, rather than the traditional 85mm or longer portrait focal length. This is a personal style preference, but it illustrates a practical point: if you know your default focal length, you can evaluate a zoom by how well it covers that range and what it gives you on either side.
If you almost always shoot at 50mm, a 24-70mm gives you room to go wider for environmental context and tighter for compression when you need it, without carrying anything extra. Knowing where you naturally land on the focal length spectrum helps you choose a zoom range that serves your actual work rather than just covering the widest possible ground.
What I’d Add From My Own Testing
The prime-vs-zoom debate looks different when you’re also watching prices. I’ve tested budget zooms in the $200 to $350 range against name-brand primes at two or three times the cost, and in real-world shooting conditions, the differences are rarely visible in the final image. The optical gap that existed between affordable zooms and affordable primes has narrowed significantly, especially from third-party manufacturers. If you’re weighing a single mid-range zoom against a set of primes, run the total cost comparison alongside the weight and convenience comparison. In a lot of cases, the zoom wins on every axis that actually matters for working photographers.
The single most useful thing Norton’s tutorial does is reframe the question. It’s not “are zoom lenses as good as primes?” It’s “what does your specific work require, and which tool serves that work best?” For a huge percentage of photographers, a quality zoom lens is not a compromise. It’s the right answer.
Watch the full tutorial on YouTube to hear Norton walk through the full reasoning in his own words, including how he factors camera body quality into the overall lens decision.
Comments
Leave a Comment