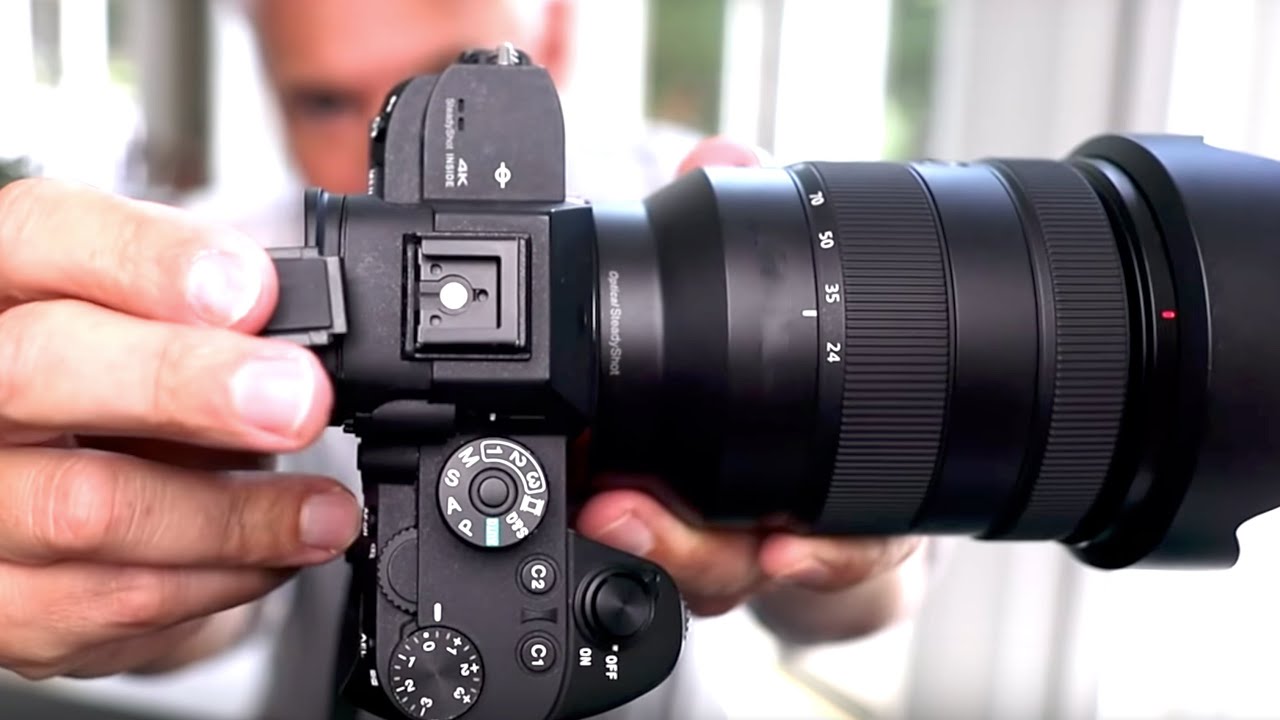
I’ll be straight with you: I used to think camera maintenance was something you only worried about when something broke. I’d wipe down a lens with my shirt, blow on the sensor like it was an old Nintendo cartridge, and call it good. Then I spent a weekend shooting in Rocky Mountain National Park and spent three hours in Lightroom cloning out dust spots that I could have prevented in twenty minutes at home. That was the wake-up call I needed.
In this Tony & Chelsea Northrup tutorial, Watch the full tutorial on YouTube, Tony walks through the full maintenance routine he uses on his camera, lenses, and tripod. It’s practical, unglamorous, and exactly the kind of thing most photography channels skip because it doesn’t sell excitement. What I like about his approach is that it maps to real shooting situations, not ideal lab conditions. Here’s how I’d walk you through it.
Step 1: Check and Install Firmware Updates (Carefully)
 Checking manufacturer support page for new firmware
Start at your camera manufacturer’s support page and look up your specific camera and lens models. If there’s newer firmware than what you’re running, don’t install it immediately. Tony’s rule is to wait at least a week after a firmware release before updating. The reason is practical: manufacturers occasionally push updates that introduce new bugs, then quietly pull them. Let other people find those problems first. Once the version has been out for a week or two without noise in the forums, it’s reasonably safe to install. This applies to lenses too, especially newer autofocus lenses that receive performance tuning updates.
Checking manufacturer support page for new firmware
Start at your camera manufacturer’s support page and look up your specific camera and lens models. If there’s newer firmware than what you’re running, don’t install it immediately. Tony’s rule is to wait at least a week after a firmware release before updating. The reason is practical: manufacturers occasionally push updates that introduce new bugs, then quietly pull them. Let other people find those problems first. Once the version has been out for a week or two without noise in the forums, it’s reasonably safe to install. This applies to lenses too, especially newer autofocus lenses that receive performance tuning updates.
Step 2: Recustomize Your Camera Settings
 Custom settings dial and My Menu configuration on camera
This one surprised me when Tony brought it up, but it makes total sense once you think about it. Your shooting style drifts over time. The custom button assignments and saved menu configurations you set up eighteen months ago probably don’t match how you actually shoot today. Tony recommends periodically going through your custom settings, whether that’s the “My Menu” shortcut list or the custom mode dial positions, and rebuilding them based on your current workflow. It takes maybe fifteen minutes, but it can meaningfully speed up how you work in the field. If you’ve never set up custom modes at all, that’s the first thing to fix before your next shoot.
Custom settings dial and My Menu configuration on camera
This one surprised me when Tony brought it up, but it makes total sense once you think about it. Your shooting style drifts over time. The custom button assignments and saved menu configurations you set up eighteen months ago probably don’t match how you actually shoot today. Tony recommends periodically going through your custom settings, whether that’s the “My Menu” shortcut list or the custom mode dial positions, and rebuilding them based on your current workflow. It takes maybe fifteen minutes, but it can meaningfully speed up how you work in the field. If you’ve never set up custom modes at all, that’s the first thing to fix before your next shoot.
Step 3: First Pass Sensor Cleaning with a Blower
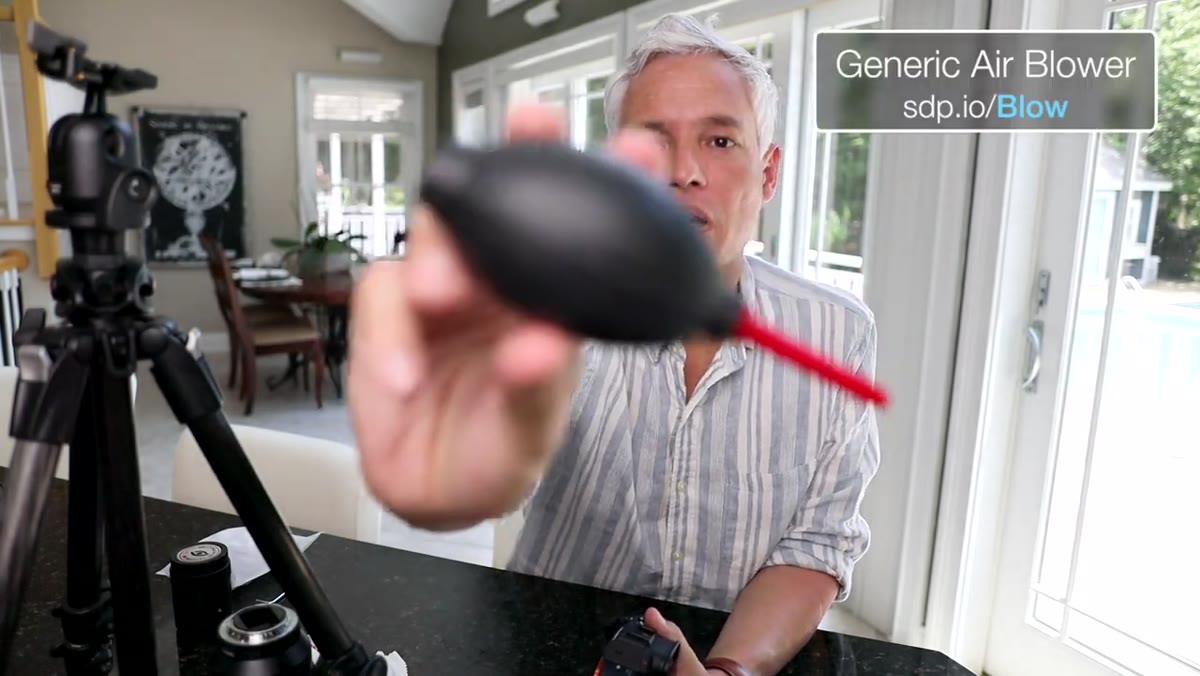 Using a bulb blower inside the camera body to clear dust
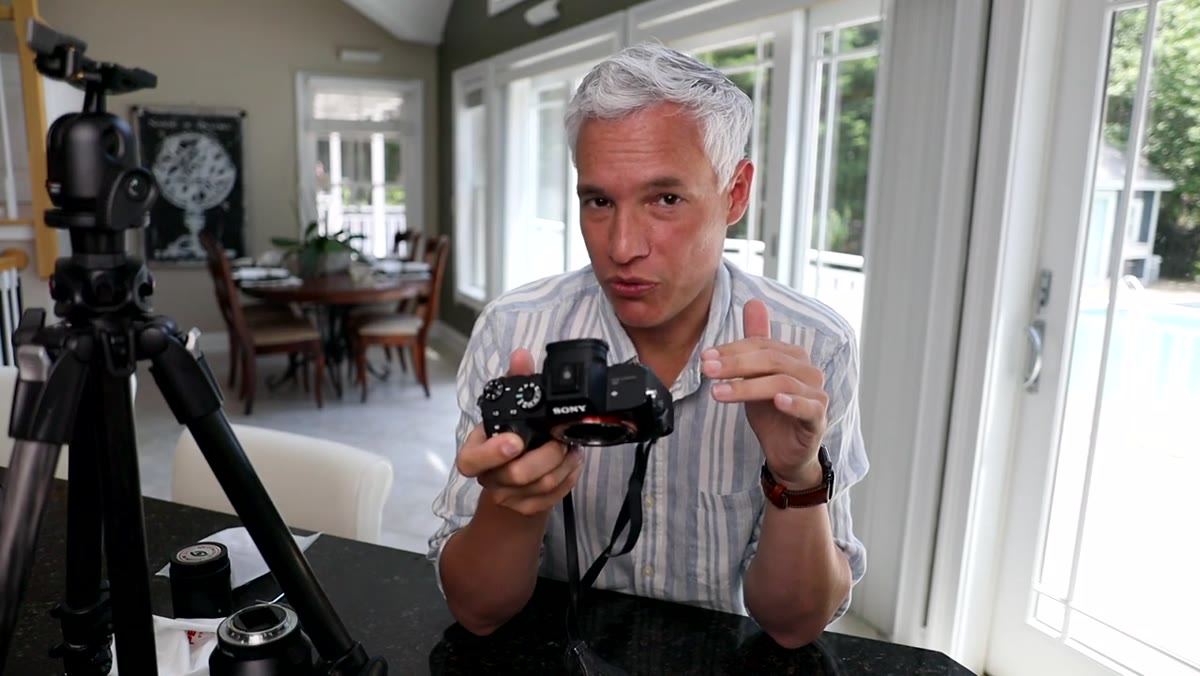
Before you touch anything to your sensor, reach for a bulb blower. No compressed air. No breathing on it. A proper rubber bulb blower is cheap, safe, and should be in every camera bag permanently. Tony’s technique is to hold the camera with the mount facing down and direct air from the center of the sensor toward the edges, so you’re pushing dust out rather than redistributing it. Many cameras also have a built-in sensor shake function, usually buried under the wrench or tool menu icon. If yours does, enable the option that runs it automatically every time the camera powers down. Neither of these methods eliminates dust entirely, but they reduce how often you need to do a full manual clean.
Using a bulb blower inside the camera body to clear dust
Before you touch anything to your sensor, reach for a bulb blower. No compressed air. No breathing on it. A proper rubber bulb blower is cheap, safe, and should be in every camera bag permanently. Tony’s technique is to hold the camera with the mount facing down and direct air from the center of the sensor toward the edges, so you’re pushing dust out rather than redistributing it. Many cameras also have a built-in sensor shake function, usually buried under the wrench or tool menu icon. If yours does, enable the option that runs it automatically every time the camera powers down. Neither of these methods eliminates dust entirely, but they reduce how often you need to do a full manual clean.
Step 4: Test for Dust Before a Big Shoot
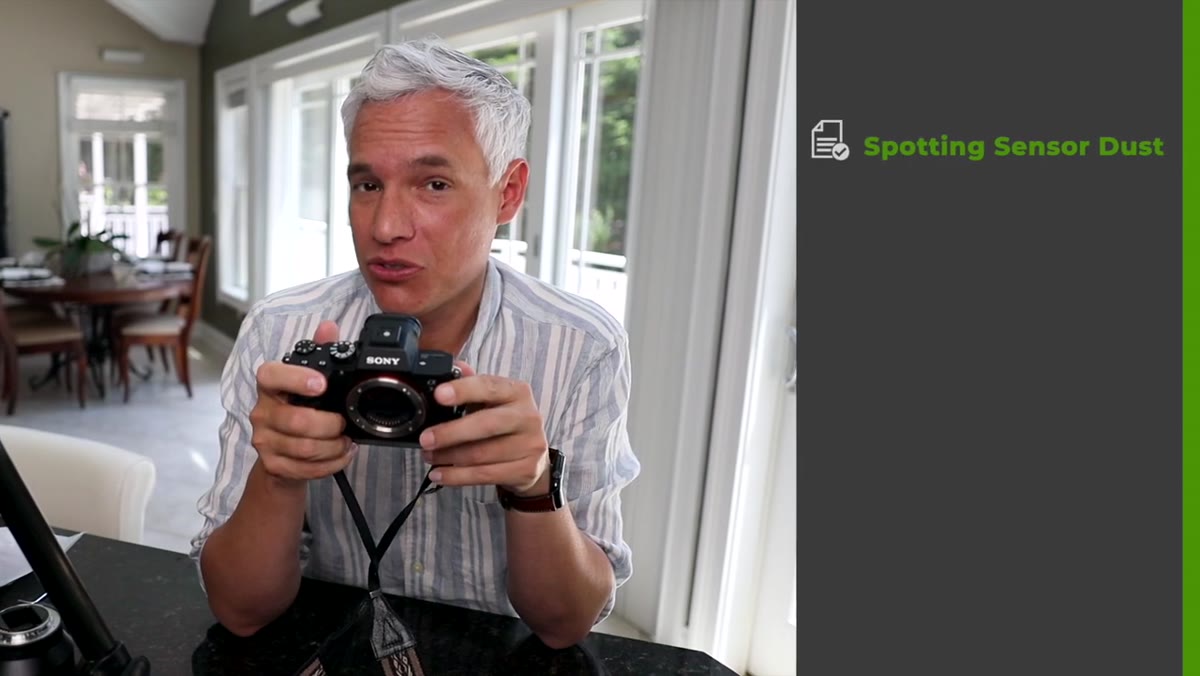 Camera pointed at white wall showing sensor dust spots
Here’s a quick diagnostic I now run before any important shoot. Point your camera at a plain white wall or overcast sky, switch to aperture priority, and dial in the smallest aperture your lens allows, something like f/16 or f/22. Then either record a short video or just pan the camera slowly around while watching the screen. Any sensor dust will show up as small dark spots that stay fixed in the frame while the background moves behind them. The higher the f-stop, the more visible the dust becomes, which is exactly what you want for this test. If you see spots, clean before you shoot. Discovering them at f/2.8 on your hero shots the night before delivery is a much worse situation.
Camera pointed at white wall showing sensor dust spots
Here’s a quick diagnostic I now run before any important shoot. Point your camera at a plain white wall or overcast sky, switch to aperture priority, and dial in the smallest aperture your lens allows, something like f/16 or f/22. Then either record a short video or just pan the camera slowly around while watching the screen. Any sensor dust will show up as small dark spots that stay fixed in the frame while the background moves behind them. The higher the f-stop, the more visible the dust becomes, which is exactly what you want for this test. If you see spots, clean before you shoot. Discovering them at f/2.8 on your hero shots the night before delivery is a much worse situation.
Step 5: Manual Sensor Swabbing
 Sensor cleaning swab being used inside camera body
If the blower doesn’t cut it, you need to wet-swab the sensor. Tony’s honest that this makes a lot of photographers nervous, but it’s a learnable skill and not as risky as it sounds if you use the right tools and take your time. You’ll need sensor cleaning swabs sized for your sensor format and the appropriate cleaning fluid. The general motion is a single slow pass across the sensor in one direction, then flip the swab and do a single pass back. Don’t scrub. Don’t reuse swabs. Retest with the white wall method afterward. If you’re still not comfortable doing this yourself, sending it to a manufacturer service center is a valid option, though Tony points out you’ll be without your camera and they’re likely doing the same process you would.
Sensor cleaning swab being used inside camera body
If the blower doesn’t cut it, you need to wet-swab the sensor. Tony’s honest that this makes a lot of photographers nervous, but it’s a learnable skill and not as risky as it sounds if you use the right tools and take your time. You’ll need sensor cleaning swabs sized for your sensor format and the appropriate cleaning fluid. The general motion is a single slow pass across the sensor in one direction, then flip the swab and do a single pass back. Don’t scrub. Don’t reuse swabs. Retest with the white wall method afterward. If you’re still not comfortable doing this yourself, sending it to a manufacturer service center is a valid option, though Tony points out you’ll be without your camera and they’re likely doing the same process you would.
Step 6: Brush Out the Camera Body Crevices
 Soft-bristle brush clearing dust from camera body seams
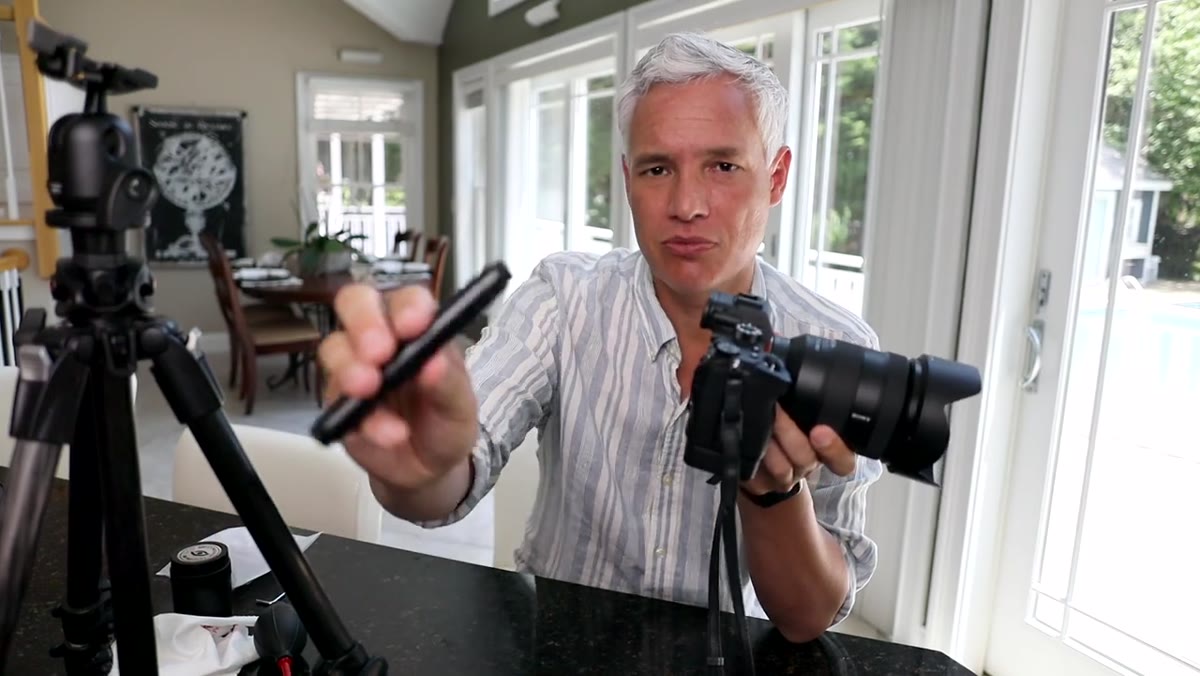
Exterior dirt is easy to overlook because it doesn’t immediately affect your images, but it’s a slow leak. Grit that collects in the seams around buttons, dials, and the lens mount eventually works its way deeper into the camera. A soft-bristle brush, the same kind sold for sensor cleaning, handles this well. Run it through every seam and crevice on the body and lens barrel on a regular basis. It takes two minutes and it’s genuinely preventive maintenance, not just cosmetic.
Soft-bristle brush clearing dust from camera body seams
Exterior dirt is easy to overlook because it doesn’t immediately affect your images, but it’s a slow leak. Grit that collects in the seams around buttons, dials, and the lens mount eventually works its way deeper into the camera. A soft-bristle brush, the same kind sold for sensor cleaning, handles this well. Run it through every seam and crevice on the body and lens barrel on a regular basis. It takes two minutes and it’s genuinely preventive maintenance, not just cosmetic.
Step 7: Cover the Hot Shoe
 Hot shoe cover being placed over camera’s top contacts
This one came from a tip Tony credited to landscape photographer Kyle Wolff, and it’s the kind of thing you’d never think about until something goes wrong. The hot shoe on top of your camera has exposed electrical contacts designed to communicate with a flash. Left uncovered, those contacts can corrode from humidity or moisture and potentially cause a short. Hot shoe covers are tiny, cost almost nothing, and your camera likely came with one that you threw in a drawer. Fish it out and put it on any time you’re shooting without a flash attached.
Hot shoe cover being placed over camera’s top contacts
This one came from a tip Tony credited to landscape photographer Kyle Wolff, and it’s the kind of thing you’d never think about until something goes wrong. The hot shoe on top of your camera has exposed electrical contacts designed to communicate with a flash. Left uncovered, those contacts can corrode from humidity or moisture and potentially cause a short. Hot shoe covers are tiny, cost almost nothing, and your camera likely came with one that you threw in a drawer. Fish it out and put it on any time you’re shooting without a flash attached.
What I’d Add: Budget Gear Needs This Even More
Higher-end cameras tend to have better weather sealing, tighter tolerances, and more durable materials. Budget bodies and lenses, the ones I spend most of my time testing, are built to a price and they pick up dirt faster, the seals wear sooner, and the contacts are less forgiving. If anything, if you’re shooting with a $400 kit like I started with, a consistent maintenance routine matters more, not less. I clean my budget bodies more often than any flagship I’ve tested because they need it. Maintenance is one of the cheapest ways to extend the life of gear you can’t afford to replace.
The single most important thing this tutorial drove home for me is that maintenance is just a calendar item, not a reaction to something going wrong. Build the sensor check and firmware review into the start of every major project, run the exterior brush-down after any outdoor shoot, and the worst-case scenarios become rare instead of routine.
Watch the full tutorial on YouTube for Tony’s complete walkthrough, including his lens and tripod maintenance sections that go beyond what I covered here.
Comments (2)
This saved me so much time on my last edit. Wish I'd found this sooner.
Bookmarked. Coming back to this one for sure.
Leave a Comment