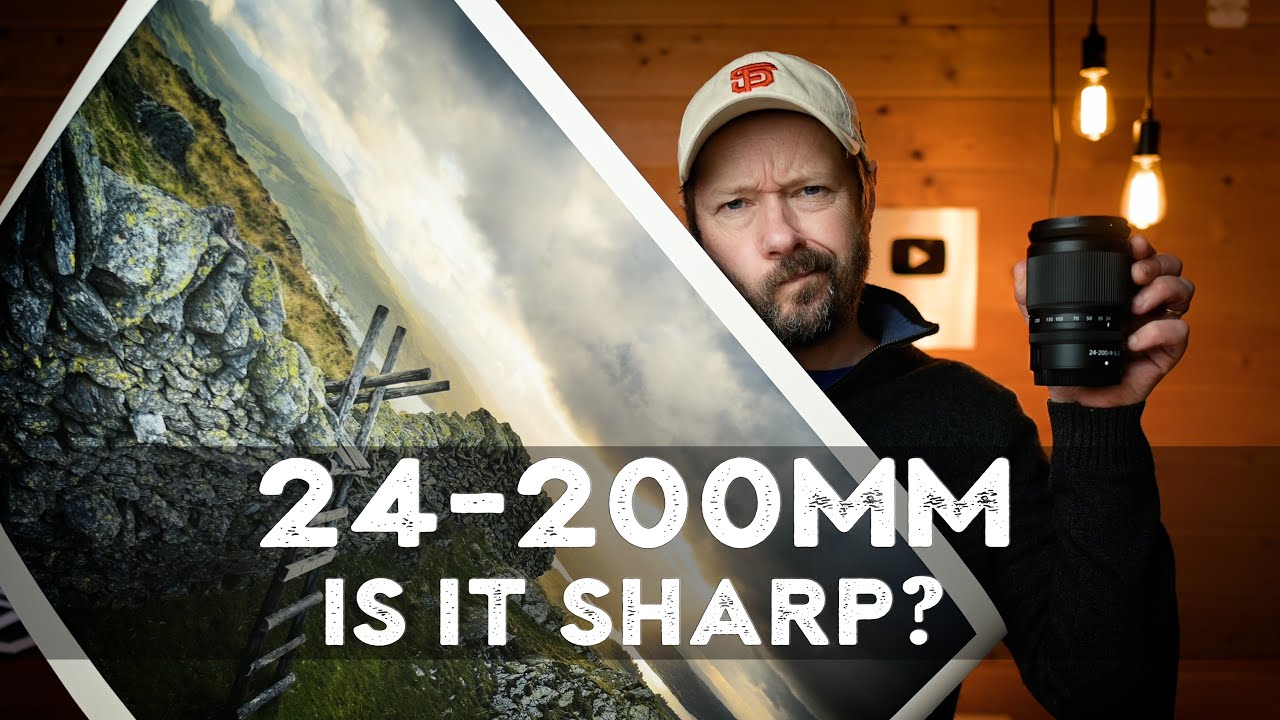
I’ve always had a complicated relationship with superzoom lenses. On paper, a 24-200mm range sounds like the answer to every “what lens should I bring?” argument I’ve ever had with myself at the trailhead. In practice, I’ve tested enough of these lenses to fill two rows of my comparison spreadsheet, and the results are almost always the same story: great convenience, soft edges, and print sizes that top out around 11x14 before you start making excuses. So when Nigel Danson published a tutorial specifically asking whether the 24-200mm can hold up for large prints, I watched it twice before my coffee was done. Watch the full tutorial on YouTube
What makes this video worth your time isn’t just the answer. It’s the methodology. Danson takes the lens into a real shooting environment, the Lake District at sunrise, under actual field conditions including bad light, physical exhaustion, and the general chaos of landscape photography. That context matters more than any lab test, because that’s exactly when a lens either earns its place in your bag or gets swapped out for something heavier and sharper. If you’re trying to decide whether a one-lens travel kit built around a superzoom is viable for anything beyond Instagram, this tutorial gives you an honest answer.
For me personally, this hits close to a problem I deal with constantly. Half the photographers I hear from want to go lighter without sacrificing the ability to sell or print their work. I started shooting with a kit that cost under $300, and I know firsthand that the limiting factor is almost never the gear. But “print big” is a specific and legitimate test, and Danson actually runs it.
Step 1: Commit to the Single-Lens Kit Before You Leave
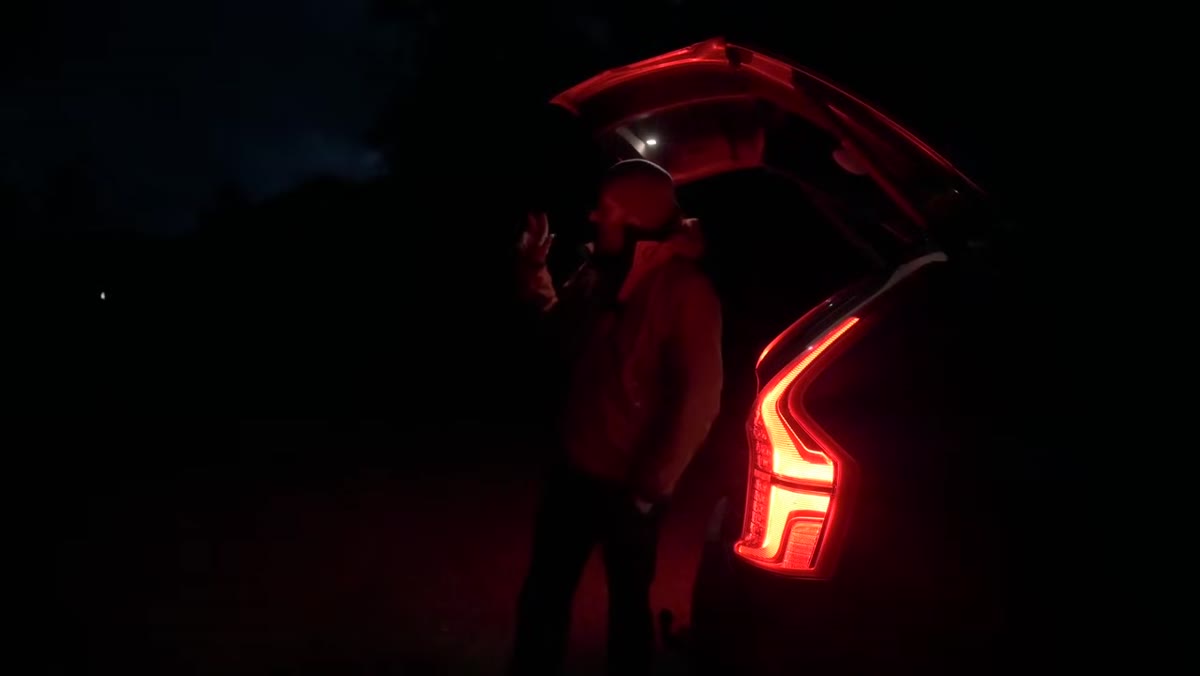 Nigel walking with only the 24-200mm lens mounted
The first decision Danson makes is choosing to go out with only the 24-200mm, no backup primes, no second body. This sounds obvious but it’s actually a discipline move. When you leave the sharp glass at home, you stop second-guessing yourself mid-shoot and start working with what you have. His reasoning is practical: back issues mean carrying less weight, so the superzoom becomes the tool by necessity rather than preference. If you’re testing a lens, put yourself in a position where it has to perform. Shooting it alongside a prime as a “backup” tells you nothing about whether you can rely on it alone.
Nigel walking with only the 24-200mm lens mounted
The first decision Danson makes is choosing to go out with only the 24-200mm, no backup primes, no second body. This sounds obvious but it’s actually a discipline move. When you leave the sharp glass at home, you stop second-guessing yourself mid-shoot and start working with what you have. His reasoning is practical: back issues mean carrying less weight, so the superzoom becomes the tool by necessity rather than preference. If you’re testing a lens, put yourself in a position where it has to perform. Shooting it alongside a prime as a “backup” tells you nothing about whether you can rely on it alone.
Step 2: Scout Your Location and Elevation Before Sunrise
 Nigel hiking uphill in low pre-dawn light
Danson sets out well before sunrise aiming for a high vantage point, but he underestimates the walk time by nearly an hour. The lesson here is baked into the mistake: know your approach distance and add buffer time. For landscape work, the light window is narrow, sometimes five minutes of usable golden light before it goes flat or blows out. He notes around the 15-minute-to-sunrise mark that the sky is already doing something interesting above him, and he can’t get to his intended position in time. Use mapping apps like PhotoPills or even Google Earth the night before to check elevation gain and distance, not just trail length.
Nigel hiking uphill in low pre-dawn light
Danson sets out well before sunrise aiming for a high vantage point, but he underestimates the walk time by nearly an hour. The lesson here is baked into the mistake: know your approach distance and add buffer time. For landscape work, the light window is narrow, sometimes five minutes of usable golden light before it goes flat or blows out. He notes around the 15-minute-to-sunrise mark that the sky is already doing something interesting above him, and he can’t get to his intended position in time. Use mapping apps like PhotoPills or even Google Earth the night before to check elevation gain and distance, not just trail length.
Step 3: Identify Foreground Anchors to Test Lens Sharpness
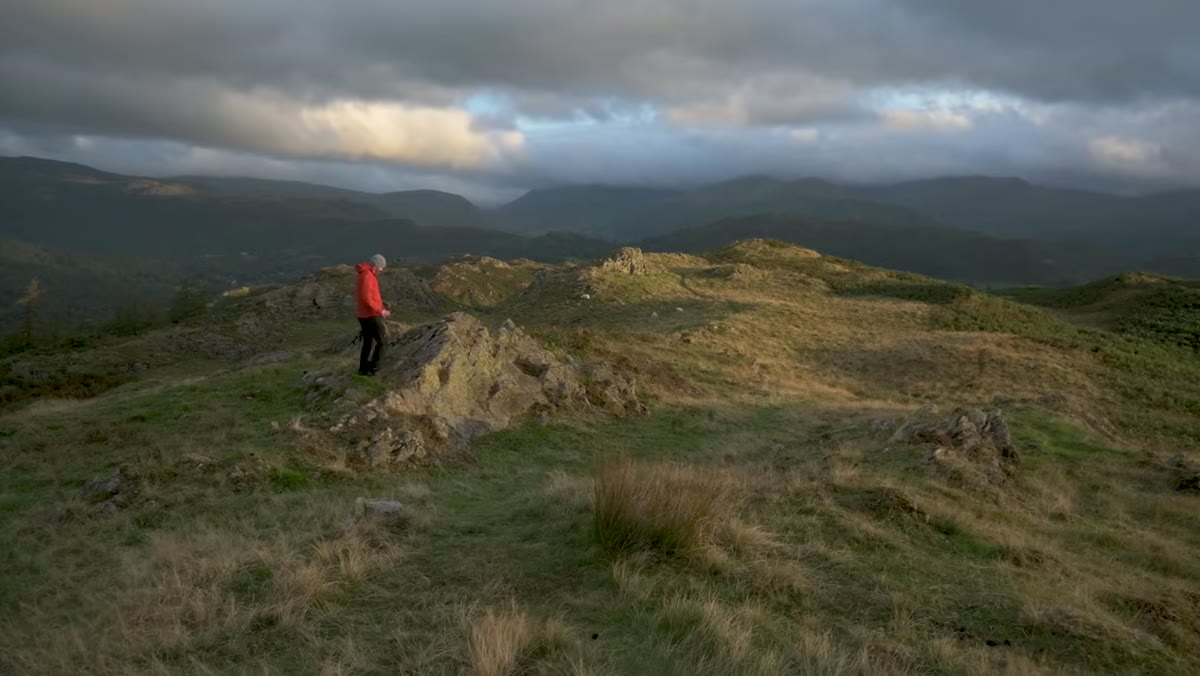 Sunlit rocks and grass in the foreground with valley behind
Once Danson reaches a workable position, he immediately starts looking for foreground elements that can anchor the composition and, more importantly, reveal lens performance. Sunlit rocks, textured grass, and a stacked depth scene with the valley behind give him something to evaluate later. This is smart test methodology. Foreground detail at close focus distances is where superzoom lenses tend to fall apart, especially wide open. If you’re doing your own field test of any zoom lens, build compositions that force the lens to resolve fine texture up close. Flat scenes with distant subjects will flatter almost any optic. Make it work hard.
Sunlit rocks and grass in the foreground with valley behind
Once Danson reaches a workable position, he immediately starts looking for foreground elements that can anchor the composition and, more importantly, reveal lens performance. Sunlit rocks, textured grass, and a stacked depth scene with the valley behind give him something to evaluate later. This is smart test methodology. Foreground detail at close focus distances is where superzoom lenses tend to fall apart, especially wide open. If you’re doing your own field test of any zoom lens, build compositions that force the lens to resolve fine texture up close. Flat scenes with distant subjects will flatter almost any optic. Make it work hard.
Step 4: Shoot at Multiple Focal Lengths Within the Same Scene
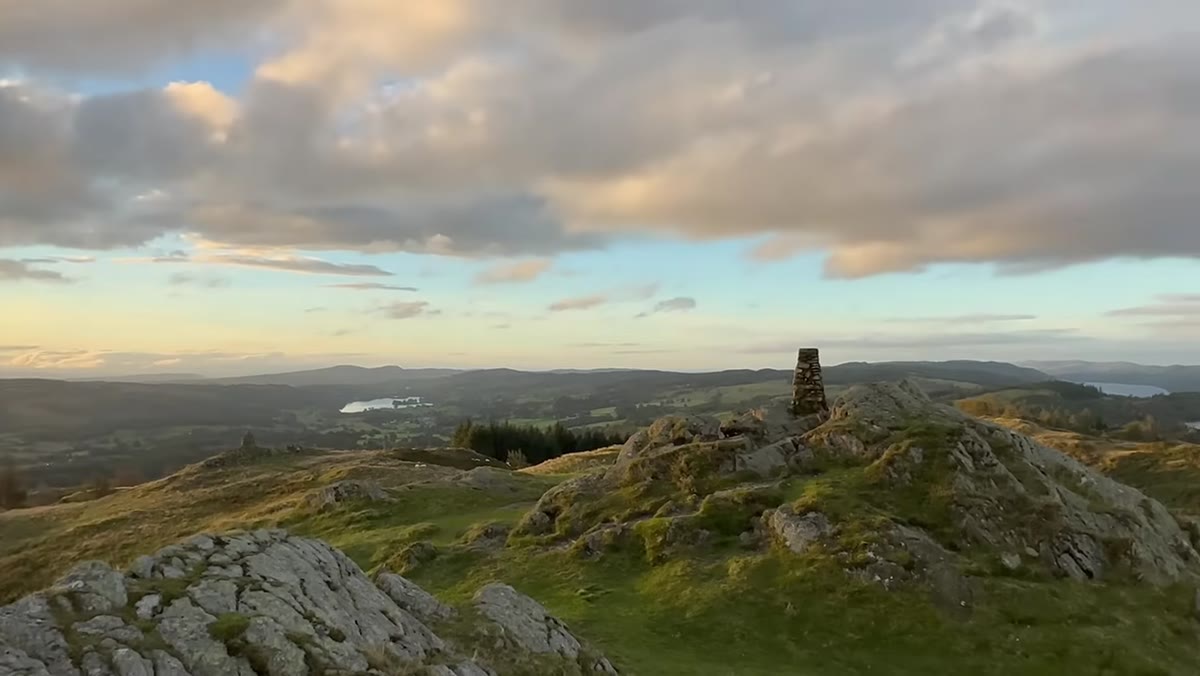 Nigel composing the wide valley shot with dramatic cloud above
With a 24-200mm range, the temptation is to live at the wide end for landscapes and never look back. Danson uses the zoom range deliberately, working the same scene at different focal lengths to test compression, edge sharpness, and how the lens handles contrast-heavy lighting conditions, like direct sun breaking through clouds onto a high ridge. For a print quality evaluation, this matters because your sharpest images might come from the middle of the zoom range rather than the extremes. Most superzooms peak optically somewhere around 35-70mm. Don’t write off the lens based on performance at 200mm alone, but don’t ignore it either.
Nigel composing the wide valley shot with dramatic cloud above
With a 24-200mm range, the temptation is to live at the wide end for landscapes and never look back. Danson uses the zoom range deliberately, working the same scene at different focal lengths to test compression, edge sharpness, and how the lens handles contrast-heavy lighting conditions, like direct sun breaking through clouds onto a high ridge. For a print quality evaluation, this matters because your sharpest images might come from the middle of the zoom range rather than the extremes. Most superzooms peak optically somewhere around 35-70mm. Don’t write off the lens based on performance at 200mm alone, but don’t ignore it either.
Step 5: Chase the Light Window, Not the Perfect Composition
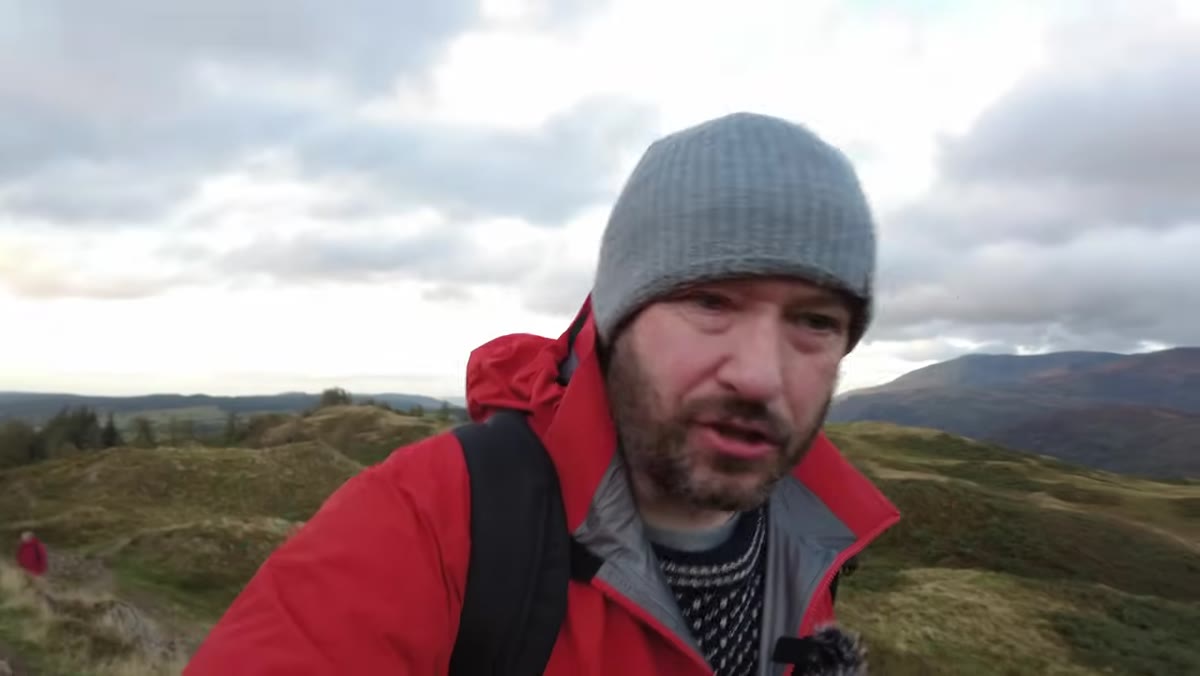 Sunrays breaking through clouds over the hillside
There’s a moment in the video where Danson is on the wrong hill, can see the exact light he needs hitting a ridge about three minutes away, and just has to run for it. His instinct is to move toward the light even if the composition isn’t perfect yet. For landscape photography, this is the right call. You can crop and reframe in post. You cannot recreate a specific cloud formation and sun angle. He reaches a position just in time to shoot the light he wanted, and the shot works because he prioritized being in the right place over having the ideal foreground. Get close enough, get the light, refine everything else later.
Sunrays breaking through clouds over the hillside
There’s a moment in the video where Danson is on the wrong hill, can see the exact light he needs hitting a ridge about three minutes away, and just has to run for it. His instinct is to move toward the light even if the composition isn’t perfect yet. For landscape photography, this is the right call. You can crop and reframe in post. You cannot recreate a specific cloud formation and sun angle. He reaches a position just in time to shoot the light he wanted, and the shot works because he prioritized being in the right place over having the ideal foreground. Get close enough, get the light, refine everything else later.
Step 6: Evaluate the Files at 100% Before Deciding on Print Size
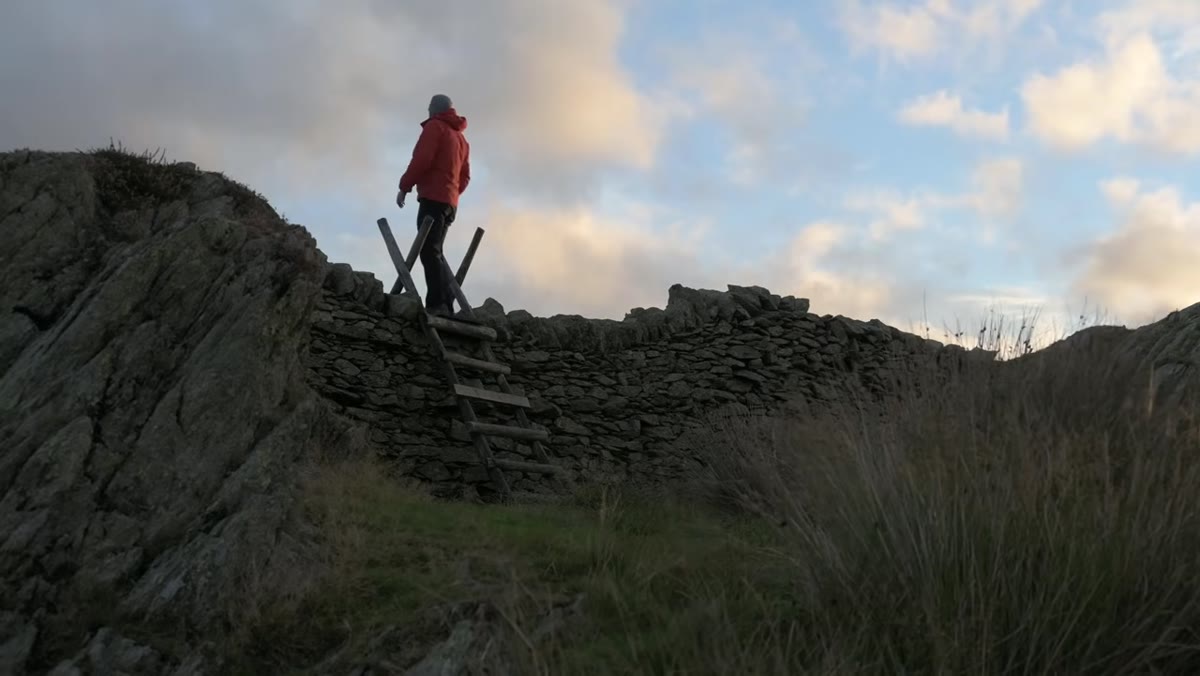 Nigel reviewing the framing of his epic Lake District view
The actual print quality verdict depends on pixel-level inspection at home, not impressions in the field. Danson’s approach throughout the shoot is to capture images he believes have the raw material to hold up at large print sizes, then check them properly afterward. When you’re doing this yourself, zoom to 100% in Lightroom or Capture One and look at corner sharpness, chromatic aberration along high-contrast edges, and how much detail survives in the textured midtones. For a 24-200mm, you’re looking at whether you can get a clean 20x30 print without sharpening tricks carrying the whole load.
Nigel reviewing the framing of his epic Lake District view
The actual print quality verdict depends on pixel-level inspection at home, not impressions in the field. Danson’s approach throughout the shoot is to capture images he believes have the raw material to hold up at large print sizes, then check them properly afterward. When you’re doing this yourself, zoom to 100% in Lightroom or Capture One and look at corner sharpness, chromatic aberration along high-contrast edges, and how much detail survives in the textured midtones. For a 24-200mm, you’re looking at whether you can get a clean 20x30 print without sharpening tricks carrying the whole load.
My Take: Convenience Lenses Work, But Know Their Ceiling
I’ve run my own informal tests with budget superzooms, including a couple of options well under the price point of Danson’s Nikon 24-200mm, and the results always land in the same place. These lenses are genuinely capable up to around a 16x20 print from a modern high-resolution sensor, and often further with clean technique and good light. Where they fall apart is in low light at the long end and in extreme corner sharpness at wide apertures. If you’re printing for clients or entering work in competitions where a judge is going to stand six inches from a 24x36 canvas, you’ll want to know exactly where your specific lens-and-body combination hits its ceiling. Run the test yourself before you commit to a job with it.
The single most important thing Danson demonstrates in this tutorial isn’t about lens specs at all. It’s that the photographer’s decisions, when to go, where to stand, what to include in the foreground, matter more than which glass is mounted on the camera. A superzoom used well beats a prime used carelessly every time.
Watch the full tutorial on YouTube and pay attention to how Danson moves through the location. The lens conversation is interesting, but the fieldcraft is what’s actually worth studying.
Comments (1)
Solid advice. Especially the part about taking your time with it.
Leave a Comment