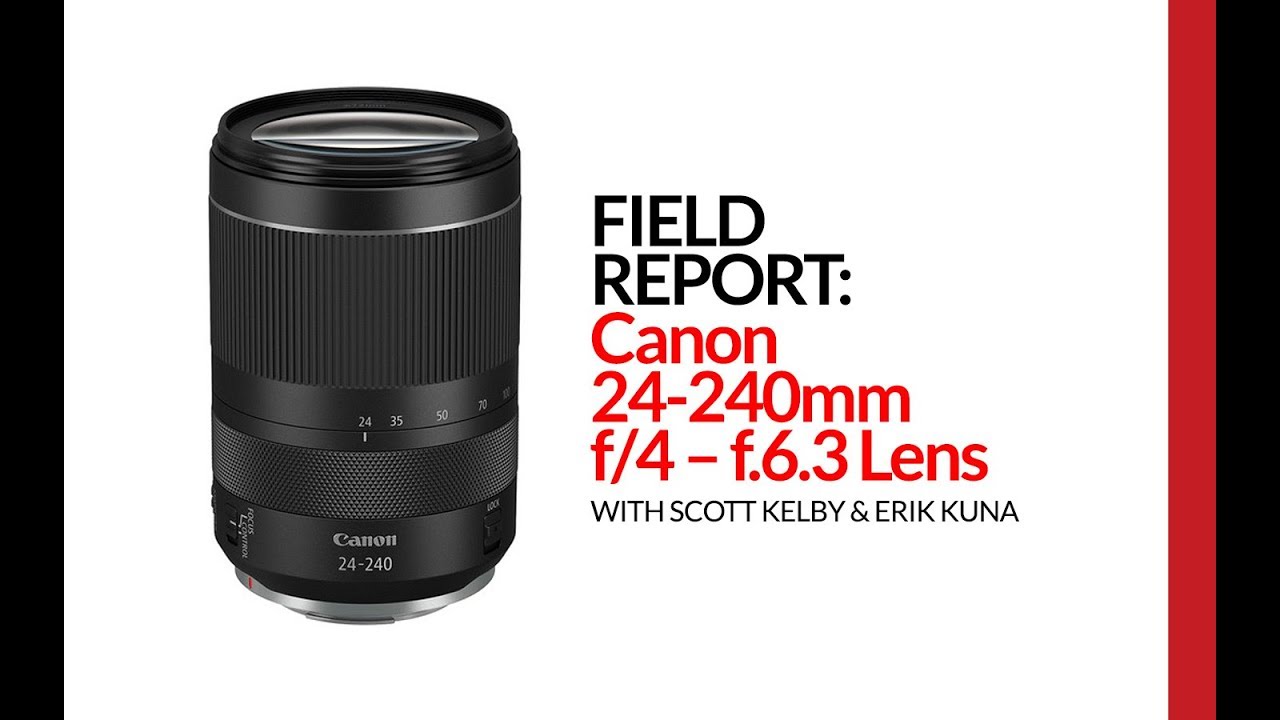
I have a rule I follow when evaluating any zoom lens: if it makes you stop reaching for your other glass, it’s doing its job. That’s a high bar. Most budget superzooms feel like compromises from the moment you put them on the camera. You keep thinking about the sharper prime sitting in your bag. So when Scott Kelby came back from a 10-day trip to China having barely touched his 16-35mm, I paid attention. In Watch the full tutorial on YouTube, he walks through his honest field impressions of Canon’s 24-240mm lens for full-frame mirrorless cameras, and it’s the kind of review that actually changes how you think about a piece of gear.
What makes this worth your time is that Kelby isn’t selling anything. He shoots thousands of frames on a trip, comes home, looks at the results, and tells you what he found. No controlled lab tests, no brick-wall sharpness charts. Just a working photographer reporting back from the field. And crucially, he leads with the one condition under which you should absolutely not buy this lens, which is something most reviewers bury or skip entirely. As someone who’s spent years testing budget glass and trying to separate honest value from marketing noise, that kind of upfront honesty is exactly what I want from a gear review.
Step 1: Understand What the Focal Range Actually Gives You
 Scott describing the 24-240mm range and day-two lens switch
The 24-240mm range sounds like every other superzoom until you compare it against the competition. Most lenses in this category have historically started at 28mm. That extra 4mm on the wide end might sound trivial written down, but in practice, when you’re standing in a tight courtyard or trying to capture a wide street scene, those millimeters matter. Kelby points out that starting at 24mm pushed his 16-35mm back into the bag within the first two days of shooting. For travel and landscape work, 24mm gave him enough breathing room that the ultra-wide stayed packed.
Scott describing the 24-240mm range and day-two lens switch
The 24-240mm range sounds like every other superzoom until you compare it against the competition. Most lenses in this category have historically started at 28mm. That extra 4mm on the wide end might sound trivial written down, but in practice, when you’re standing in a tight courtyard or trying to capture a wide street scene, those millimeters matter. Kelby points out that starting at 24mm pushed his 16-35mm back into the bag within the first two days of shooting. For travel and landscape work, 24mm gave him enough breathing room that the ultra-wide stayed packed.
The long end at 240mm gives you genuine reach for detail shots, architecture close-ups, and compressed landscape elements without switching glass. The practical takeaway: this lens covers a range that eliminates lens changes for most travel shooting situations. If you hate swapping lenses mid-shoot (and I do, because you always have the wrong one on the camera at the wrong moment), that alone is worth serious consideration.
Step 2: Set Realistic Expectations for Sharpness
 Scott discussing center sharpness versus edge sharpness
Center sharpness on this lens is genuinely impressive for a $900 zoom. Kelby describes it as surprisingly sharp, the kind of result that makes you double-check which lens you used when you’re editing. That said, the edges at the wide end are softer. This is a known characteristic of superzoom designs and not a scandal at this price point. The physics of building a 10x zoom range into a single lens means optical compromises are inevitable somewhere.
Scott discussing center sharpness versus edge sharpness
Center sharpness on this lens is genuinely impressive for a $900 zoom. Kelby describes it as surprisingly sharp, the kind of result that makes you double-check which lens you used when you’re editing. That said, the edges at the wide end are softer. This is a known characteristic of superzoom designs and not a scandal at this price point. The physics of building a 10x zoom range into a single lens means optical compromises are inevitable somewhere.
The practical workaround is simple: as you zoom in, the edge softness becomes less of a factor. If you’re shooting wide landscapes where corner sharpness matters, be aware of the limitation. If you’re shooting at 70mm and up, the sharpness picture looks considerably better. Kelby is clear that this lens will not match a dedicated prime or a high-end L-series zoom. But for a single-lens travel solution at under a thousand dollars, the sharpness-to-versatility ratio holds up.
Step 3: Recognize the Chromatic Aberration Before It Surprises You
 Scott describing visible chromatic aberration in the viewfinder
Here is the part that will catch you off guard if you don’t know about it in advance. Chromatic aberration, the purple or green fringing you see along high-contrast edges, is present in this lens at a level Kelby describes as visible in the electronic viewfinder before he even takes the shot. That is unusually strong. On a mirrorless camera with a live electronic view, you can actually watch the fringing happen in real time. He had never encountered that before, and it shook his confidence in the lens initially.
Scott describing visible chromatic aberration in the viewfinder
Here is the part that will catch you off guard if you don’t know about it in advance. Chromatic aberration, the purple or green fringing you see along high-contrast edges, is present in this lens at a level Kelby describes as visible in the electronic viewfinder before he even takes the shot. That is unusually strong. On a mirrorless camera with a live electronic view, you can actually watch the fringing happen in real time. He had never encountered that before, and it shook his confidence in the lens initially.
This is important context to carry into your shooting. When you see that fringing in the viewfinder, do not panic and assume the lens is defective or that the shot is ruined. Know going in that it will be there, plan for it in post, and move on. The fringing does not get worse in the final file than it appears in the viewfinder, which means your previews give you an accurate read on what you’re dealing with.
Step 4: Apply Lens Correction in Lightroom or Photoshop — This Is Non-Negotiable
 Scott explaining the requirement for lens correction software in post
Kelby does not soften this: if you do not use Lightroom, Photoshop, or any software with a lens correction profile, do not buy this lens. That is a direct recommendation, and I think it’s the right call. The chromatic aberration and distortion this lens produces are real, and they need to be addressed in post. Without correction, your files will look worse than what you could get from a much cheaper, simpler lens.
Scott explaining the requirement for lens correction software in post
Kelby does not soften this: if you do not use Lightroom, Photoshop, or any software with a lens correction profile, do not buy this lens. That is a direct recommendation, and I think it’s the right call. The chromatic aberration and distortion this lens produces are real, and they need to be addressed in post. Without correction, your files will look worse than what you could get from a much cheaper, simpler lens.
With correction, though, the problems disappear in two clicks. Lightroom’s lens profile correction handles both the distortion and the chromatic aberration automatically once you enable it. Enable the profile correction checkbox, enable the remove chromatic aberration checkbox, and the issues are gone. The corrected files look clean and sharp, and the wide-end distortion that would otherwise curve your horizons gets pulled back into shape. The entire workflow adds about five seconds per image if you set it as a default import preset, which you absolutely should.
Step 5: Decide If You’re the Right Buyer
 Scott outlining who should and should not buy the lens
The honest buyer profile for this lens is a travel or landscape photographer who shoots RAW, edits in Lightroom or Photoshop, and values the simplicity of one-lens shooting over absolute optical perfection. If that describes you, this lens makes a strong case for itself. If you shoot JPEG only, or if you hand off unedited files to clients, or if you’re a pixel-peeper who wants the sharpest corners at every focal length, this is not your lens.
Scott outlining who should and should not buy the lens
The honest buyer profile for this lens is a travel or landscape photographer who shoots RAW, edits in Lightroom or Photoshop, and values the simplicity of one-lens shooting over absolute optical perfection. If that describes you, this lens makes a strong case for itself. If you shoot JPEG only, or if you hand off unedited files to clients, or if you’re a pixel-peeper who wants the sharpest corners at every focal length, this is not your lens.
The $900 price point is another factor. This is not a cheap lens in absolute terms, but it is an inexpensive solution to a real problem: traveling light while keeping full creative range. Compare it against the cost of two or three separate lenses covering the same focal range, plus the weight and bag space, and the value case becomes clear.
What I’d Add From My Own Testing
I haven’t shot with this specific lens yet, but I’ve run enough budget superzooms through Lightroom to confirm that Kelby’s advice about lens correction as a default preset is the single biggest quality-of-life improvement you can make. Set your import preset to auto-apply the lens profile and chromatic aberration removal for every RAW file. It costs you nothing in editing time and guarantees you never accidentally export an uncorrected file. Most photographers set this once and forget it exists, which is exactly how a good workflow should function.
The broader lesson from Kelby’s field report is one I keep coming back to in my own gear testing: a lens that scores a 9 out of 10 after two clicks of post-processing is more useful in the real world than a lens that scores a 9 out of 10 straight out of the camera but costs three times more. Know what your workflow can fix, and buy accordingly.
The single most important thing to take away from this review is simple: lens correction is not optional with the Canon 24-240mm, it is part of the system. If your workflow includes it, this lens performs far above its price. If it doesn’t, no amount of versatility makes up for that gap.
Watch the full tutorial on YouTube to see Kelby’s actual sample images and hear his full breakdown of what he’d do differently next time.
Comments
Leave a Comment