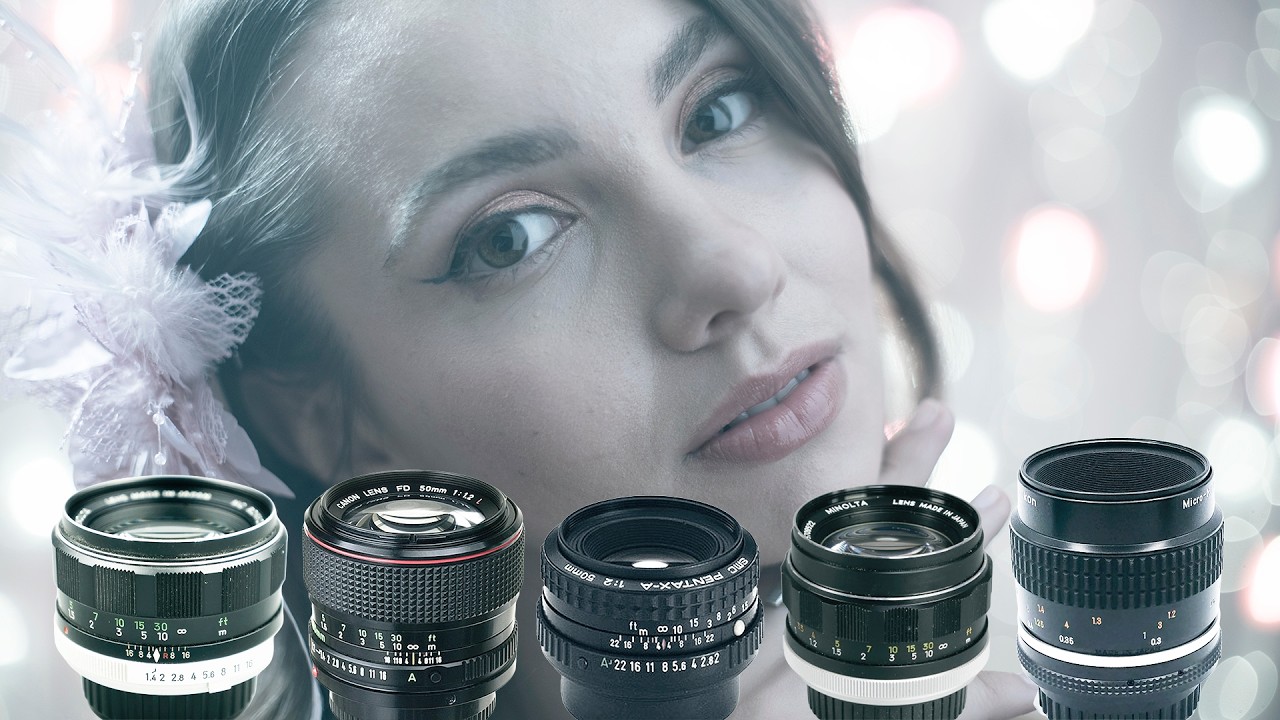
I’ve been chasing the vintage lens rabbit hole for a while now. My spreadsheet has entries for somewhere around thirty budget lenses at this point, and a solid chunk of them are old manual-focus glass from the 70s and 80s. The appeal is obvious if you’ve been paying attention to used gear prices: you can pick up Canon FD, Minolta MD, Pentax SMC, or Nikkor primes for under $50 in a lot of cases, mount them on a Sony mirrorless body with a cheap adapter, and get images that feel genuinely different from what modern lenses produce. Not worse. Just different in a way that’s hard to fake with a Lightroom preset.
The problem I kept running into was knowing which of these lenses to actually prioritize. They all get described as “vintage” and “cinematic” in forum posts, but those words mean nothing practical. So when The Slanted Lens put out a side-by-side comparison of Canon FD, Nikkor, Pentax SMC, and Minolta MD 50mm lenses shot on a Sony a7R V, I watched it three times and took notes. Watch the full tutorial on YouTube if you want to see the actual image comparisons in motion. Below is the practical breakdown of what they tested and how to apply it to your own shooting decisions.
Step 1: Understand the Test Setup and Why It’s Designed This Way
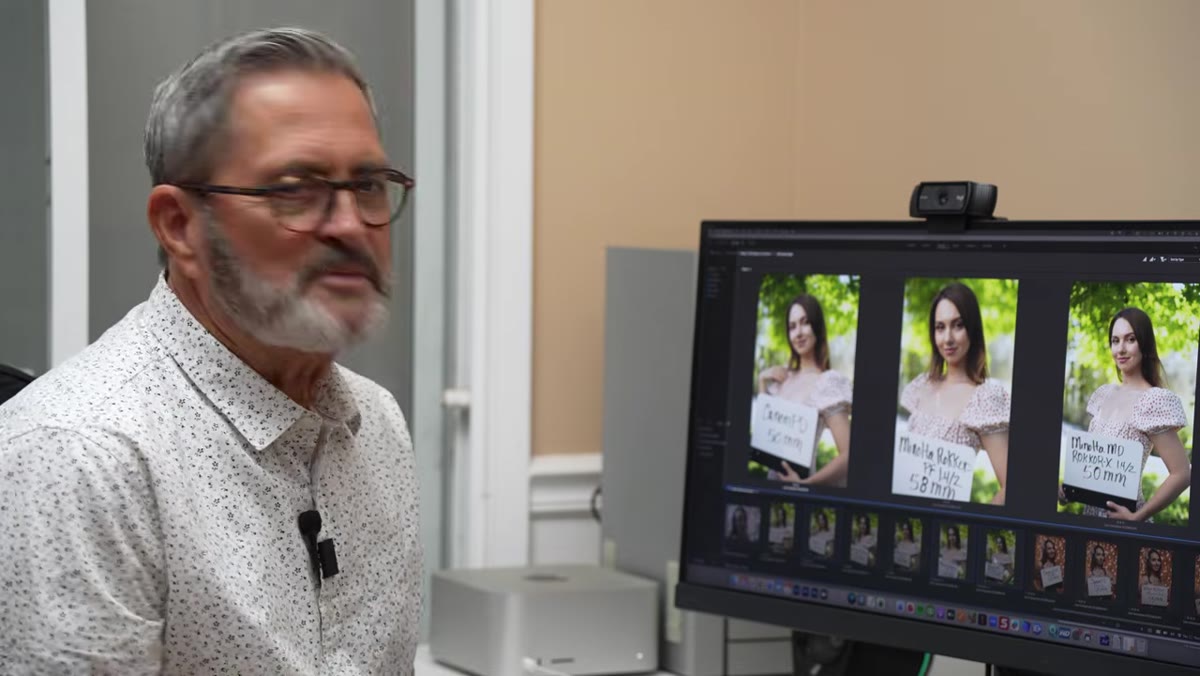
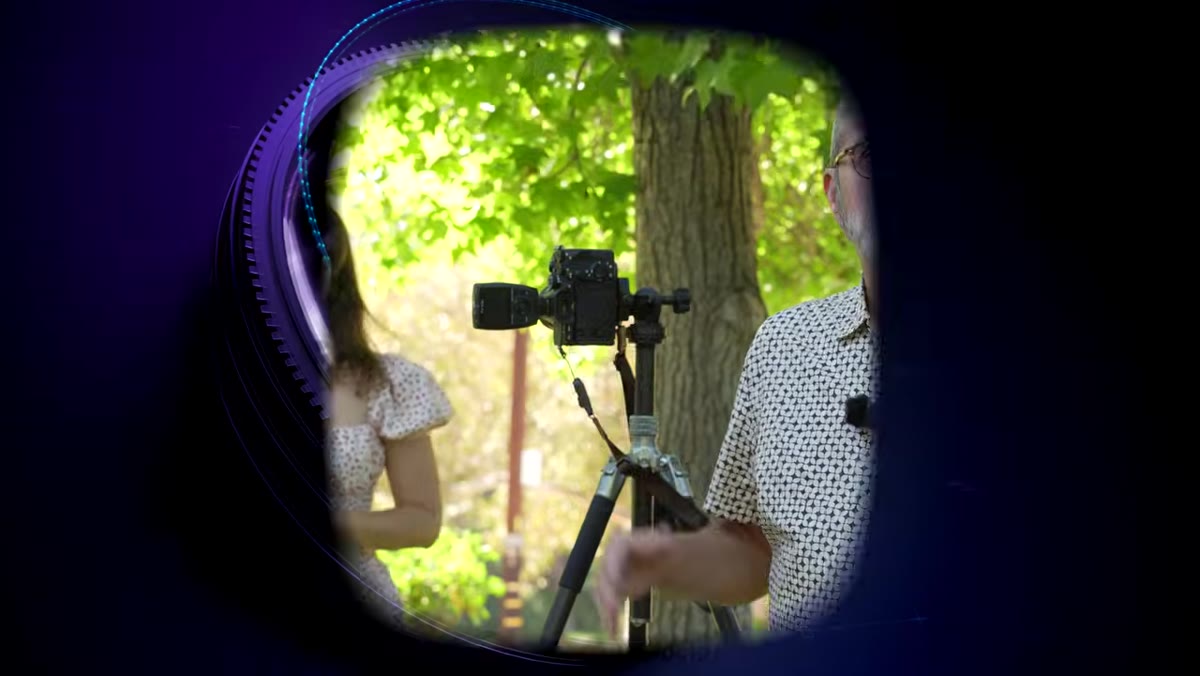 Host explaining the natural light outdoor portrait setup
The comparison uses a single subject (Sasha) shot outdoors in natural light and then again indoors with strobes. The outdoor setup pairs available light with a strobe just to open up shadows on the face, keeping the background bokeh visible. This is smart methodology because you get two very different rendering scenarios: one where color accuracy and tonal gradation show up clearly, and one where you’re looking at how the lens handles controlled, harder light against a busy background.
Host explaining the natural light outdoor portrait setup
The comparison uses a single subject (Sasha) shot outdoors in natural light and then again indoors with strobes. The outdoor setup pairs available light with a strobe just to open up shadows on the face, keeping the background bokeh visible. This is smart methodology because you get two very different rendering scenarios: one where color accuracy and tonal gradation show up clearly, and one where you’re looking at how the lens handles controlled, harder light against a busy background.
Everything is shot on a Sony a7R V, which is an important detail. These lenses were designed for film, so mounting them on a 61-megapixel full-frame sensor is going to reveal every optical quirk they have. A Sony G Master 50mm f/1.2 shot at f/2 is included as a modern control lens, giving you a clean reference point before the vintage glass comes in.
Step 2: Set a Controlled Outdoor Scene to Isolate Lens Character
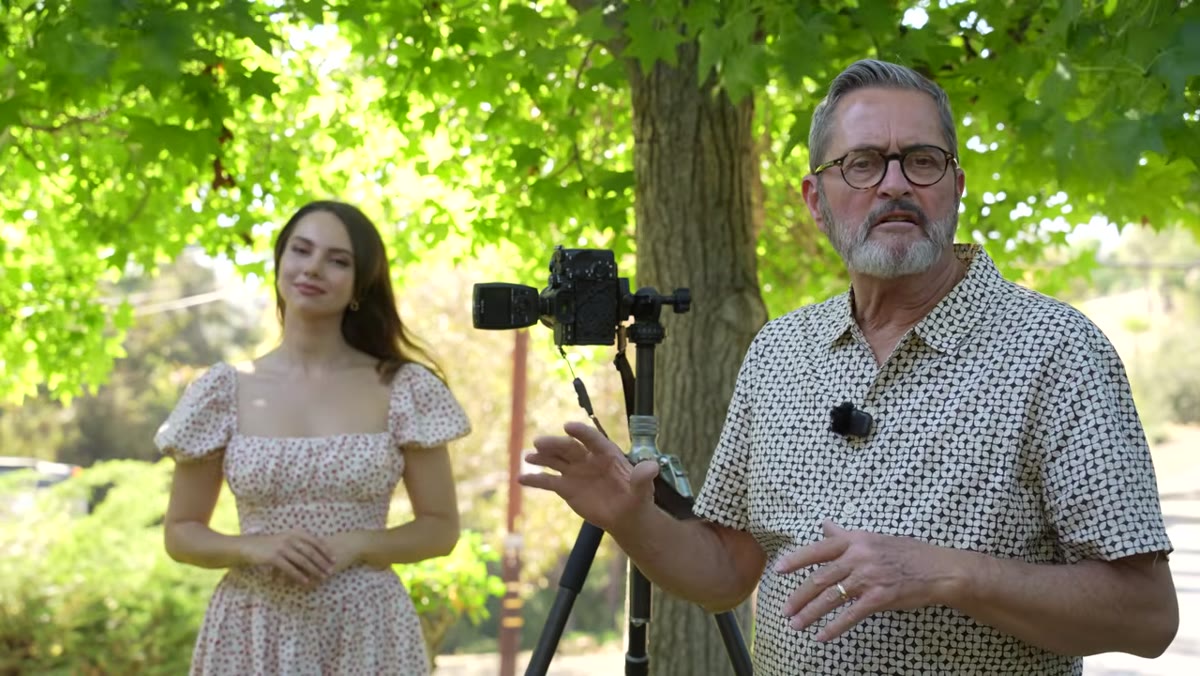 Outdoor portrait with tree bokeh and natural light on subject
For the outdoor portraits, the goal is clean color and visible bokeh. The aperture on the vintage lenses is set around f/2, matching the control lens aperture, so you’re comparing rendering at equivalent depth of field rather than letting aperture differences skew the results. The strobe fill is minimal. You’re not trying to overpower the sun here. You’re just lifting shadow detail so the skin tones read accurately.
Outdoor portrait with tree bokeh and natural light on subject
For the outdoor portraits, the goal is clean color and visible bokeh. The aperture on the vintage lenses is set around f/2, matching the control lens aperture, so you’re comparing rendering at equivalent depth of field rather than letting aperture differences skew the results. The strobe fill is minimal. You’re not trying to overpower the sun here. You’re just lifting shadow detail so the skin tones read accurately.
If you’re replicating this kind of test yourself, pick a background with some depth and separation. Trees work well. You want the bokeh to be visible enough that you can actually see how each lens renders out-of-focus areas, because that’s one of the biggest personality differences between these old primes.
Step 3: Build the Indoor Studio Setup to Stress-Test Color Rendering
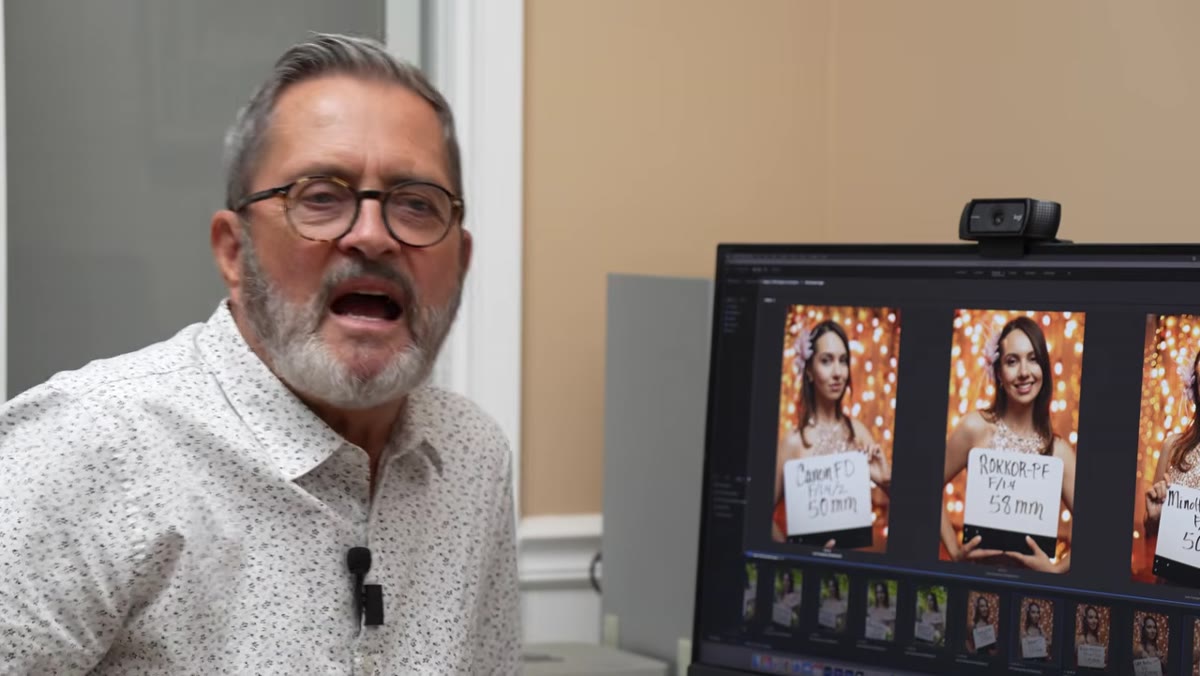
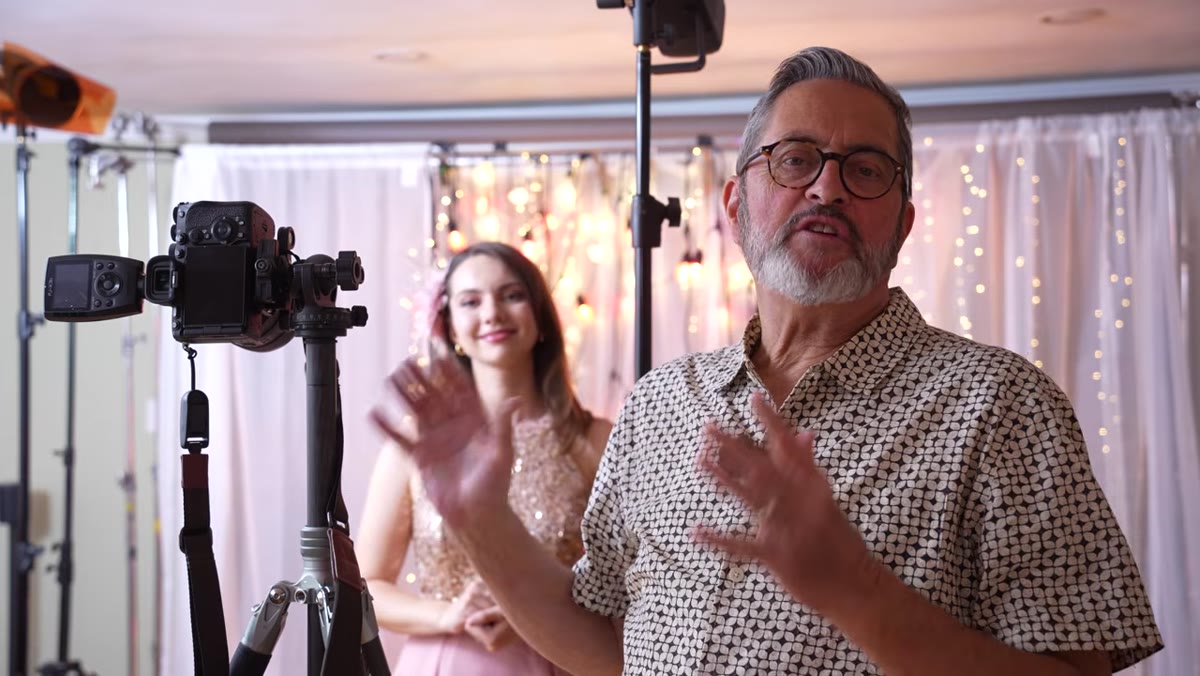 Indoor studio scene with twinkle lights and strobe setup
The indoor setup is more complex and honestly more revealing. There are twinkle lights in the background at different sizes, a strobe with a full CTO gel hitting the side of the subject’s hair (warm), and a clean butterfly-pattern strobe on the face. This gives you multiple light colors happening simultaneously, which puts real pressure on how each lens handles color separation.
Indoor studio scene with twinkle lights and strobe setup
The indoor setup is more complex and honestly more revealing. There are twinkle lights in the background at different sizes, a strobe with a full CTO gel hitting the side of the subject’s hair (warm), and a clean butterfly-pattern strobe on the face. This gives you multiple light colors happening simultaneously, which puts real pressure on how each lens handles color separation.
The butterfly light on the face is the key element for skin tone evaluation. It’s a straightforward, flattering pattern that doesn’t create distracting shadows, so you can focus entirely on how each lens renders the color and texture of skin rather than being distracted by dramatic lighting choices. When you’re shopping for a portrait lens, this is the scenario that matters most.
Step 4: Compare Skin Tone Rendering and Contrast at the Computer
 Side-by-side lens comparisons displayed on computer monitor
This is where the tutorial gets genuinely useful. Pulling the images up side by side on screen, you can see that the lenses have distinct personalities beyond just sharpness. Some render skin warmer and softer. Others push contrast harder and give you a more defined edge on facial features. The Minolta MD 50mm f/1.4 tends toward a slightly warmer, creamier rendering. The Nikkor glass often looks a touch cooler and more clinical by comparison, which some photographers prefer for its cleaner starting point in post.
Side-by-side lens comparisons displayed on computer monitor
This is where the tutorial gets genuinely useful. Pulling the images up side by side on screen, you can see that the lenses have distinct personalities beyond just sharpness. Some render skin warmer and softer. Others push contrast harder and give you a more defined edge on facial features. The Minolta MD 50mm f/1.4 tends toward a slightly warmer, creamier rendering. The Nikkor glass often looks a touch cooler and more clinical by comparison, which some photographers prefer for its cleaner starting point in post.
Pay attention to mid-tone contrast especially. High-end modern lenses tend to have what feels like a flatter, more “correct” color response that you then push in editing. Vintage glass often has its own mid-tone character baked in, which means less editing to get somewhere interesting but also less flexibility if you want to go in a different direction.
Step 5: Evaluate Bokeh Quality and Out-of-Focus Character
 Detailed comparison of bokeh rendering across lenses
Bokeh comparison is where the lenses really diverge in personality. The Canon FD glass has a reputation for a smoother, more cinematic out-of-focus rendering, which is part of why it gets rerouted for video work. The Pentax SMC 50mm f/2 produces a slightly different quality of blur, often described as more structured or defined at the edges of highlights.
Detailed comparison of bokeh rendering across lenses
Bokeh comparison is where the lenses really diverge in personality. The Canon FD glass has a reputation for a smoother, more cinematic out-of-focus rendering, which is part of why it gets rerouted for video work. The Pentax SMC 50mm f/2 produces a slightly different quality of blur, often described as more structured or defined at the edges of highlights.
None of these is objectively better. It’s entirely a style question. Sasha’s comment in the video about the Canon FD being suited for “sad stories” is half a joke, but it’s also pointing at something real: the rendering of this lens has a mood to it. If you’re shooting editorial portrait work that leans melancholy or cinematic, that matters. If you’re shooting bright, commercial-style portraits, you might actually want the Nikkor’s cleaner response.
Step 6: Factor in Adapter Availability and Mount Ecosystem
 Conclusion segment with all four lenses shown together
Every vintage lens in this test requires an adapter to mount on modern Sony mirrorless bodies. Canon FD adapters are widely available and cheap. Nikon F-mount glass adapts easily too, and Nikon lenses tend to hold their value a bit more in the used market. Pentax K-mount and Minolta MD adapters are equally available and similarly priced, usually in the $15 to $25 range from reputable sellers.
Conclusion segment with all four lenses shown together
Every vintage lens in this test requires an adapter to mount on modern Sony mirrorless bodies. Canon FD adapters are widely available and cheap. Nikon F-mount glass adapts easily too, and Nikon lenses tend to hold their value a bit more in the used market. Pentax K-mount and Minolta MD adapters are equally available and similarly priced, usually in the $15 to $25 range from reputable sellers.
The Minolta MD 50mm f/1.4 is currently one of the better value picks on the used market because it’s slightly less hyped than the Canon FD equivalent, which drives the price down without any real quality trade-off. Worth checking the Amazon link in the video description if you want a starting point on current pricing.
What I’d Add From My Own Testing
The one thing this comparison doesn’t address directly is consistency across copy variation. Vintage glass is not quality controlled the same way modern lenses are. Two copies of the same Minolta 50mm can render noticeably differently depending on age, storage, and whether the elements have any separation or haze. Before buying from Amazon, I’d cross-reference with eBay sold listings and check the seller’s photos carefully for any internal haze or fungus. My rule: if the seller photos are blurry or lit in a way that makes the elements hard to see, pass on it. There’s enough supply in the market that you don’t have to take chances.
The other thing worth knowing is that these lenses shine even more on film. The tutorial mentions Kodak Portra 400 in passing, and that’s not an accident. If you ever get into hybrid shooting, a clean copy of any of these 50mm primes on a film body with Portra is a genuinely different experience than seeing them on a digital sensor.
The single biggest takeaway here: vintage 50mm lenses are not interchangeable despite sharing a focal length. Each one has a distinct color character and bokeh quality that will influence the mood of your portraits. Picking the right one is a style decision, not a spec decision. Watch the side-by-side comparisons to figure out which rendering actually fits how you shoot. Watch the full tutorial on YouTube to see the actual image results.
Comments (2)
Solid advice. Especially the part about taking your time with it.
Quality content like this is rare. Keep it up.
Leave a Comment