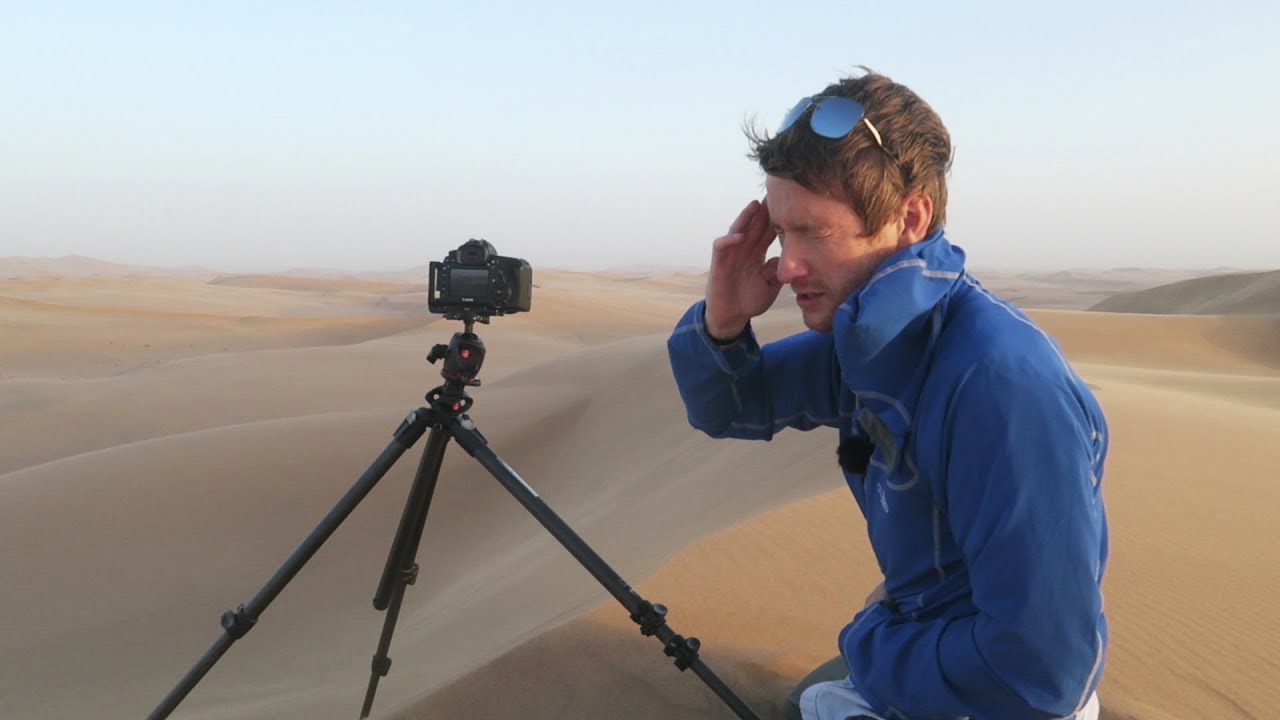
There’s a specific kind of panic that sets in when conditions turn bad and your gear is still in the bag. I know it well. I’ve stood on a snowy ridge in Colorado with wind coming sideways, trying to swap a filter while keeping sand and debris off my sensor, wondering why I never actually practiced this move before I needed it. Most of us treat lens changes like something we do at home on the couch. Then reality shows up.
In this Thomas Heaton tutorial, filmed during a landscape photography trip through Namibia, that exact scenario plays out in real time. Heaton is on the edge of the Skeleton Coast dune system near Swakopmund, trade winds ripping off the Atlantic at a sustained clip, trying to work through a composition problem that requires switching from a wide-angle to a longer focal length. The result is less than graceful, and that’s exactly why it’s worth paying attention to. Watching a skilled photographer problem-solve under pressure teaches you more than any controlled studio walkthrough. Watch the full tutorial on YouTube
What follows is a breakdown of the field technique Heaton demonstrates, with a few things I’d add from my own experience shooting in genuinely terrible conditions on a budget that doesn’t leave room for sensor cleaning bills.
Step 1: Scout Before You Commit to a Lens
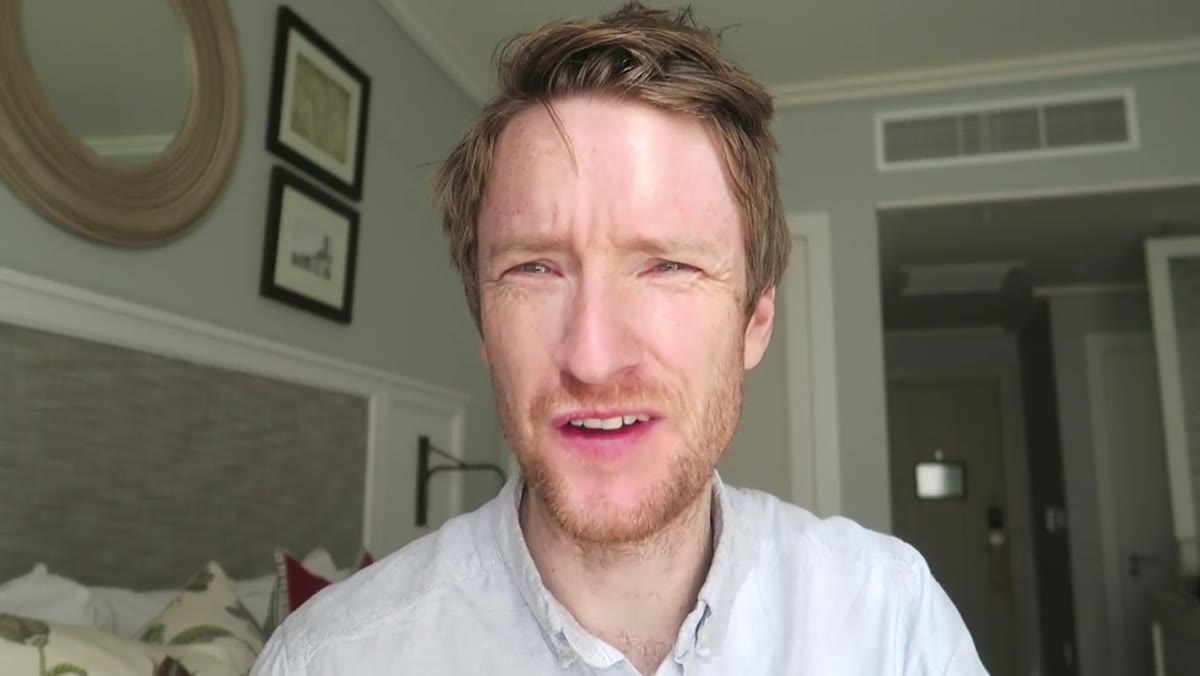 Heaton walking alone toward the dune crest
Before any gear comes out of the bag, Heaton heads up the dune without his camera to read the landscape. This isn’t laziness. It’s efficiency. When conditions are harsh, every second your bag is open is a risk. Walking the location first lets you make your lens decision from information rather than guesswork.
Heaton walking alone toward the dune crest
Before any gear comes out of the bag, Heaton heads up the dune without his camera to read the landscape. This isn’t laziness. It’s efficiency. When conditions are harsh, every second your bag is open is a risk. Walking the location first lets you make your lens decision from information rather than guesswork.
Know what you’re looking for before you unzip anything. Are you dealing with a wide, sweeping foreground or a compressed mid-distance detail shot? In Heaton’s case, scouting reveals that the wide-angle he had mounted is the wrong tool for the composition he finds, which leads directly to the lens change situation. One walk saves a second swap.
Step 2: Find or Create a Wind Break Before Opening the Bag
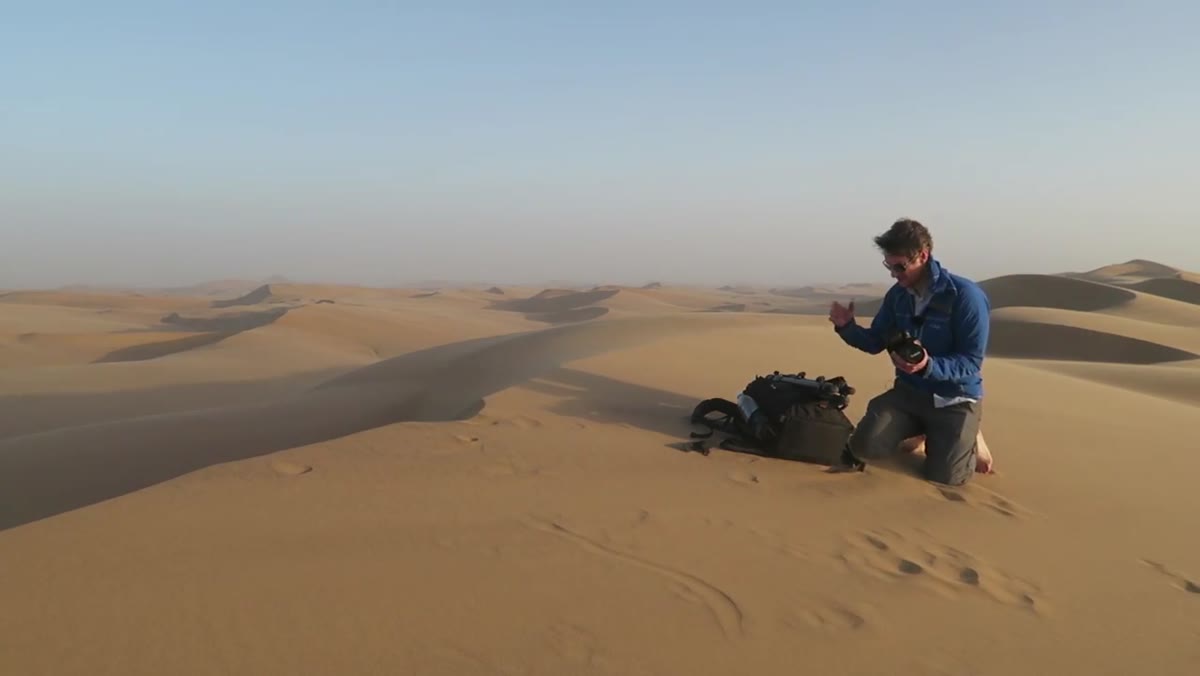 Heaton calling George over to physically block the wind
This is the move most people skip, and it’s the one that matters most. Heaton calls his travel companion George over specifically to act as a physical shield between the wind direction and the open camera bag. A human body is genuinely effective at blocking a localized gust long enough to complete a swap.
Heaton calling George over to physically block the wind
This is the move most people skip, and it’s the one that matters most. Heaton calls his travel companion George over specifically to act as a physical shield between the wind direction and the open camera bag. A human body is genuinely effective at blocking a localized gust long enough to complete a swap.
If you’re shooting solo, use your vehicle, a rock face, a dune wall, your own body turned sideways, or even a large backpack laid flat. The goal is to create a dead zone of still air around the bag opening. Even a 50% reduction in wind speed dramatically cuts the amount of particulate that gets near your mount. Don’t skip this step because it feels awkward. Sensor cleaning is not cheap, and neither is a repair bill.
Step 3: Orient the Camera Body Away from the Wind Source
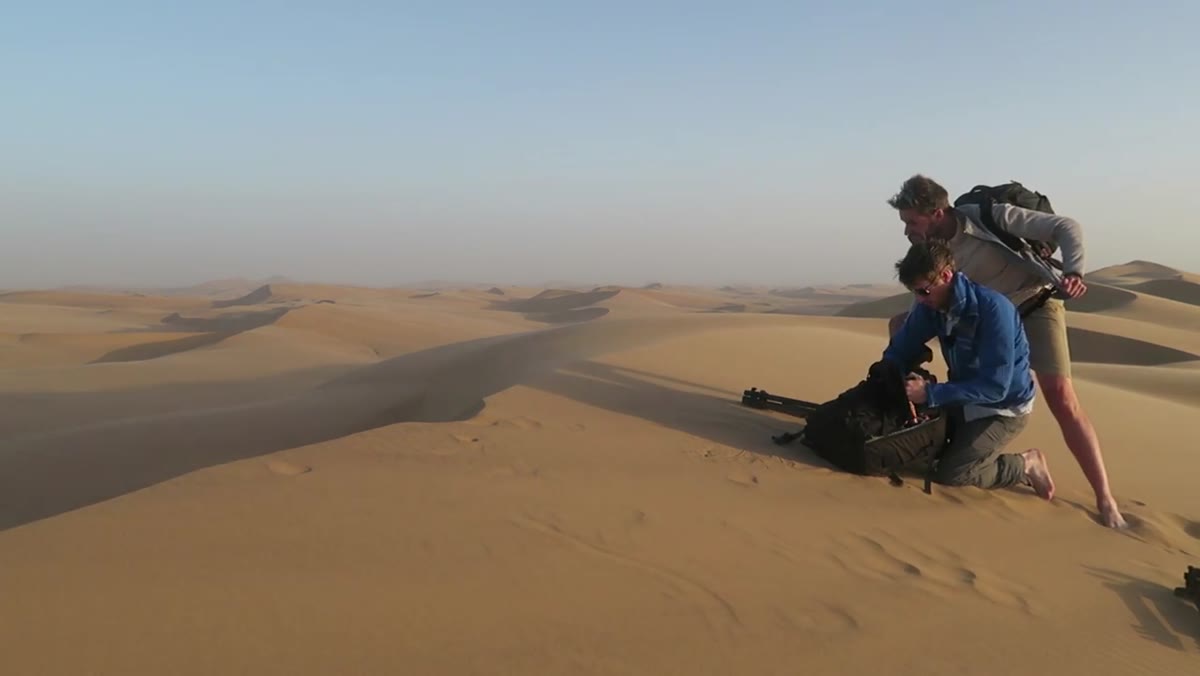 Heaton positioning the camera opening toward the bag interior
Heaton makes a point of keeping the camera’s mount facing into the bag rather than exposed to open air while he works. The direction the camera faces during a swap determines how much debris has a direct line to your sensor. Physics is simple here. If the wind is coming from the west, the open mount should face east, ideally down into the bag cavity itself.
Heaton positioning the camera opening toward the bag interior
Heaton makes a point of keeping the camera’s mount facing into the bag rather than exposed to open air while he works. The direction the camera faces during a swap determines how much debris has a direct line to your sensor. Physics is simple here. If the wind is coming from the west, the open mount should face east, ideally down into the bag cavity itself.
This also means pre-positioning your replacement lens so it’s accessible without digging. In rough conditions, you want one motion in and one motion out. I keep my second-most-used lens in the top slot of my bag specifically for this reason. Time the mount is open equals risk.
Step 4: Move Deliberately, Not Quickly
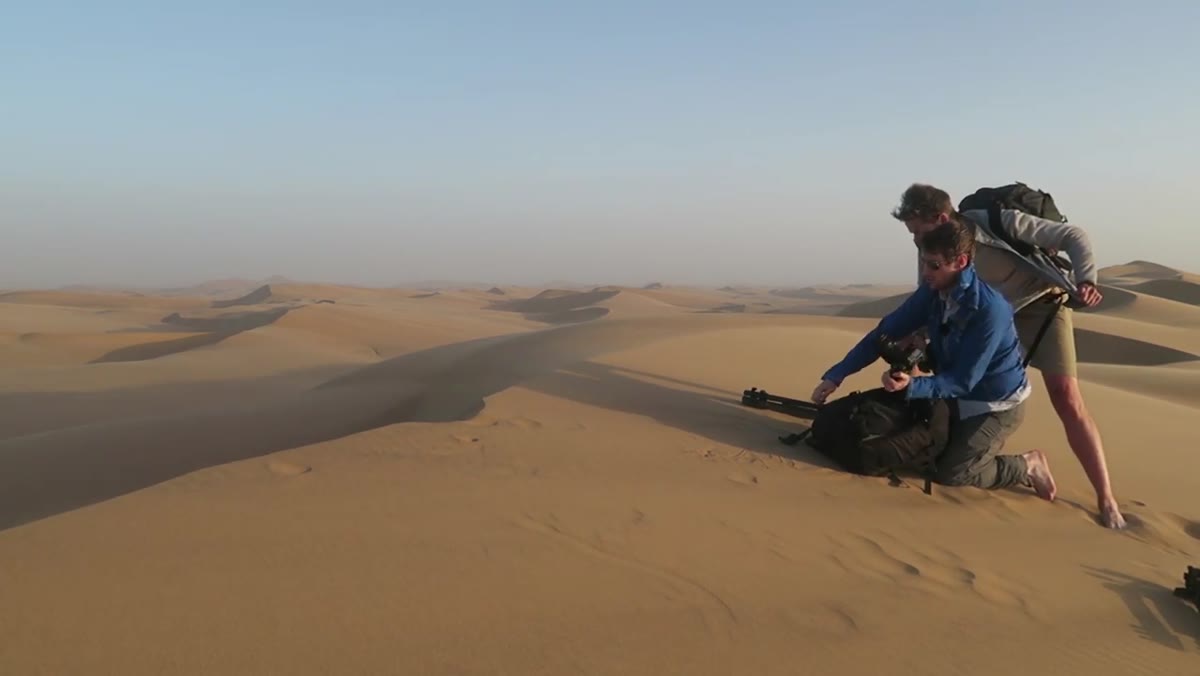 Heaton completing the lens swap with focused movement
There’s a temptation to rush when conditions are bad. Resist it. Rushed lens swaps are where mounts get cross-threaded, where lens caps get dropped into sand, where back-glass elements get exposed for three seconds longer than necessary. Heaton moves with focus rather than speed during the actual swap.
Heaton completing the lens swap with focused movement
There’s a temptation to rush when conditions are bad. Resist it. Rushed lens swaps are where mounts get cross-threaded, where lens caps get dropped into sand, where back-glass elements get exposed for three seconds longer than necessary. Heaton moves with focus rather than speed during the actual swap.
Controlled and deliberate beats frantic every time. Practice the physical motions at home until they’re automatic, so when you’re doing it in wind and cold and low light, your hands already know the sequence. I genuinely mean practice. Do it blindfolded once. You’ll find out fast whether you actually know your own gear.
Step 5: Confirm the Mount and Replace Caps Immediately
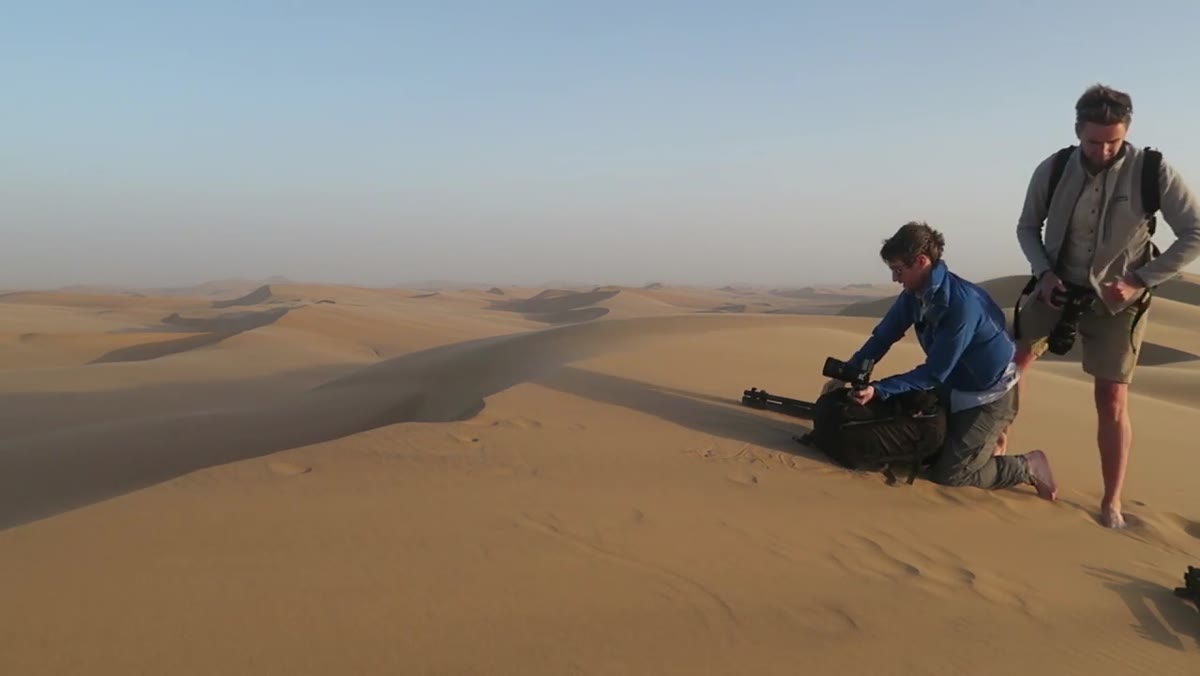 Heaton closing the bag after confirming the new lens is seated
Once the new lens is on, confirm the mount is fully locked before doing anything else. Give it a quarter-turn test. Then cap the removed lens immediately and get it back in the bag before the bag closes. Heaton closes up quickly after confirming he’s good to go, which keeps the second lens protected and the bag sealed against further exposure.
Heaton closing the bag after confirming the new lens is seated
Once the new lens is on, confirm the mount is fully locked before doing anything else. Give it a quarter-turn test. Then cap the removed lens immediately and get it back in the bag before the bag closes. Heaton closes up quickly after confirming he’s good to go, which keeps the second lens protected and the bag sealed against further exposure.
The bag closure itself is a step. Don’t leave it hanging open while you adjust settings or check your composition. Close it, then do everything else.
My Extension: Practice the Swap at Home in Simulated Conditions
I’ve run into the lens-in-bad-conditions problem enough times that I added something to my pre-trip routine. Before any outdoor shoot in unpredictable weather, I do two or three practice swaps at home: lights low, one hand occupied, working from the bag layout I’ll actually be using in the field. It sounds excessive, but I’ve been out with photographers who fumble a swap for 45 seconds in real conditions because they’ve never thought through the sequence before.
For budget shooters especially, this matters more, not less. A cheaper body often has less robust weather sealing. A budget lens already has tighter tolerances on the mount. You can’t afford the same margin for error, so you have to build better habits. The technique Heaton demonstrates here costs nothing to learn and applies to any camera system at any price point. That’s the kind of thing I put in the spreadsheet under “things that actually move the needle.”
The single most important thing Heaton demonstrates in this video isn’t the swap itself. It’s that he pauses, assesses the risk, recruits help, and creates the right conditions before touching the bag. Most gear damage in the field happens in the three seconds before a photographer thinks to be careful. Build the pause into your muscle memory, and you’ll protect your equipment better than any weather-sealed housing ever will.
Watch the full tutorial on YouTube to see the full Namibia shoot, including the compositions Heaton works through once the lens is sorted.
Comments (1)
Great breakdown. The step-by-step approach really helps.
Leave a Comment