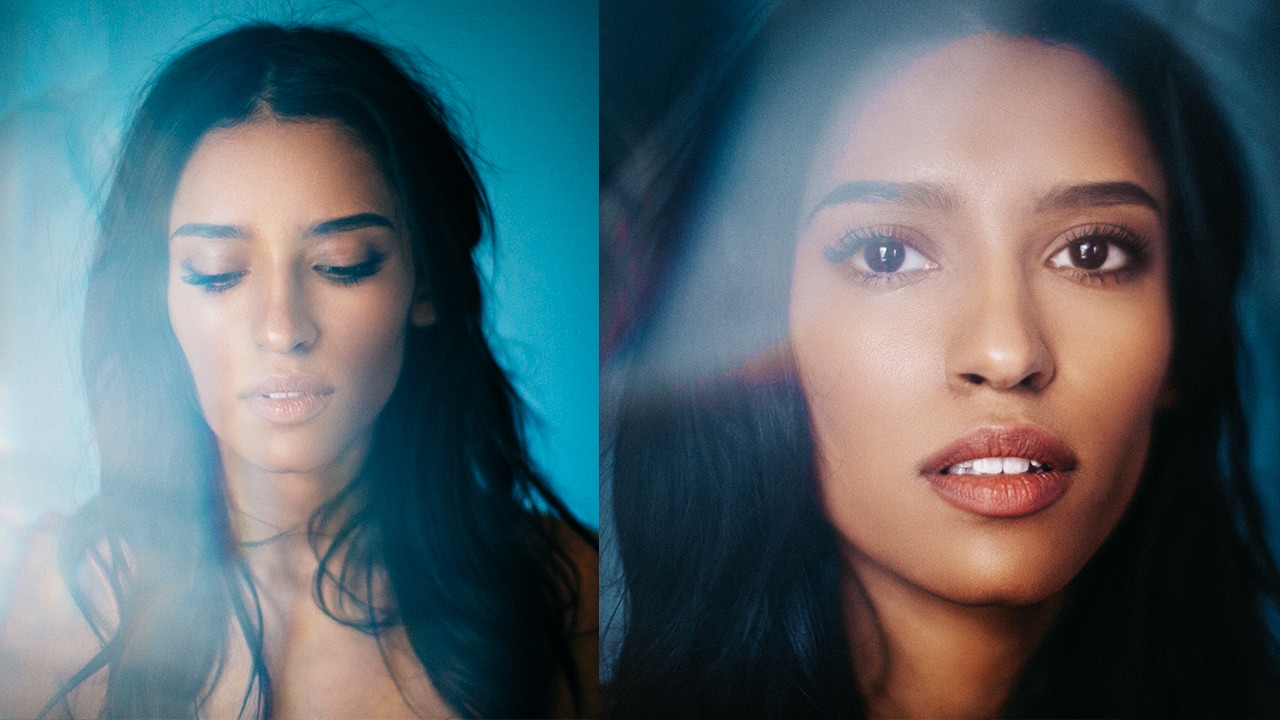
I’ve said it before and I’ll keep saying it: some of the most interesting effects in portrait photography don’t come from your camera body, your lens, or even your lighting setup. They come from a three-dollar piece of glass you hold in front of your lens. That’s not a hot take, it’s just something that gets proven over and over again once you start experimenting with in-camera optical effects. The problem most photographers run into is they don’t know where to start, or they buy one prism, wave it around a few times, and then toss it in a drawer because they don’t understand what each tool actually does differently.
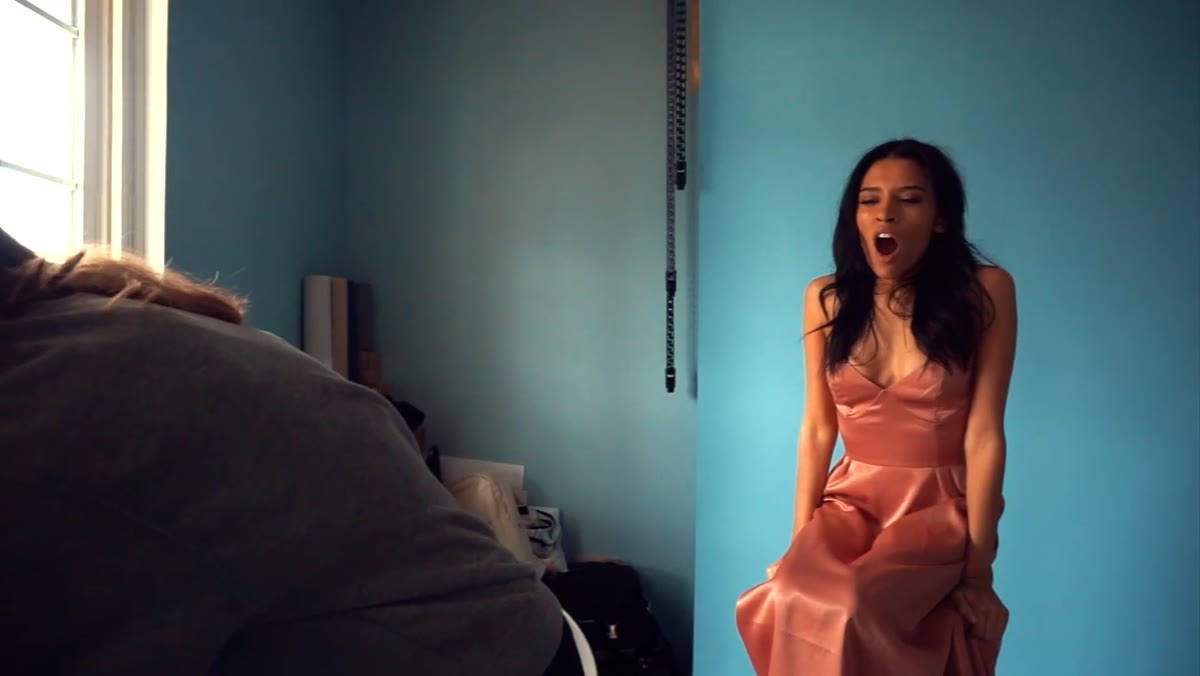
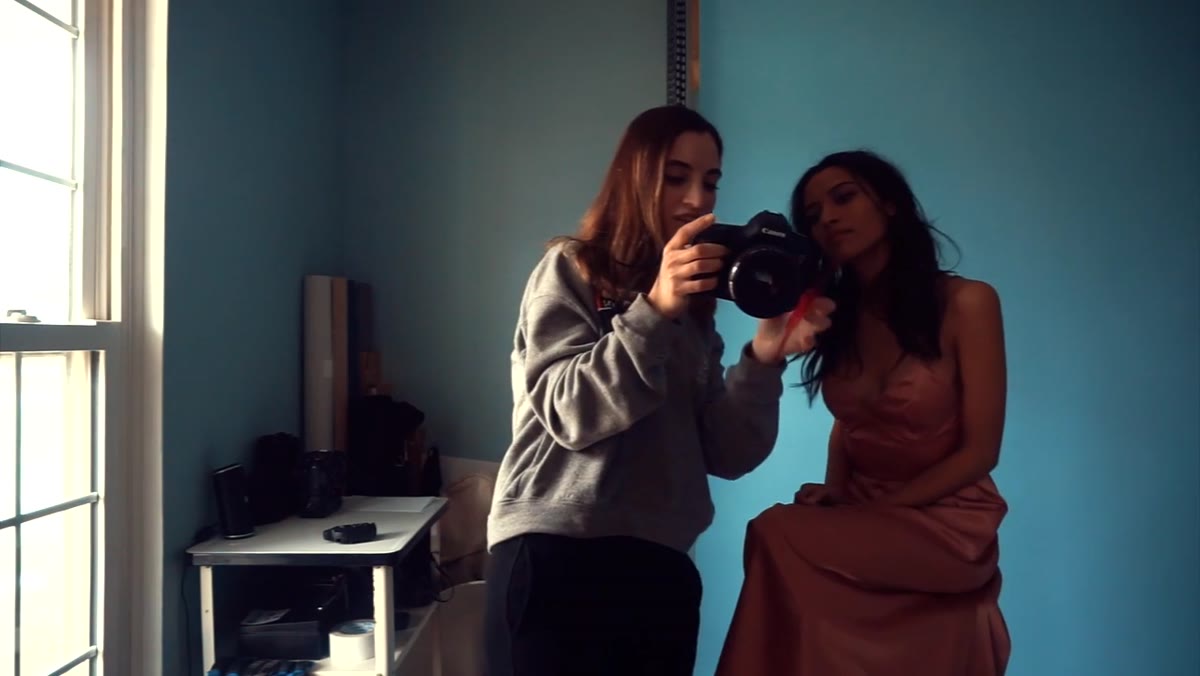
In this Jessica Kobeissi tutorial, she works through three distinct tools, a triangular prism, a crystal, and a set of color gels, in a natural light setting with a reflector, and shows the actual results side by side. It’s a practical, no-fluff walkthrough that cuts straight to the visual output. Watch the full tutorial on YouTube if you want to see the footage alongside this breakdown. What I’m doing here is pulling out the technique so you can replicate it on your next shoot without having to pause and rewind every thirty seconds.
The gear list here is refreshingly short. A reflector to bounce natural light back onto the subject, a triangular prism, a crystal (the kind you can find on eBay for a few dollars), and a set of color gels, specifically a Rogue lighting filter kit. That’s it. No strobes, no modifiers, no studio. Just window light or outdoor light and a handful of objects most photographers overlook entirely.
Step 1: Set Up a Simple Natural Light Situation with a Reflector
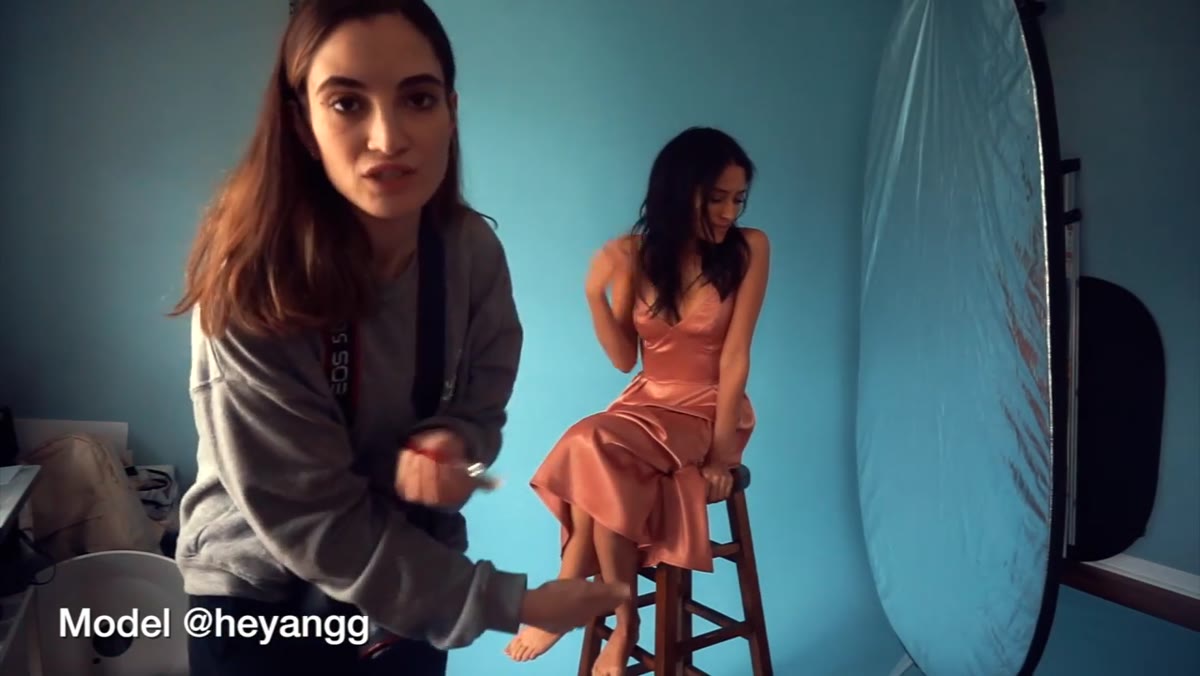 Reflector positioned to bounce natural light onto model
Before you pick up any of the optical tools, get your base light right. Jessica shoots with natural light and uses a reflector to fill in shadows on her subject’s face. This is important because the prism and crystal effects are going to add visual complexity. If your base exposure is muddy or the shadows are too harsh, the in-camera effects will just add chaos on top of bad light. Position your subject near a window or in open shade, then use a reflector to kick light back into the shadow side. Shoot at a wide aperture, f/2 to f/2.8 is a good starting range, so your depth of field stays shallow and the optical distortions from the prism read cleanly against a soft background.
Step 2: Start with the Triangular Prism
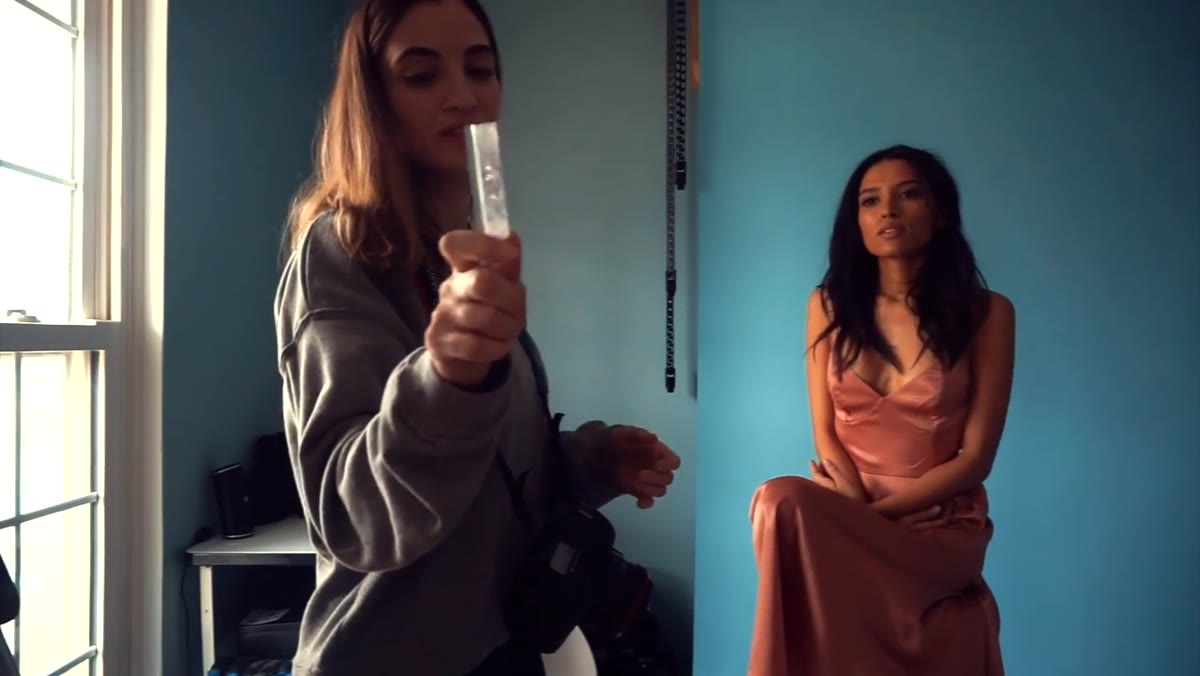 Triangular prism held in front of camera lens during shoot
The triangular prism is the entry point for this kind of work, and it’s the most controllable of the three tools. Hold it between your lens and your subject, off to one side of the frame. As you rotate and angle the prism, it refracts light and creates rainbow streaks, lens flare-style light leaks, and partial reflections that overlap with your subject. The key is to move slowly. Small rotations produce dramatically different results. You’re not trying to cover the whole frame. Even a small intrusion of prismatic color along one edge of the image can add a painterly quality without overwhelming the portrait. Keep your autofocus locked on the subject’s eyes and let the prism do its thing in the foreground.
Step 3: Switch to the Crystal for a More Abstract Effect
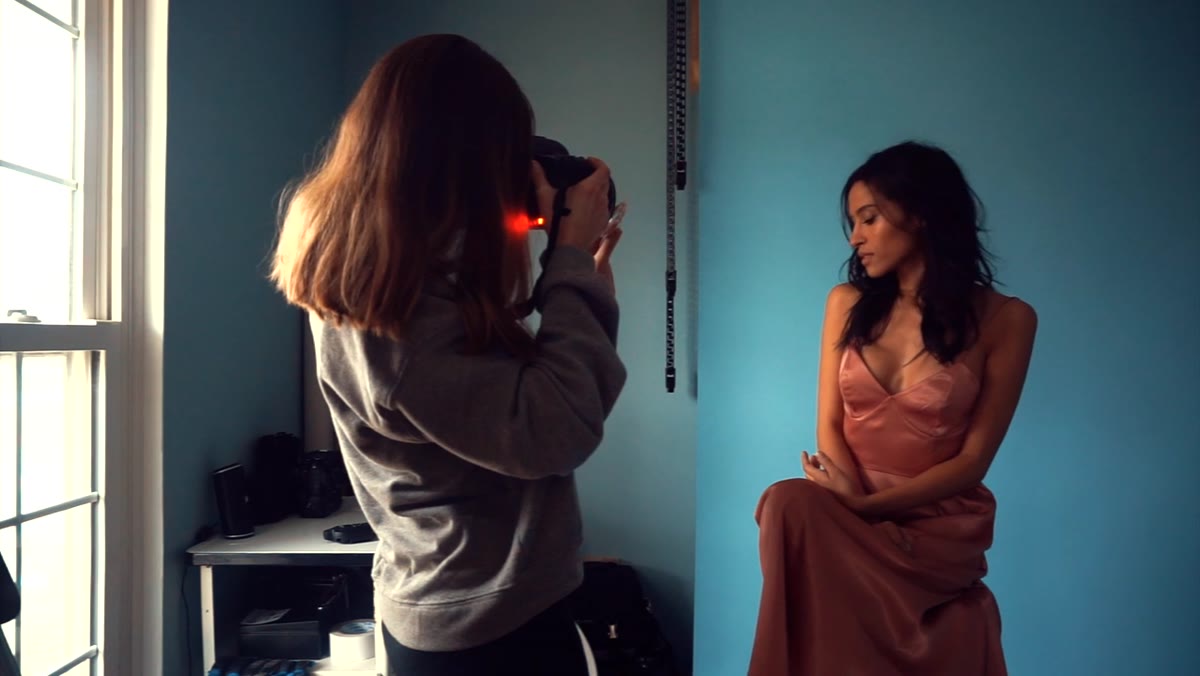 Irregular crystal held in front of lens distorting the image
The crystal, which Jessica describes as producing a “funky” effect, works differently from the triangular prism. Because the surface geometry is irregular, the refraction is less predictable. You get fragmented, kaleidoscope-style distortions rather than clean rainbow streaks. Jessica notes that this one takes a bit more trial and error to use effectively, and that’s accurate. The crystal tends to work better as an accent rather than a centerpiece. Try holding it at the very edge of the frame, or use it to distort a corner of the image while keeping the subject’s face sharp and unobstructed. Shoot a burst sequence when you’re experimenting with the crystal because the results change frame to frame even with minimal movement.
Step 4: Introduce Color Gels Over the Lens
 Color gel held in front of lens creating color wash effect
The color gels are where things get especially interesting for portraits. Jessica uses a Rogue gel filter kit, which gives her a range of colors to work with. The technique here is straightforward: hold the gel partially in front of your lens so it washes one portion of the frame in color while the rest stays natural. The effect she describes is a faded, slightly washed-out tone in the color-affected area, which reads almost like a vintage double-exposure or a film simulation. You can layer this with the prism if you want to go full creative, but even on its own, a single gel covering a third of the frame adds a cinematic quality that would take real work to replicate in post. Start with a single color, something like orange or blue, before you try layering multiple gels.
Step 5: Compare Results and Decide What Serves the Shot
 Side-by-side comparison of gel effect vs. natural frame
The real skill here is editorial judgment. All three tools produce interesting results, but interesting isn’t always the right call for every image. After your session, go through the frames and ask whether the effect adds to the mood or just distracts from your subject. The triangular prism tends to be the most versatile because the results are the most controlled. The crystal works best for editorial or conceptual work where some abstraction is welcome. The gels are the strongest choice when you want to shift the emotional tone of an image, a warm orange gel reads very differently from a cool blue one, and that difference matters depending on the story you’re telling.
My Take: Don’t Overthink the Price Point
I’ve seen photographers hesitate to experiment with these tools because they assume the cheap versions won’t hold up. I get it, I spent way too long assuming that budget accessories were always a compromise. But a three-dollar eBay crystal refracts light exactly the same way a thirty-dollar one does. The physics don’t care about the price tag. Where you should spend a little more is on the gel kit. A quality set like the Rogue filters gives you more color options and better consistency between gels, and since you’re holding them in front of a lens you probably care about, you want something that won’t scratch or leave residue. For the prism and crystal, just buy the cheapest option you can find and start shooting. You can always upgrade once you know which tools you actually reach for.
The single biggest thing I took from Jessica’s tutorial is this: these effects live or die based on how much you move the tool during the shoot. One fixed position gives you one result. Constant small adjustments give you dozens of different images from a single setup. Lock in your exposure, keep your subject in focus, and let the glass in front of your lens do the heavy lifting.
Watch the full tutorial on YouTube to see the actual before-and-after results from Jessica’s shoot with each tool.
Comments (4)
This is going in my reference folder. Incredibly useful.
Applied this to my portfolio shots and the improvement is noticeable.
Applied this to my portfolio shots and the improvement is noticeable.
Printing this out and pinning it next to my monitor. That good.
Leave a Comment