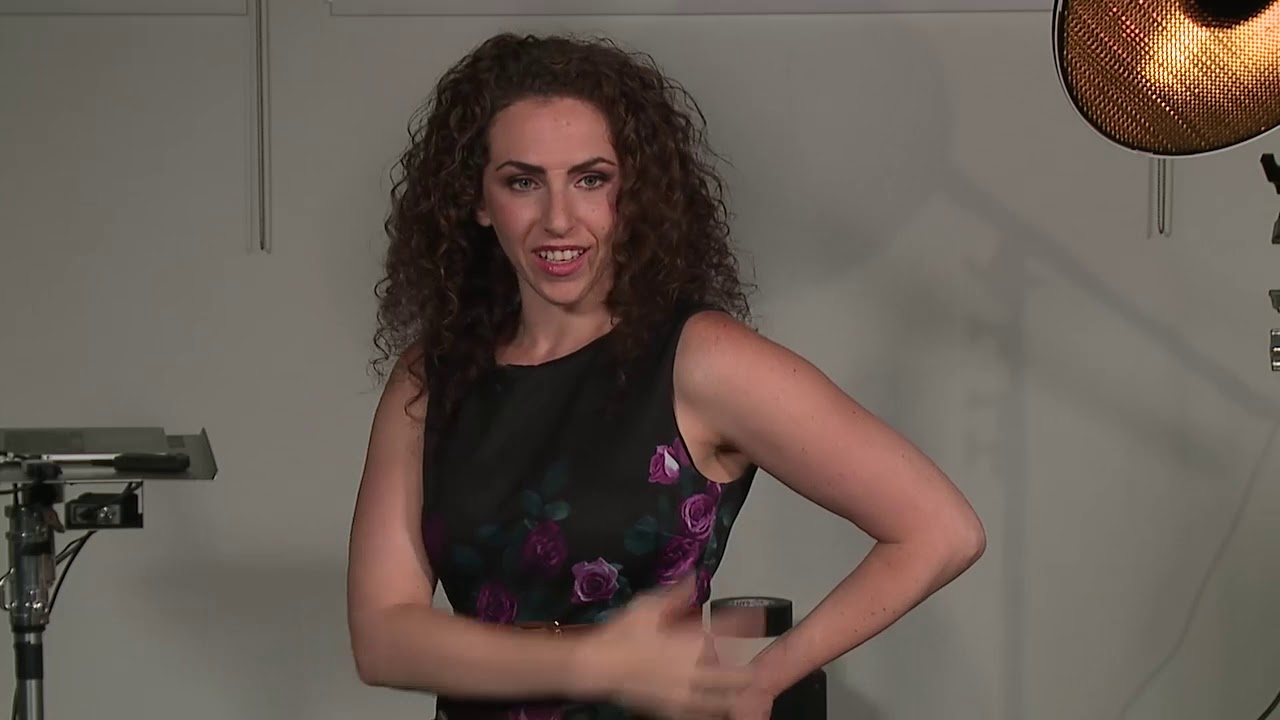
Background light is one of those things I ignored for an embarrassingly long time. My subject would look fine on camera, but something always felt flat about the image. The shadow side of a face would just dissolve into the background like the person was being swallowed by the frame. I kept thinking it was a posing problem or a post-processing problem. It wasn’t. It was a separation problem, and the fix lives in how you think about your background.
In this CreativeLive tutorial on dealing with background light, the instructor walks through a practical, on-the-spot lighting session that gets into something I now think about on every portrait shoot: the relationship between where the highlights fall on your subject and where the light or shadow falls on your background. It’s not a complicated concept, but it changes how you read a frame once it clicks. Watch the full tutorial on YouTube if you want to follow along with the live demo.
The specific technique introduced here is something the instructor calls “checkerboard lighting,” a name he isn’t totally sure he invented but owns confidently anyway. I like that energy. And once you see it explained visually, you’ll start noticing it in classic portraiture everywhere.
Step 1: Ask Yourself Where the Separation Is Coming From
 Instructor explaining the separation checklist question
Before you touch a single light, stop and look at your frame. The first question is simple: can you actually see your subject against the background? If yes, why? Is the main light making the subject brighter than the background? Is there a highlight on the background? Is there a rim or kicker on the subject? Something is creating that separation, and you need to know what it is before you start adjusting things blindly. This diagnostic habit alone will save you from chasing your tail in a session.
Instructor explaining the separation checklist question
Before you touch a single light, stop and look at your frame. The first question is simple: can you actually see your subject against the background? If yes, why? Is the main light making the subject brighter than the background? Is there a highlight on the background? Is there a rim or kicker on the subject? Something is creating that separation, and you need to know what it is before you start adjusting things blindly. This diagnostic habit alone will save you from chasing your tail in a session.
Step 2: Identify What Happens Without a Background Light
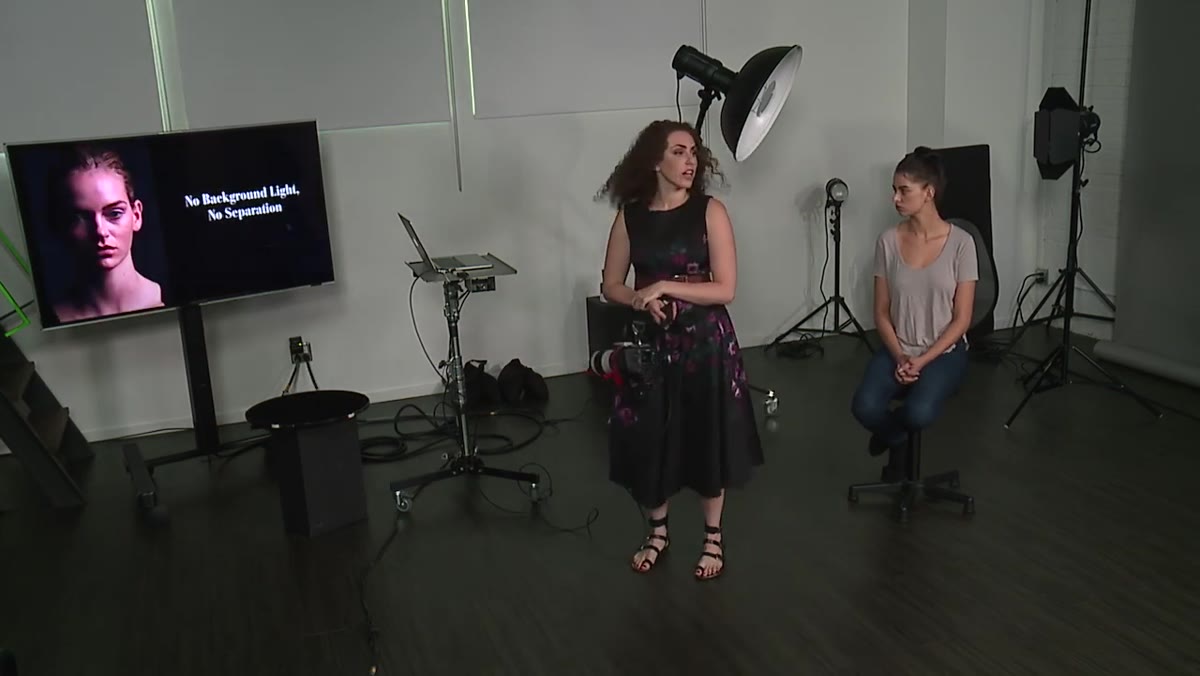 Side-by-side showing no background light and no separation
The tutorial shows a clear before-and-after here. Without any background light, the shadow side of the subject’s face blends directly into the background. They share the same tonal value, so the edge of the face effectively disappears. This is the problem. It’s not dramatic, it’s just muddy. If you shoot short light (where the shadow side of the face is toward the camera), this gets worse because you’re leading with the darker part of the face, and it has nowhere to go visually.
Side-by-side showing no background light and no separation
The tutorial shows a clear before-and-after here. Without any background light, the shadow side of the subject’s face blends directly into the background. They share the same tonal value, so the edge of the face effectively disappears. This is the problem. It’s not dramatic, it’s just muddy. If you shoot short light (where the shadow side of the face is toward the camera), this gets worse because you’re leading with the darker part of the face, and it has nowhere to go visually.
Step 3: Use a Grid to Control Spill on the Background
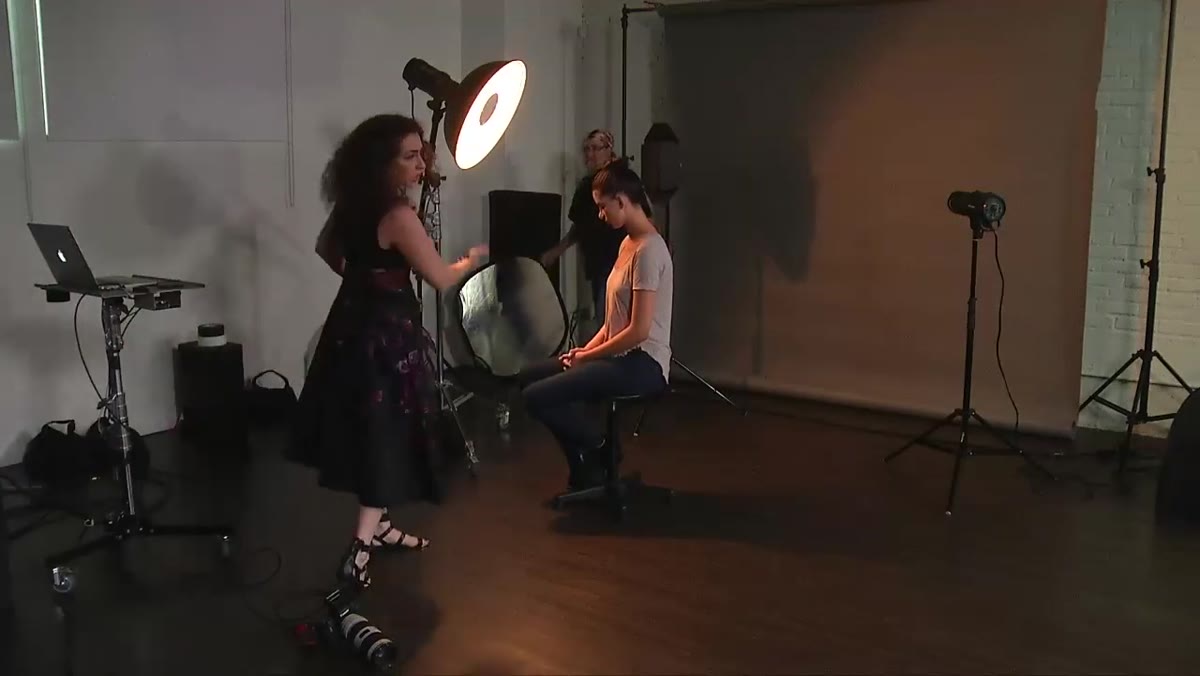 Grid being placed on light, background spill visibly reduced
When the instructor sets up his main light, he notices immediately that it’s throwing a lot of light onto the background. This is extremely common, especially in smaller shooting spaces. The fix he reaches for is a grid, specifically a tight one. A 10 or 20 degree grid narrows the beam so the light hits your subject without bleeding onto the backdrop behind them. He also mentions flags as an alternative, which are essentially black panels you position to cut light from spilling where you don’t want it. Both work. Grids are faster to deploy if your light already has a mount for them. For budget shooters, a set of magnetic grids for speedlights runs $15-25 and does the same job.
Grid being placed on light, background spill visibly reduced
When the instructor sets up his main light, he notices immediately that it’s throwing a lot of light onto the background. This is extremely common, especially in smaller shooting spaces. The fix he reaches for is a grid, specifically a tight one. A 10 or 20 degree grid narrows the beam so the light hits your subject without bleeding onto the backdrop behind them. He also mentions flags as an alternative, which are essentially black panels you position to cut light from spilling where you don’t want it. Both work. Grids are faster to deploy if your light already has a mount for them. For budget shooters, a set of magnetic grids for speedlights runs $15-25 and does the same job.
Step 4: Understand the Checkerboard Lighting Pattern
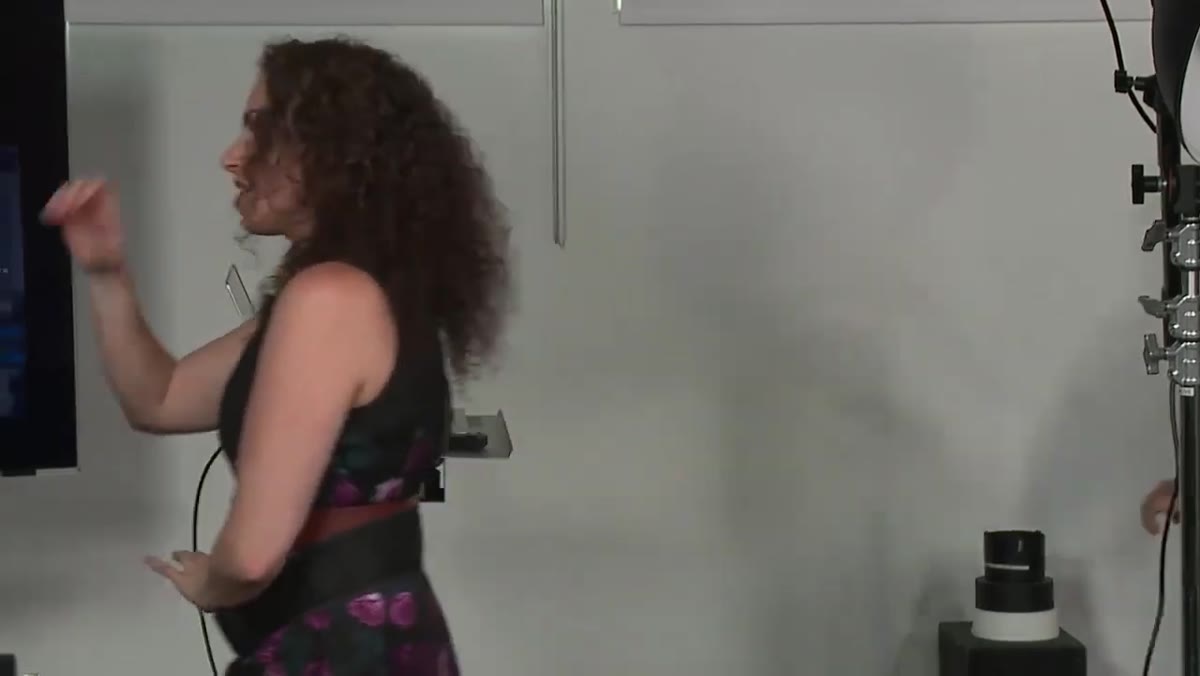 Photo on screen showing highlight face against shadow background
Here’s the core idea. In checkerboard lighting, the highlight side of the face sits against the shadow side of the background, and the shadow side of the face sits against the highlight side of the background. It alternates: light, dark, light, dark across the frame. This creates contrast and drama without needing any complicated gear. The instructor points to Yousuf Karsh’s portrait work as a reference, and honestly, go look at those images. The control over light is surgical. The checkerboard pattern shows up constantly once you know what you’re looking for.
Photo on screen showing highlight face against shadow background
Here’s the core idea. In checkerboard lighting, the highlight side of the face sits against the shadow side of the background, and the shadow side of the face sits against the highlight side of the background. It alternates: light, dark, light, dark across the frame. This creates contrast and drama without needing any complicated gear. The instructor points to Yousuf Karsh’s portrait work as a reference, and honestly, go look at those images. The control over light is surgical. The checkerboard pattern shows up constantly once you know what you’re looking for.
Step 5: Add a Targeted Background Light for Separation
 Background light turned on, subject’s neck and shoulder become visible
Once the main light is dialed in and the spill is controlled, you add a separate, focused light aimed at the background. The goal isn’t to flood the background with light. You just want a contained highlight in the zone where the shadow side of your subject sits. In the tutorial, they experiment with a 5 degree and 8 degree grid on the background light, which produces a very tight, controlled pool of light right behind the subject. The result: suddenly you can see the subject’s neck, shoulder, and the line of their body against the background. What was a black void becomes readable.
Background light turned on, subject’s neck and shoulder become visible
Once the main light is dialed in and the spill is controlled, you add a separate, focused light aimed at the background. The goal isn’t to flood the background with light. You just want a contained highlight in the zone where the shadow side of your subject sits. In the tutorial, they experiment with a 5 degree and 8 degree grid on the background light, which produces a very tight, controlled pool of light right behind the subject. The result: suddenly you can see the subject’s neck, shoulder, and the line of their body against the background. What was a black void becomes readable.
Step 6: Match the Grid Degree to the Effect You Want
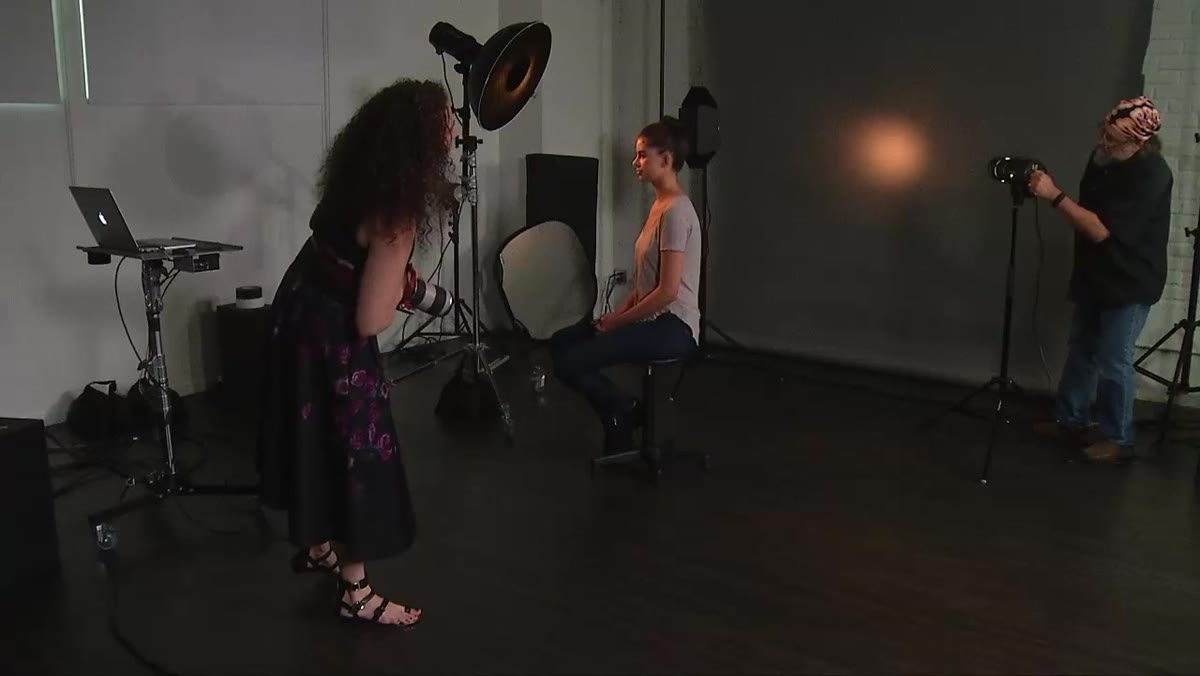 Comparing 5-degree vs 8-degree grid results on background
Tighter grids give you a smaller, harder-edged pool of light. Wider grids spread the light more but with less precision. A 5 degree grid on a background light will give you a small, almost spotlight-style highlight, which works for a very dramatic, contrasty look. An 8 or 10 degree grid spreads that a bit, giving you a softer, wider glow behind the subject. Neither is wrong. It depends on how much of the background you want to show and how hard you want that edge. Start tighter and open up from there rather than flooding the background and pulling back.
Comparing 5-degree vs 8-degree grid results on background
Tighter grids give you a smaller, harder-edged pool of light. Wider grids spread the light more but with less precision. A 5 degree grid on a background light will give you a small, almost spotlight-style highlight, which works for a very dramatic, contrasty look. An 8 or 10 degree grid spreads that a bit, giving you a softer, wider glow behind the subject. Neither is wrong. It depends on how much of the background you want to show and how hard you want that edge. Start tighter and open up from there rather than flooding the background and pulling back.
What I’d Add: This Works on a Budget Setup Too
The tutorial is shot in a proper studio with purpose-built light modifiers, but I want to be clear that none of this requires expensive equipment. I’ve replicated checkerboard lighting with two speedlights, a $20 set of honeycomb grids, and a cheap backdrop stand. The physics don’t care what brand name is on your flash.
The harder part is actually the thought process, specifically, building the habit of asking “where is my separation coming from” before the shoot starts rather than during it. Once I started treating that as part of my pre-shoot checklist (like checking card capacity or white balance), my portraits got noticeably cleaner. The gear budget didn’t change. The thinking did.
One practical note: if you’re working with a single light and no budget for a second strobe, a white reflector placed low and angled toward the background can bounce enough light to create a soft version of this effect. It’s not as controlled, but it gives you the tonal separation without the extra equipment.
The single most important idea from this tutorial is that dramatic portraits aren’t about blasting your subject with light. They’re about managing the relationship between light and shadow across the entire frame, including the parts of the frame that don’t have a person in them. Background light isn’t an afterthought. It’s what makes the subject visible in the first place.
Watch the full tutorial on YouTube to see the live demo and the before-and-after comparison that makes this click visually.
Comments (2)
Simple but effective. Sometimes that's all you need.
Simple but effective. Sometimes that's all you need.
Leave a Comment