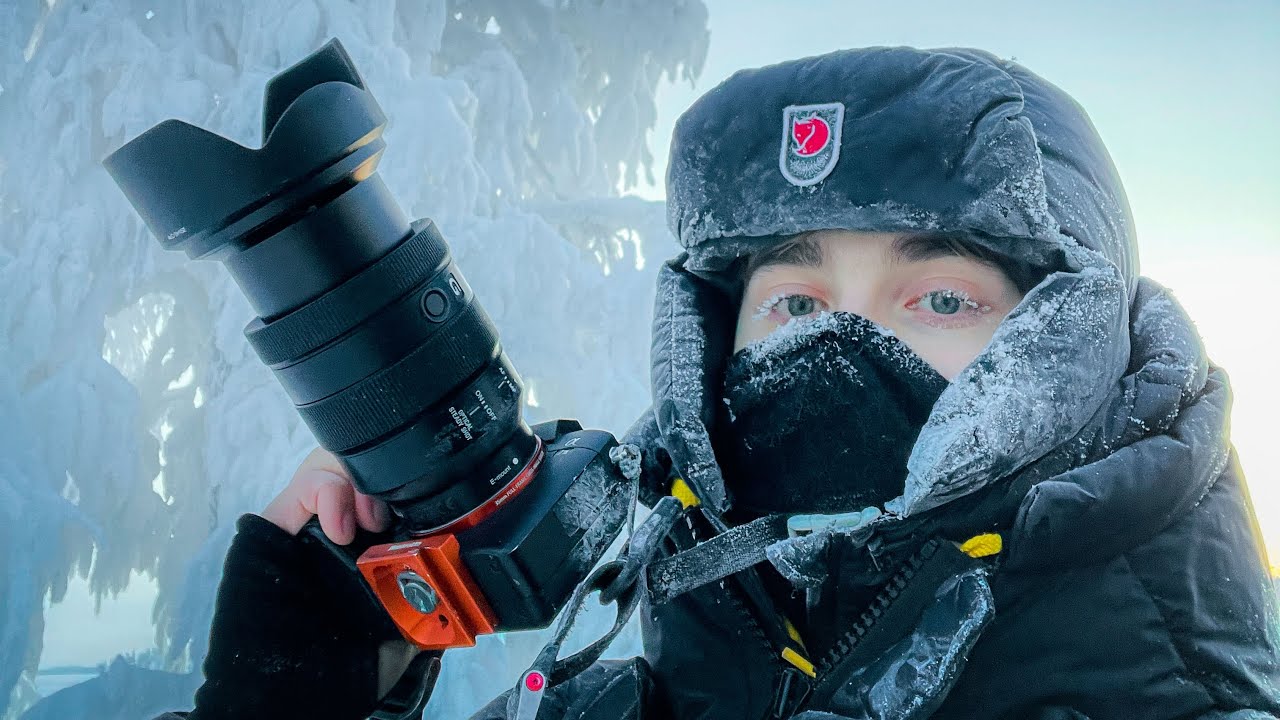
I live in Denver, which means I’m not exactly shooting in Finnish tundra conditions. But Colorado winters are no joke either, and I’ve had my share of moments where a camera started acting weird mid-shoot because I yanked it out of a warm car into 10-degree air. Fogged lenses, sluggish shutters, batteries that dropped from 80% to dead in twenty minutes. If you’ve shot in serious cold, you know the specific kind of dread that comes with watching your camera struggle.
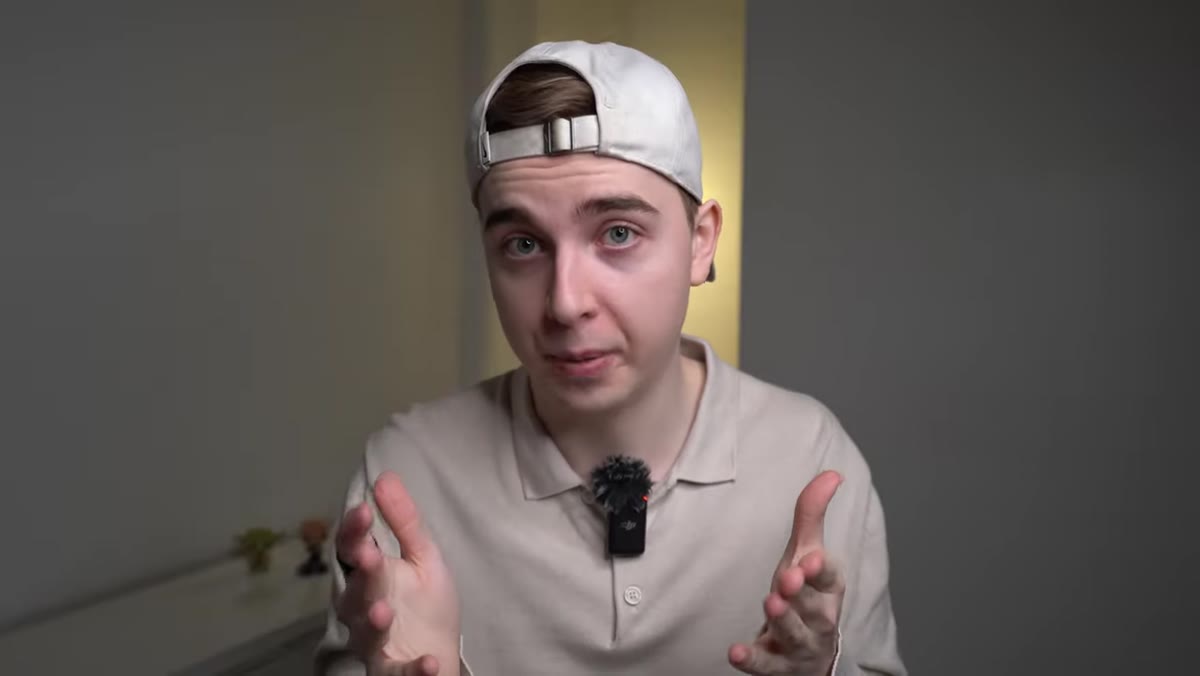
That’s why this Hugo Korhonen tutorial stopped me cold (pun intended). Hugo is a photographer based in Finland who regularly shoots at temperatures down to -35°C, which is roughly -31°F for those of us still on imperial. His camera doesn’t have weather sealing. He doesn’t use a lens warmer. And he says he has never once dealt with condensation damage. Watch the full tutorial on YouTube – but I’ve also broken the whole system down below so you can follow it without pausing and rewinding.
The reason I’m writing this up is that his approach is almost aggressively simple. No expensive accessories, no complicated rituals. Just three stages: how you take the camera out, how you manage it during the shoot, and how you bring it back in. Let me walk through each one.
Step 1: Never Take the Camera Out Bare
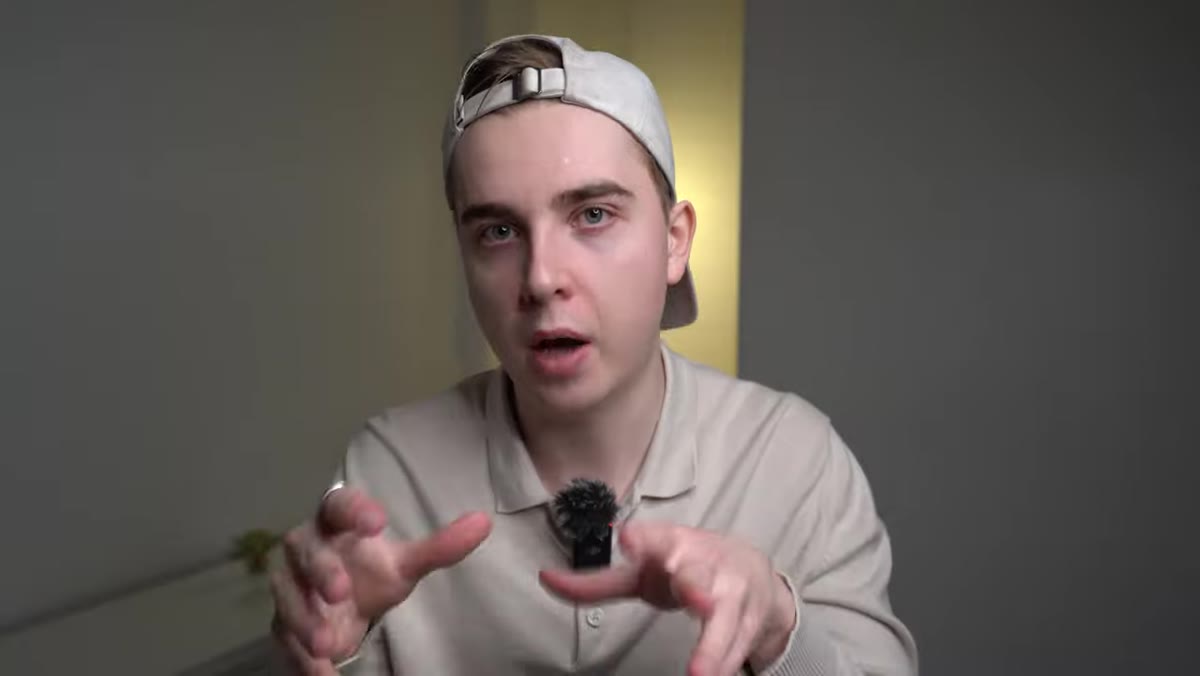 Camera being placed inside a bag before going outdoors
The single biggest mistake people make in cold-weather shooting is grabbing the camera off the desk and walking straight outside. When you move something warm into dramatically colder air, moisture condenses on every cold surface – including inside the lens elements and on the sensor. Hugo’s fix is almost embarrassingly simple: always put the camera in a bag before you go out the door.
Camera being placed inside a bag before going outdoors
The single biggest mistake people make in cold-weather shooting is grabbing the camera off the desk and walking straight outside. When you move something warm into dramatically colder air, moisture condenses on every cold surface – including inside the lens elements and on the sensor. Hugo’s fix is almost embarrassingly simple: always put the camera in a bag before you go out the door.
The bag acts as a buffer. Instead of the camera hitting -20°C air all at once, it acclimates gradually inside an enclosed space. Hugo recommends leaving it in the bag for at least 15 minutes after stepping outside before you start shooting. If you’re hiking to a location anyway, that transit time usually covers it. The point is to never let the cold hit the warm gear directly and all at once.
Step 2: Keep the Camera in the Bag During Temperature Transitions
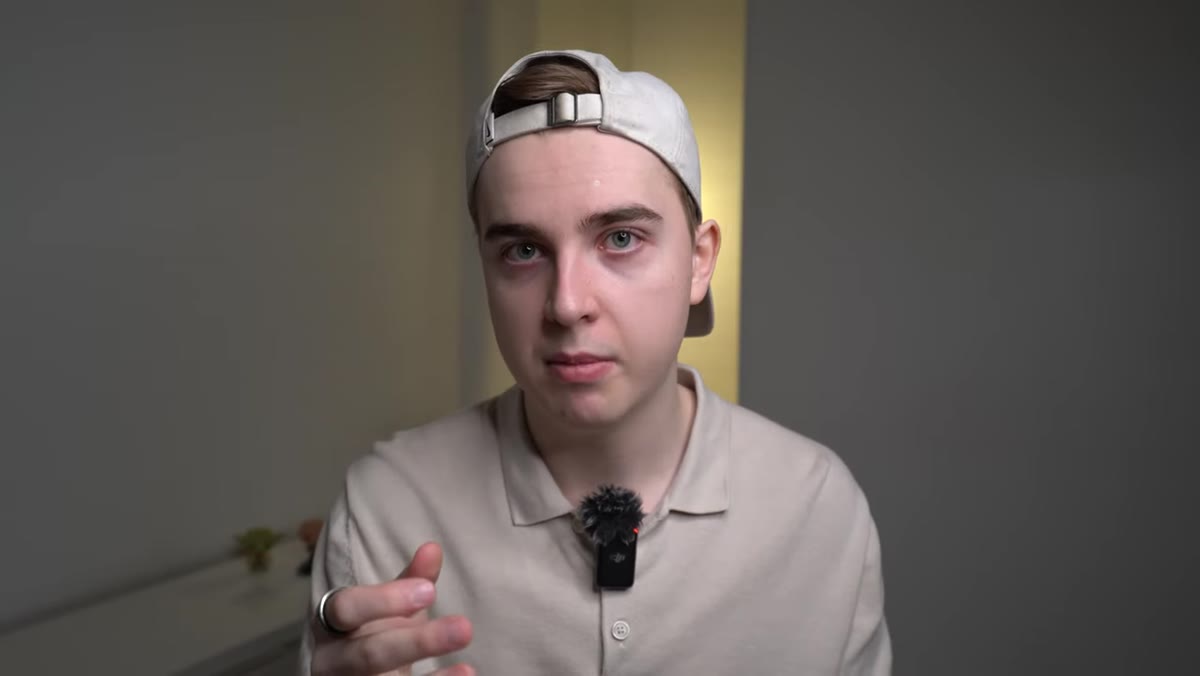 Camera left outside in bag while photographer goes indoors
This one surprised me when I first heard it, but it makes total sense. If you’re doing a long outdoor shoot and you need to duck into a warm building – a cafe, a car, a warming hut – leave the camera outside. Don’t bring it in with you.
Camera left outside in bag while photographer goes indoors
This one surprised me when I first heard it, but it makes total sense. If you’re doing a long outdoor shoot and you need to duck into a warm building – a cafe, a car, a warming hut – leave the camera outside. Don’t bring it in with you.
If you absolutely have to bring it inside, bag it up first, and keep it bagged until it has time to warm back up slowly. The problem isn’t cold air or warm air. The problem is rapid transitions between the two. Every time you swing a cold camera into a warm room, you’re creating the exact conditions for condensation. The bag trick works in both directions: cold to warm, and warm to cold. Hugo treats this as a hard rule, not a guideline.
Step 3: Keep the Camera Cold – But Keep the Batteries Warm
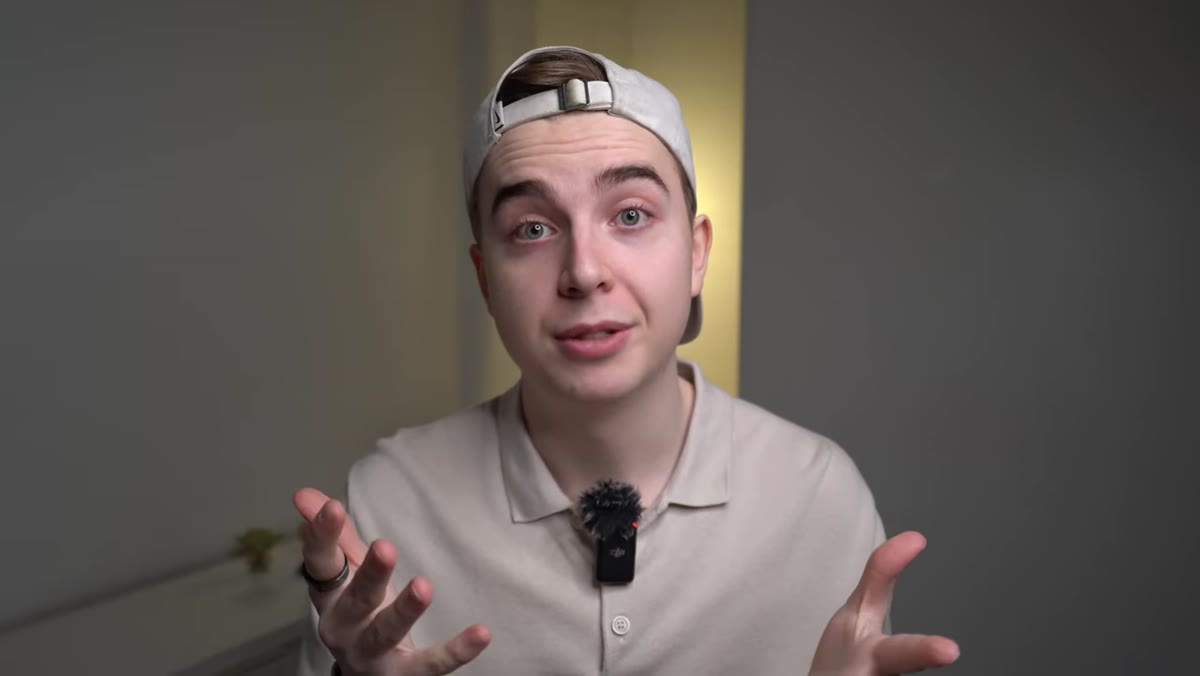 Spare batteries being kept in a warm inside pocket
Here’s where the thinking shifts a little. Your instinct might be to try to keep the whole camera warm. Hugo says that’s the wrong instinct. The camera body itself can be frozen solid and it will still function fine. What kills a cold-weather shoot is the batteries.
Spare batteries being kept in a warm inside pocket
Here’s where the thinking shifts a little. Your instinct might be to try to keep the whole camera warm. Hugo says that’s the wrong instinct. The camera body itself can be frozen solid and it will still function fine. What kills a cold-weather shoot is the batteries.
Cold dramatically reduces battery capacity and discharge rate. A battery that reads 70% in a warm room can drop to near zero within minutes in serious cold. Hugo’s solution: keep spare batteries in an inside chest pocket, close to your body. Swap them out as needed, cycling cold ones back to your body heat to recover some charge. The camera stays cold. The batteries stay warm. That’s the whole system.
Step 4: Skip the Lens Warmer
 Photographer shooting handheld with no accessories on lens
Hugo addresses this directly because it’s the advice you’ll usually find first when you Google cold-weather photography. Lens warmers are resistive heating strips that wrap around the front of your lens to prevent fogging. They work, but they come with a real cost: cables, battery packs, and something physically attached to your lens that gets in the way when you’re moving around.
Photographer shooting handheld with no accessories on lens
Hugo addresses this directly because it’s the advice you’ll usually find first when you Google cold-weather photography. Lens warmers are resistive heating strips that wrap around the front of your lens to prevent fogging. They work, but they come with a real cost: cables, battery packs, and something physically attached to your lens that gets in the way when you’re moving around.
Hugo shoots without one at all, and attributes his condensation-free results entirely to the bag method and the slow-transition approach. For photographers who stay mobile and don’t do static overnight landscape setups, the lens warmer is solving a problem you can prevent upstream with better handling habits. That’s the kind of practical trade-off I can get behind.
Step 5: Warm the Camera Slowly When You’re Done
 Camera sealed in bag before being brought back into warm indoor space
The post-shoot phase is just as important as the pre-shoot phase. When you’re done for the day and heading back inside, bag the camera up before you come in from the cold. Leave it bagged inside for a while – the same principle applies in reverse. Let it warm gradually over 20 to 30 minutes before you take it out and start wiping it down or swapping lenses.
Camera sealed in bag before being brought back into warm indoor space
The post-shoot phase is just as important as the pre-shoot phase. When you’re done for the day and heading back inside, bag the camera up before you come in from the cold. Leave it bagged inside for a while – the same principle applies in reverse. Let it warm gradually over 20 to 30 minutes before you take it out and start wiping it down or swapping lenses.
Opening a cold camera bag in a warm room will let humid air rush in and condense on everything. Keep it sealed, let the temperature equalize slowly, and you’ll never pull a fogged-up lens out of your bag again.
My Take: This Works Even Without Arctic Temps
I haven’t tested this at -35°C and honestly hope I never have to. But I’ve been using a version of this bag-buffer approach in Denver winters for about two seasons now and the difference is real. My biggest previous mistake was treating the camera like it was tougher than it is during transitions – yanking it out of a warm backpack in cold air, bringing it straight into a heated car after a shoot. Small temperature swings compound if you do them repeatedly over a long day.
One thing I’d add: if you’re shooting on a budget body like I usually am (no weather sealing, no fancy gaskets), this method is even more important. Hugo is using a Sony A7 III, which is at least a mid-range mirrorless body. If you’re on something more entry-level, the bag method isn’t optional – it’s your main line of defense. And spare batteries? Always carry at least two in winter. Always.
The core lesson here is that cold-weather camera protection is mostly about managing transitions, not fighting the cold itself. Slow the temperature changes down using a bag, keep your batteries warm, and leave the lens warmer in the cart. That’s the whole system.
Watch the full tutorial on YouTube for Hugo’s full walkthrough – he’s shooting in conditions most of us will never face, which makes his approach a reliable ceiling, not just a baseline.
Comments (2)
Finally someone explains this in a way that actually makes sense.
Solid advice. Especially the part about taking your time with it.
Leave a Comment