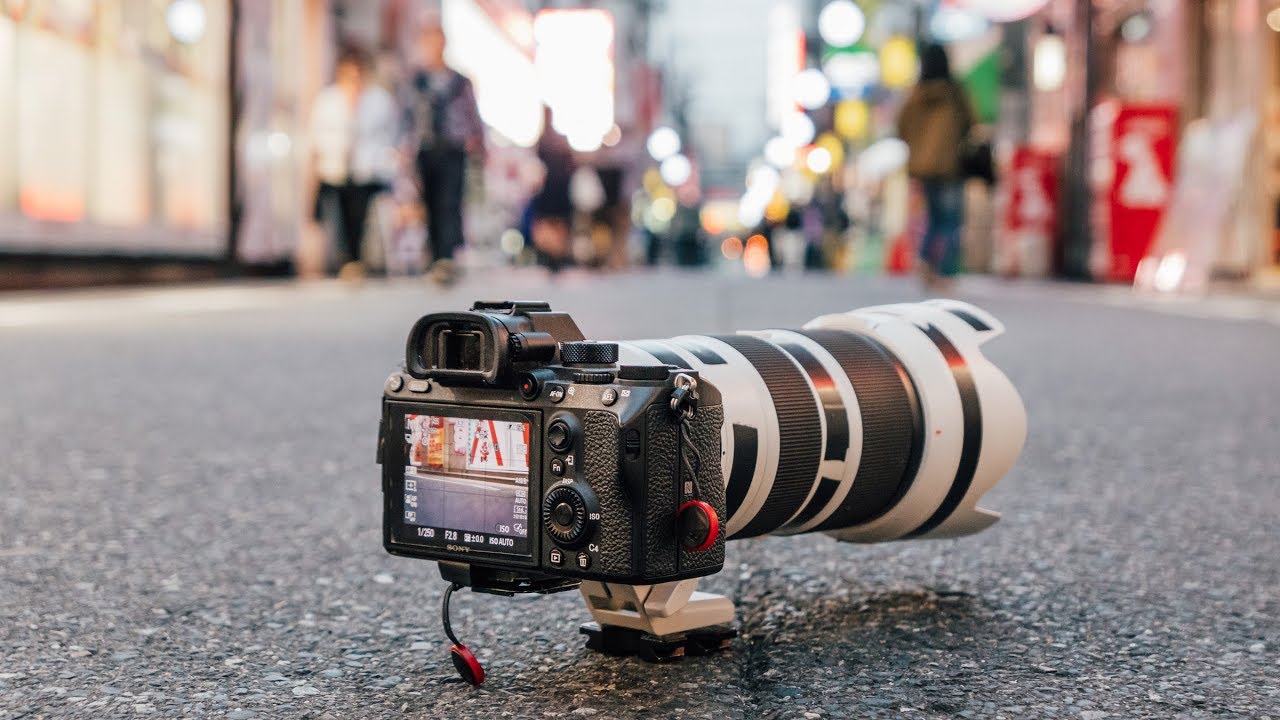
There’s a lens-shaped hole in a lot of photographers’ budgets, and most of the time it doesn’t need to be filled. I’ve reviewed enough budget glass to know that the gear acquisition spiral usually starts the same way: you’re too far from your subject, the shot doesn’t look the way you wanted, and your brain immediately jumps to “I need a 200mm.” I’ve been there. I built my whole following on proving that instinct wrong. So when I came across Watch the full tutorial on YouTube from Pierre T. Lambert, filmed in the streets of Paris, I was nodding along inside of thirty seconds.
Lambert’s argument is simple and I’ll put it plainly: cropping is a tool that most beginners are irrationally afraid to use, and that fear is costing them money. He walked through two concrete situations where cropping saved the shot, and the logic extends well beyond those examples. For anyone trying to build a capable kit without draining a savings account, this is the mindset shift that matters more than any lens upgrade.
What I want to do here is break the tutorial down into actionable steps you can actually follow, and then add a layer from my own testing that Lambert doesn’t cover.
Step 1: Reframe What Cropping Means
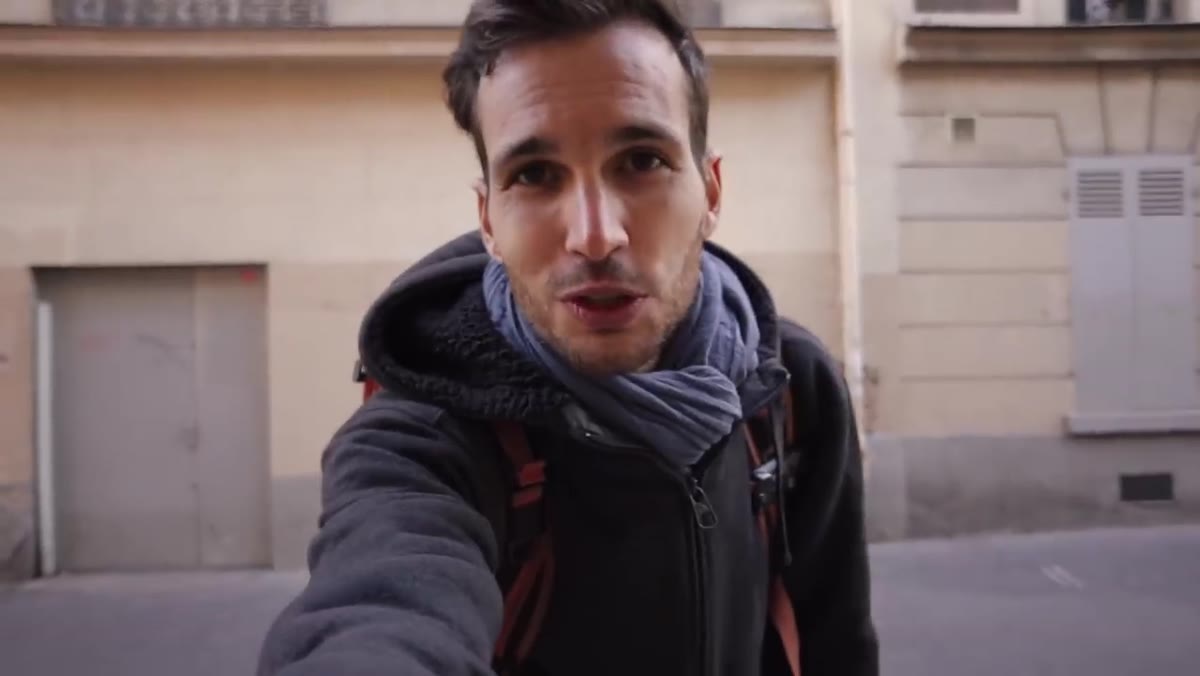
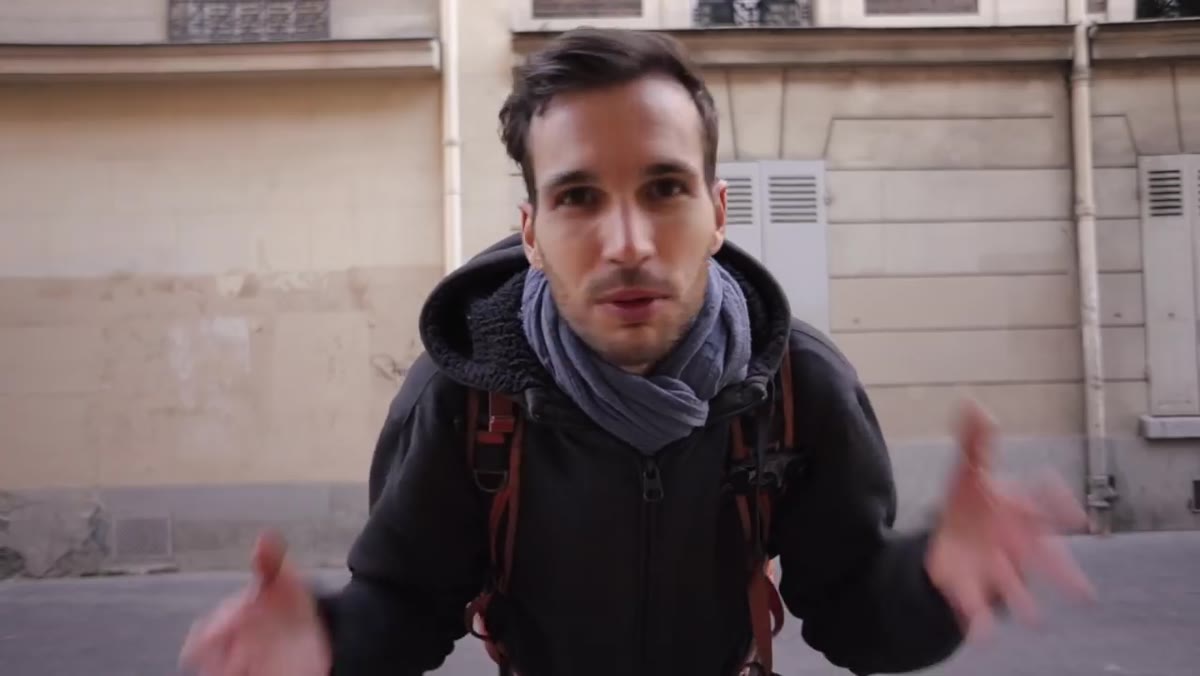 Pierre explaining cropping is your best friend, not a mistake
Before you touch a slider, you have to get over the mental block. Lambert is honest about the fact that he used to think cropping meant he’d done something wrong, that he wasn’t skilled enough or wasn’t close enough to his subject. That belief is widespread and it’s wrong. Cropping is a compositional decision made in post, the same way framing is a compositional decision made in the field. Neither one is more legitimate than the other.
Pierre explaining cropping is your best friend, not a mistake
Before you touch a slider, you have to get over the mental block. Lambert is honest about the fact that he used to think cropping meant he’d done something wrong, that he wasn’t skilled enough or wasn’t close enough to his subject. That belief is widespread and it’s wrong. Cropping is a compositional decision made in post, the same way framing is a compositional decision made in the field. Neither one is more legitimate than the other.
The practical reframe: think of your full sensor as a generous safety net, not the final frame. When you shoot, you’re capturing a range of possibilities. Cropping is how you choose the best one.
Step 2: Shoot the Scene, Plan the Crop
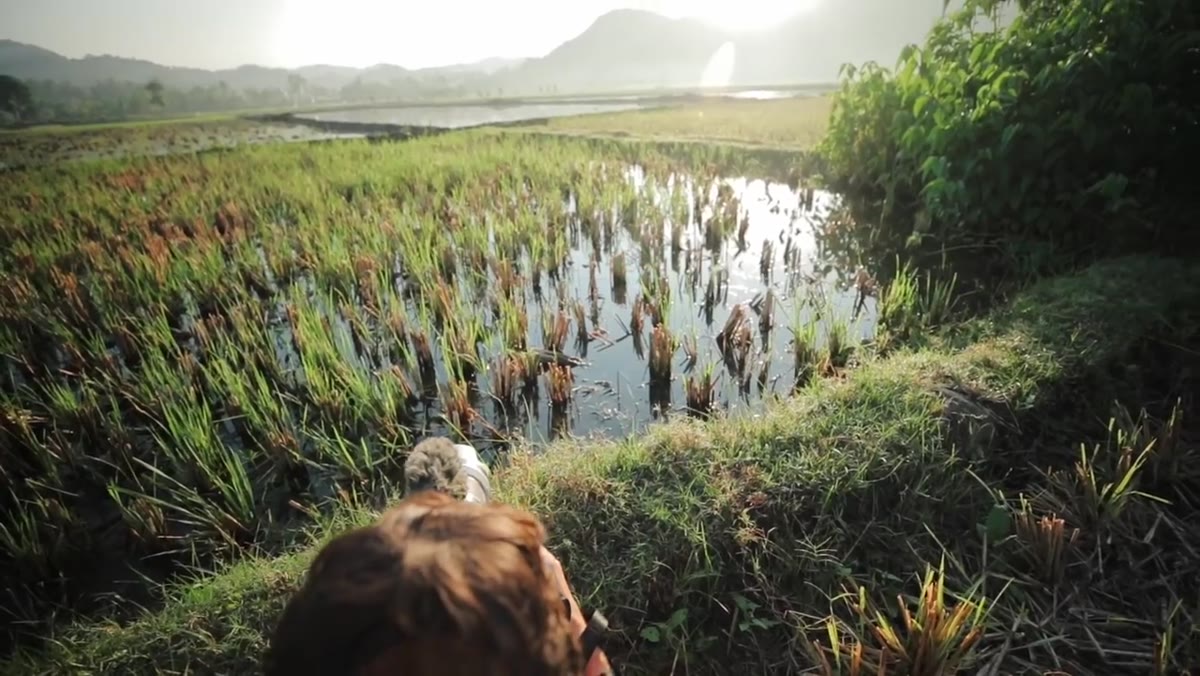 Wide shot of palm tree and figure in Indonesian rice field
Lambert’s Indonesia example is the one that sticks. He was walking back from a shoot in a rice field, spotted a backlit palm tree with a figure passing beneath it, and knew immediately he couldn’t get close enough. His 35mm lens wasn’t going to compress the scene the way he needed. Instead of giving up or wishing he had a longer lens, he shot the frame wide and committed to cropping in post.
Wide shot of palm tree and figure in Indonesian rice field
Lambert’s Indonesia example is the one that sticks. He was walking back from a shoot in a rice field, spotted a backlit palm tree with a figure passing beneath it, and knew immediately he couldn’t get close enough. His 35mm lens wasn’t going to compress the scene the way he needed. Instead of giving up or wishing he had a longer lens, he shot the frame wide and committed to cropping in post.
The lesson here is intentionality. He didn’t just shoot and hope. He looked at the scene, recognized the crop he wanted, and captured enough image data to make it work. That’s a different mental process than spray-and-pray. Before you press the shutter, ask yourself: where is the actual subject in this frame, and how much surrounding context can I afford to lose?
Step 3: Crop in Post Without Fear
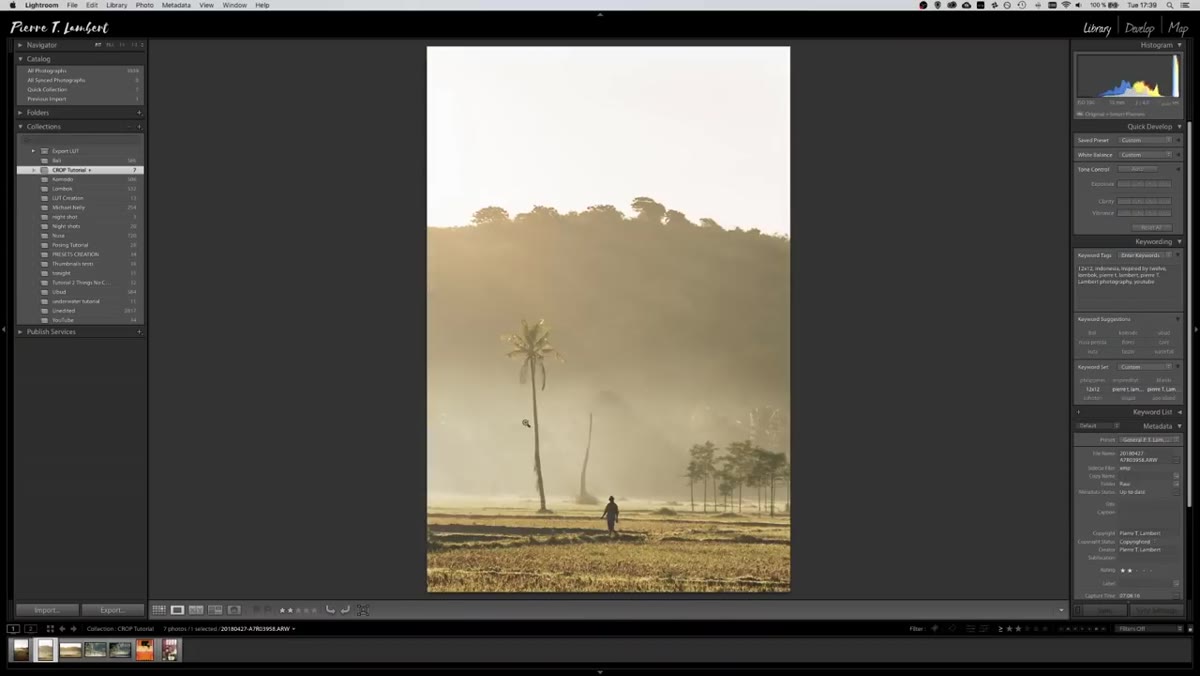 Before and after crop comparison of the palm tree image
Once you’re in your editing software, whether that’s Lightroom, Capture One, or even something free like RawTherapee, the crop tool is your first stop, not your last resort. Lambert cropped his Indonesia shot aggressively, removing a large portion of the original frame to isolate the palm tree and the figure beneath it. The result looked intentional.
Before and after crop comparison of the palm tree image
Once you’re in your editing software, whether that’s Lightroom, Capture One, or even something free like RawTherapee, the crop tool is your first stop, not your last resort. Lambert cropped his Indonesia shot aggressively, removing a large portion of the original frame to isolate the palm tree and the figure beneath it. The result looked intentional.
His point about social media quality is worth repeating plainly: at web resolution, heavy crops hold up. If your file is going to Instagram, a Facebook post, or a blog header, the quality loss from cropping a modern sensor image is minimal and largely invisible to viewers. The threshold only changes if you’re printing large, and even then, modern upscaling tools have gotten good enough that you have more room than you’d expect.
Step 4: Account for Aspect Ratio Before You Shoot
 Explanation of Instagram 4x5 vertical ratio requiring a crop
This is the part of the tutorial that photographers overlook the most, and Lambert addresses it directly. Instagram’s vertical format tops out at a 4:5 ratio. A full-frame vertical shot from your camera is taller than that, which means you are always cropping when you post a vertical image to Instagram, whether you realize it or not.
Explanation of Instagram 4x5 vertical ratio requiring a crop
This is the part of the tutorial that photographers overlook the most, and Lambert addresses it directly. Instagram’s vertical format tops out at a 4:5 ratio. A full-frame vertical shot from your camera is taller than that, which means you are always cropping when you post a vertical image to Instagram, whether you realize it or not.
The fix is to shoot slightly wider than you think you need to. Give yourself breathing room at the top and bottom of the frame. If your subject is centered and you’ve shot tight, the forced crop might cut off feet, a hat, or critical negative space that made the composition work. Shooting wider costs you nothing and gives you options.
Step 5: Use Cropping to Fix Horizon and Straighten Shots
 Crooked horizon being straightened, resulting in automatic crop
Lambert tosses this one in quickly but it matters a lot in practice. Any time you straighten a crooked horizon in post, the software rotates the image and then crops the edges to clean up the resulting white triangles. That’s an automatic crop, and it happens whether you choose it or not.
Crooked horizon being straightened, resulting in automatic crop
Lambert tosses this one in quickly but it matters a lot in practice. Any time you straighten a crooked horizon in post, the software rotates the image and then crops the edges to clean up the resulting white triangles. That’s an automatic crop, and it happens whether you choose it or not.
Shooting wider protects you here too. If you know you tend to shoot slightly off-level (most of us do), framing wider means the straightening crop doesn’t eat into your subject. Think of it as a built-in buffer for your own human imprecision.
Step 6: Consider Megapixels as a Long-Term Investment
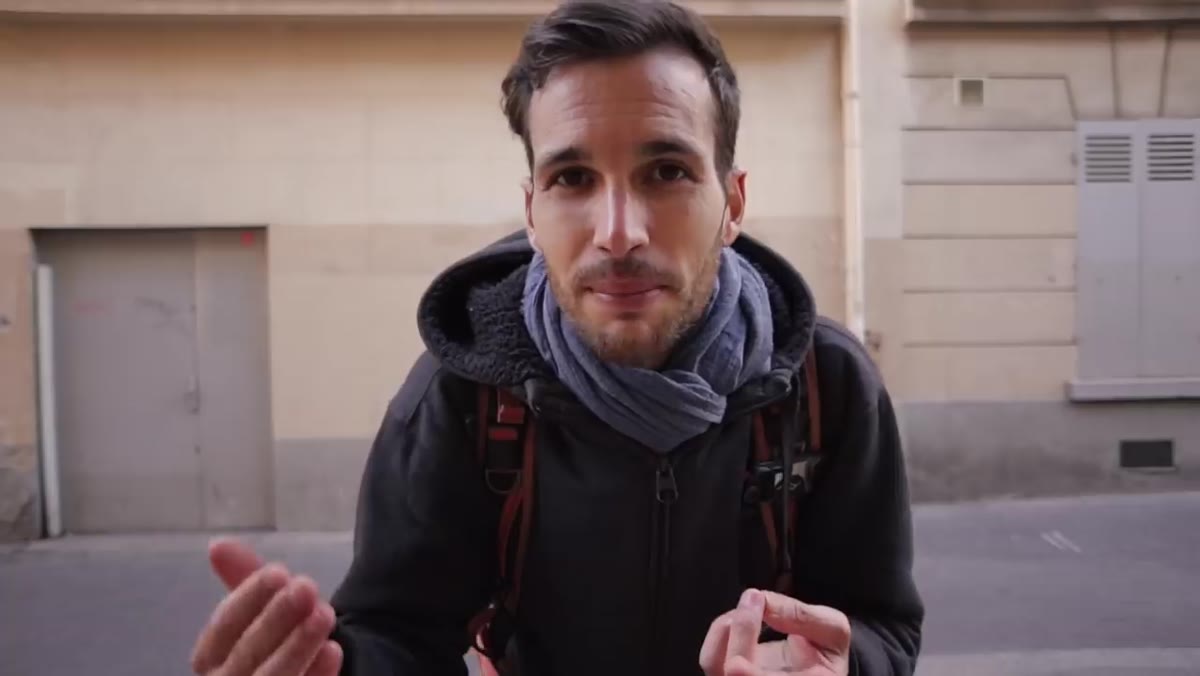 Pierre discussing higher megapixel cameras as a lens-cost alternative
Lambert makes a gear recommendation here that I want to highlight because it aligns with something I’ve seen in my own testing. He suggests that for photographers who find themselves cropping frequently, investing in a higher-megapixel camera body can save money on lenses over time. More pixels means more data to work with when you crop, which means the quality holds at larger sizes.
Pierre discussing higher megapixel cameras as a lens-cost alternative
Lambert makes a gear recommendation here that I want to highlight because it aligns with something I’ve seen in my own testing. He suggests that for photographers who find themselves cropping frequently, investing in a higher-megapixel camera body can save money on lenses over time. More pixels means more data to work with when you crop, which means the quality holds at larger sizes.
This is a real tradeoff worth calculating. A 45-megapixel body costs more upfront than a 24-megapixel body, but if it lets you skip a 400mm telephoto that runs $1,500 or more, the math can work in your favor depending on how you shoot.
My Addition: Test Your Crop Tolerance Before You Buy Anything
I’ve run this experiment at meetups and in my own studio, and it changed how I think about focal length entirely. Take a high-resolution file from whatever camera you already own, apply a 50% crop, and export it at 1080px wide. Now look at it on your phone. Chances are it holds up better than you expected.
Before you add a new lens to your cart, run that test first. I keep a folder of cropped samples from every camera I review specifically so I can show people what’s actually possible before they spend money. More often than not, the answer is already in their existing kit. Lambert’s tutorial reinforces that point from a working photographer’s perspective, which is exactly why it’s worth your time.
The single most important takeaway from this tutorial: cropping is not a sign of failure. It’s a legitimate technique, it’s free, and it might be the only thing standing between you and a gear purchase you don’t actually need. Watch the full tutorial on YouTube and see Lambert walk through the real examples himself.
Comments
Leave a Comment