I started with a $300 camera kit and shot a wedding that ended up published in a local magazine. The camera wasn’t special. The kit lens wasn’t special. But somewhere between that gig and the next hundred shoots, I learned the one swap that changes everything for new photographers, and it has nothing to do with buying a better camera body. In this Pierre T. Lambert tutorial, he lays out the exact same lesson in a way that I genuinely wish someone had handed me on day one: swap the kit zoom for a cheap 50mm prime and watch your photos get better almost overnight.
Watch the full tutorial on YouTube
Lambert frames the whole thing around his younger self, the version of him who shot with a Canon Rebel and an 18-55mm kit lens and had no idea what he was missing. That framing hits differently if you’ve been there. The kit lens isn’t broken. It’s just slow, and “slow” in photography terms means you’re fighting your gear every time the light gets interesting. The fix costs less than a decent dinner out.
Step 1: Understand What You’re Actually Working With
 Entry-level DSLR body next to 18-55mm kit lens and 50mm prime
Before you swap anything, get clear on the limitation you’re solving. The standard 18-55mm f/3.5-5.6 kit lens is a variable aperture zoom, meaning its widest opening changes depending on how far you zoom in. At 55mm, you’re stuck at f/5.6, which is a full three stops slower than f/1.8. That difference isn’t subtle in low light, and it’s the reason kit lens portraits often look flat. The lens physically cannot gather enough light to separate your subject from the background the way a fast prime can.
Entry-level DSLR body next to 18-55mm kit lens and 50mm prime
Before you swap anything, get clear on the limitation you’re solving. The standard 18-55mm f/3.5-5.6 kit lens is a variable aperture zoom, meaning its widest opening changes depending on how far you zoom in. At 55mm, you’re stuck at f/5.6, which is a full three stops slower than f/1.8. That difference isn’t subtle in low light, and it’s the reason kit lens portraits often look flat. The lens physically cannot gather enough light to separate your subject from the background the way a fast prime can.
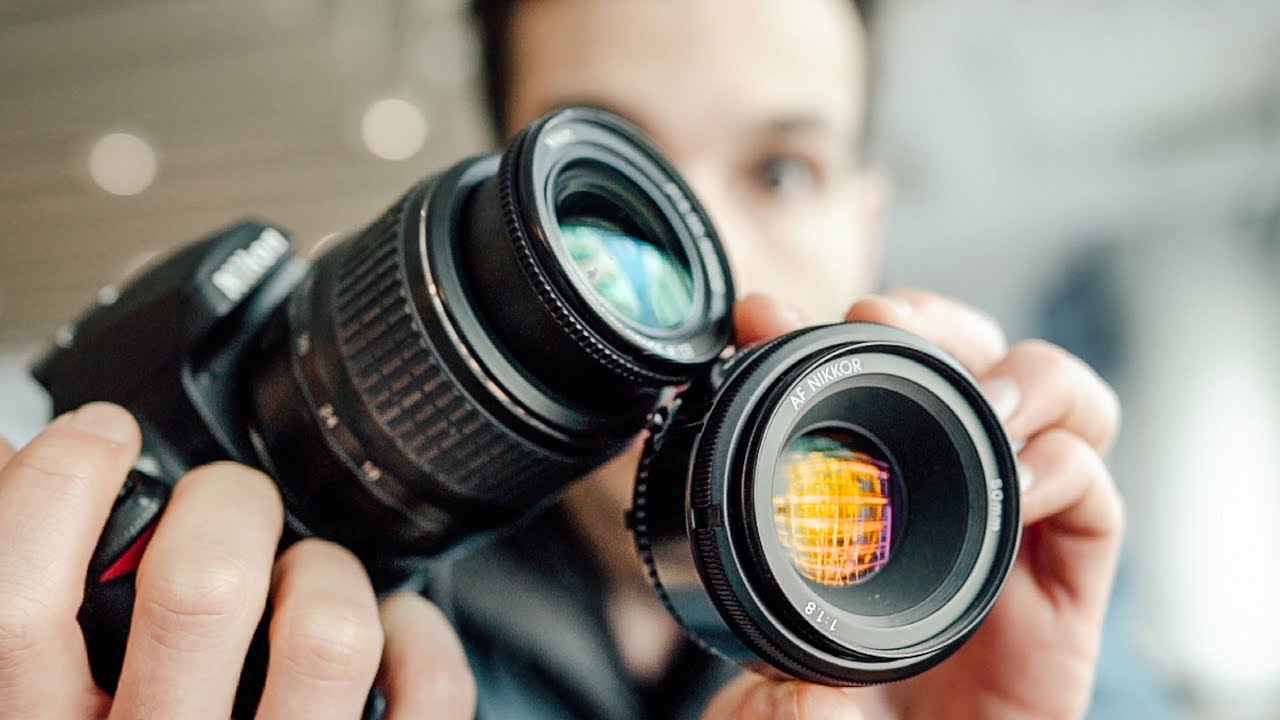
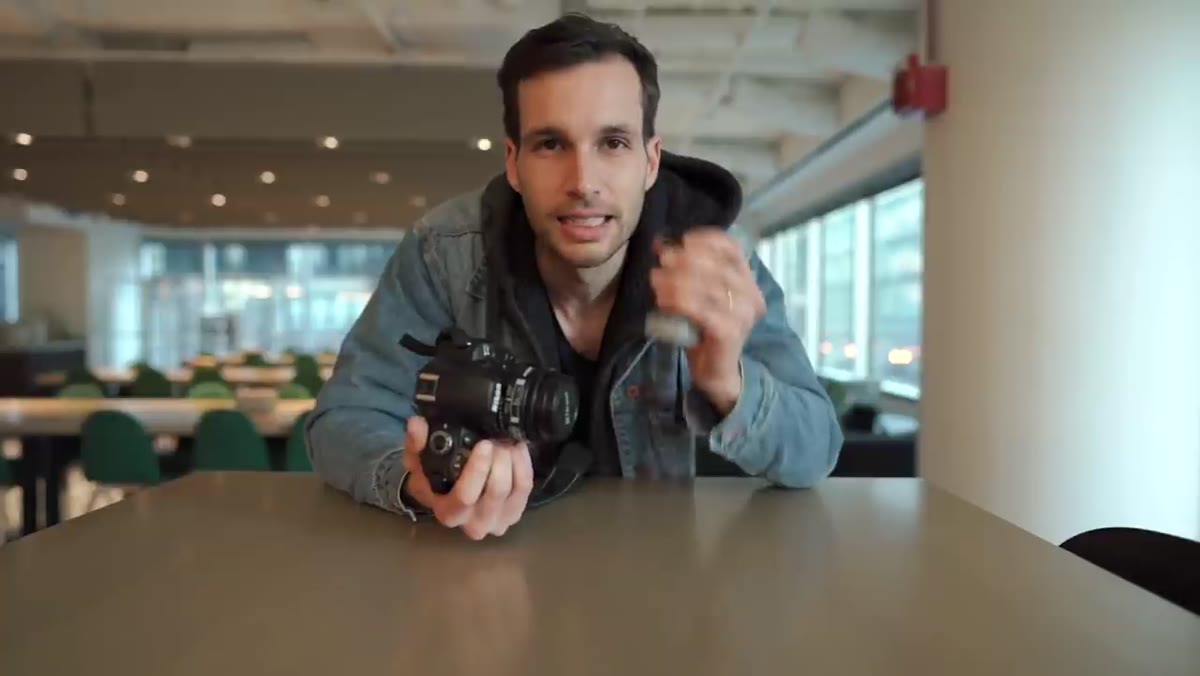
Lambert holds both lenses side by side early in the video, and the size difference alone tells part of the story. The 50mm f/1.8 is compact, light, and built around one job: giving you a fast, sharp, natural-looking focal length for portraits and everyday shooting.
Step 2: Pick the Right 50mm for Your Budget
 Close-up of the 50mm f/1.8 lens being held up to camera
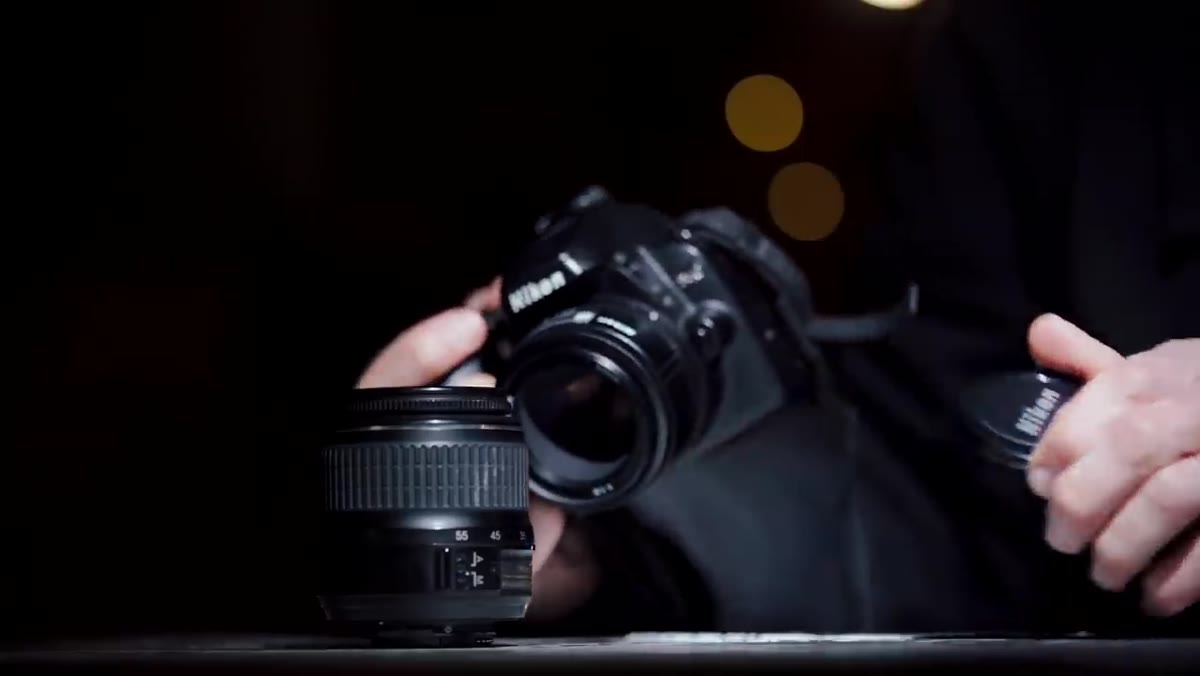
You do not need to spend big here. Lambert is clear about this: the goal is a cheap prime, not a cinema-grade piece of glass. For Canon shooters, the EF 50mm f/1.8 STM runs around $125 new and regularly shows up refurbished or used for under $80. Nikon’s AF-S 50mm f/1.8G sits in a similar range. Sony E-mount shooters have the 50mm f/1.8 OSS. If you shoot Fuji or Micro Four Thirds, the equivalent focal length for a portrait-style view is closer to 35mm, but the principle is the same: one fast prime in the $100-150 range.
Close-up of the 50mm f/1.8 lens being held up to camera
You do not need to spend big here. Lambert is clear about this: the goal is a cheap prime, not a cinema-grade piece of glass. For Canon shooters, the EF 50mm f/1.8 STM runs around $125 new and regularly shows up refurbished or used for under $80. Nikon’s AF-S 50mm f/1.8G sits in a similar range. Sony E-mount shooters have the 50mm f/1.8 OSS. If you shoot Fuji or Micro Four Thirds, the equivalent focal length for a portrait-style view is closer to 35mm, but the principle is the same: one fast prime in the $100-150 range.
I keep a running spreadsheet of every budget lens I’ve tested, and the 50mm f/1.8 in whatever mount shows up near the top every single time for value-per-dollar. Nothing else at that price point comes close for portrait work.
Step 3: Set Up a Simple Side-by-Side Test
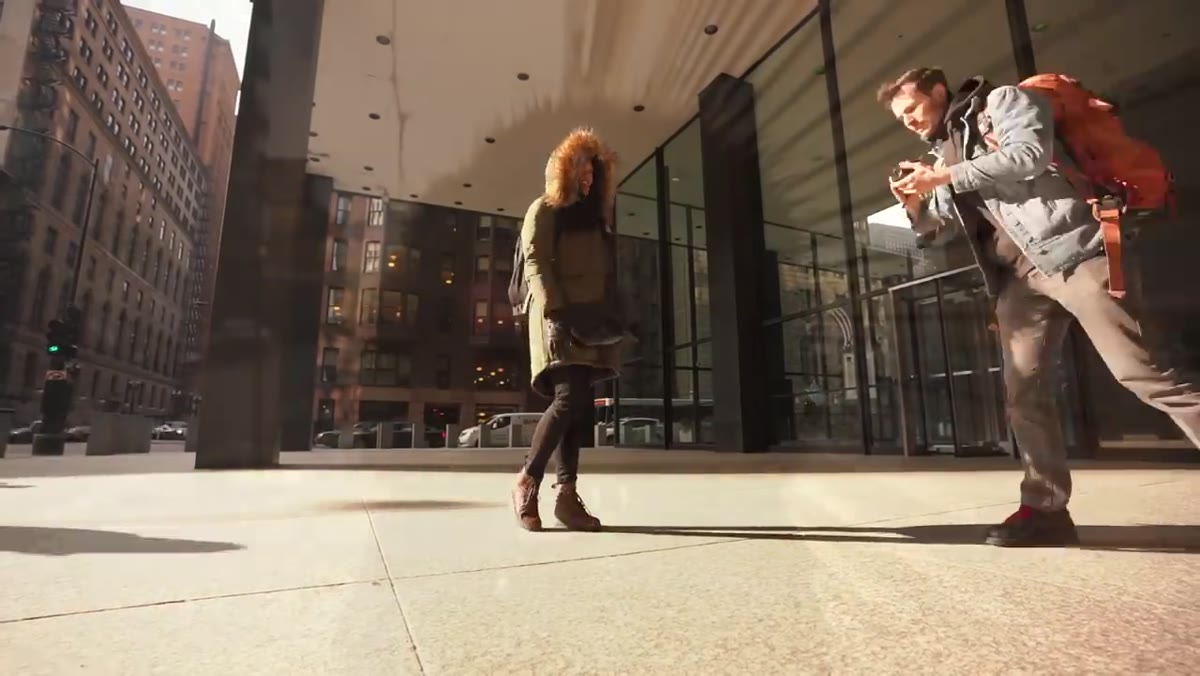
 Photographer preparing to shoot portrait subject outdoors with kit lens
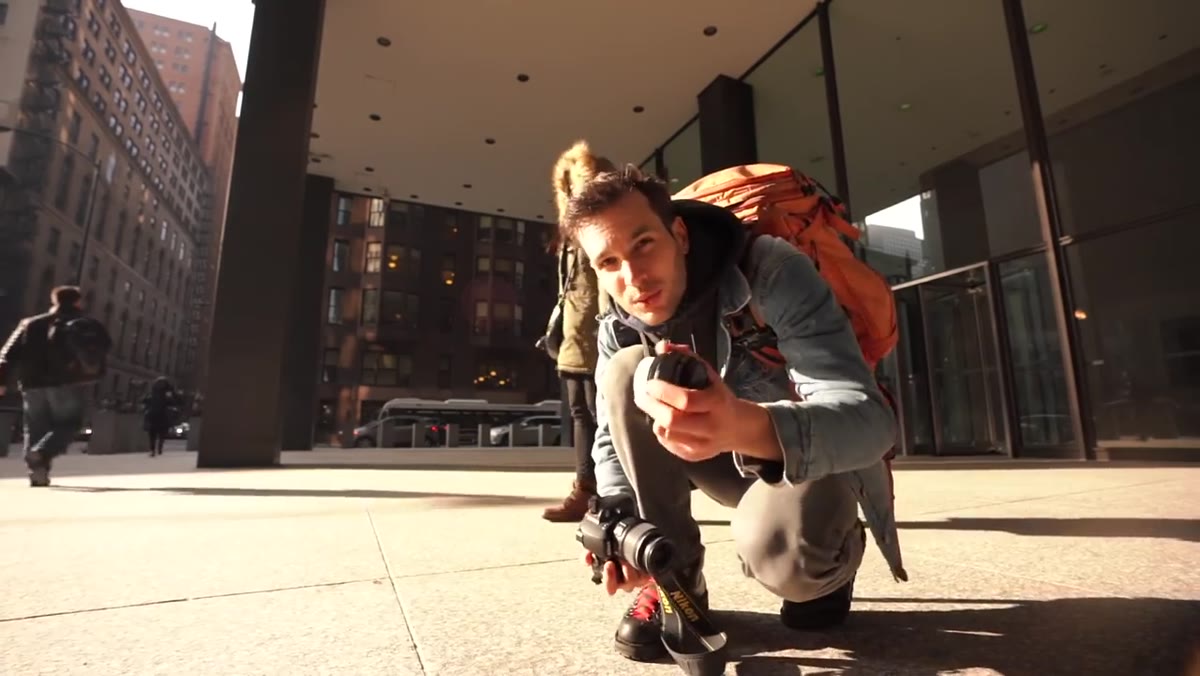
Lambert’s method is straightforward. Find a willing subject, shoot a handful of portraits with the kit lens at its widest available aperture (f/5.6 at the 50mm-equivalent zoom range), then swap to the 50mm f/1.8 and shoot the same setup. Same subject, similar framing, similar light. Keep your editing minimal afterward. Lambert specifically mentions he only cropped his comparison images, nothing else, because heavy edits would muddy what you’re actually trying to see: the optical difference between the two lenses.
Photographer preparing to shoot portrait subject outdoors with kit lens
Lambert’s method is straightforward. Find a willing subject, shoot a handful of portraits with the kit lens at its widest available aperture (f/5.6 at the 50mm-equivalent zoom range), then swap to the 50mm f/1.8 and shoot the same setup. Same subject, similar framing, similar light. Keep your editing minimal afterward. Lambert specifically mentions he only cropped his comparison images, nothing else, because heavy edits would muddy what you’re actually trying to see: the optical difference between the two lenses.
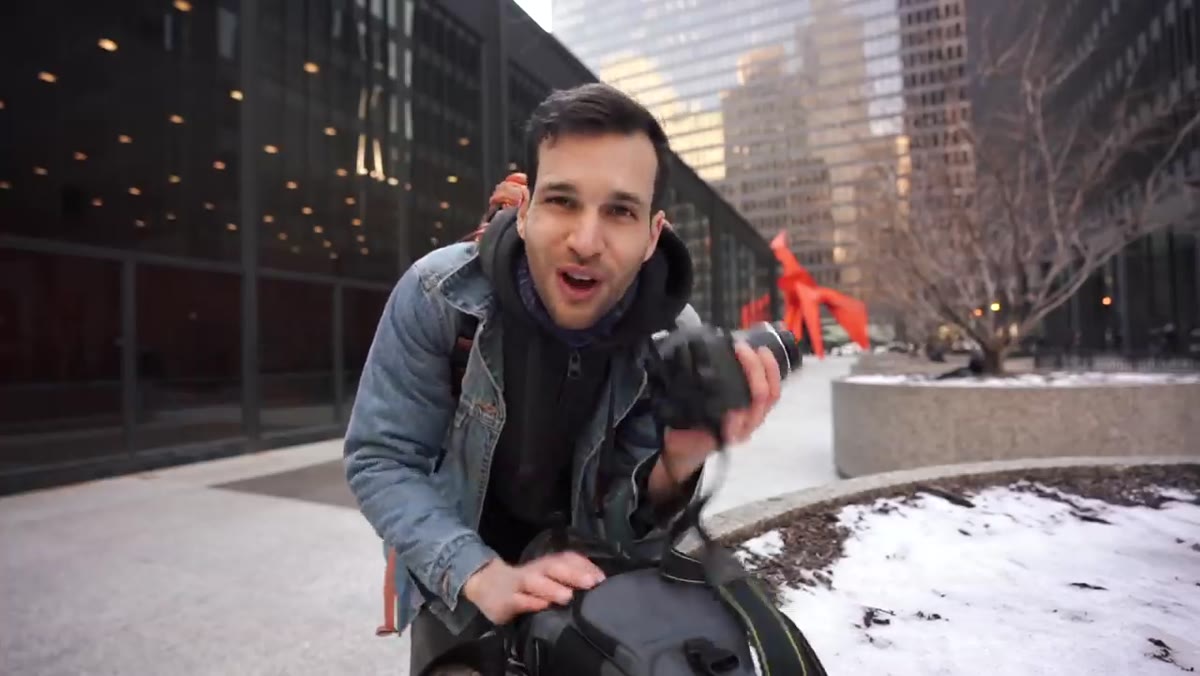
The cold-weather shoot he does with his model Trina is a good reminder that this test works anywhere. You don’t need a studio. A park, a back yard, a parking structure with decent ambient light will all show you what you need to see.
Step 4: Shoot Wide Open and Let the Lens Do the Work
 Portrait shot being taken with 50mm lens at wide aperture
When you put the 50mm on, open it all the way to f/1.8. This is the point of the exercise. You want to see maximum background separation, the way the lens renders out-of-focus areas, and how it handles subject sharpness at its widest setting. A lot of beginners instinctively stop down to f/4 or f/5.6 because they’ve heard that’s “sharper,” and while primes do sharpen up stopped down, you’re defeating the purpose of the comparison if you don’t shoot wide open first.
Portrait shot being taken with 50mm lens at wide aperture
When you put the 50mm on, open it all the way to f/1.8. This is the point of the exercise. You want to see maximum background separation, the way the lens renders out-of-focus areas, and how it handles subject sharpness at its widest setting. A lot of beginners instinctively stop down to f/4 or f/5.6 because they’ve heard that’s “sharper,” and while primes do sharpen up stopped down, you’re defeating the purpose of the comparison if you don’t shoot wide open first.
Get close enough to fill the frame with your subject’s face or upper body. At 50mm and f/1.8, the background will blur in a way the kit lens simply cannot replicate at any focal length. That separation is what gives portraits their professional feel.
Step 5: Review With Minimal Post-Processing
 Reviewing photos on camera or laptop after the shoot
Pull your images into Lightroom, Capture One, or whatever you use, and resist the urge to do heavy editing before you compare. Lambert’s approach of limiting adjustments to cropping only is smart because it removes a variable. If you slap a heavy preset on one image and leave the other flat, you’re comparing your edits, not the lenses.
Reviewing photos on camera or laptop after the shoot
Pull your images into Lightroom, Capture One, or whatever you use, and resist the urge to do heavy editing before you compare. Lambert’s approach of limiting adjustments to cropping only is smart because it removes a variable. If you slap a heavy preset on one image and leave the other flat, you’re comparing your edits, not the lenses.
Look specifically at three things: background blur quality, subject sharpness at the plane of focus, and how the image handles color rendering. The 50mm f/1.8 will win on all three counts in most conditions. The difference is not subtle. That’s the whole point of the comparison.
What I’d Add From My Own Testing
I’ve run this same comparison at photography meetups, and the reaction is always the same. People are surprised by how large the gap is. But here’s the caveat Lambert doesn’t get into: shooting wide open at f/1.8 requires precise focus technique. At that aperture, your depth of field on a close portrait is razor thin. If your autofocus locks onto an ear instead of an eye, or if your subject moves even slightly after the AF confirms, you’ll get a soft shot. The lens isn’t the problem in that case, the technique is.
Practice single-point AF and learn to use eye-detection if your camera supports it. When I first made this swap, I thought I had a bad copy of the 50mm for about two weeks before I figured out I was just missing focus. Shoot in burst mode early on. Keepers will train you faster than anything else.
The single most important thing to take from Lambert’s video is this: gear improvements only help when they’re matched to the right skill level, and the 50mm f/1.8 is the one upgrade that teaches you something at the same time it makes your photos better. You learn to think in a fixed focal length, you learn to manage shallow depth of field, and you learn to move your feet. That’s three fundamentals in one cheap piece of glass.
Watch the full tutorial on YouTube and see the before-and-after portraits for yourself. The gap will probably surprise you.
Comments
Leave a Comment