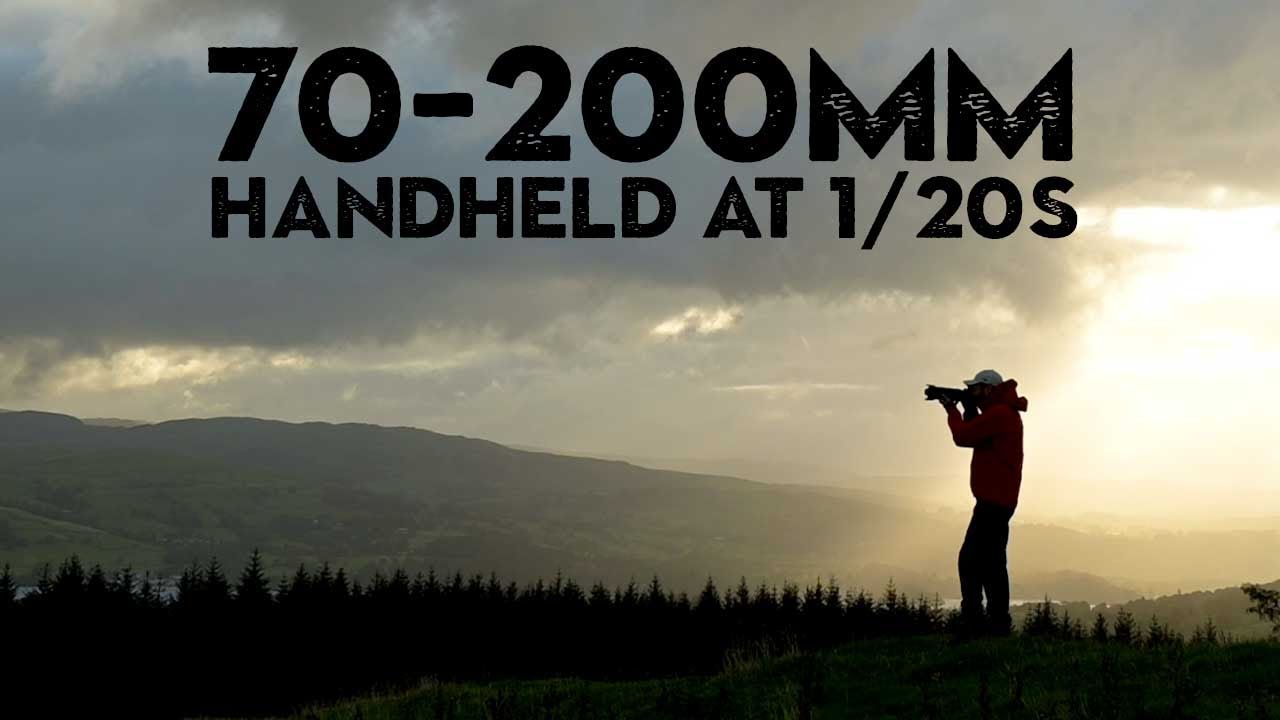
I used to haul a tripod everywhere. Heavy bag, slow setup, missed shots while I was still screwing in the quick-release plate. Then I started questioning whether I actually needed it for every situation, or whether I was just following a rule someone handed me early on and I never stopped to examine. That question got answered pretty decisively when I watched this Nigel Danson tutorial shot on location in the Lake District, where he spends a full morning handholding a 70-200mm lens for landscape work and pulling off shots that look like they came off a tripod-mounted medium format rig.
Watch the full tutorial on YouTube
Danson is a landscape photographer who shoots locations across the UK, and his approach here cuts against the conventional wisdom that telephotos and tripods are inseparable. What he demonstrates is that when depth of field requirements are modest and you have image stabilization doing the heavy lifting, handholding frees you to move, react, and find compositions faster than any tripod workflow allows. For anyone who shoots landscapes opportunistically, meaning you show up, read the light, and adapt, this technique is genuinely worth building into your toolkit.
Step 1: Choose a Location That Rewards a Telephoto Perspective
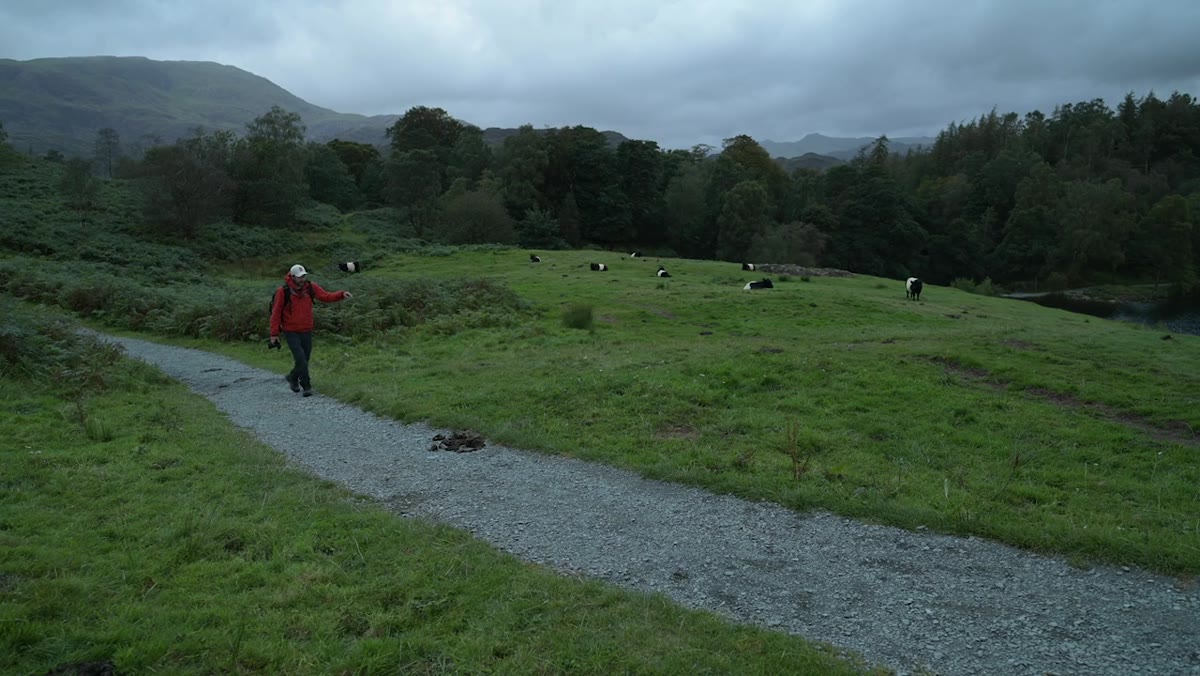 Wide view toward Langdale Peaks with Tarn Hows in foreground
Danson arrives at Tarn Hows in the Lake District before sunrise, and his first move is not grabbing his camera. It is reading the scene. He identifies layered depth: a mid-ground hill, tree lines at different distances, and the Langdale Pikes in the background. That layering is exactly what a telephoto compresses into a compelling frame. Before you set up anything, walk the location and ask whether there are elements at multiple distances that a long lens could stack together. If the scene is flat or single-subject, a wide lens will serve you better.
Wide view toward Langdale Peaks with Tarn Hows in foreground
Danson arrives at Tarn Hows in the Lake District before sunrise, and his first move is not grabbing his camera. It is reading the scene. He identifies layered depth: a mid-ground hill, tree lines at different distances, and the Langdale Pikes in the background. That layering is exactly what a telephoto compresses into a compelling frame. Before you set up anything, walk the location and ask whether there are elements at multiple distances that a long lens could stack together. If the scene is flat or single-subject, a wide lens will serve you better.
Step 2: Mount the 70-200mm and Set a Practical Aperture
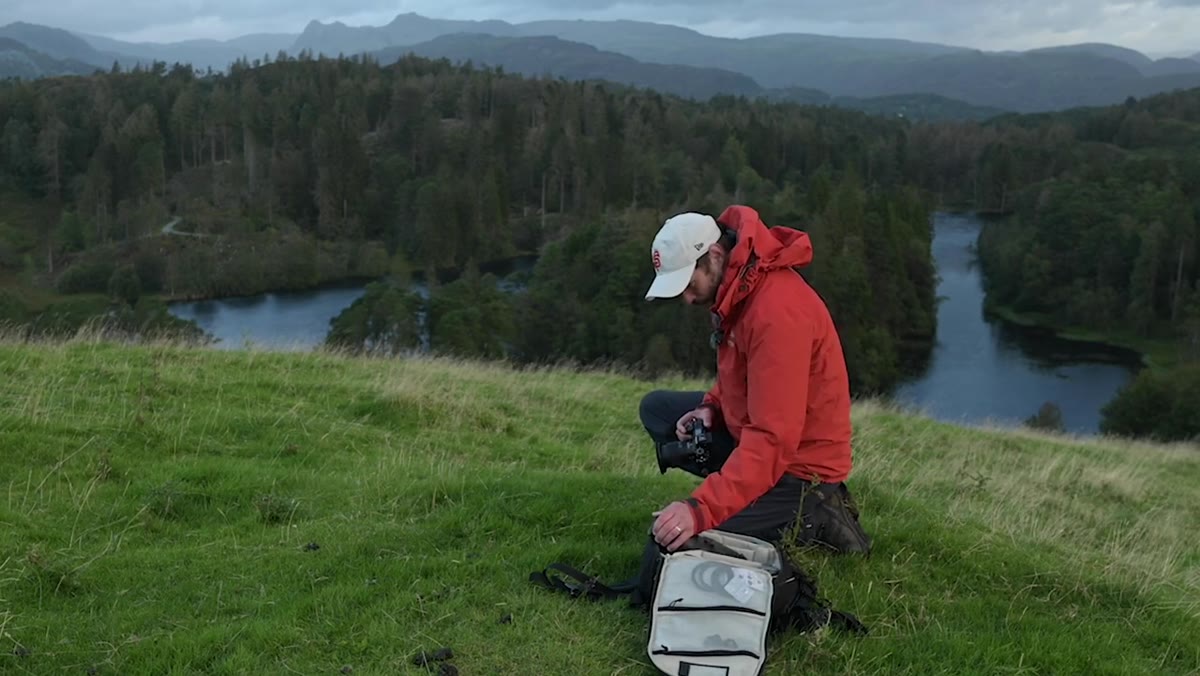 Attaching 70-200mm lens with Lake District landscape behind
Once he has his read on the scene, Danson mounts his 70-200mm and settles on roughly f/5.6. This is the key decision point. He is not shooting macro work or a scene that requires front-to-back sharpness, so there is no reason to stop down to f/11 or f/16 and then fight for a shutter speed that keeps handholding viable. With a telephoto compressing the scene, f/5.6 gives you enough depth of field across distant landscape elements while keeping your shutter speed fast enough to shoot handheld without motion blur. Do not reflexively stop down out of habit. Match your aperture to what the scene actually needs.
Attaching 70-200mm lens with Lake District landscape behind
Once he has his read on the scene, Danson mounts his 70-200mm and settles on roughly f/5.6. This is the key decision point. He is not shooting macro work or a scene that requires front-to-back sharpness, so there is no reason to stop down to f/11 or f/16 and then fight for a shutter speed that keeps handholding viable. With a telephoto compressing the scene, f/5.6 gives you enough depth of field across distant landscape elements while keeping your shutter speed fast enough to shoot handheld without motion blur. Do not reflexively stop down out of habit. Match your aperture to what the scene actually needs.
Step 3: Use Image Stabilization and a Fast Enough Shutter Speed to Handhold
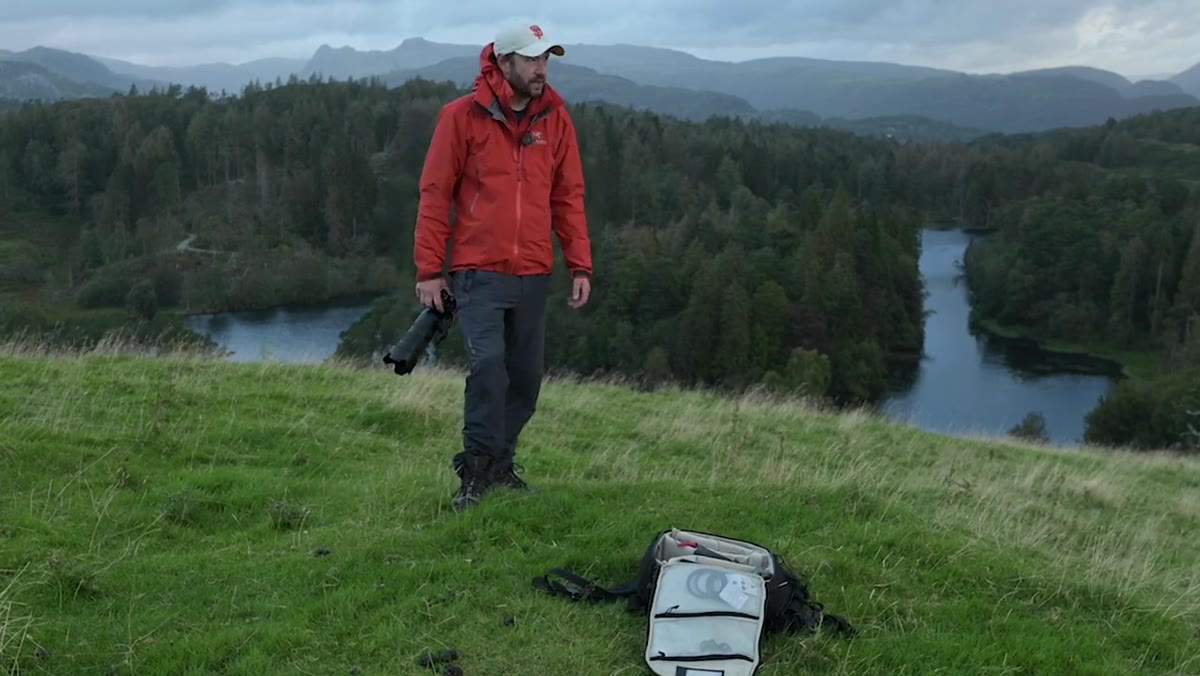 Danson handholding 70-200mm, shooting toward ferns and peaks
Danson mentions getting sharp results at around 1/20th of a second with image stabilization active on his lens. That is slower than the old 1/focal-length rule would suggest, and it is a real-world demonstration of how effective modern IS systems have become. The practical guidance here: turn your IS on, use it in the mode designed for panning or general handheld use, and do not be afraid to push your shutter speed slower than instinct tells you. Test your own keeper rate at 1/focal-length and then again two or three stops slower. You may be surprised. Anchor your elbows to your body, exhale before pressing the shutter, and shoot a short burst rather than a single frame.
Danson handholding 70-200mm, shooting toward ferns and peaks
Danson mentions getting sharp results at around 1/20th of a second with image stabilization active on his lens. That is slower than the old 1/focal-length rule would suggest, and it is a real-world demonstration of how effective modern IS systems have become. The practical guidance here: turn your IS on, use it in the mode designed for panning or general handheld use, and do not be afraid to push your shutter speed slower than instinct tells you. Test your own keeper rate at 1/focal-length and then again two or three stops slower. You may be surprised. Anchor your elbows to your body, exhale before pressing the shutter, and shoot a short burst rather than a single frame.
Step 4: Use the Zoom to Find the Composition Before You Commit
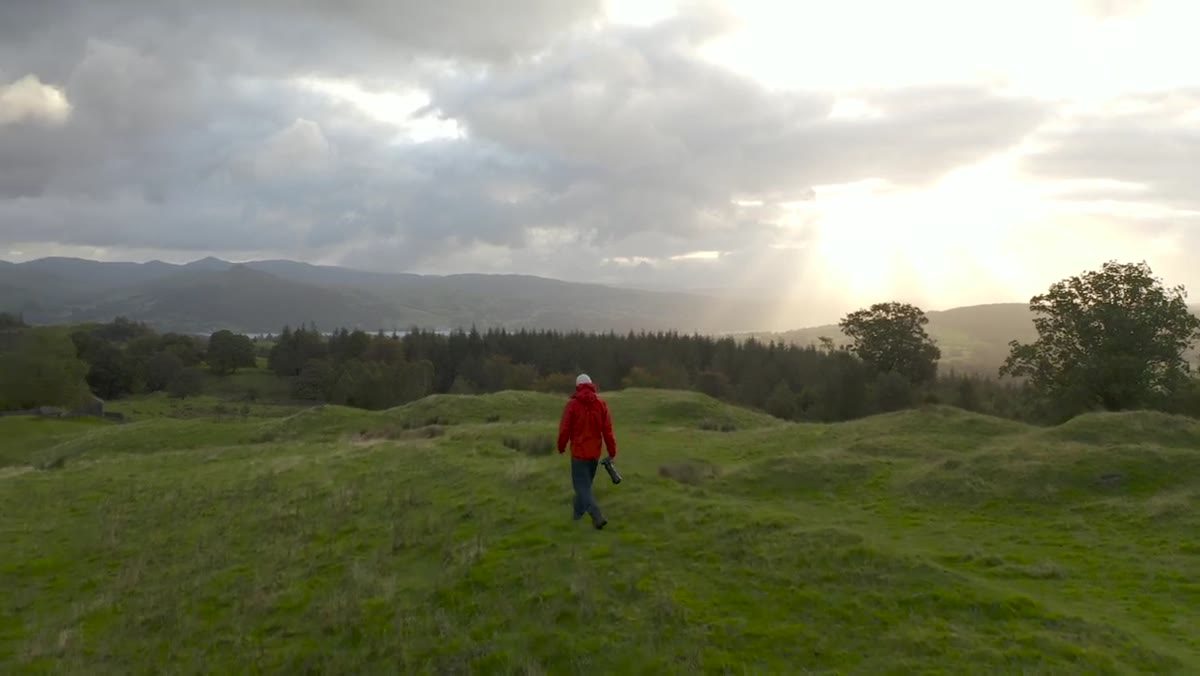 Danson zooming lens while scanning the landscape for composition
One of the most useful things Danson does is treat the zoom ring as a compositional scouting tool. He is not locked at 200mm or 70mm. He scans the scene at different focal lengths, looking for how elements align: where a tree line creates a diagonal, where the cloud layer sits relative to the fells, where light is falling in a way that isolates a section of the frame. This is faster and more flexible than repositioning a tripod every time you want to try a different framing. Use the zoom actively. Think of the focal length as a second composition variable alongside where you physically stand.
Danson zooming lens while scanning the landscape for composition
One of the most useful things Danson does is treat the zoom ring as a compositional scouting tool. He is not locked at 200mm or 70mm. He scans the scene at different focal lengths, looking for how elements align: where a tree line creates a diagonal, where the cloud layer sits relative to the fells, where light is falling in a way that isolates a section of the frame. This is faster and more flexible than repositioning a tripod every time you want to try a different framing. Use the zoom actively. Think of the focal length as a second composition variable alongside where you physically stand.
Step 5: Isolate Details and Pick Out Specific Light
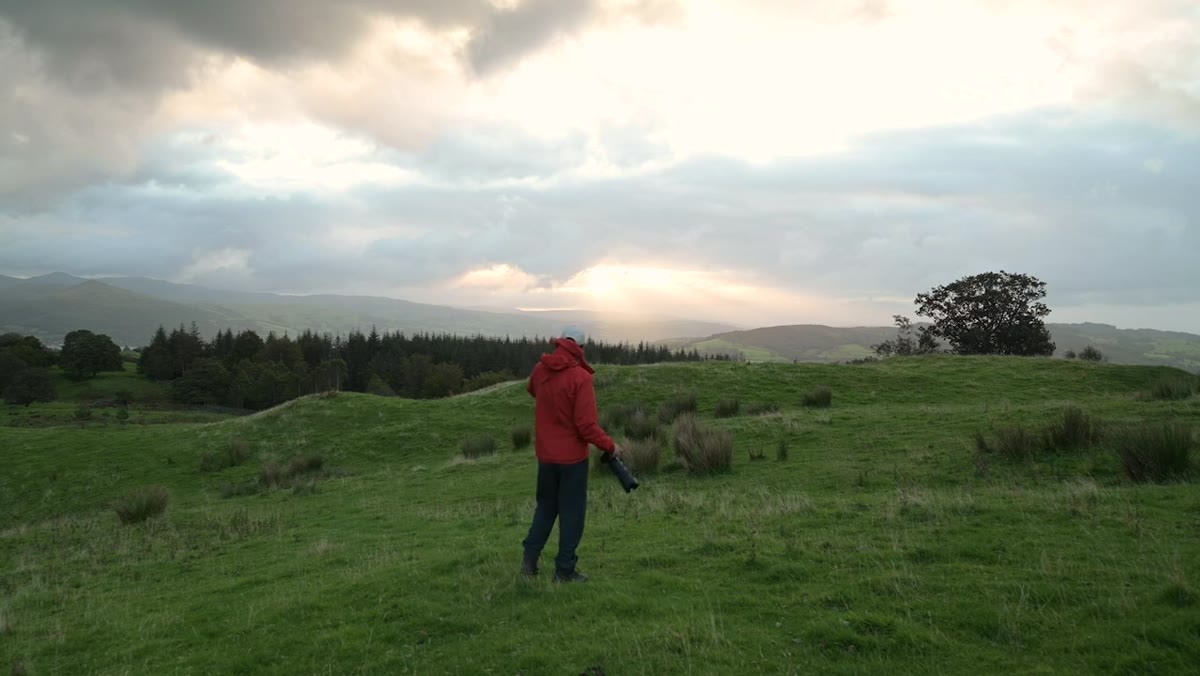 Light rays visible over ferns with telephoto compression in frame
Danson talks about using the long lens specifically to pick out details: a patch of ferns catching light, a section of hillside where color is shifting, a spot where light rays break through cloud. Telephoto lenses are detail extractors. The landscape as a whole might not have a clean composition, but somewhere within it there almost always is one. Train yourself to look for the interesting 10 percent of the scene rather than trying to capture the whole thing. Squint at the scene, identify what is actually drawing your eye, and then use the zoom to isolate it.
Light rays visible over ferns with telephoto compression in frame
Danson talks about using the long lens specifically to pick out details: a patch of ferns catching light, a section of hillside where color is shifting, a spot where light rays break through cloud. Telephoto lenses are detail extractors. The landscape as a whole might not have a clean composition, but somewhere within it there almost always is one. Train yourself to look for the interesting 10 percent of the scene rather than trying to capture the whole thing. Squint at the scene, identify what is actually drawing your eye, and then use the zoom to isolate it.
Step 6: Switch Lenses When the Scene Changes
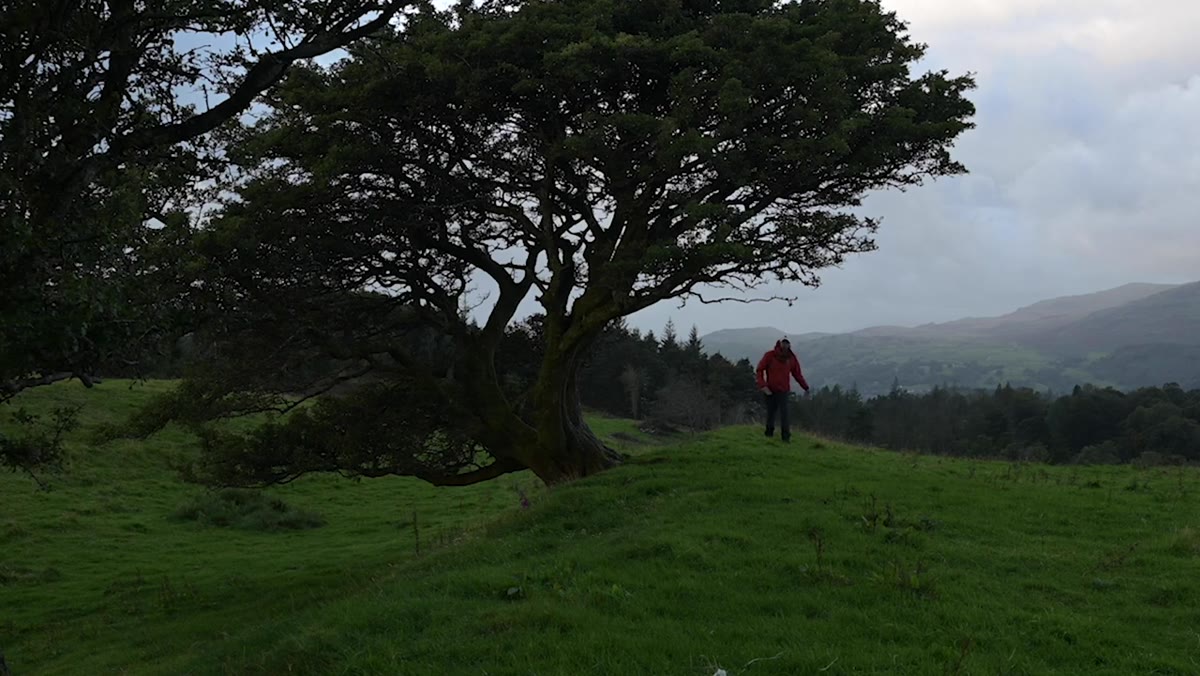 Danson switching to 24-70mm to approach a tree composition
Partway through the session, Danson spots a lone tree and shifts his approach entirely, swapping to a 24-70mm to get closer and work the composition differently. The lesson is not about which lens to use. It is about not being precious about your setup. When a scene calls for a different tool, switch. Handholding makes this faster than if you had a tripod to break down and rebuild. Keep both lenses accessible, know what each is for, and let the scene lead the decision.
Danson switching to 24-70mm to approach a tree composition
Partway through the session, Danson spots a lone tree and shifts his approach entirely, swapping to a 24-70mm to get closer and work the composition differently. The lesson is not about which lens to use. It is about not being precious about your setup. When a scene calls for a different tool, switch. Handholding makes this faster than if you had a tripod to break down and rebuild. Keep both lenses accessible, know what each is for, and let the scene lead the decision.
What I’d Add From My Own Testing
Danson is shooting a high-end 70-200mm, and that matters for stabilization performance. But I have run similar handheld telephoto sessions with lenses that cost a fraction of what his does and the approach still holds. The technique is not gear-dependent in the way you might think. The bigger variable is knowing your specific lens’s IS well enough to trust it. I keep a short log of my keeper rates at different shutter speeds for each lens I review, because the difference between a lens that is usable at 1/60th and one that holds at 1/20th is real and worth knowing before you are on location. If you are in the market for a 70-200mm and working with a budget, the stabilization spec in the marketing copy is not the number to trust. Test it yourself, or find a review that publishes actual handheld keeper rates.
Danson’s core argument is simple and correct: a tripod solves problems you often do not have, and it creates friction that costs you shots. Handholding a telephoto for landscapes is not a compromise. In the right conditions, it is the better choice. For the full context, the Lake District footage, and his live commentary on reading light and finding compositions on the fly, go watch the original:
Watch the full tutorial on YouTube
Comments (2)
Love how you break down complex stuff into manageable steps.
Great article! I actually covered something related on my site — the photoshop angle is really complementary to this.
Leave a Comment