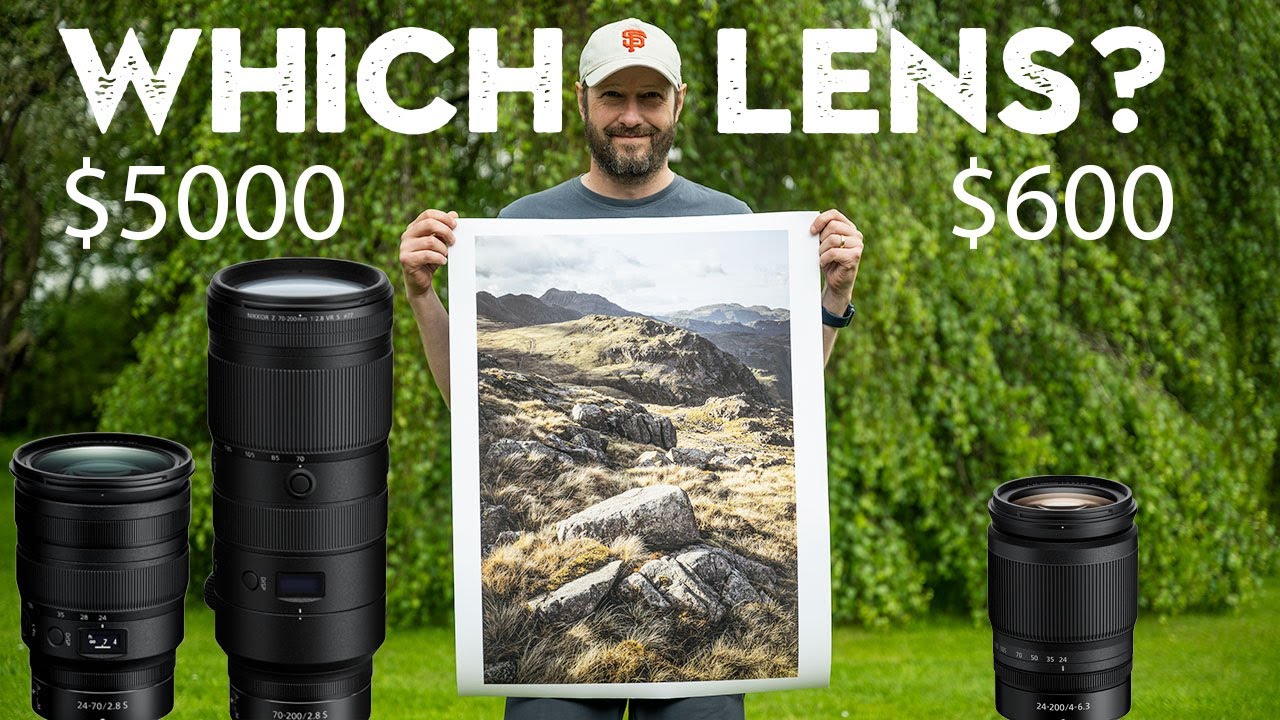
The question I get more than almost any other from readers is some version of: “Which lens should I buy?” And honestly, for a long time I gave lazy answers. I’d link to whatever had the best specs-to-price ratio on my spreadsheet and call it done. But the real question isn’t which lens is technically best. It’s which lens is best for the situation you’re actually walking into. That reframe is what makes this Nigel Danson tutorial worth your time, even if you’ve never touched a Nikon in your life.
Watch the full tutorial on YouTube
In this Nigel Danson tutorial, he walks through the lens choices he made before a serious hike in England’s Lake District, then prints the results big to evaluate what he actually got. What sounds like a simple gear video turns into a surprisingly practical framework for matching your kit to your shooting conditions. I’ve been doing budget gear comparisons for years now, and the logic Danson lays out lines up with what I’ve seen across dozens of lens tests: the “best” lens and the “right” lens are not always the same thing.
Step 1: Identify What You’re Physically Demanding of the Shoot
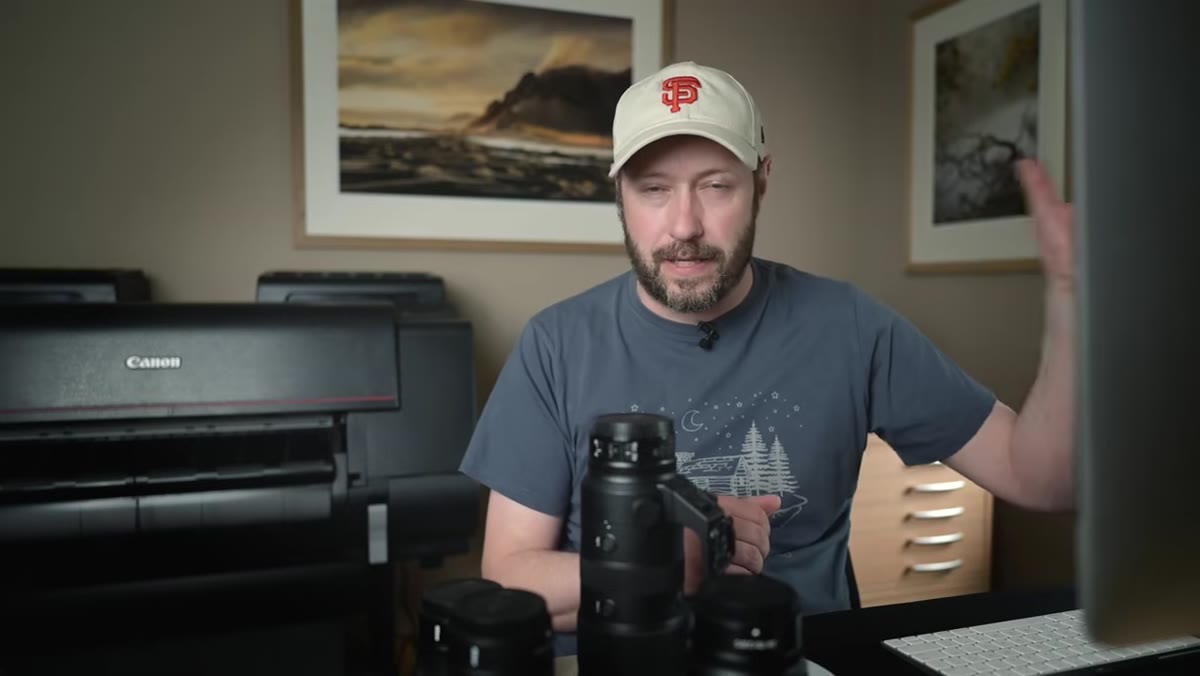 Danson discussing hiking distance and lens weight tradeoffs
Before you even open your bag, ask yourself one question: how far are you going and how beat-up do you want to be when you get there? Danson makes this point early and it’s the anchor for everything that follows. He explains that carrying heavy, premium glass on a long mountain hike means arriving tired, and tired photographers don’t make great creative decisions. Physical condition feeds directly into image quality, just not in a way that shows up on a spec sheet.
Danson discussing hiking distance and lens weight tradeoffs
Before you even open your bag, ask yourself one question: how far are you going and how beat-up do you want to be when you get there? Danson makes this point early and it’s the anchor for everything that follows. He explains that carrying heavy, premium glass on a long mountain hike means arriving tired, and tired photographers don’t make great creative decisions. Physical condition feeds directly into image quality, just not in a way that shows up on a spec sheet.
This isn’t just an elite-level concern either. I started shooting with a kit that weighed almost nothing, and some of my most focused work came from those sessions. When your bag isn’t destroying your back, you’re thinking about light and composition instead of how many miles are left.
Step 2: Stack Your Lenses by Priority, Not by Price
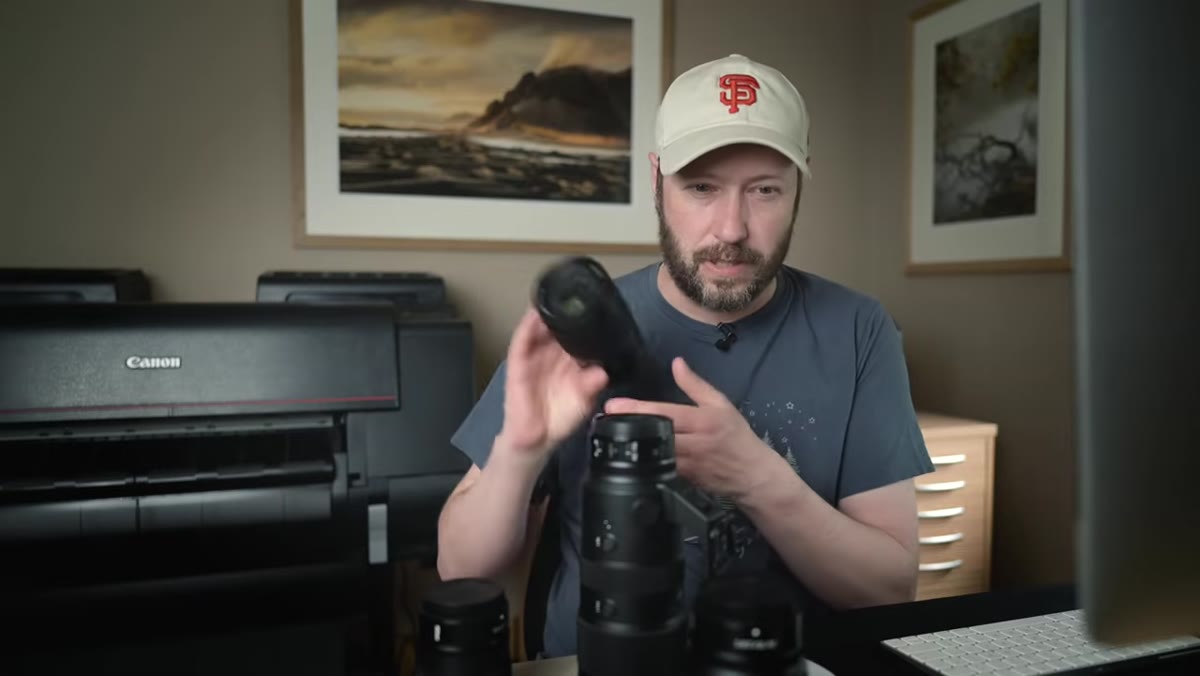 Danson holding up the 24-70mm f/2.8 and 70-200mm f/2.8 side by side
Danson’s premium kit consists of a 24-70mm f/2.8 and a 70-200mm f/2.8. He’s clear that these are his sharpest lenses and his first choice whenever conditions allow. But he treats them as the top of a tiered system, not the default answer to every situation. If you can bring them, bring them. If the hike makes that impractical, you move down the tier and make smart compromises.
Danson holding up the 24-70mm f/2.8 and 70-200mm f/2.8 side by side
Danson’s premium kit consists of a 24-70mm f/2.8 and a 70-200mm f/2.8. He’s clear that these are his sharpest lenses and his first choice whenever conditions allow. But he treats them as the top of a tiered system, not the default answer to every situation. If you can bring them, bring them. If the hike makes that impractical, you move down the tier and make smart compromises.
The takeaway here is to stop thinking about your gear as a fixed loadout. Think of it as a ranked list. Know which lens wins on image quality, which one wins on weight, and which one wins on flexibility. Then let the logistics of the shoot decide which rank you’re working from that day.
Step 3: Understand the Real-World Trade-Off of a Superzoom
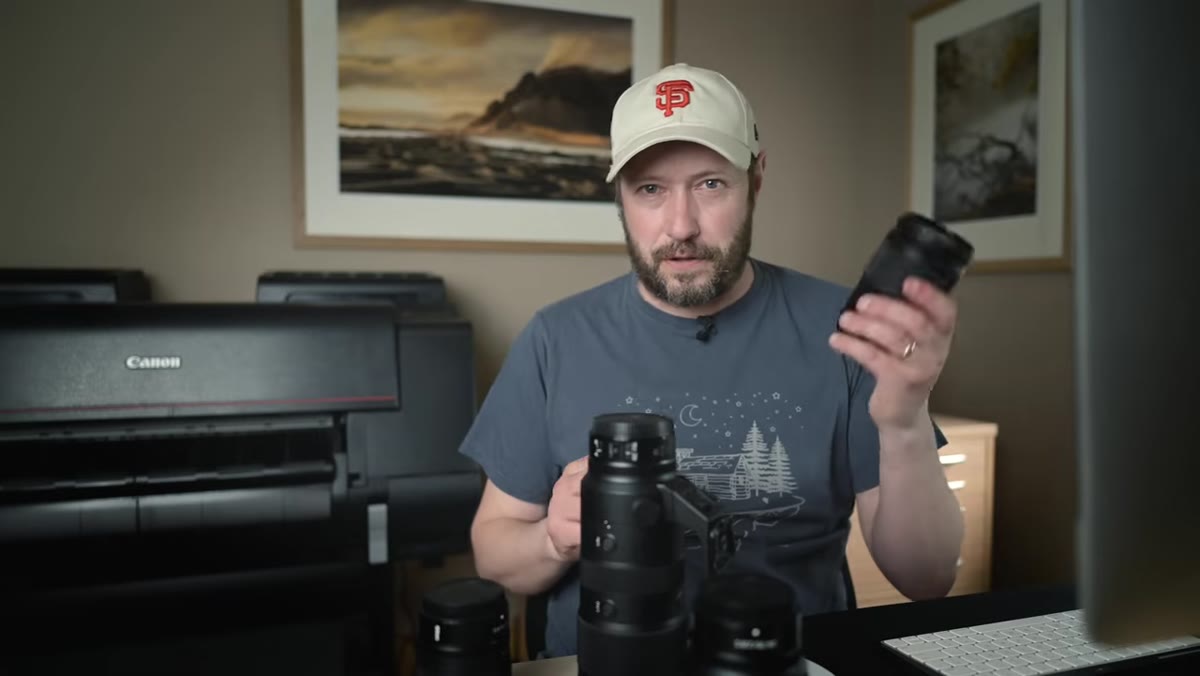 Danson comparing the 24-200mm zoom to the f/2.8 prime zooms in hand
The 24-200mm variable aperture zoom Danson brings on the hike covers nearly the same range as his two heavy primes combined, at a fraction of the weight and size. The compromise is image quality, specifically sharpness toward the edges and at certain focal lengths. He doesn’t sugarcoat it: this lens doesn’t match his f/2.8 zooms. But it gets close enough in the center, and in the mid focal-length range, to produce images he’s confident printing large.
Danson comparing the 24-200mm zoom to the f/2.8 prime zooms in hand
The 24-200mm variable aperture zoom Danson brings on the hike covers nearly the same range as his two heavy primes combined, at a fraction of the weight and size. The compromise is image quality, specifically sharpness toward the edges and at certain focal lengths. He doesn’t sugarcoat it: this lens doesn’t match his f/2.8 zooms. But it gets close enough in the center, and in the mid focal-length range, to produce images he’s confident printing large.
For budget shooters, this trade-off is familiar territory. A lot of the lenses I review live in exactly this space: not perfect, but genuinely good in the right circumstances. “Not as sharp as the expensive option” and “bad lens” are two completely different things, and conflating them costs people money.
Step 4: Learn Your Lens’s Weak Spots Before You’re in the Field
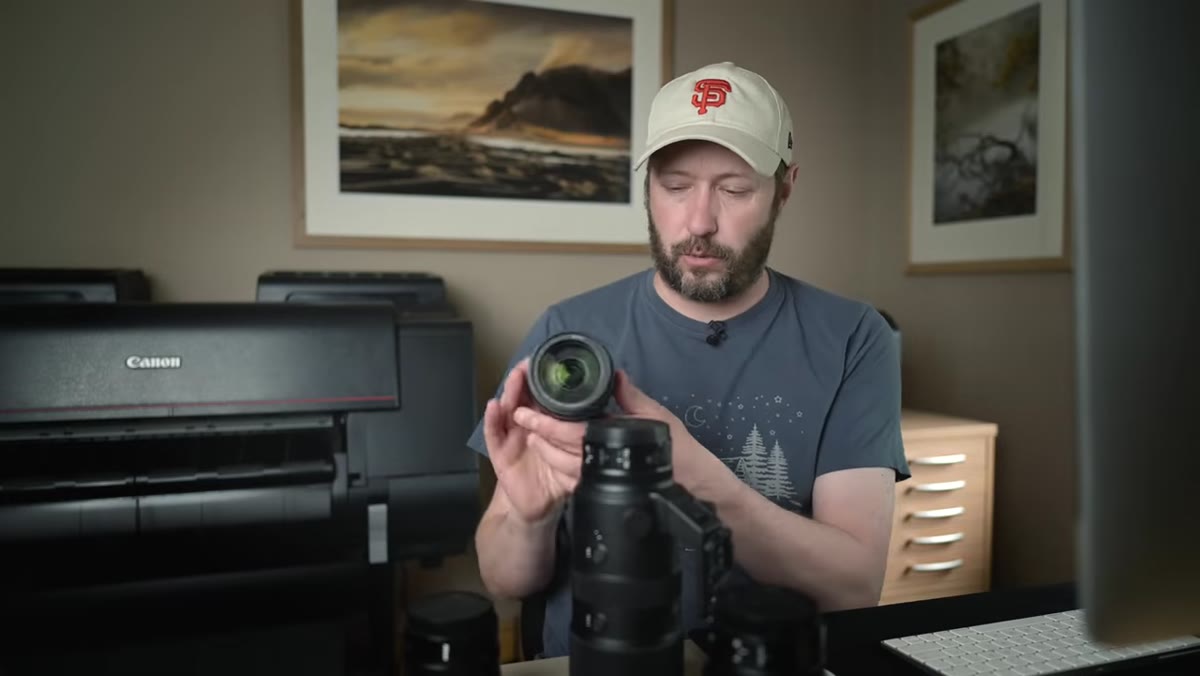 Danson explaining edge softness at 24mm on the superzoom
Danson flags a specific weakness in the 24-200mm: at the wide end, around 24mm, the edges get soft. That’s not a dealbreaker, but it is a variable you need to account for when you’re framing shots. His recommendation is straightforward - go shoot a brick wall. Do it at every focal length, at every aperture you plan to use in the field, and look at how sharpness holds from the center to the corners.
Danson explaining edge softness at 24mm on the superzoom
Danson flags a specific weakness in the 24-200mm: at the wide end, around 24mm, the edges get soft. That’s not a dealbreaker, but it is a variable you need to account for when you’re framing shots. His recommendation is straightforward - go shoot a brick wall. Do it at every focal length, at every aperture you plan to use in the field, and look at how sharpness holds from the center to the corners.
This is the kind of test I run on every lens that comes through my hands before I write a word about it. It sounds tedious and it absolutely is, but it means you never get surprised when you’re standing somewhere beautiful with one shot at the light. Know your tool’s limits before the moment asks you to perform.
Step 5: Use Zoom Range as a Compositional Tool, Not Just a Convenience
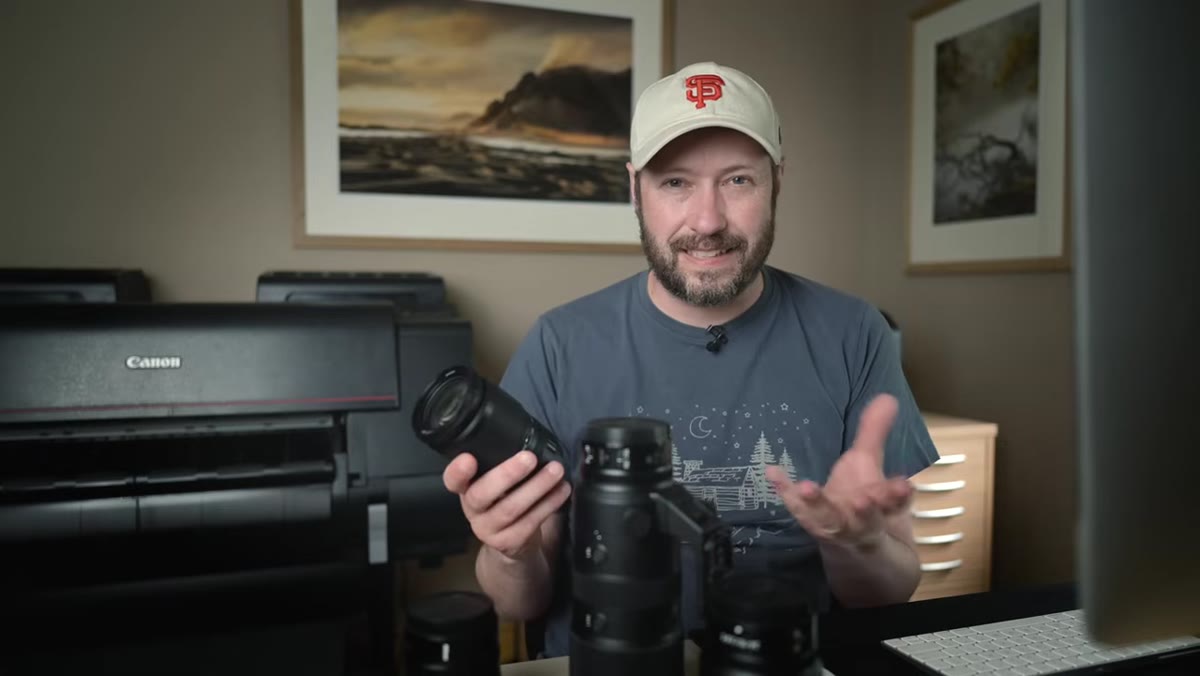 Danson describing the flexibility of not swapping lenses in changing light
One underrated advantage Danson brings up is how a wide zoom range reduces the number of times you’re swapping glass mid-shoot. When you’re handholding in shifting light, every lens change is a moment where you might miss a shot, introduce dust, or lose your compositional momentum. A 24-200mm keeps you in the game continuously. He calls this a compositional advantage, and he’s right.
Danson describing the flexibility of not swapping lenses in changing light
One underrated advantage Danson brings up is how a wide zoom range reduces the number of times you’re swapping glass mid-shoot. When you’re handholding in shifting light, every lens change is a moment where you might miss a shot, introduce dust, or lose your compositional momentum. A 24-200mm keeps you in the game continuously. He calls this a compositional advantage, and he’s right.
The flip side, which he acknowledges honestly, is that unlimited range can make you lazy about committing to a focal length. Constraints force decisions. But for fast-moving outdoor situations where the scene is changing around you, the flexibility wins.
Step 6: Verify Your Results at Output Size
 Danson describing the large print test to evaluate actual sharpness
Danson closes the practical loop by printing his 24-200mm images large and examining them up close. This is the right test. Looking at images at 100% on screen is one data point. Printing them at the size you actually intend to display is the real verdict. He finds the results sharp enough to justify the trade-offs he made, which validates the decision to leave the heavy kit at home for that hike.
Danson describing the large print test to evaluate actual sharpness
Danson closes the practical loop by printing his 24-200mm images large and examining them up close. This is the right test. Looking at images at 100% on screen is one data point. Printing them at the size you actually intend to display is the real verdict. He finds the results sharp enough to justify the trade-offs he made, which validates the decision to leave the heavy kit at home for that hike.
Whatever your output is, test your lens against it. If you’re shooting for Instagram, your bar is different than if you’re selling prints. Match your quality expectations to your actual use case and you’ll stress a lot less about gear.
What I’d Add From My Own Testing
The one thing Danson doesn’t dig into here, probably because it’s outside the scope of his shoot, is how third-party superzooms hold up against the manufacturer options. I’ve tested several lenses in the 18-200mm and 28-300mm range from brands that won’t blow your budget, and the quality gap versus Nikon or Canon’s own superzooms is real but often smaller than people expect, especially if you’re shooting in the mid-range focal lengths where these lenses tend to perform best.
If you’re not ready to spend big on a name-brand superzoom, run the same brick-wall test Danson describes on whatever you’re considering. You might find you’re leaving a lot of performance on the table by discounting a lens just because of the name on the barrel. Or you might confirm the gap is too wide. Either way, you’ll know before it costs you a shot.
The single most important thing Danson demonstrates here is that lens selection is a logistics decision as much as a quality decision. Bringing your best lens to a shoot where it wears you out before you reach the location is not actually bringing your best to the shoot. Match your kit to your conditions, know what your glass can and can’t do, and verify your results at real output size.
Watch the full tutorial on YouTube to see the Lake District footage and the print quality evaluation in full.
Comments
Leave a Comment