
I spend an embarrassing amount of time researching lenses before I buy them. Price first, sharpness second — every single time, without fail. I’ve got a spreadsheet with resolution test results, sample image comparisons, and user forum complaints going back three years across probably 40 different lenses. But here’s the thing I kept overlooking: knowing a lens is sharp on paper is not the same as knowing where it’s sharpest on your actual camera, at the focal lengths you actually shoot. That gap between spec-sheet sharpness and real-world sharpness costs photographers better images every day.
In this Mark Denney tutorial, he fixes that problem in a way that’s almost annoyingly simple. Watch the full tutorial on YouTube — but read this first, because I’m going to lay out every step so you can run the test on your own lenses this afternoon without pausing and rewinding constantly.
The core idea is this: every lens has a “sweet spot,” an aperture (or narrow range of apertures) where optical sharpness peaks. It’s not wide open, and it’s not stopped all the way down. Most photographers either guess at it or just default to f/8 and call it a day. This test tells you exactly where it lands for your specific glass, and the whole process takes about 20 minutes.
Step 1: Pick a Subject with Fine Detail
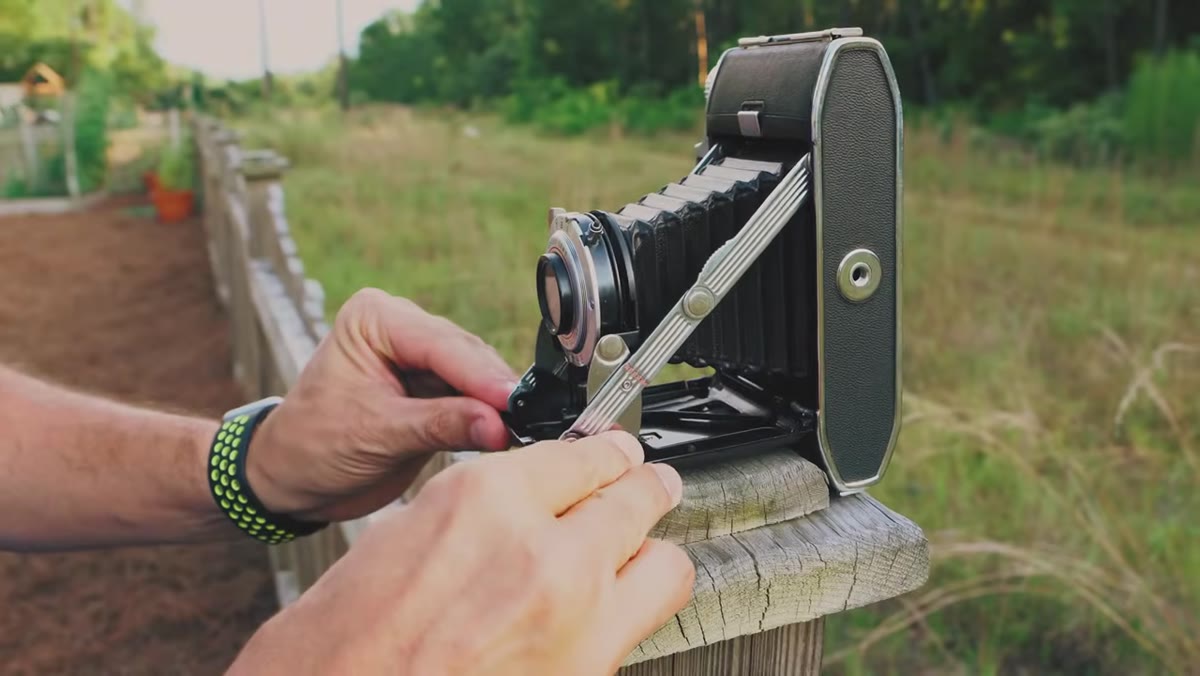
 Old film camera placed on a fence post outside
Don’t set up a test chart you’ll never use again. Mark uses an old film camera with tiny text printed around the lens barrel, and that’s actually the right instinct. You want something with fine, high-contrast detail, like small lettering or a printed eye chart, because that’s what makes sharpness differences obvious when you zoom in at 100 percent in your editing software. A brick wall works in a pinch, but letterforms are easier to judge. Set your subject outside in good, even light. Harsh shadows create contrast that can fake the appearance of sharpness, so overcast or open shade is ideal.
Old film camera placed on a fence post outside
Don’t set up a test chart you’ll never use again. Mark uses an old film camera with tiny text printed around the lens barrel, and that’s actually the right instinct. You want something with fine, high-contrast detail, like small lettering or a printed eye chart, because that’s what makes sharpness differences obvious when you zoom in at 100 percent in your editing software. A brick wall works in a pinch, but letterforms are easier to judge. Set your subject outside in good, even light. Harsh shadows create contrast that can fake the appearance of sharpness, so overcast or open shade is ideal.
Step 2: Mount the Camera on a Tripod and Lock Everything Down
 Camera on tripod aimed at subject in backyard
Any camera movement between shots will corrupt your results. Use a tripod, enable a shutter delay or use a remote release, and if your lens has image stabilization, turn it off while on the tripod. Stabilization systems can actually introduce micro-movement at slow shutter speeds when there’s no real movement to compensate for. Keep your ISO at base (usually 100 or 200) and shoot in aperture priority or manual. The only variable you should be changing between frames is aperture.
Camera on tripod aimed at subject in backyard
Any camera movement between shots will corrupt your results. Use a tripod, enable a shutter delay or use a remote release, and if your lens has image stabilization, turn it off while on the tripod. Stabilization systems can actually introduce micro-movement at slow shutter speeds when there’s no real movement to compensate for. Keep your ISO at base (usually 100 or 200) and shoot in aperture priority or manual. The only variable you should be changing between frames is aperture.
Step 3: Set a Focal Length and Stay There for the Whole Aperture Run
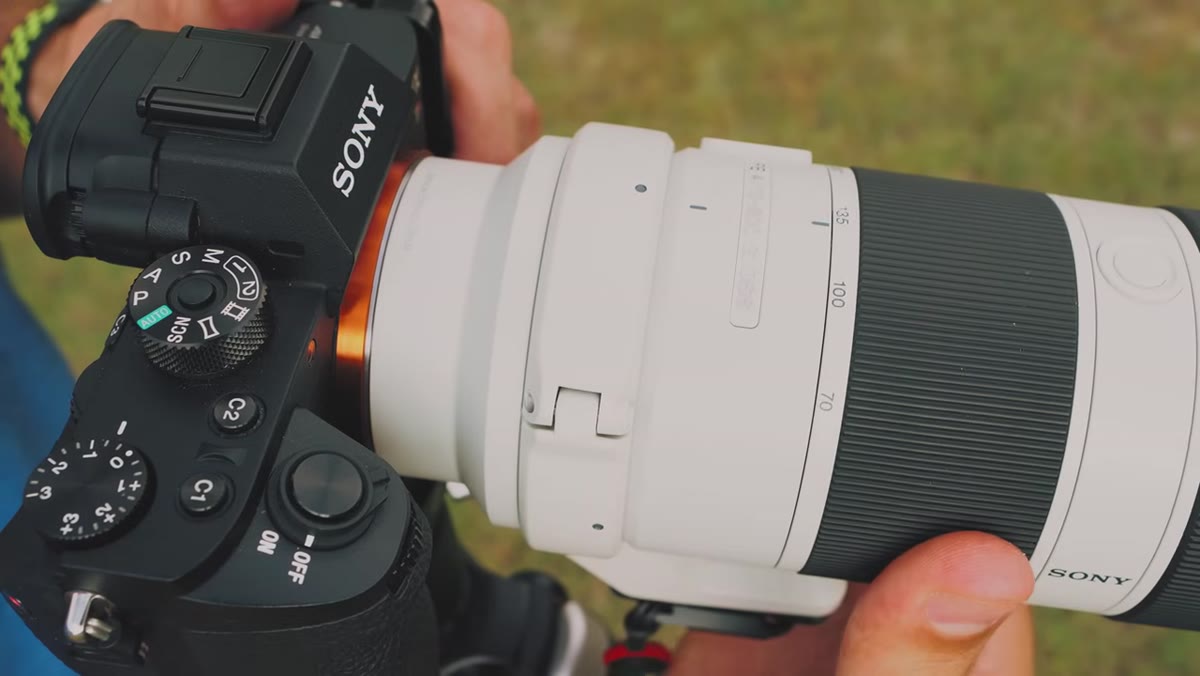 Zoom lens set to 70mm focal length for first test sequence
If you’re testing a zoom lens, pick one focal length and shoot your entire aperture sequence there before moving to the next. Mark tests his 70-200mm at 70mm, 135mm, and 200mm as three separate runs. Don’t zoom between shots in the same sequence. The sweet spot can shift depending on where you are in the zoom range, so treating each focal length as its own test is the only way to get accurate data. For a prime, this step is easy since you only have one focal length to worry about.
Zoom lens set to 70mm focal length for first test sequence
If you’re testing a zoom lens, pick one focal length and shoot your entire aperture sequence there before moving to the next. Mark tests his 70-200mm at 70mm, 135mm, and 200mm as three separate runs. Don’t zoom between shots in the same sequence. The sweet spot can shift depending on where you are in the zoom range, so treating each focal length as its own test is the only way to get accurate data. For a prime, this step is easy since you only have one focal length to worry about.
Step 4: Refocus at Every Aperture Stop
 Autofocus being confirmed before each individual shot
This is the step people skip and it’s the one that ruins the whole test. As you change aperture, refocus before each shot. Depth of field changes with aperture, and your focus plane can shift slightly too, especially on older lens designs. If you lock focus once and fire through every aperture without refocusing, you’re not testing the lens, you’re testing your focus accuracy at one aperture applied across all the others. Let autofocus confirm on the same point each time, or manually refocus with live view magnification.
Autofocus being confirmed before each individual shot
This is the step people skip and it’s the one that ruins the whole test. As you change aperture, refocus before each shot. Depth of field changes with aperture, and your focus plane can shift slightly too, especially on older lens designs. If you lock focus once and fire through every aperture without refocusing, you’re not testing the lens, you’re testing your focus accuracy at one aperture applied across all the others. Let autofocus confirm on the same point each time, or manually refocus with live view magnification.
Step 5: Shoot One Frame at Every Aperture Stop Across the Full Range
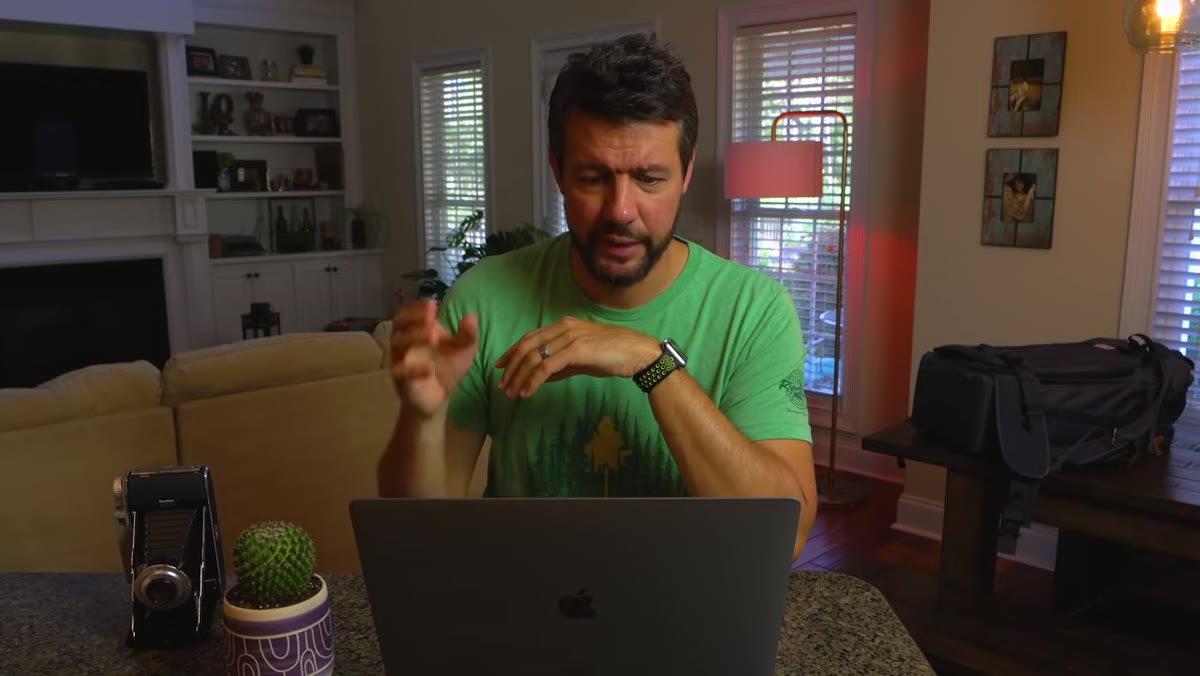 Series of shots being taken from wide open through f/16
Work through every full stop from your widest aperture to the narrowest. So if your lens opens to f/2.8, shoot at f/2.8, f/4, f/5.6, f/8, f/11, f/16, and f/22. That’s your full sequence. Don’t skip stops, because the sweet spot drop-off can be gradual and you want to see the whole curve, not just two data points. This is the part that sounds tedious but genuinely takes less than five minutes once you’re set up.
Series of shots being taken from wide open through f/16
Work through every full stop from your widest aperture to the narrowest. So if your lens opens to f/2.8, shoot at f/2.8, f/4, f/5.6, f/8, f/11, f/16, and f/22. That’s your full sequence. Don’t skip stops, because the sweet spot drop-off can be gradual and you want to see the whole curve, not just two data points. This is the part that sounds tedious but genuinely takes less than five minutes once you’re set up.
Step 6: Import and Compare at 100 Percent in Lightroom
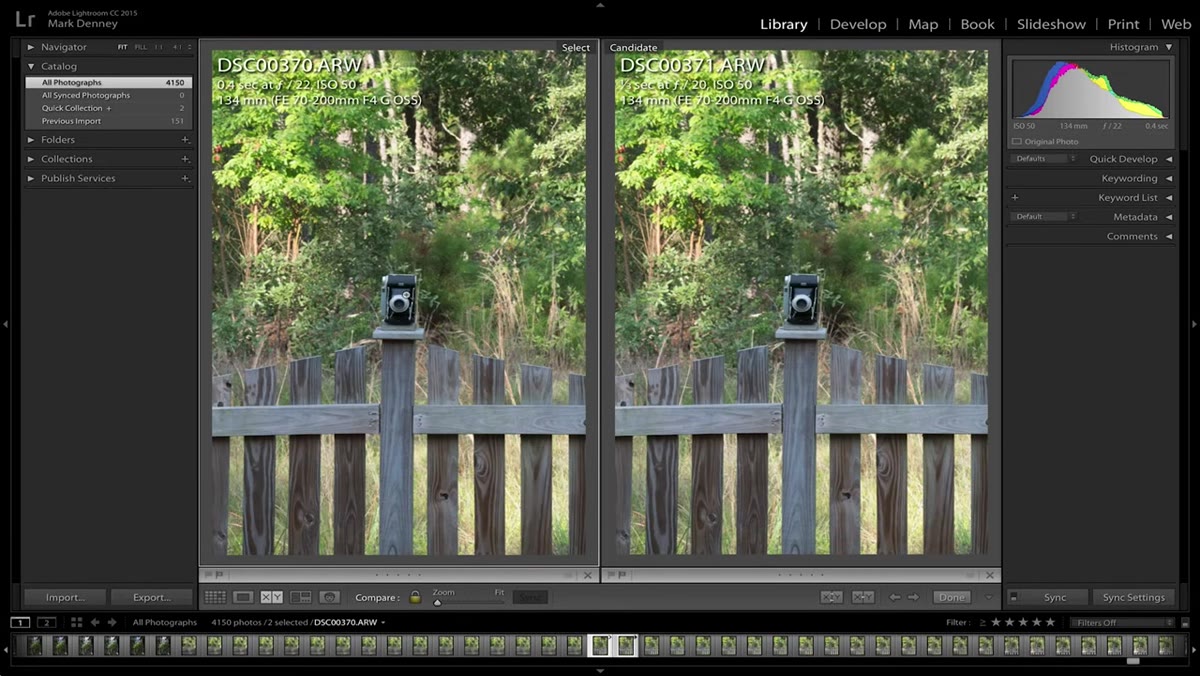 Lightroom grid showing the full aperture sequence imported and labeled
Pull everything into Lightroom (or any editor that shows you 1:1 zoom) and look at your fine detail at 100 percent. Don’t judge sharpness at a glance in the grid view — zoom all the way in and toggle between frames. What you’re looking for is the aperture range where the lettering or fine lines look the crispest and cleanest. Wide open will usually show some softness and aberration. The very narrow end (f/16, f/22) will show diffraction softness. The sweet spot sits somewhere in between, and once you see it, it’s obvious.
Lightroom grid showing the full aperture sequence imported and labeled
Pull everything into Lightroom (or any editor that shows you 1:1 zoom) and look at your fine detail at 100 percent. Don’t judge sharpness at a glance in the grid view — zoom all the way in and toggle between frames. What you’re looking for is the aperture range where the lettering or fine lines look the crispest and cleanest. Wide open will usually show some softness and aberration. The very narrow end (f/16, f/22) will show diffraction softness. The sweet spot sits somewhere in between, and once you see it, it’s obvious.
What I Do Differently: Document It Before You Forget It
Mark mentions that the whole test is pointless if you forget the results, and he’s right. I go one step further and log my findings in the same spreadsheet I use for price tracking. Lens name, focal length tested, sweet spot aperture, and a one-line note like “avoid below f/2.8, diffraction starts at f/11.” It takes two minutes and it means I never have to re-run the test. I also add a note directly in Lightroom’s metadata template for each lens so the information is right there when I’m editing.
One other thing worth testing if you have a zoom: the sweet spot aperture often stays relatively consistent across focal lengths on good glass, but the degree of sharpness at that aperture can vary. My experience testing budget lenses is that the short end of the zoom range is usually sharper than the long end at the same aperture. Knowing that is genuinely useful when you’re in the field choosing between 85mm and 135mm on a 70-200.
The single most important thing this test gives you is certainty. Instead of defaulting to f/8 because you heard it somewhere, you’ll know that your specific lens on your specific camera peaks at f/7.1 or f/5.6 or wherever it actually lands. When light conditions give you flexibility, you’ll always know exactly where to set that aperture dial.
Set aside 20 minutes this weekend, grab a lens you use regularly, and run it. You’ll own that lens completely differently afterward.
Watch the full tutorial on YouTube to see Mark walk through the Lightroom comparison in real time, including how he evaluates the results across his 70-200mm range.
Comments (2)
Just subscribed. If the rest of your content is this good, I'm in.
Printing this out and pinning it next to my monitor. That good.
Leave a Comment