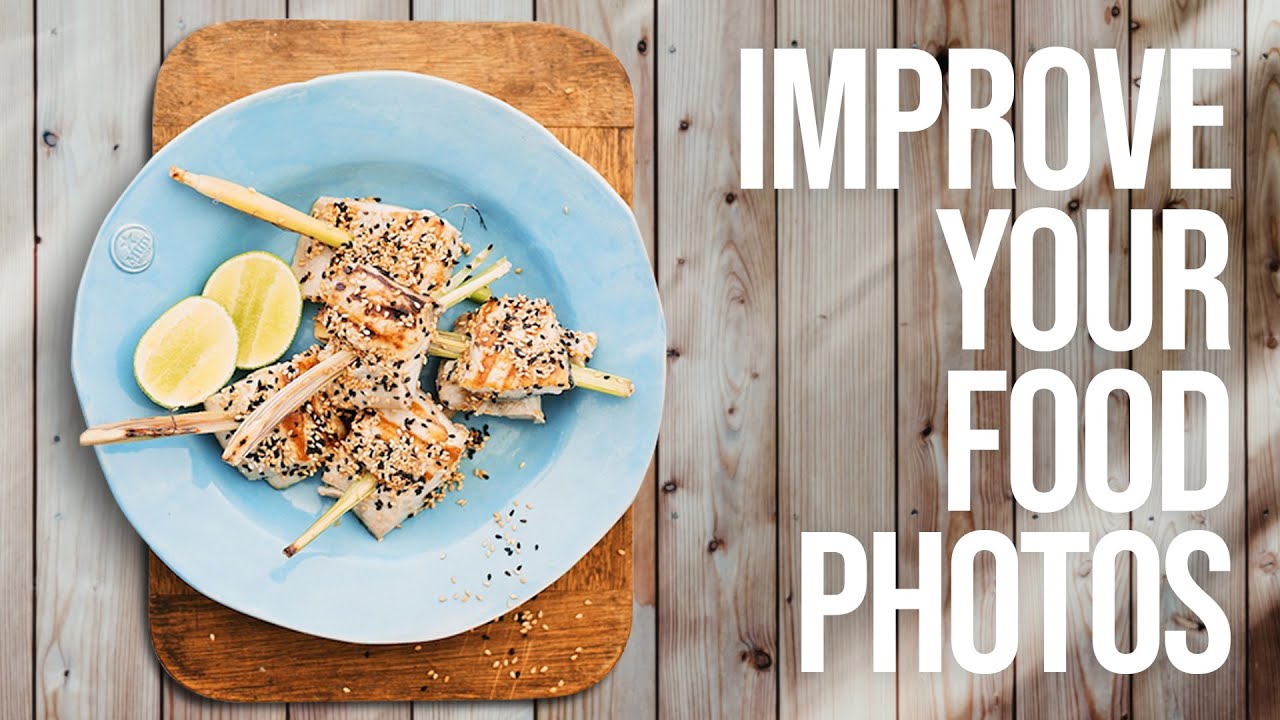
I shoot gear for a living. Tripods, lenses, light modifiers — I’ve tested more budget versions of those things than I care to admit. But food photography kept humbling me, and for a long time I couldn’t figure out why. I’d have a decent camera, decent light, and the result still looked like a cafeteria tray. It wasn’t a gear problem. I just didn’t understand what actually makes food photography work.
That’s why this Sean Tucker tutorial landed so hard for me. Watch the full tutorial on YouTube — Tucker came up as a professional food photographer before pivoting to education, and he opens with something that reframed the whole discipline for me. He watched a pro on set spend forty-five minutes doing nothing but arranging a dish, checking the composition through the viewfinder, and adjusting tiny details. When the stylist finally said she was ready, the photographer walked over and pressed the shutter once. That was his job. The image was already made before the camera got involved.
That single story is worth more than most gear purchases. Here’s how Tucker builds on it step by step.
Step 1: Accept That Styling Is at Least Half the Job
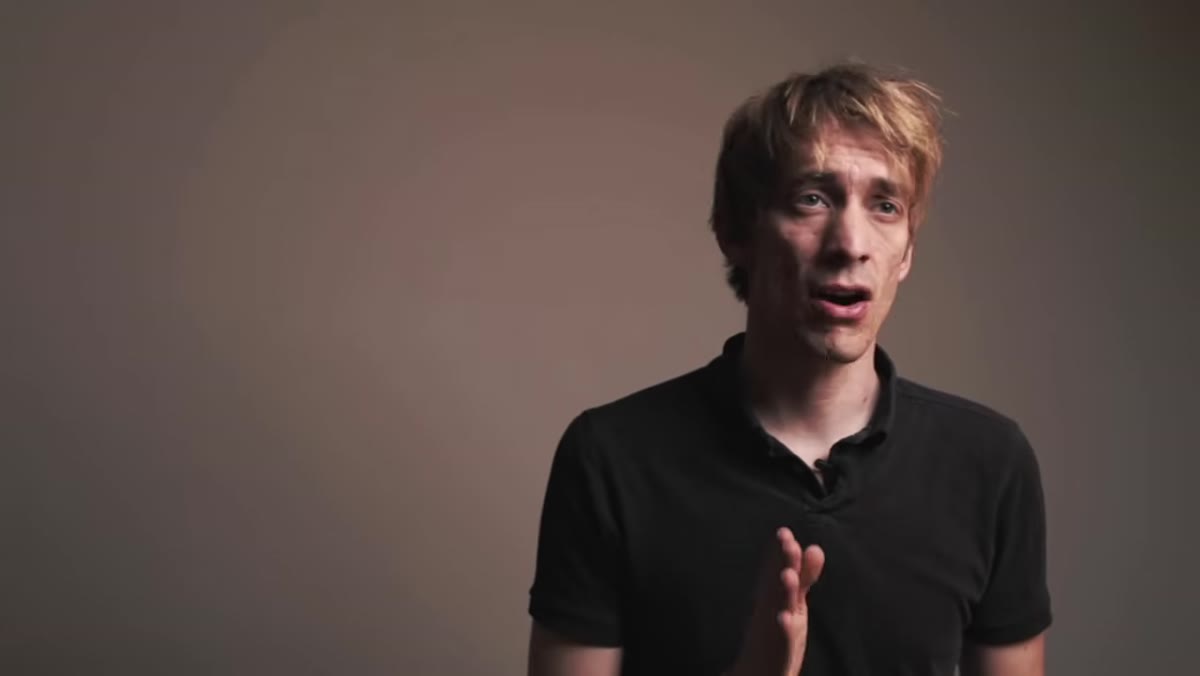 Tucker explaining that styling determines success before camera is involved
Tucker is upfront that he’s not a stylist, so he brings in a friend who runs a food and lifestyle blog to handle the food prep and arrangement. The lesson here isn’t “hire a stylist.” It’s that you need to take the non-camera work as seriously as the camera work. Before you think about settings or focal length, think about the food itself. Is it fresh? Are the colors clean? Is the plate the right size so the food doesn’t look lost or crammed? These questions matter more than whether you’re shooting at f/2.8 or f/4.
Tucker explaining that styling determines success before camera is involved
Tucker is upfront that he’s not a stylist, so he brings in a friend who runs a food and lifestyle blog to handle the food prep and arrangement. The lesson here isn’t “hire a stylist.” It’s that you need to take the non-camera work as seriously as the camera work. Before you think about settings or focal length, think about the food itself. Is it fresh? Are the colors clean? Is the plate the right size so the food doesn’t look lost or crammed? These questions matter more than whether you’re shooting at f/2.8 or f/4.
If you’re shooting at home, spend real time on this before you pick up the camera. Arrange, step back, look. Move one element. Look again. Most of us rush this part because we want to get to the “photography.” Don’t.
Step 2: Choose a Longer Focal Length Lens
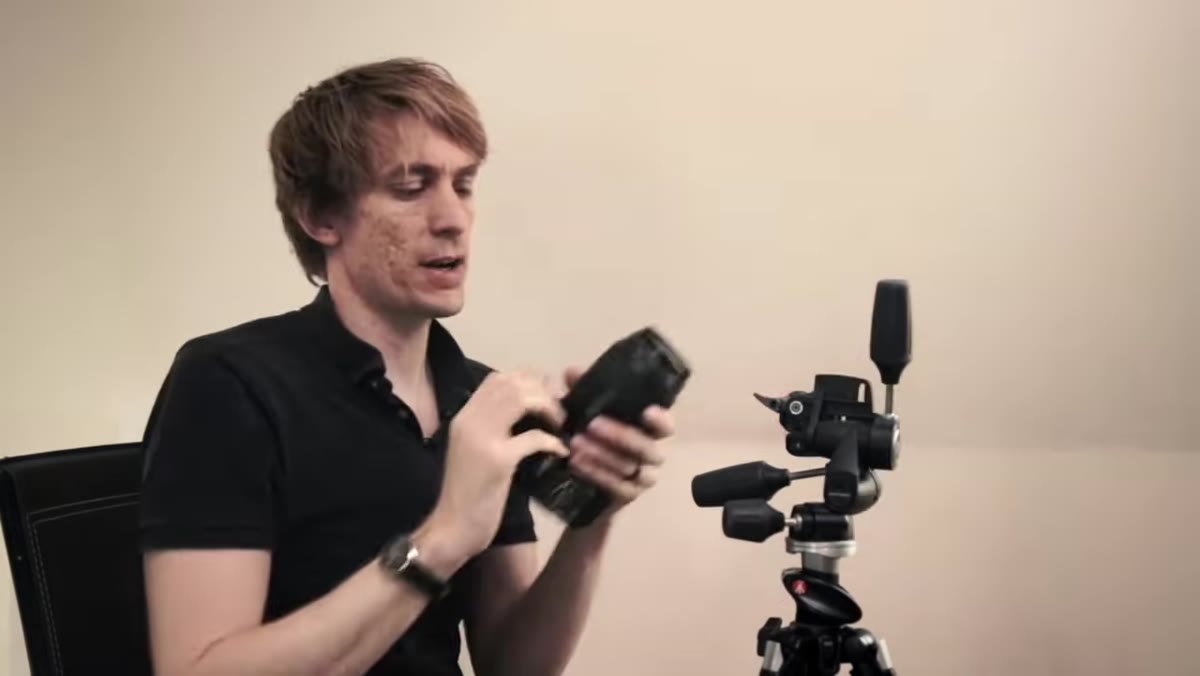 Tucker holding Canon 5D Mark II with 100mm macro lens attached
Tucker shoots on a Canon 5D Mark II paired with a Canon 100mm f/2.8 macro lens, and he’s clear that both were bought secondhand. The camera body isn’t the point. The focal length is. Longer lenses compress the background, which cleans up visual noise behind your subject. They also make it easier to achieve shallow depth of field, so your hero dish stays sharp while everything else softens out.
Tucker holding Canon 5D Mark II with 100mm macro lens attached
Tucker shoots on a Canon 5D Mark II paired with a Canon 100mm f/2.8 macro lens, and he’s clear that both were bought secondhand. The camera body isn’t the point. The focal length is. Longer lenses compress the background, which cleans up visual noise behind your subject. They also make it easier to achieve shallow depth of field, so your hero dish stays sharp while everything else softens out.
You don’t need a 100mm macro. Tucker also mentions an 85mm f/1.8 as a solid, affordable alternative on full-frame. If you’re shooting crop sensor, a 50mm or 55-200mm zoom at the long end gets you into similar territory. The principle is what matters: avoid wide-angle lenses for food. They distort the scene and drag in background clutter you don’t want.
Step 3: Use a Tilt-Shift Lens If You Can Get Access to One
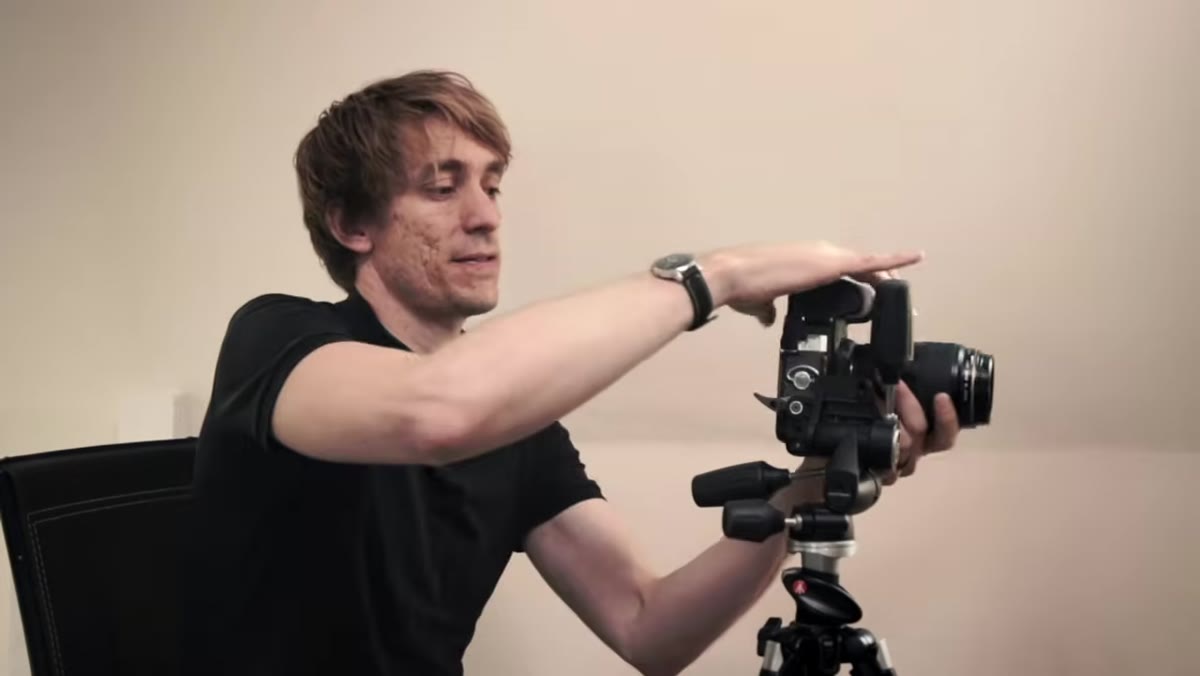 Tucker describing tilt-shift focal plane control for food surfaces
This one’s aspirational for most home shooters, but Tucker brings it up because it solves a specific problem worth understanding. When you photograph something flat, like the top of a cake, a standard lens cuts a flat plane of focus through the scene at whatever angle your camera is pointed. A tilt-shift lets you bend that plane so it follows the surface of the food rather than slicing through it at an angle.
Tucker describing tilt-shift focal plane control for food surfaces
This one’s aspirational for most home shooters, but Tucker brings it up because it solves a specific problem worth understanding. When you photograph something flat, like the top of a cake, a standard lens cuts a flat plane of focus through the scene at whatever angle your camera is pointed. A tilt-shift lets you bend that plane so it follows the surface of the food rather than slicing through it at an angle.
The Canon 90mm tilt-shift is the one Tucker references, and it’s expensive. But knowing why it’s useful teaches you something about focus plane management that carries over even to standard lenses. When you’re shooting something with a flat surface, lower your angle or adjust your camera position so your sensor plane is more parallel to the food surface. You’ll keep more of it in focus without the lens.
Step 4: Prioritize Window Light Over Artificial Lighting
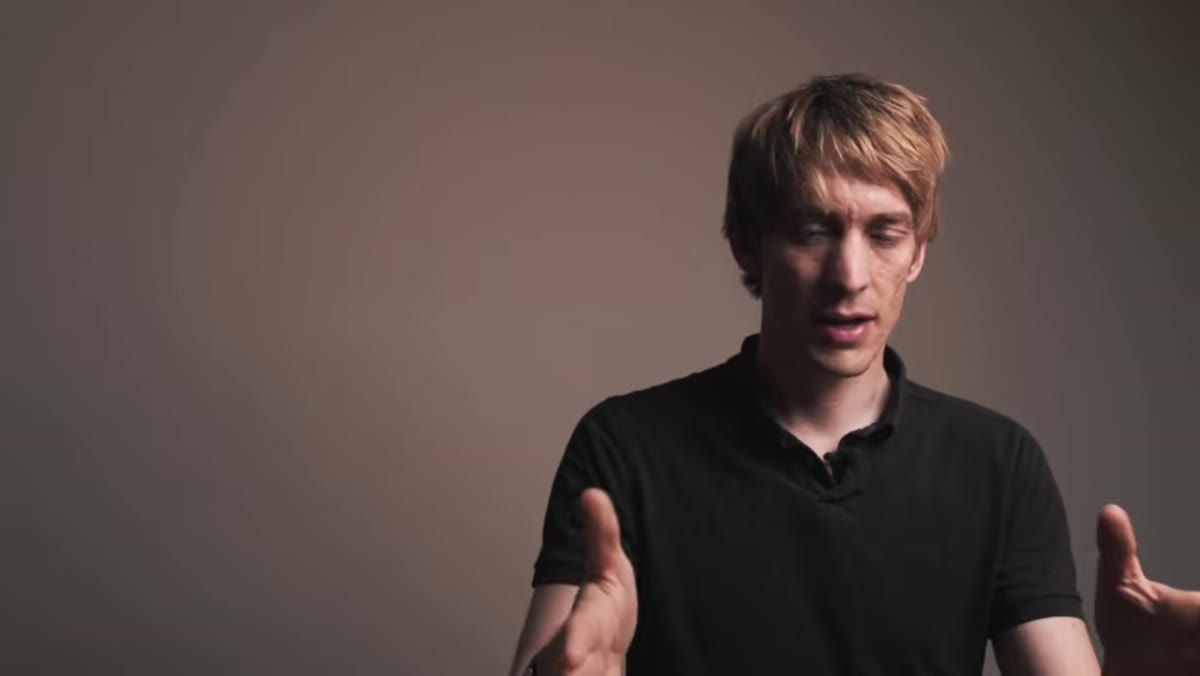 Tucker describing pro photographer positioning tripod near window light
The professional Tucker shadowed early in his career set up his tripod near a window. That’s it. No strobes, no softboxes, no continuous LED panels. Natural window light is directional, soft when overcast, and free. Tucker’s whole tutorial is built around this approach, and it’s the most actionable tip for anyone shooting at home.
Tucker describing pro photographer positioning tripod near window light
The professional Tucker shadowed early in his career set up his tripod near a window. That’s it. No strobes, no softboxes, no continuous LED panels. Natural window light is directional, soft when overcast, and free. Tucker’s whole tutorial is built around this approach, and it’s the most actionable tip for anyone shooting at home.
Find the best window in your space and shoot near it. Overcast days are actually better than direct sunlight because clouds act as a giant diffuser. If you only have harsh direct sun, hang a white sheet or tape a piece of white paper over the window to soften it. A white foam board on the opposite side of the dish from the window bounces light back and fills in shadows without flattening the image entirely.
Step 5: Position the Camera Deliberately Based on the Dish
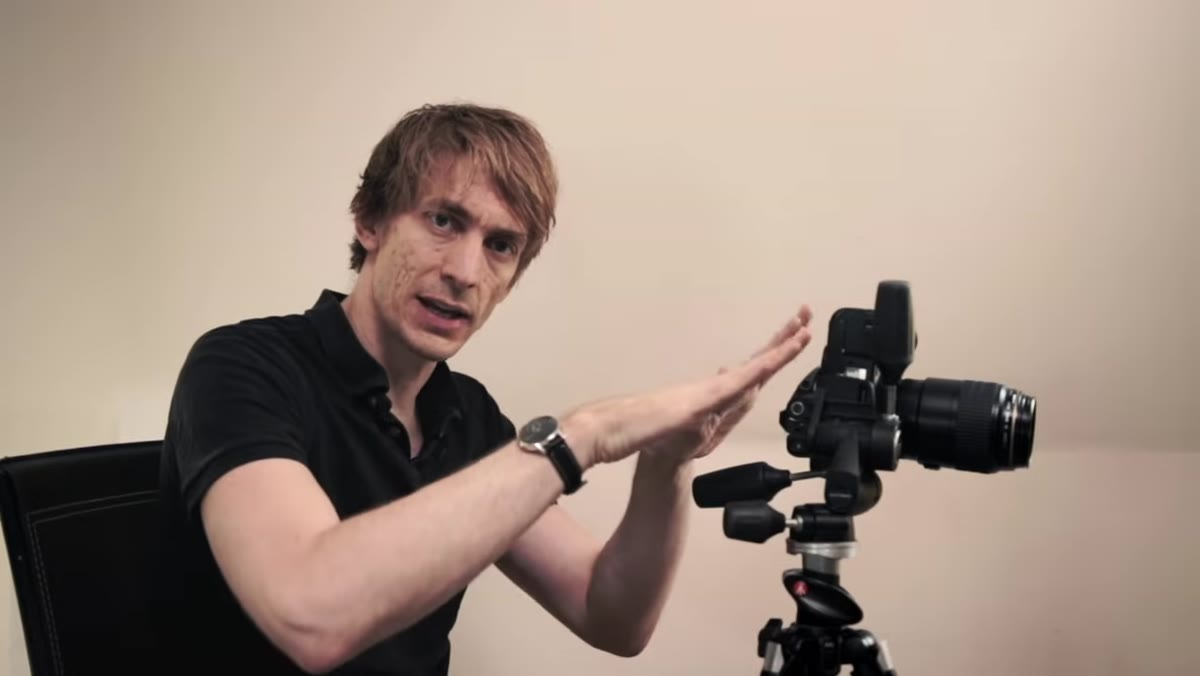 Tucker moving into camera position while discussing composition angles
Camera angle changes everything in food photography. Tucker works with three main scenarios in this video. A flat, overhead angle works well for dishes with visual complexity spread across a surface. A three-quarter angle is the workhorse — it shows the layers and height of a dish while still giving context. A straight-on side angle works for drinks, tall stacks, and anything where the profile is the story.
Tucker moving into camera position while discussing composition angles
Camera angle changes everything in food photography. Tucker works with three main scenarios in this video. A flat, overhead angle works well for dishes with visual complexity spread across a surface. A three-quarter angle is the workhorse — it shows the layers and height of a dish while still giving context. A straight-on side angle works for drinks, tall stacks, and anything where the profile is the story.
Pick the angle before you start arranging the dish, because the styling changes depending on how you’ll shoot. If you’re going overhead, elements spread out across the plate matter. If you’re shooting at three-quarters, height and layering matter more. Decide first, then style to match.
My Take: The Secondhand Gear Point Deserves More Credit
Tucker mentions almost in passing that both his camera body and his 100mm lens were bought secondhand. As someone who has a spreadsheet tracking resale prices on budget lenses, I want to slow down on that. A used Canon 100mm f/2.8 non-IS macro regularly shows up for under $300 on the used market. That’s a professional-grade food photography lens for less than most beginners spend on a kit zoom they’ll outgrow in a year.
I’d extend Tucker’s advice here: don’t buy new for your first food photography lens. The used market for Canon and Nikon glass is huge and well-documented. A used 85mm f/1.8 in great condition can be found for $200 or less. That’s the whole kit Tucker is describing, minus the camera body, for the price of one mid-range filter set. Do the research before you buy new.
The single biggest thing I took from this tutorial is something Tucker says almost casually: the image is made before the shutter is pressed. Styling, light, and composition are doing the heavy lifting. The camera is just the last step in a process that’s mostly about everything else. If your food photos aren’t working, the fix probably isn’t a new lens. It’s spending more time on what goes in front of the lens.
Watch the full tutorial on YouTube to see Tucker and his collaborator work through three different dishes with real-time styling decisions and camera positioning.
Comments (1)
Finally someone explains this in a way that actually makes sense.
Leave a Comment