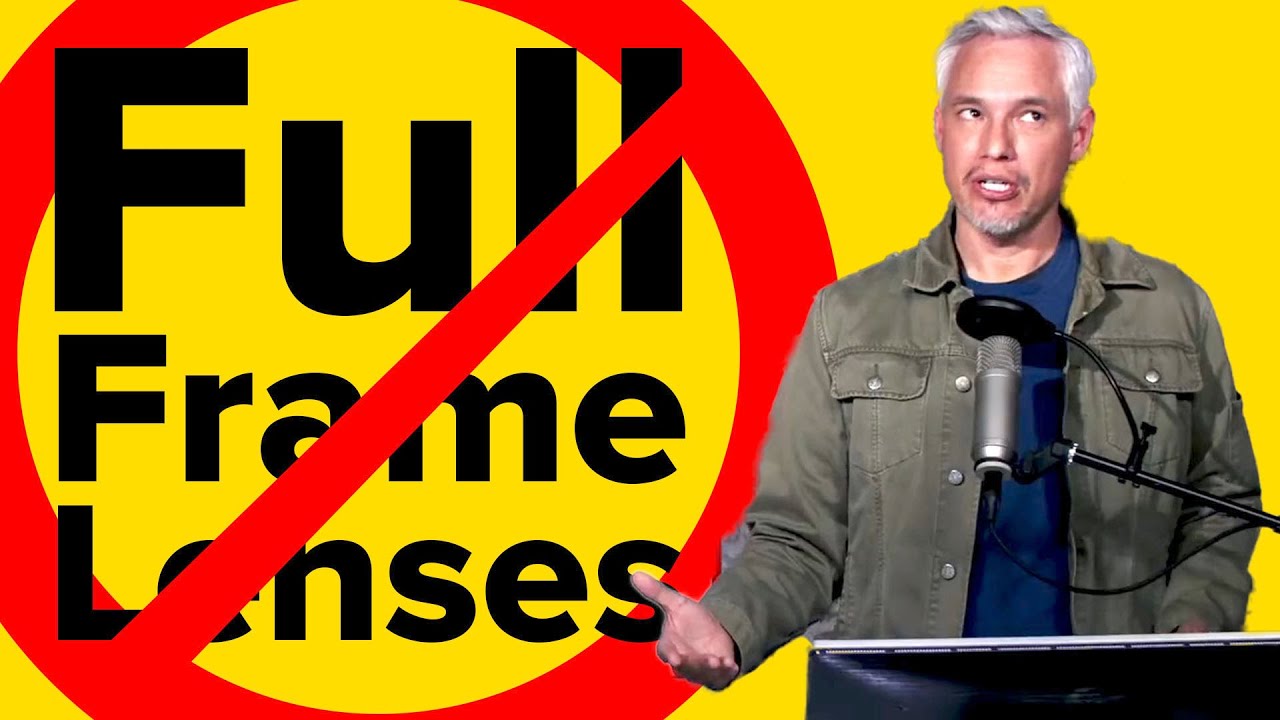
I run a spreadsheet. A real one, with 40-plus lenses sorted by sharpness, price, and sensor compatibility. And the column I’ve had to add more corrections to than any other is the “works on crop body” column, because the answer is almost never a clean yes or no. It’s more like “technically, but…” which is exactly the kind of answer that costs photographers money. In this Tony & Chelsea Northrup tutorial, Watch the full tutorial on YouTube, Tony revisits a question he first tackled back in 2014 and backs it up this time with side-by-side image comparisons that make the argument impossible to dismiss. What he found lines up with what I’ve suspected for years but never had the controlled test data to prove.
The core question is simple: if you mount a full-frame lens on an APS-C camera, does the crop sensor’s tendency to use only the center of the image circle give you sharper results? It sounds logical. Lenses are sharpest in the middle. APS-C sensors read only the middle. So shouldn’t crop cameras squeeze more out of a full-frame lens? The answer, once you actually look at the images side by side, is a clear no, and understanding why matters before you spend another dollar on glass.
This is the kind of information I wish I’d had when I was first building out my kit. I spent money in the wrong order, and I see readers do it constantly. Here’s how Tony breaks it down, step by step.
Step 1: Understand What a Crop Sensor Actually Captures
 Full-frame lens mounted on APS-C camera body diagram
When you put a full-frame lens on a crop body, the sensor only captures the center portion of the image the lens projects. That sounds like a win for sharpness, but here’s the problem: that smaller sensor is also capturing far fewer total pixels worth of image data from that lens. A full-frame sensor captures everything the lens produces. A crop sensor captures less than half. So even if the center of the lens is sharper, the full-frame body is still resolving more than twice the detail overall.
Full-frame lens mounted on APS-C camera body diagram
When you put a full-frame lens on a crop body, the sensor only captures the center portion of the image the lens projects. That sounds like a win for sharpness, but here’s the problem: that smaller sensor is also capturing far fewer total pixels worth of image data from that lens. A full-frame sensor captures everything the lens produces. A crop sensor captures less than half. So even if the center of the lens is sharper, the full-frame body is still resolving more than twice the detail overall.
Think of it like hiring a talented musician to play one note. Yes, it’s a great note. But you’re leaving most of the performance on the table.
Step 2: Match Focal Lengths to Compare the Same Field of View
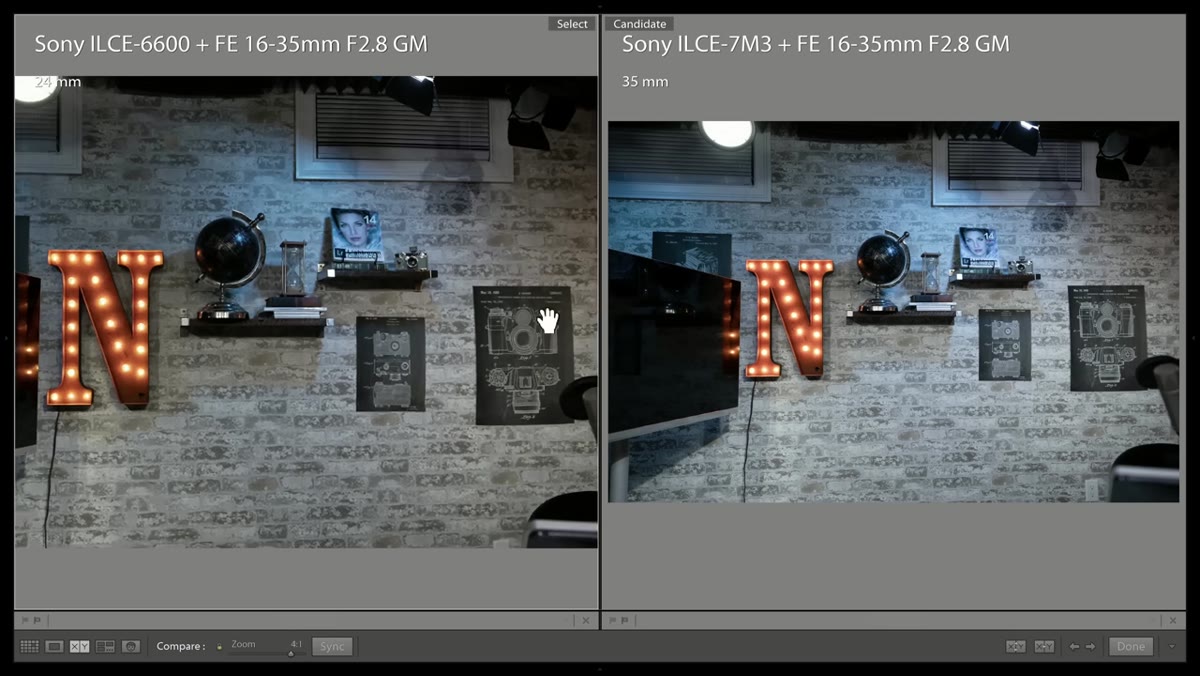
 Lightroom showing APS-C at 24mm and full-frame at 35mm side by side
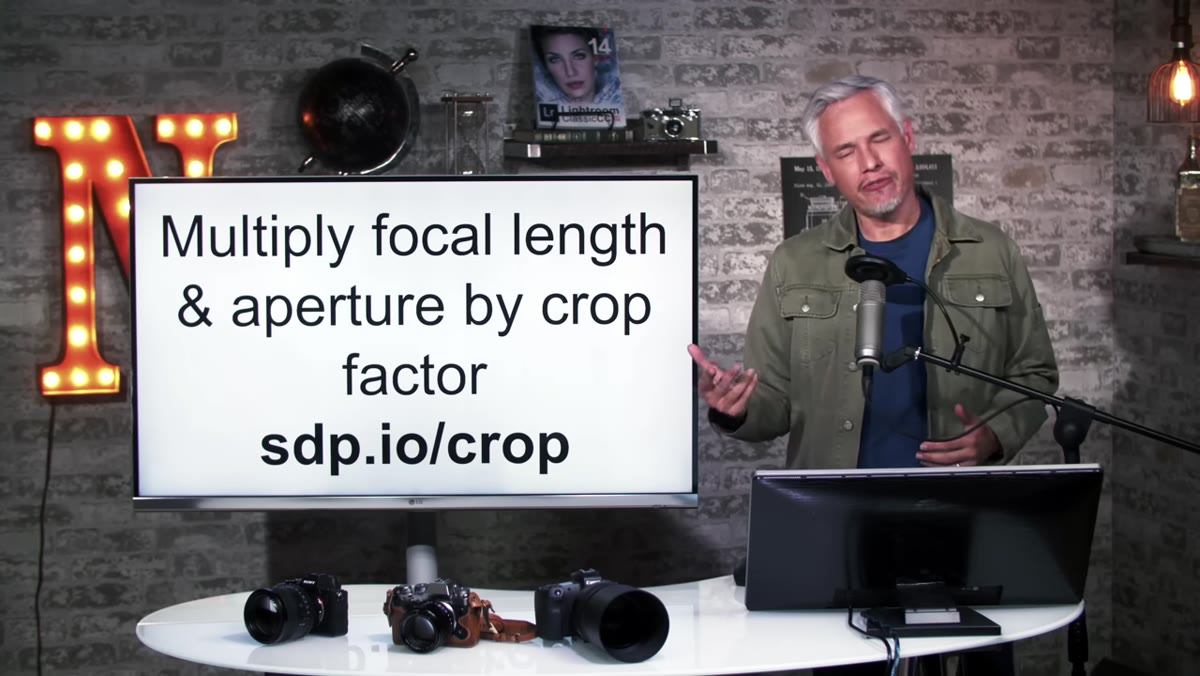
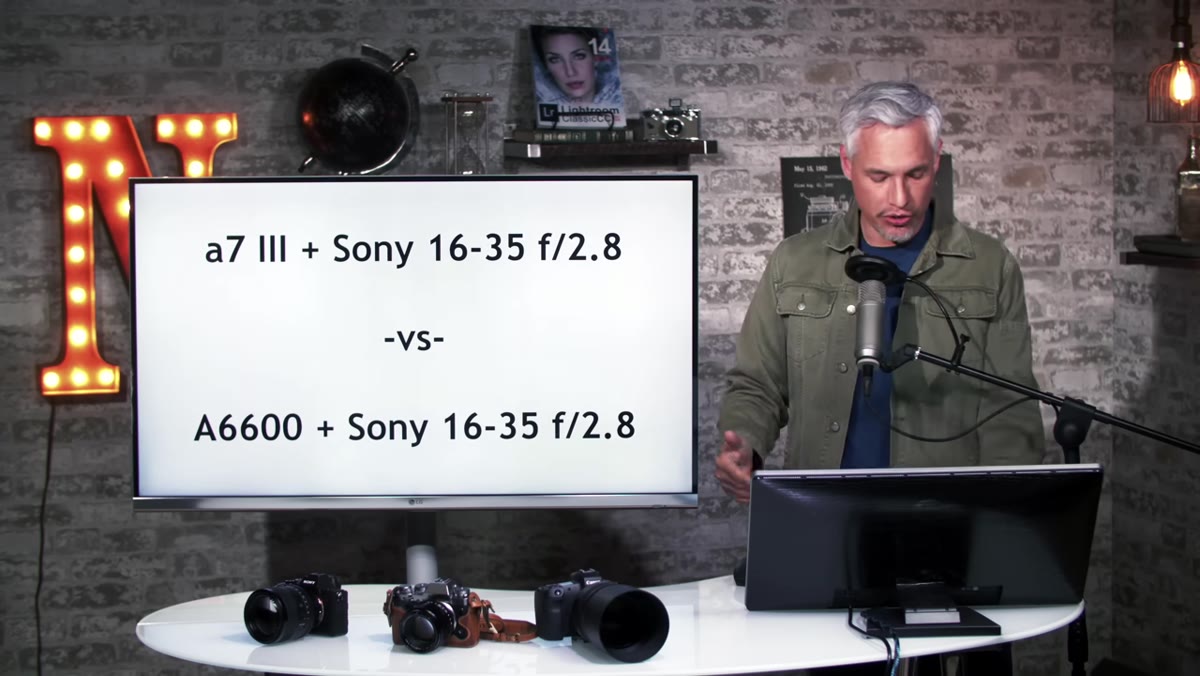
Before you can compare images fairly, you have to account for the crop factor. Tony uses a Sony A6000 (APS-C) and a Sony A7 Mark III (full-frame) with the same lens attached to both. To get the same angle of view from each camera, he sets the APS-C body to 24mm and the full-frame body to 35mm. The 1.5x crop factor on APS-C sensors means 24mm on crop equals roughly 35mm equivalent in full-frame terms.
Lightroom showing APS-C at 24mm and full-frame at 35mm side by side
Before you can compare images fairly, you have to account for the crop factor. Tony uses a Sony A6000 (APS-C) and a Sony A7 Mark III (full-frame) with the same lens attached to both. To get the same angle of view from each camera, he sets the APS-C body to 24mm and the full-frame body to 35mm. The 1.5x crop factor on APS-C sensors means 24mm on crop equals roughly 35mm equivalent in full-frame terms.
If you skip this step and compare at the same focal length, you’re comparing different compositions, not different cameras. Always normalize the field of view before drawing any conclusions about image quality.
Step 3: Zoom Into the Edges Where the Difference Shows
 Zoomed edge comparison showing full-frame sharper than APS-C
Once the fields of view are matched, Tony zooms into the edges of both frames in Lightroom. This is where the theoretical sharpness advantage of the crop sensor should show up most clearly, since the APS-C camera is pulling from the center of the lens while the full-frame camera is using more of the outer elements. What the comparison actually shows is that the full-frame image is noticeably sharper at the edges, not the APS-C image.
Zoomed edge comparison showing full-frame sharper than APS-C
Once the fields of view are matched, Tony zooms into the edges of both frames in Lightroom. This is where the theoretical sharpness advantage of the crop sensor should show up most clearly, since the APS-C camera is pulling from the center of the lens while the full-frame camera is using more of the outer elements. What the comparison actually shows is that the full-frame image is noticeably sharper at the edges, not the APS-C image.
The gap is not subtle. It’s not pixel-peeping territory. It’s visible at a reasonable zoom level, the kind of difference that shows up in large prints or when you’re cropping in post.
Step 4: Test a Second Lens to Confirm the Pattern
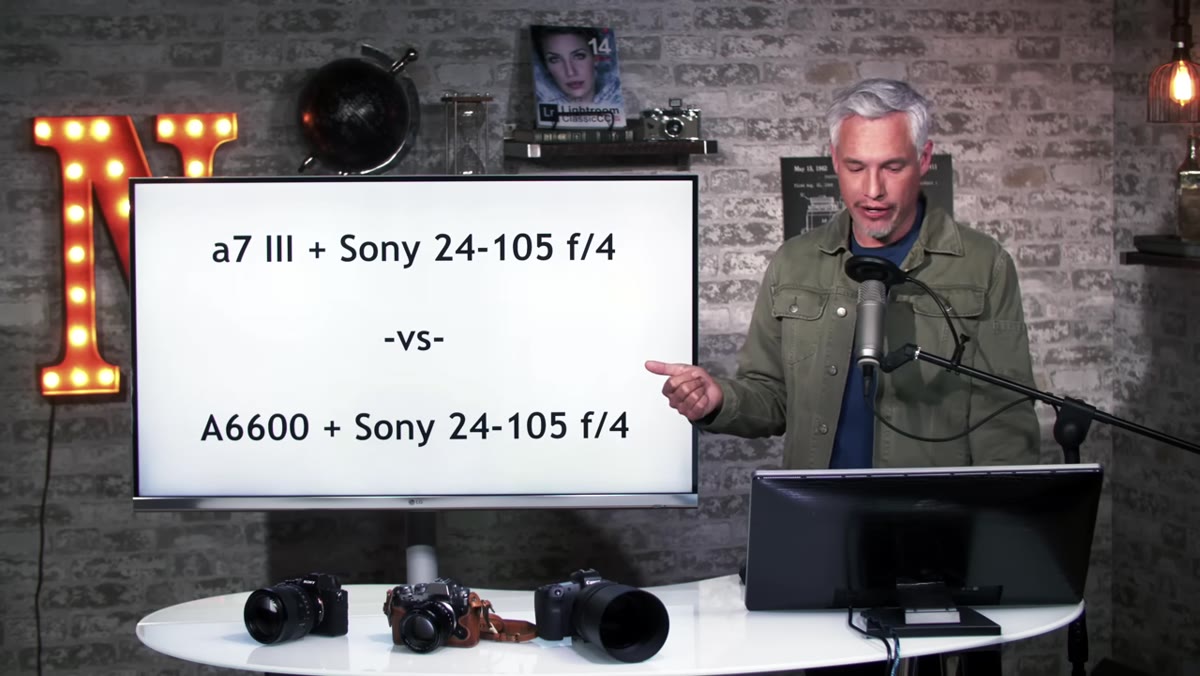 Side-by-side comparison using Sony 24-105mm f/4 on both cameras
One data point is a fluke. Two is a pattern. Tony runs the same test with the Sony 24-105mm f/4, a good lens but not as sharp as the 16-35mm f/2.8 used in the first comparison. The results hold. The full-frame body again resolves more detail despite both cameras having similar megapixel counts and both using anti-aliasing filters.
Side-by-side comparison using Sony 24-105mm f/4 on both cameras
One data point is a fluke. Two is a pattern. Tony runs the same test with the Sony 24-105mm f/4, a good lens but not as sharp as the 16-35mm f/2.8 used in the first comparison. The results hold. The full-frame body again resolves more detail despite both cameras having similar megapixel counts and both using anti-aliasing filters.
The takeaway here isn’t that APS-C cameras produce bad images. Both sets of results are usable. The point is that if sharpness is your priority, attaching a full-frame lens to a crop body is not the shortcut to better images that it’s sometimes marketed as. You’re paying full-frame lens prices for crop-sensor output.
Step 5: Look at Perceptual Megapixels, Not Just Spec Sheet Numbers
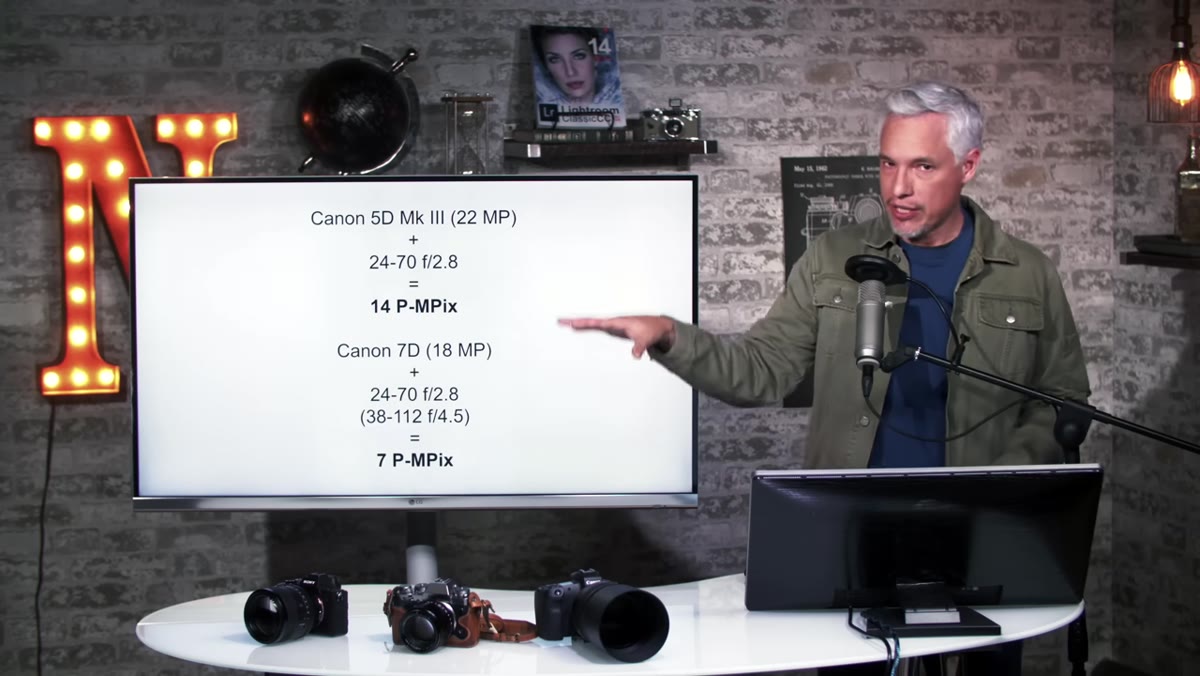 DxO Mark perceptual megapixel ratings displayed for multiple camera and lens combos
Tony references DxO Mark’s perceptual megapixel metric, which measures not how many pixels a sensor has but how much actual viewable detail a camera and lens combination produces. This is a more honest way to compare systems than comparing raw megapixel counts, which tell you nothing about real-world sharpness.
DxO Mark perceptual megapixel ratings displayed for multiple camera and lens combos
Tony references DxO Mark’s perceptual megapixel metric, which measures not how many pixels a sensor has but how much actual viewable detail a camera and lens combination produces. This is a more honest way to compare systems than comparing raw megapixel counts, which tell you nothing about real-world sharpness.
The practical lesson: a 24-megapixel full-frame camera paired with a sharp full-frame lens will almost always outperform a 24-megapixel APS-C camera using the same lens. The numbers on the spec sheet are the same. The images are not. Before buying any lens, check whether DxO or similar testing data exists for your specific camera and lens pairing, not just the lens in isolation.
Step 6: Factor in the True Cost of the “Versatility” Argument
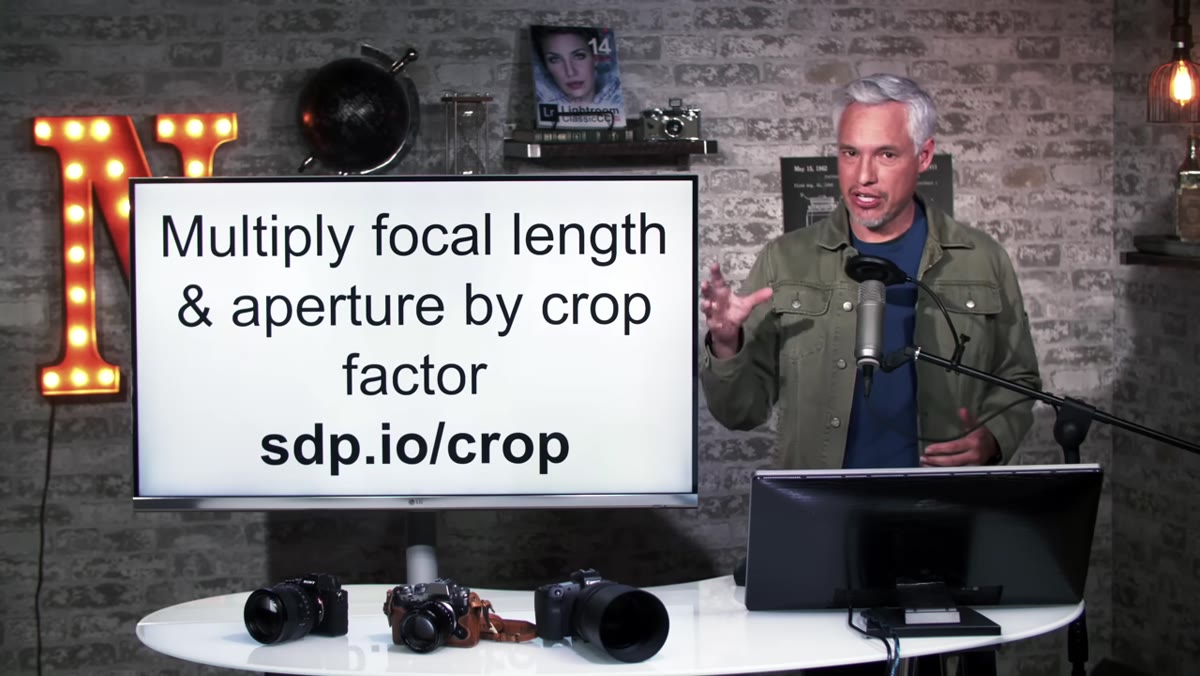 Text callout about matching lenses to sensors saving thousands of dollars
The justification I hear most often for buying full-frame lenses for a crop body is future-proofing. “I’ll upgrade to full-frame eventually, so I’ll just buy full-frame glass now.” Tony addresses this directly, and it’s worth sitting with. Yes, full-frame lenses will work if you upgrade your body later. But you’re paying a premium now for performance you’re not getting now, and if you bought the right APS-C lens in the first place, you’d likely save enough money to fund a significant portion of that future body upgrade anyway.
Text callout about matching lenses to sensors saving thousands of dollars
The justification I hear most often for buying full-frame lenses for a crop body is future-proofing. “I’ll upgrade to full-frame eventually, so I’ll just buy full-frame glass now.” Tony addresses this directly, and it’s worth sitting with. Yes, full-frame lenses will work if you upgrade your body later. But you’re paying a premium now for performance you’re not getting now, and if you bought the right APS-C lens in the first place, you’d likely save enough money to fund a significant portion of that future body upgrade anyway.
Versatility is worth something. It’s just rarely worth the difference in price between a purpose-built APS-C lens and its full-frame equivalent.
What I’d Add From My Own Testing
The one thing Tony doesn’t dig into as deeply is the budget tier specifically, which is where most of my readers live. The gap he demonstrates uses high-end Sony glass. When you drop into the sub-$300 lens category, the mismatch gets worse, not better. A cheap full-frame zoom on a crop body can look genuinely soft in the corners because cheap full-frame lenses aren’t even great at the edges of their own image circle, let alone delivering clean detail to a crop sensor.
The lenses I’ve tested that deliver the best results on crop bodies are almost always lenses designed for crop bodies. Third-party manufacturers like Sigma and Tamron have some excellent APS-C-specific options in the $200-$400 range that consistently beat full-frame lenses twice their price when tested on crop cameras. That’s the kind of matchup that should drive your buying decision.
The single most important thing to take from Tony’s tutorial is this: sensor size and lens design are a system, not two independent variables. Buying glass without accounting for your sensor is like buying tires rated for a sports car and putting them on a truck. They’ll fit. They won’t perform the way you paid for. Match the glass to the body, and you’ll spend less money getting better results.
Watch the full tutorial on YouTube to see the side-by-side Lightroom comparisons Tony walks through. Seeing the actual image data makes the argument much harder to argue with than any spec sheet ever could.
Comments (1)
I tried this on a client project yesterday and the results were way better than expected.
Leave a Comment