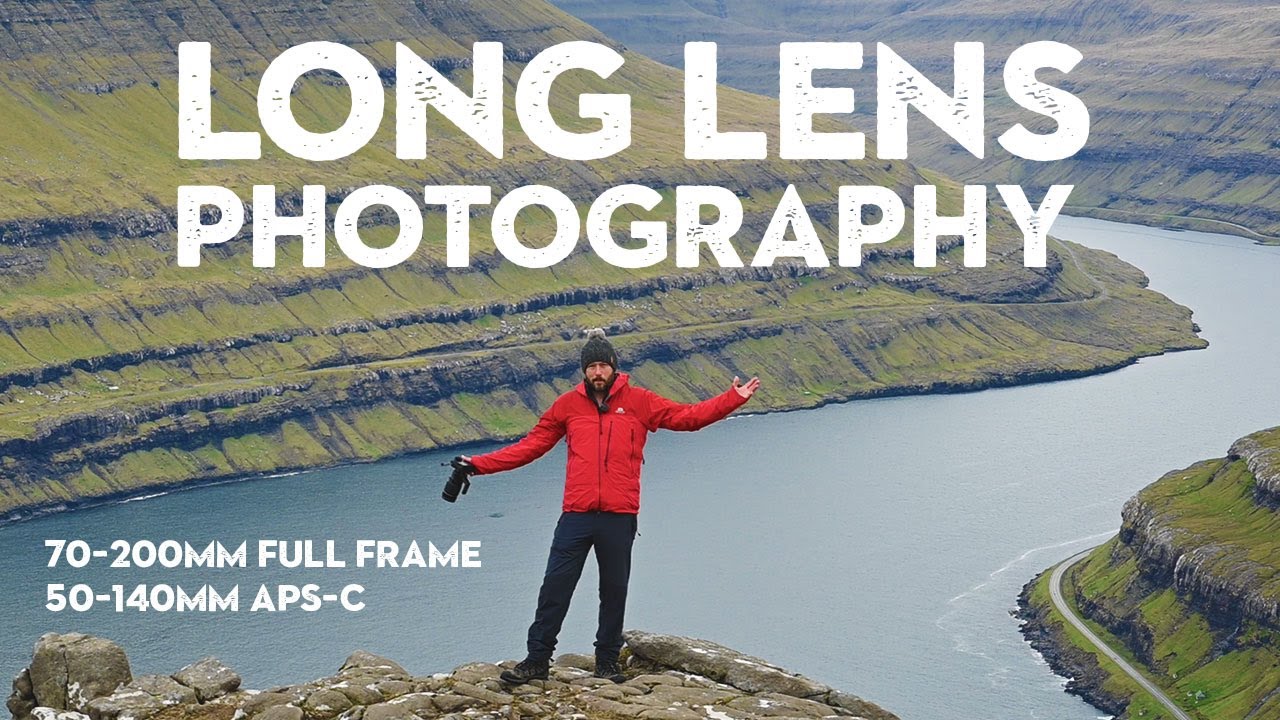
I have a problem with wide-angle lenses. I lean on them too hard, too fast, and too often. When I’m out shooting and the scene feels cluttered or I can’t find a strong composition, my default is to get closer and go wider, which usually makes things worse, not better. I’ve been aware of this habit for a while, but it took watching someone else work through the exact opposite approach to actually shift how I think about it.
In this Nigel Danson tutorial shot on location in the Faroe Islands, Danson works almost exclusively with a 70-200mm equivalent lens and breaks down how a longer focal length doesn’t just compress a scene, it helps you think more deliberately about what belongs in the frame. Watch the full tutorial on YouTube. It’s low-key, practical, and filmed in one of the most dramatic landscapes on earth, which makes the instruction land harder than it would in a controlled environment. Here’s what I took from it.
Step 1: Reach for the Long Lens When the Scene Feels Messy
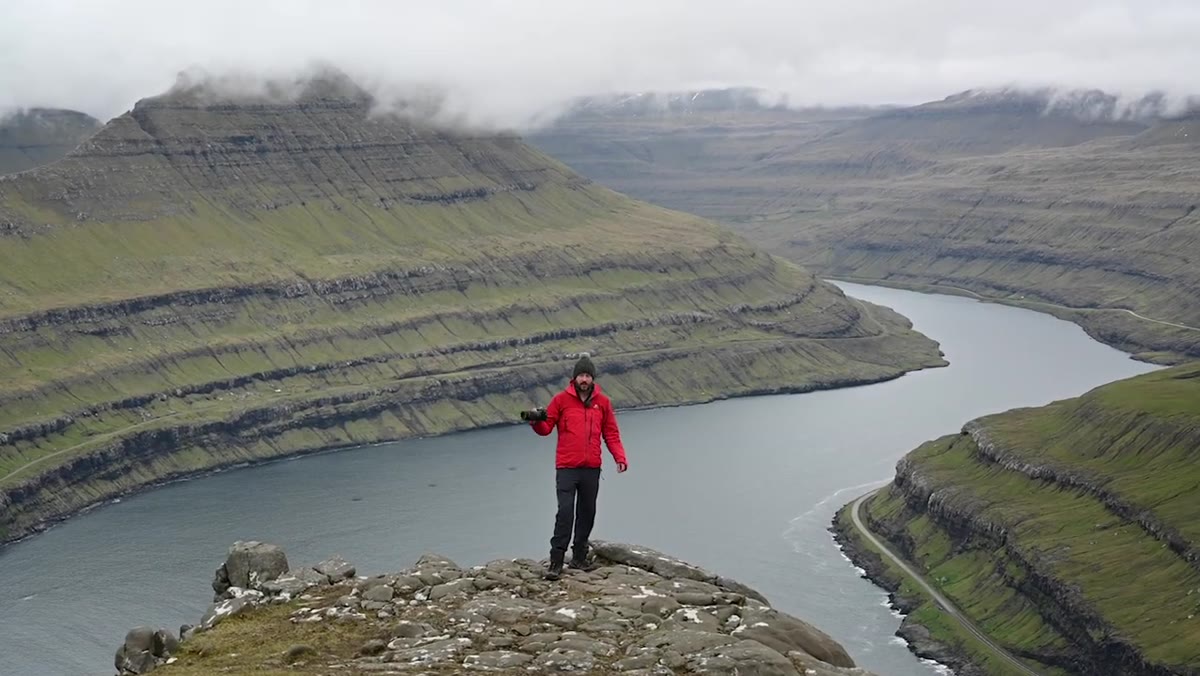 Danson explaining why long lenses help find compositions
Before you even raise the camera, Danson’s first move is a mindset shift. When a location feels overwhelming or the foreground is full of distractions you can’t physically remove, a 70-200mm lens is your editing tool before post-processing even enters the picture. Wide lenses include everything. Long lenses force you to choose. If you’re shooting somewhere that isn’t inherently dramatic in every direction, the longer focal length makes it easier to isolate the one thing that actually deserves attention.
Danson explaining why long lenses help find compositions
Before you even raise the camera, Danson’s first move is a mindset shift. When a location feels overwhelming or the foreground is full of distractions you can’t physically remove, a 70-200mm lens is your editing tool before post-processing even enters the picture. Wide lenses include everything. Long lenses force you to choose. If you’re shooting somewhere that isn’t inherently dramatic in every direction, the longer focal length makes it easier to isolate the one thing that actually deserves attention.
Start by scanning the scene slowly, not with the camera up, but just with your eyes. Look for isolated moments of light, strong lines, or areas where the background does something interesting on its own. The long lens makes those pockets of a scene usable in ways a wide-angle simply won’t.
Step 2: Lock In a Reliable Aperture and Stop Obsessing Over Depth of Field
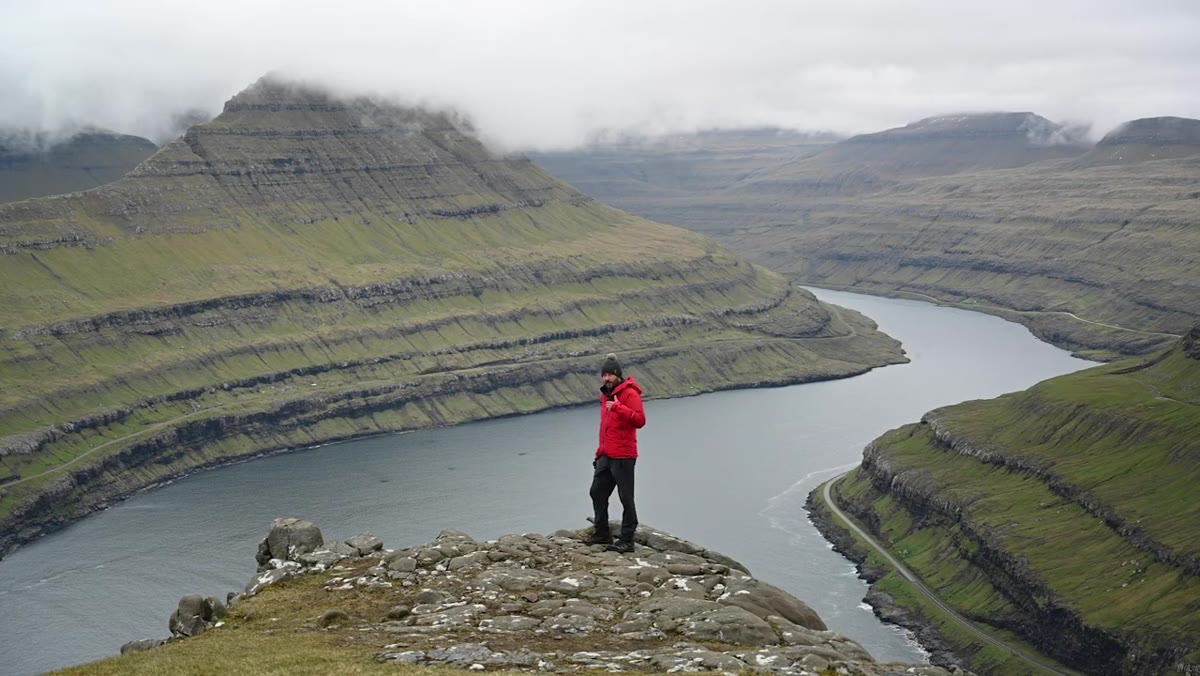 Danson shooting handheld at f7 in bright light
When your subject is far away, depth of field becomes almost irrelevant because everything in the frame is already at a similar distance from your lens. Danson shoots at around f/7 throughout this video and barely thinks about it again. That’s the right call. Pick an aperture in the f/6.3 to f/8 range where your lens is sharpest, and leave it there. You’re not doing macro work. You’re not trying to separate a subject from a nearby background. The compression from the focal length is doing that work for you.
Danson shooting handheld at f7 in bright light
When your subject is far away, depth of field becomes almost irrelevant because everything in the frame is already at a similar distance from your lens. Danson shoots at around f/7 throughout this video and barely thinks about it again. That’s the right call. Pick an aperture in the f/6.3 to f/8 range where your lens is sharpest, and leave it there. You’re not doing macro work. You’re not trying to separate a subject from a nearby background. The compression from the focal length is doing that work for you.
This also frees up your mental bandwidth. Instead of constantly adjusting depth of field, you can focus on placement, timing, and light, which are the variables that actually matter in landscape work with a telephoto.
Step 3: Handhold When Light Allows It
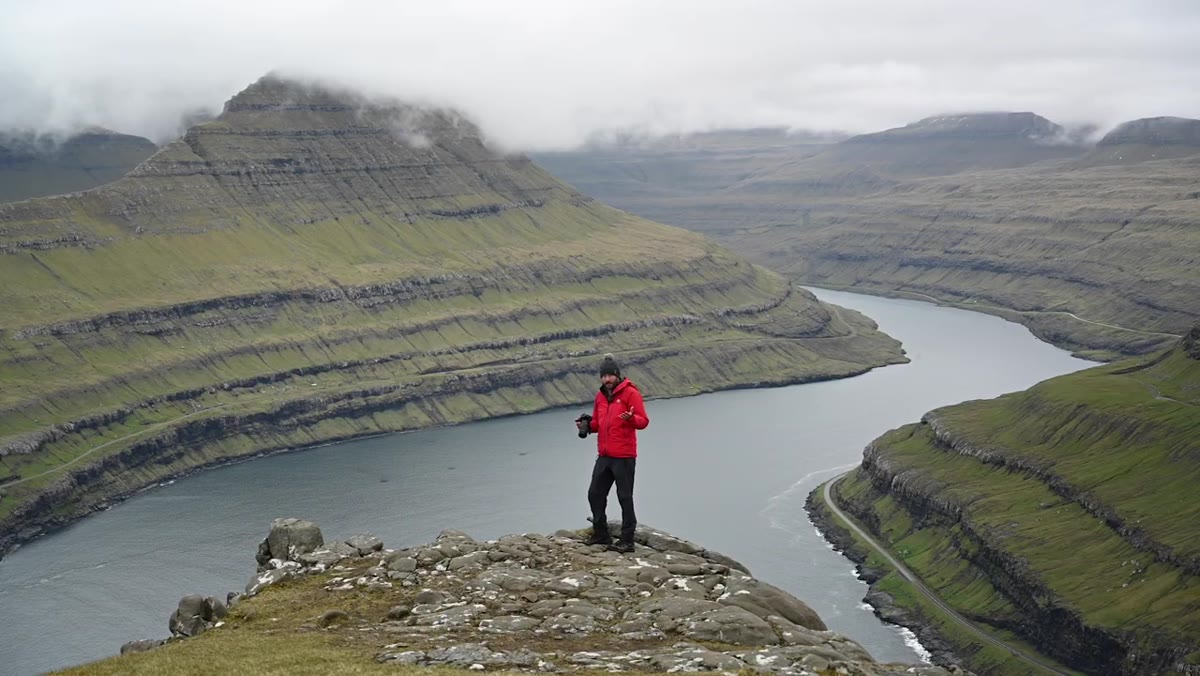 Danson walking freely while handholding the camera
Danson specifically notes that he prefers handholding in good light because it lets him move quickly between compositions. This is something I agree with completely. A tripod locks you into one spot and slows down your ability to react when clouds shift or light changes. If you have enough light to shoot at a shutter speed of at least 1/focal length (so 1/200s or faster on a 200mm equivalent lens), leave the tripod in the bag.
Danson walking freely while handholding the camera
Danson specifically notes that he prefers handholding in good light because it lets him move quickly between compositions. This is something I agree with completely. A tripod locks you into one spot and slows down your ability to react when clouds shift or light changes. If you have enough light to shoot at a shutter speed of at least 1/focal length (so 1/200s or faster on a 200mm equivalent lens), leave the tripod in the bag.
If the light drops and you need to bump ISO to stay handheld, Danson’s take is direct: do it. A small amount of noise in a landscape photo is almost always less damaging to the final image than motion blur or a missed moment. Modern sensors, even in crop-sensor bodies, handle ISO 800 to 1600 cleanly enough that this trade-off is almost always worth making.
Step 4: Use Clouds as a Compositional Element, Not Just Mood Lighting
 Danson discussing cloud shapes interacting with the landscape
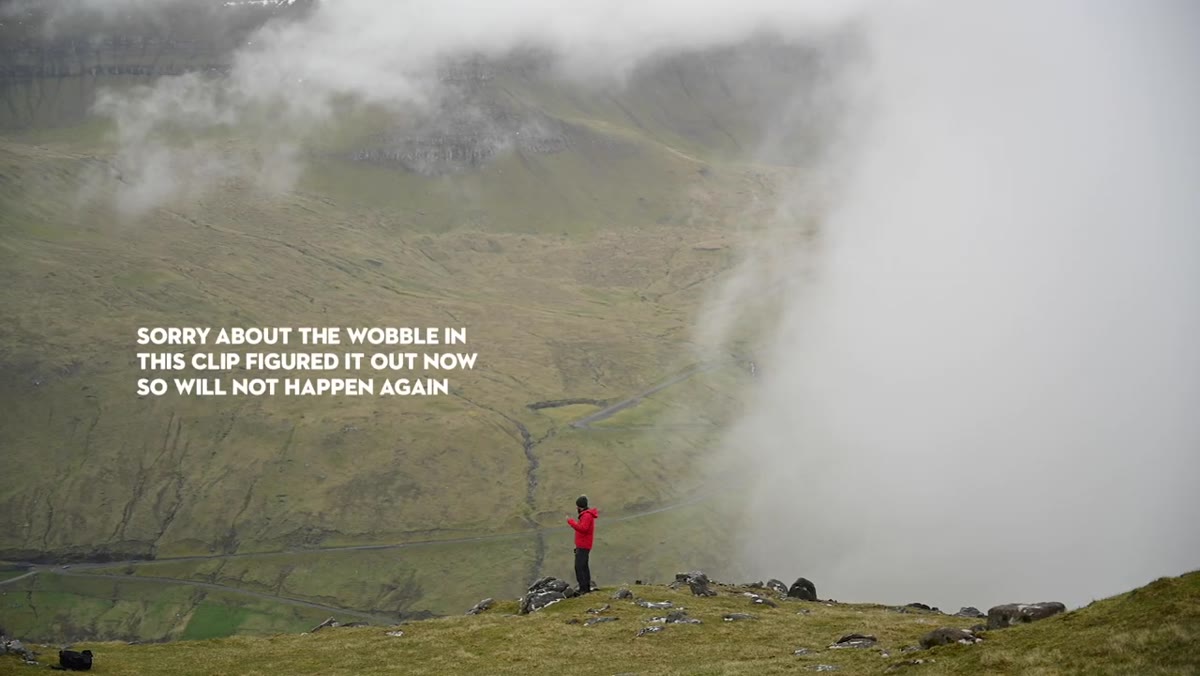
This is the step that most tutorials skip, and it’s one of the more useful things Danson covers. With a long lens, clouds become a major design element rather than background texture. Because you’re compressing distance, the relationship between a cloud formation and a ridgeline or a valley below it becomes visually tighter and more deliberate. You can frame a shot specifically around where a cloud is rolling down a hillside or where light is punching through a gap.
Danson discussing cloud shapes interacting with the landscape
This is the step that most tutorials skip, and it’s one of the more useful things Danson covers. With a long lens, clouds become a major design element rather than background texture. Because you’re compressing distance, the relationship between a cloud formation and a ridgeline or a valley below it becomes visually tighter and more deliberate. You can frame a shot specifically around where a cloud is rolling down a hillside or where light is punching through a gap.
The practical instruction here is to wait and watch before firing the shutter. Spend a few minutes observing how the clouds are moving relative to your framing. If a cloud is going to move into a more interesting position in 30 seconds, wait for it. Danson talks about waiting for specific formations to balance an image or add a sense of mystery, and that patience is what separates a snapshot from an intentional photograph.
Step 5: Experiment with Orientation and Framing Without Moving Your Feet
 Danson trying different orientations from the same position
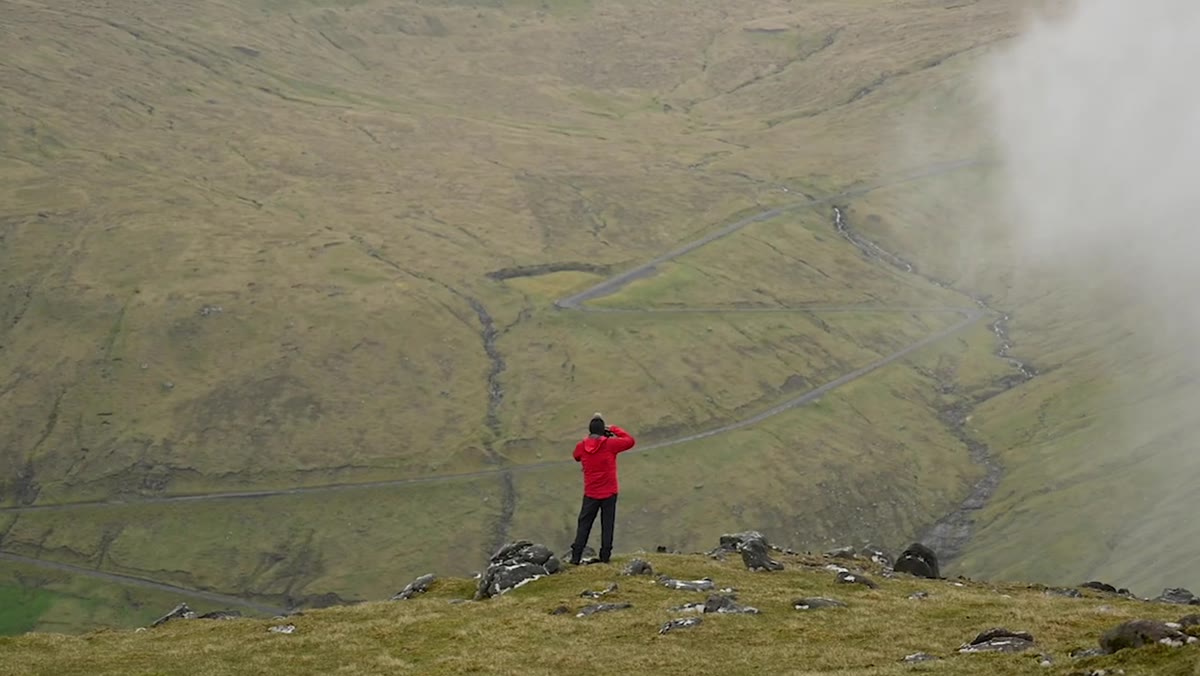
One of the underrated advantages of a telephoto lens is how much variety you can extract from a single standing position. By changing orientation from landscape to portrait, adjusting your zoom, and tilting slightly up or down, you can produce four or five distinct compositions without moving more than a few inches. Danson does this explicitly during the Faroe Islands shoot, noting a river that came into view and immediately trying different framings of it.
Danson trying different orientations from the same position
One of the underrated advantages of a telephoto lens is how much variety you can extract from a single standing position. By changing orientation from landscape to portrait, adjusting your zoom, and tilting slightly up or down, you can produce four or five distinct compositions without moving more than a few inches. Danson does this explicitly during the Faroe Islands shoot, noting a river that came into view and immediately trying different framings of it.
Before you pack up and walk to the next spot, work the position you’re already in. Rotate the camera. Zoom in tighter. Zoom back slightly. Try portrait orientation on something you instinctively shot horizontal. The long lens rewards this kind of deliberate exploration in a way that wide-angle work usually doesn’t.
What I’d Add from My Own Testing
I’ve run budget versions of this workflow using the Fujifilm 55-200mm (a lens I’ve had on my comparison spreadsheet for two years now) and the Canon RF 70-200mm f/4, and the technique Danson describes holds up completely regardless of what you’re spending. The compositional thinking is the skill. The glass is secondary.
That said, if you’re shopping for a 70-200mm equivalent and don’t want to spend flagship money, look hard at the third-party options from Tamron and Sigma before defaulting to the manufacturer’s version. The Tamron 70-180mm f/2.8 for Sony, in particular, has shown up in deal alerts I track regularly at prices that make the optical quality almost unfair. You don’t need a $2,000 lens to practice everything Danson is doing in this video.
The single most useful shift this tutorial pushed me toward is treating a long lens as a subtraction tool. Wide-angle photography is largely about inclusion. Telephoto photography is about elimination, and once you internalize that difference, finding strong compositions gets considerably less frustrating.
Watch the full tutorial on YouTube to see Danson work through these ideas in real time across the Faroe Islands landscape. Seeing the actual frames he captures alongside the thinking behind them makes the instruction stick in a way that a written breakdown alone can’t fully replicate.
Comments (1)
Clear and practical. No fluff. Appreciate that.
Leave a Comment