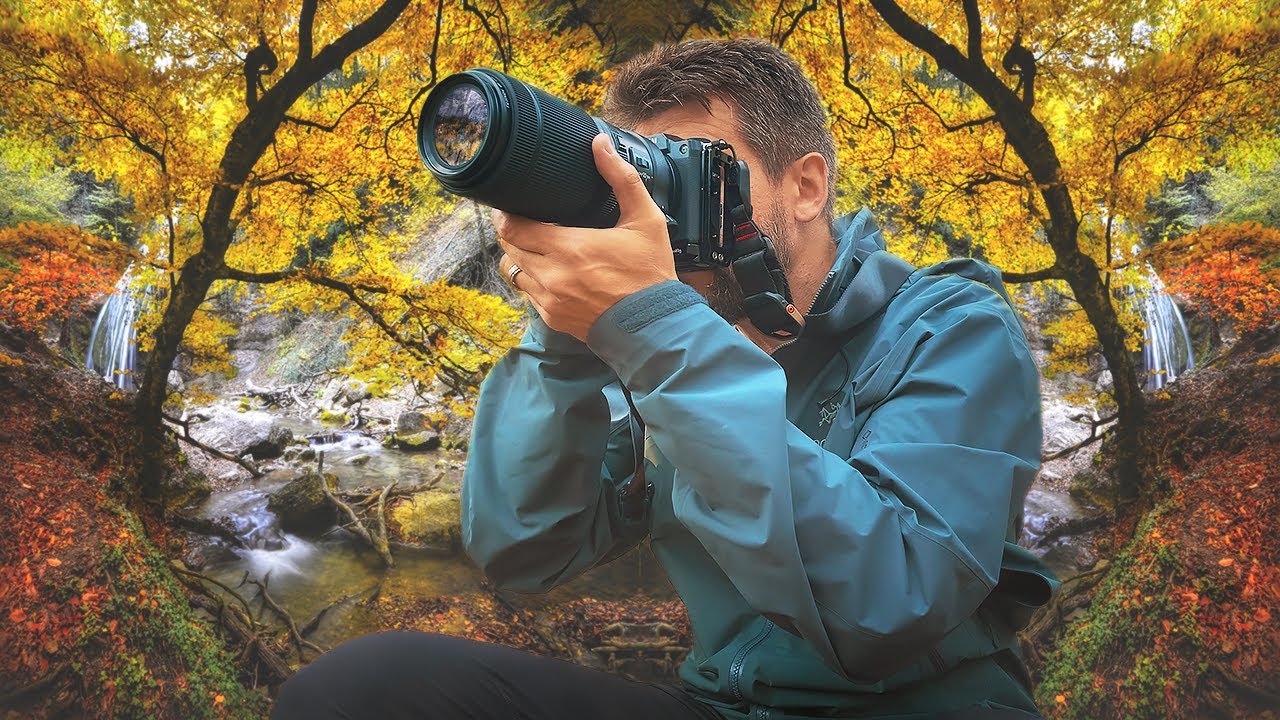
I’ve spent an embarrassing amount of time researching whether a $38 tripod can outperform a $200 one. Spoiler: sometimes it can. But for all the hours I’ve logged comparing gear specs, I keep coming back to the same uncomfortable truth — the most limiting piece of equipment in my kit is usually my own habits. I shoot wide. I shoot safe. I go home thinking I nailed it, then review the cards and realize I grabbed twelve versions of the same grand scene and zero intimate details.
That’s exactly the problem Mark Denney walks through in this tutorial, filmed during a solo woodland session where he’s actively trying to fix the same pattern in his own work. Watch the full tutorial on YouTube — it’s one of those videos where the process is more useful than any single tip he gives. What follows is my breakdown of the technique, the gear involved, and how to actually apply it on your next shoot.
The core issue he identifies is one I recognize immediately: after a trip to Iceland, he reviewed his shots and found nearly everything was wide-angle, grand-vista stuff. First trip to a jaw-dropping location, total sensory overload, lens stays wide the whole time. He calls it seeing one-sided, and it’s a real trap. You either shoot the sweeping scene or you hunt for intimate detail. Rarely both, unless you build a deliberate system to force yourself.
Step 1: Recognize Which Side You Default To
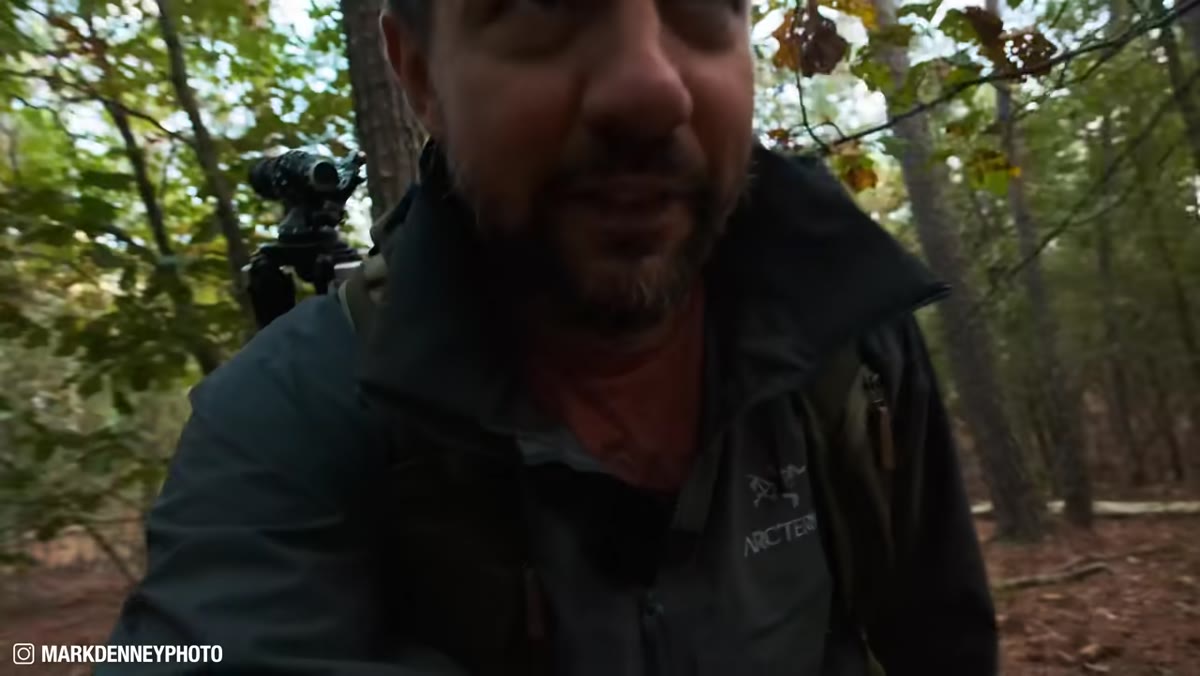 Mark reviewing Iceland photos, noticing a pattern in his work
Before you can fix a visual habit, you have to catch yourself doing it. Denney’s approach is simple: go back through your last major shoot and categorize your images by focal length and framing scale. Are they all wide? Are they all close? Most photographers lean hard one way. I ran this exercise on my last Rocky Mountain session and found 34 out of 41 shots were wider than 35mm. That’s a pattern, not a coincidence. Identifying your default is step zero.
Mark reviewing Iceland photos, noticing a pattern in his work
Before you can fix a visual habit, you have to catch yourself doing it. Denney’s approach is simple: go back through your last major shoot and categorize your images by focal length and framing scale. Are they all wide? Are they all close? Most photographers lean hard one way. I ran this exercise on my last Rocky Mountain session and found 34 out of 41 shots were wider than 35mm. That’s a pattern, not a coincidence. Identifying your default is step zero.
Step 2: Set a Constraint Before You Leave the Car
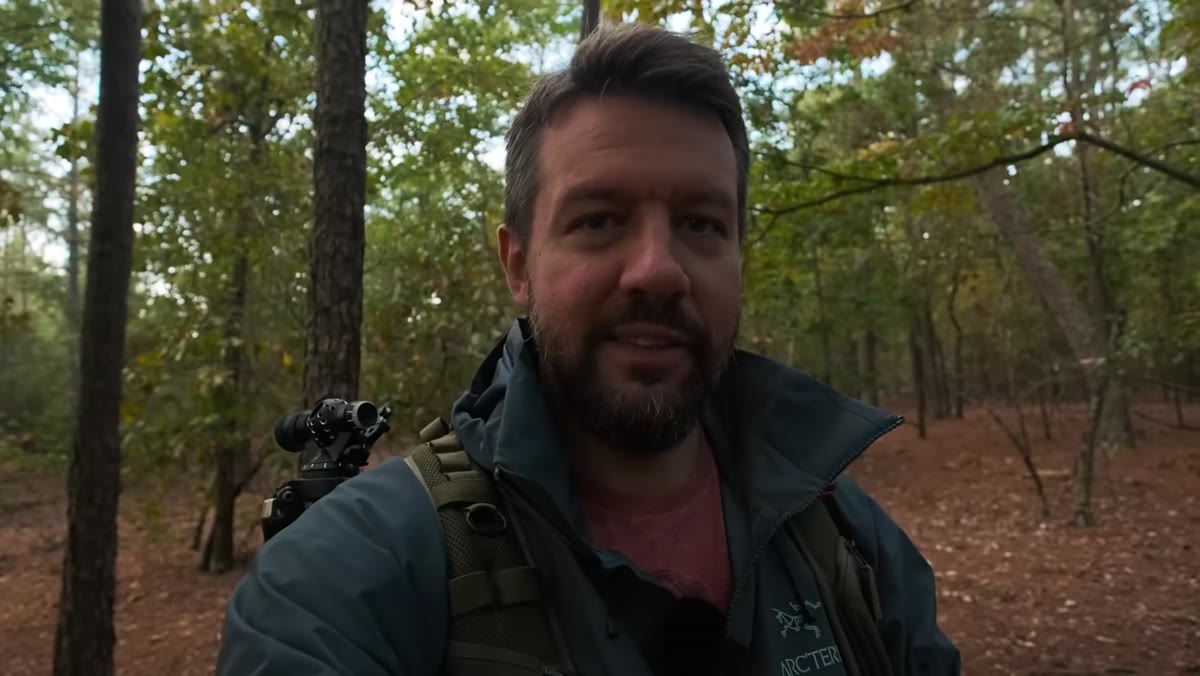 Mark arriving at a local woodland, putting on a long lens
Denney doesn’t just decide to shoot differently once he gets into the woods. He commits to a constraint before he starts: long lens only, handheld, no tripod. The gear choice forces the behavior. If your wide zoom is on the camera, your eye will find wide compositions. Put a telephoto on and the world literally looks different through the viewfinder. He’s using a 100-200mm lens on a medium format body, but the focal length range matters more than the format. A 70-200mm on any APS-C or full frame body gets you to the same creative territory.
Mark arriving at a local woodland, putting on a long lens
Denney doesn’t just decide to shoot differently once he gets into the woods. He commits to a constraint before he starts: long lens only, handheld, no tripod. The gear choice forces the behavior. If your wide zoom is on the camera, your eye will find wide compositions. Put a telephoto on and the world literally looks different through the viewfinder. He’s using a 100-200mm lens on a medium format body, but the focal length range matters more than the format. A 70-200mm on any APS-C or full frame body gets you to the same creative territory.
Step 3: Leave the Tripod in the Bag
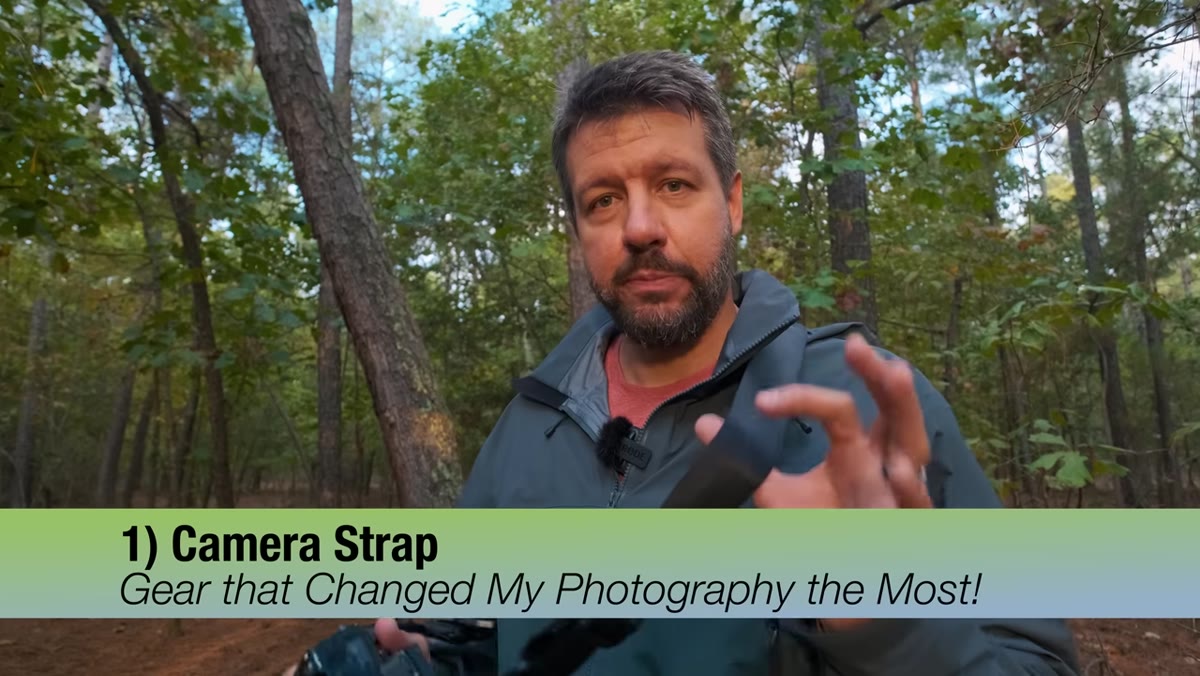 Mark handholding the camera with a strap, moving freely between trees
This is the step that surprises most landscape photographers, who are trained to treat tripods like a moral obligation. Denney makes a direct point here: the tripod slows you down in a way that works against intimate scene hunting. When you’re looking for small pockets of light or layered forest details, you need to move fast, shift your angle by six inches, hold a position for a moment, then move again. A tripod on uneven woodland floor turns a creative exercise into a logistics problem. He keeps a camera strap on specifically for these sessions. That’s the “expensive” gear upgrade in this video. A camera strap.
Mark handholding the camera with a strap, moving freely between trees
This is the step that surprises most landscape photographers, who are trained to treat tripods like a moral obligation. Denney makes a direct point here: the tripod slows you down in a way that works against intimate scene hunting. When you’re looking for small pockets of light or layered forest details, you need to move fast, shift your angle by six inches, hold a position for a moment, then move again. A tripod on uneven woodland floor turns a creative exercise into a logistics problem. He keeps a camera strap on specifically for these sessions. That’s the “expensive” gear upgrade in this video. A camera strap.
Step 4: Hunt for Pockets of Light, Not Subjects
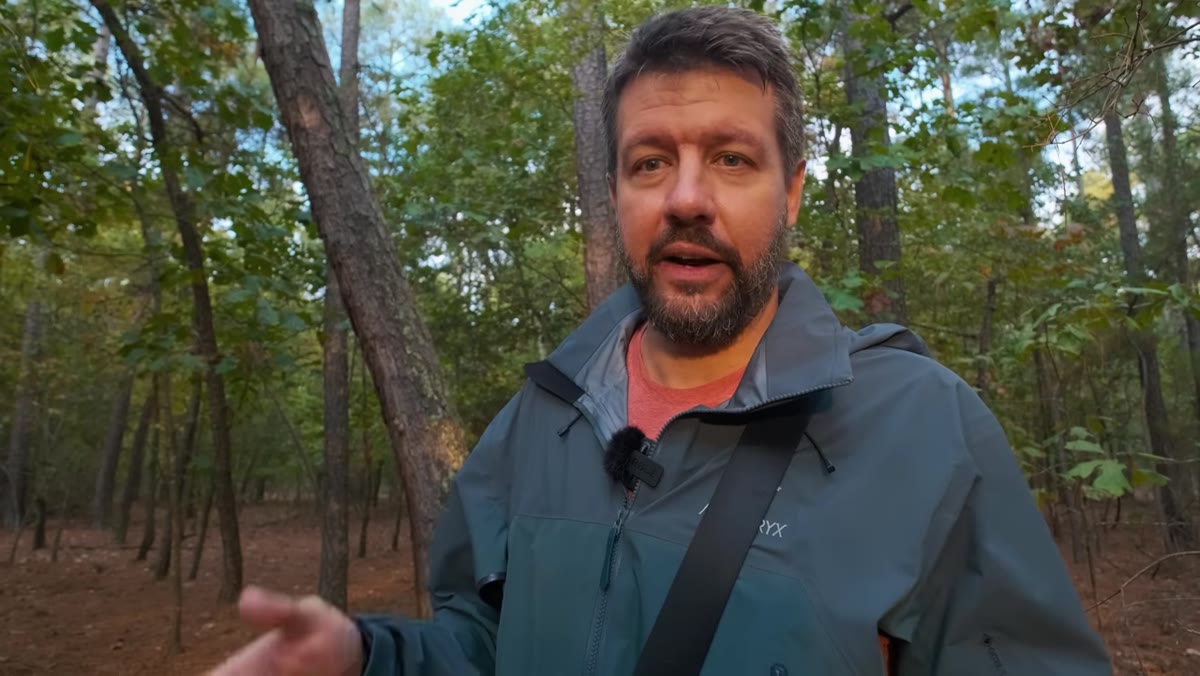 Mark spotting a patch of light hitting tree bark through the canopy
The compositional shift Denney describes here is worth slowing down for. He’s not looking for a pretty tree or an interesting rock. He’s scanning for small areas where light is doing something – hitting bark at a low angle, cutting through a gap in the canopy, creating contrast between two different textures side by side. He calls them “pockets” or “puddles” of light, and that framing is genuinely useful. Instead of asking “what’s worth photographing here?” ask “where is the light landing, and what is it revealing?” That question leads you to intimate scenes almost automatically.
Mark spotting a patch of light hitting tree bark through the canopy
The compositional shift Denney describes here is worth slowing down for. He’s not looking for a pretty tree or an interesting rock. He’s scanning for small areas where light is doing something – hitting bark at a low angle, cutting through a gap in the canopy, creating contrast between two different textures side by side. He calls them “pockets” or “puddles” of light, and that framing is genuinely useful. Instead of asking “what’s worth photographing here?” ask “where is the light landing, and what is it revealing?” That question leads you to intimate scenes almost automatically.
Step 5: Work the Zoom Range Deliberately
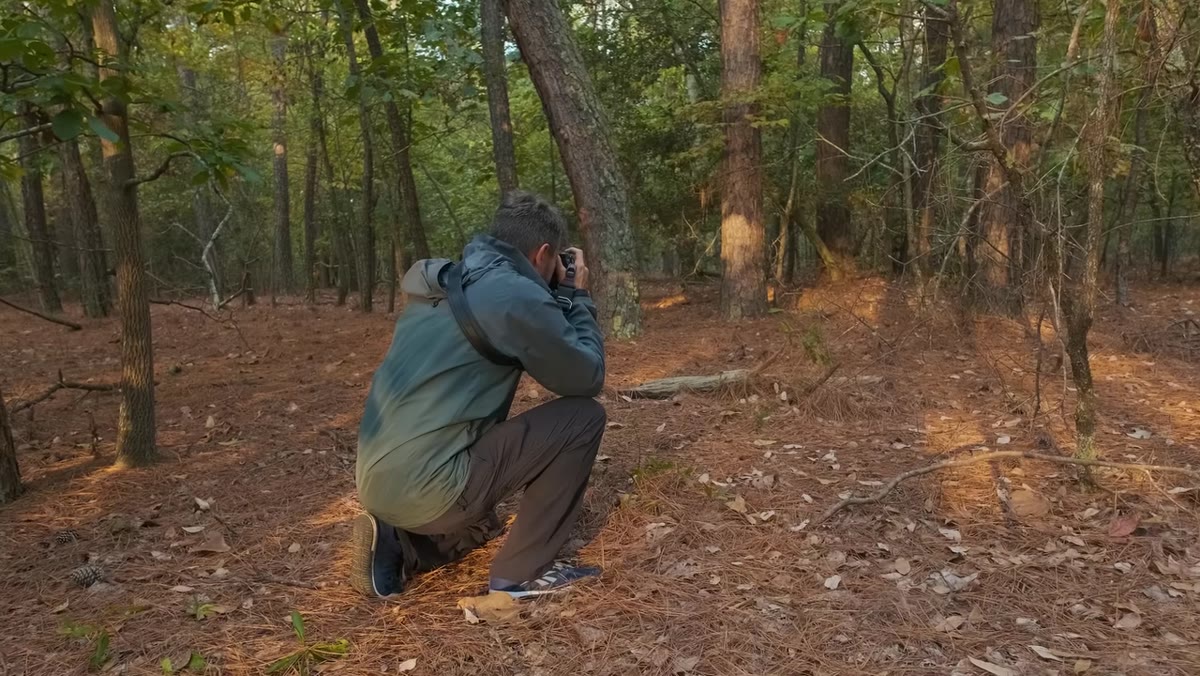 Mark zooming from telephoto to wide end to show framing options
Once he finds a light pocket he likes, Denney doesn’t lock in at one focal length and fire off ten frames. He zooms all the way in to isolate texture and compression, then zooms all the way out to see what the surrounding context adds. The goal is to find where the composition earns its frame. Sometimes maximum compression is the answer. Sometimes pulling back slightly gives you a leading element you didn’t notice at full zoom. Working the full range of your lens on a single scene is a discipline, not an accident – and it’s something you can only really do when you’re handheld and mobile.
Mark zooming from telephoto to wide end to show framing options
Once he finds a light pocket he likes, Denney doesn’t lock in at one focal length and fire off ten frames. He zooms all the way in to isolate texture and compression, then zooms all the way out to see what the surrounding context adds. The goal is to find where the composition earns its frame. Sometimes maximum compression is the answer. Sometimes pulling back slightly gives you a leading element you didn’t notice at full zoom. Working the full range of your lens on a single scene is a discipline, not an accident – and it’s something you can only really do when you’re handheld and mobile.
Step 6: Repeat Until Your Eye Recalibrates
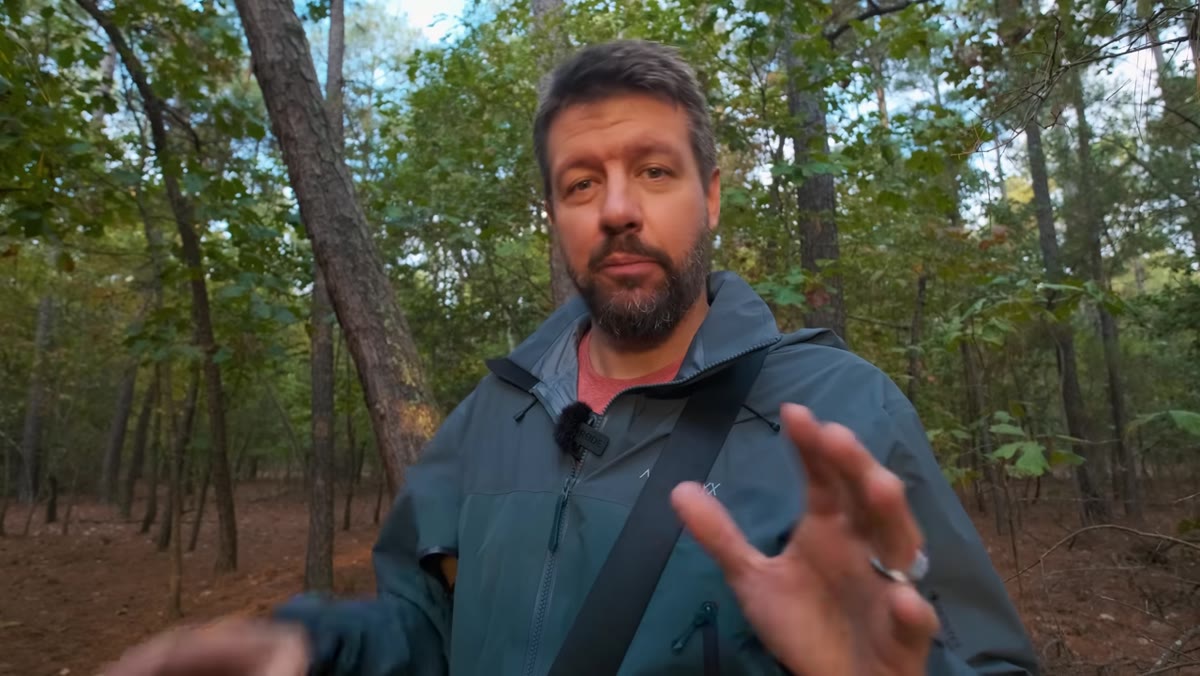 Mark walking slowly through woodland, pausing to raise camera repeatedly
Denney frames this whole session as a “personal challenge,” something he uses to break habits rather than a permanent workflow change. The repetition matters. One session of shooting intimate scenes won’t rewire anything. But three or four deliberate sessions where you impose the same constraint – telephoto, handheld, light-first thinking – starts to change what your eye notices even when you’re not doing the exercise. The woodland shoot is practice, and practice compounds.
Mark walking slowly through woodland, pausing to raise camera repeatedly
Denney frames this whole session as a “personal challenge,” something he uses to break habits rather than a permanent workflow change. The repetition matters. One session of shooting intimate scenes won’t rewire anything. But three or four deliberate sessions where you impose the same constraint – telephoto, handheld, light-first thinking – starts to change what your eye notices even when you’re not doing the exercise. The woodland shoot is practice, and practice compounds.
My Extension: Budget Gear Makes This Easier, Not Harder
Here’s the thing nobody says about this technique: it’s actually more accessible if you’re shooting budget gear. A $150 used 70-300mm kit telephoto is a perfectly good tool for hunting woodland light pockets. You don’t need the sharpest glass for this exercise – you need the right focal length and the freedom to move. In fact, I’d argue that shooters who’ve been babying expensive primes are sometimes the least comfortable going handheld and unpredictable with their framing. If you’ve been holding off on trying this because your telephoto isn’t “good enough,” run the test. The constraint is the point, not the resolution.
I also want to flag the camera strap angle specifically because it’s exactly the kind of $15-to-$30 accessory that actually changes how you shoot. Denney mentions he almost never uses a strap – except for this type of session. That’s a specific, honest use case. If you’re hunting a deal on a reliable neckstrap or sling for handheld telephoto work, that’s the context to shop in. Function over brand every time.
The single most important thing Denney demonstrates in this tutorial isn’t a setting or a piece of gear – it’s the habit of diagnosing your own creative blind spots and designing a constraint that forces you out of them. The camera strap and the telephoto are just tools that support the real work, which is seeing differently on purpose.
Watch the full tutorial on YouTube to see how Denney actually moves through the woodland and what he ends up capturing. Watching him work in real time makes the light-hunting instinct a lot easier to develop than reading about it.
Comments (1)
Tried this technique this morning. Game changer for real.
Leave a Comment