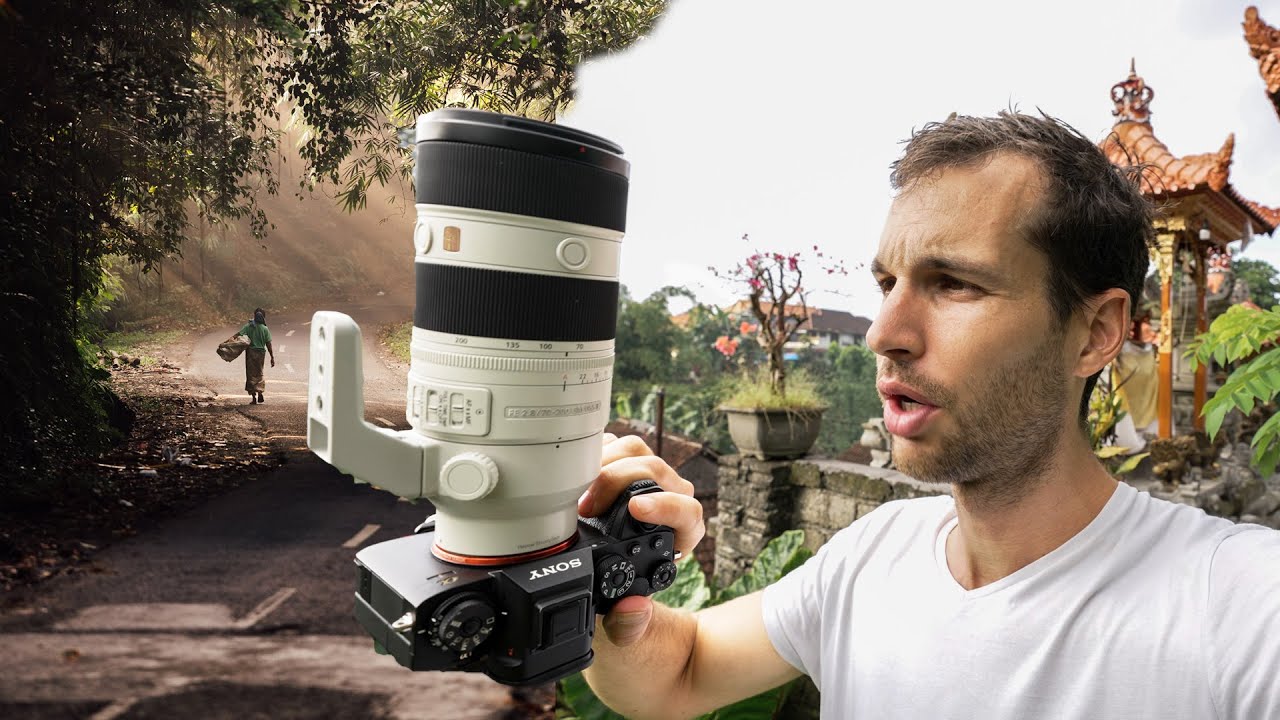
Street photography is one of those disciplines where everyone has an opinion about the “right” gear. Prime lenses only. Go wide or go home. You need to be close to make it real. I’ve heard all of it, and honestly, I’ve repeated some of it myself. So when I came across this Pierre T. Lambert tutorial shot entirely on location in Ubud, Bali, using a 70-200mm zoom for street work, it stopped me mid-scroll. Not because the gear choice is contrarian for the sake of it, but because watching the results come together in real time made a clear case for a technique I’d been dismissing.
Watch the full tutorial on YouTube
The specific problem this solves for me: compression. I’ve shot street scenes with wide lenses and gotten technically fine images that feel flat, like a snapshot of a busy place rather than a photograph of a moment. A longer focal length collapses the distance between subject and environment, stacking visual layers in a way that wide glass just can’t replicate. Lambert’s Bali footage demonstrates this in conditions that aren’t even ideal, overcast, post-rain, no dramatic golden hour, and the shots still land. That’s the part worth paying attention to.
Step 1: Accept the Imperfect Conditions and Reframe Your Goal
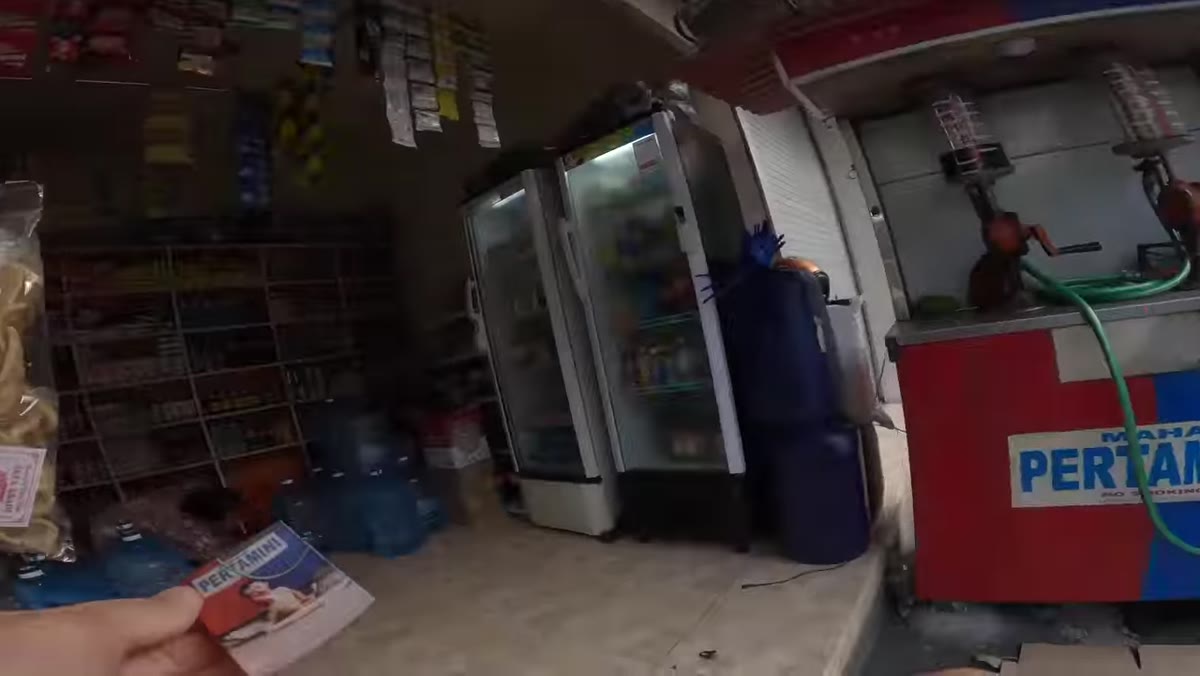 Pierre walking quiet misty street at early morning
Lambert opens the session having already missed his planned sunrise. Rain overnight, flat gray light, a fussy infant the night before. Instead of packing up, he reframes the whole shoot around what the bad weather actually created: ground mist, wet reflections, and soft diffused light that works in favor of moody street imagery. This is a mental technique as much as a technical one.
Pierre walking quiet misty street at early morning
Lambert opens the session having already missed his planned sunrise. Rain overnight, flat gray light, a fussy infant the night before. Instead of packing up, he reframes the whole shoot around what the bad weather actually created: ground mist, wet reflections, and soft diffused light that works in favor of moody street imagery. This is a mental technique as much as a technical one.
Before you touch a camera setting, decide what the current conditions are actually good for rather than mourning what you planned. Flat overcast light kills harsh shadows, which means faces and street scenes read more evenly. Post-rain surfaces turn any ordinary pavement into a reflective layer. Work with the atmosphere in front of you, not the one on your mood board.
Step 2: Choose Your Focal Length Based on the Scene’s Depth, Not Its Width
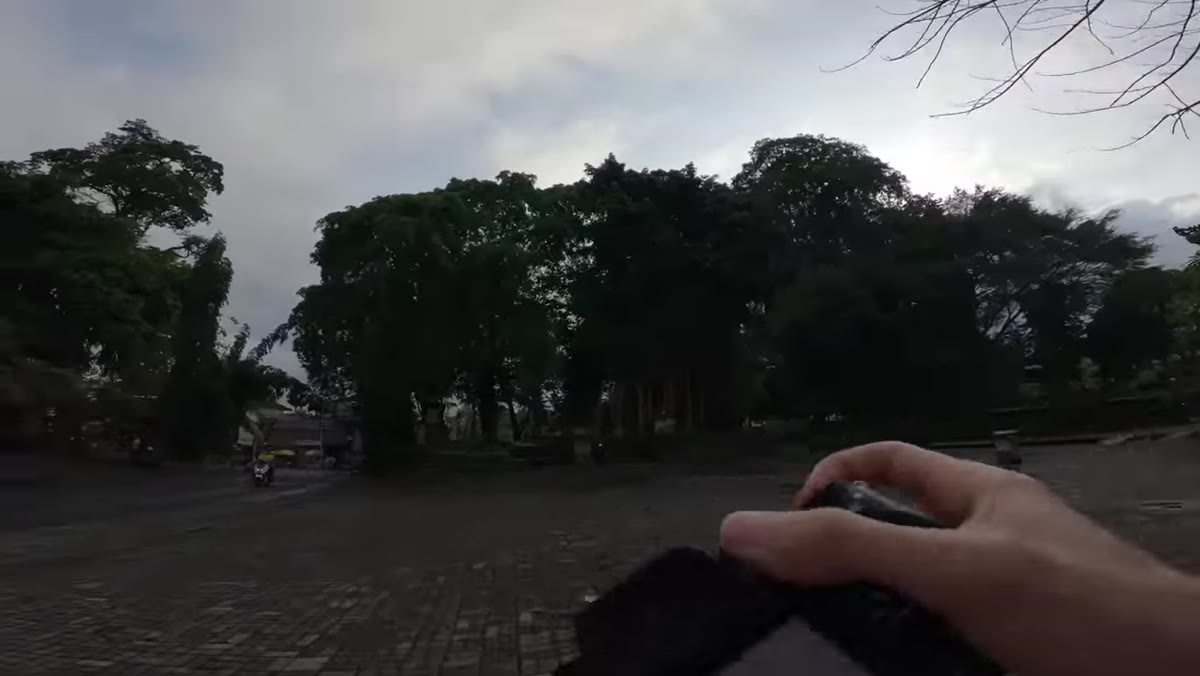 Pierre raising camera toward busy main road scene
This is the core gear decision the whole video is built around. Lambert is shooting a Sony 70-200mm on the Sony A1, and he acknowledges out loud on the main road that it might not have been the obvious choice. But the reasoning holds: when you’re working in a location with visual layers, a temple gate in the foreground, market stalls in the middle distance, crowds further back, longer glass lets you isolate and compress those layers into a single coherent frame.
Pierre raising camera toward busy main road scene
This is the core gear decision the whole video is built around. Lambert is shooting a Sony 70-200mm on the Sony A1, and he acknowledges out loud on the main road that it might not have been the obvious choice. But the reasoning holds: when you’re working in a location with visual layers, a temple gate in the foreground, market stalls in the middle distance, crowds further back, longer glass lets you isolate and compress those layers into a single coherent frame.
The practical trade-off is mobility. A 70-200mm is not a subtle piece of kit on a busy street, and you’re not going to be shooting at arm’s length. What you gain is the ability to pull a distant subject into intimate relationship with its surroundings. If your street scene has depth worth preserving, a 70-200mm earns its bulk.
Step 3: Work the Side Streets for Quieter, More Intentional Frames
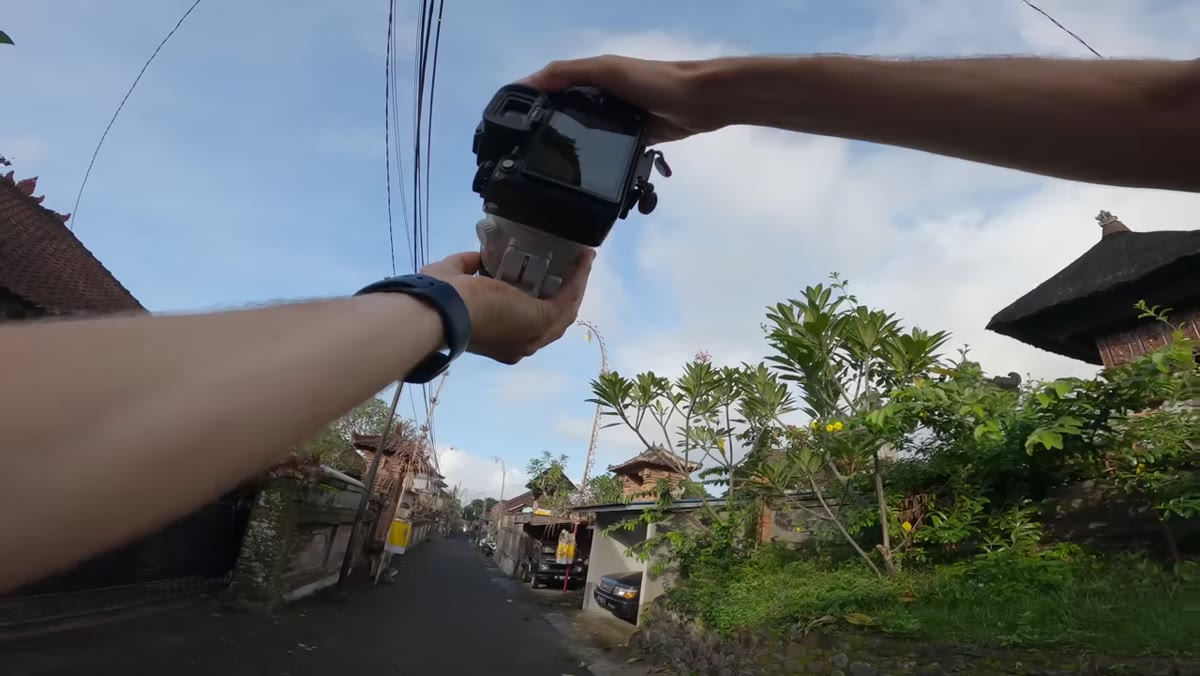 Narrow side street with temple decorations overhead
Lambert spends significant time on the quieter back streets of Ubud before hitting the main road. The logic is simple: less foot traffic means more time per frame. You can actually think about your composition without a scooter deciding your shutter moment for you. Side streets also tend to have more visual texture, doorways, hanging decorations, small shrines, than main thoroughfares.
Narrow side street with temple decorations overhead
Lambert spends significant time on the quieter back streets of Ubud before hitting the main road. The logic is simple: less foot traffic means more time per frame. You can actually think about your composition without a scooter deciding your shutter moment for you. Side streets also tend to have more visual texture, doorways, hanging decorations, small shrines, than main thoroughfares.
When you scout this way with a long lens, you’re looking for frames within frames. Lambert spots a decorated doorway and small alley entrance and uses the surrounding architecture to box in his subject. With the 70-200mm, he can stand back far enough to include that framing geometry without distorting it the way a wide lens would.
Step 4: Shoot Low to Add Foreground Interest and Force Perspective
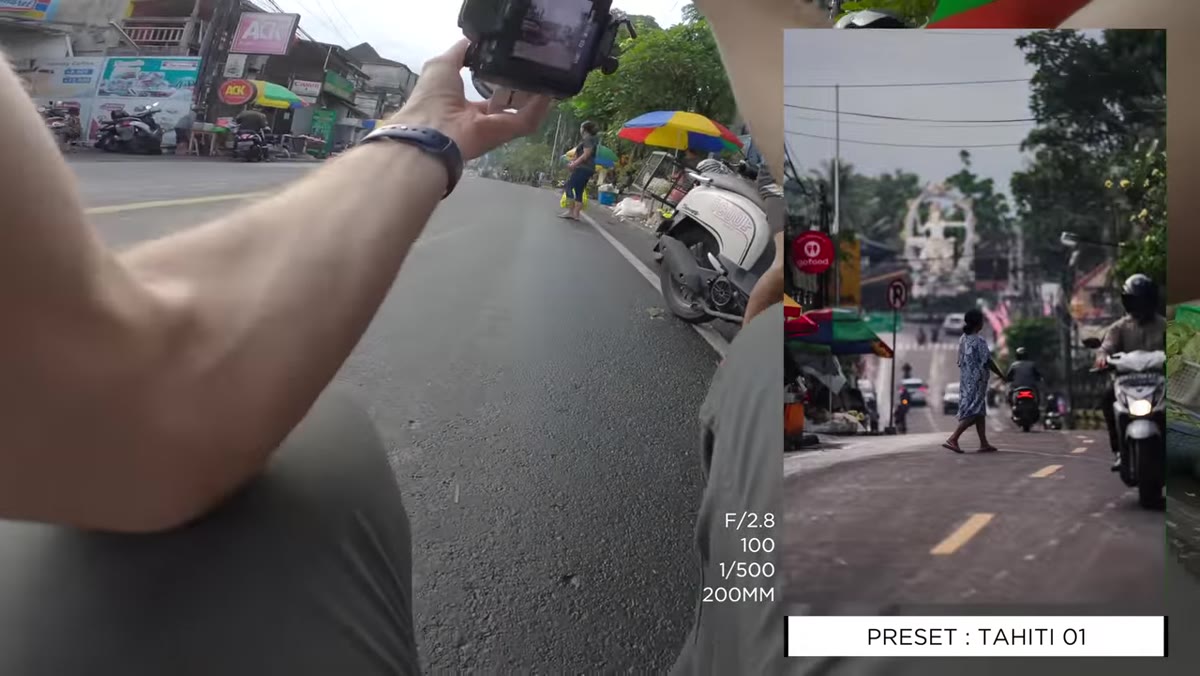 Pierre crouching low near market to capture statue in frame
At the open-air market section, Lambert drops into a crouch to pull a distant statue into the lower portion of his frame while keeping market activity in the mid and background. This is compression doing active compositional work. By shooting low with a telephoto, you dramatically change the apparent relationship between near and far elements without physically moving between them.
Pierre crouching low near market to capture statue in frame
At the open-air market section, Lambert drops into a crouch to pull a distant statue into the lower portion of his frame while keeping market activity in the mid and background. This is compression doing active compositional work. By shooting low with a telephoto, you dramatically change the apparent relationship between near and far elements without physically moving between them.
The setting consideration here is aperture. A slightly stopped-down aperture, think f/5.6 to f/8 rather than wide open, keeps both the foreground element and background context readable at this focal length. Wide open on a 70-200mm at close-ish distances and you can lose the context that makes the compressed shot meaningful.
Step 5: Time Your Shots Around Local Rituals and Repeated Behavior
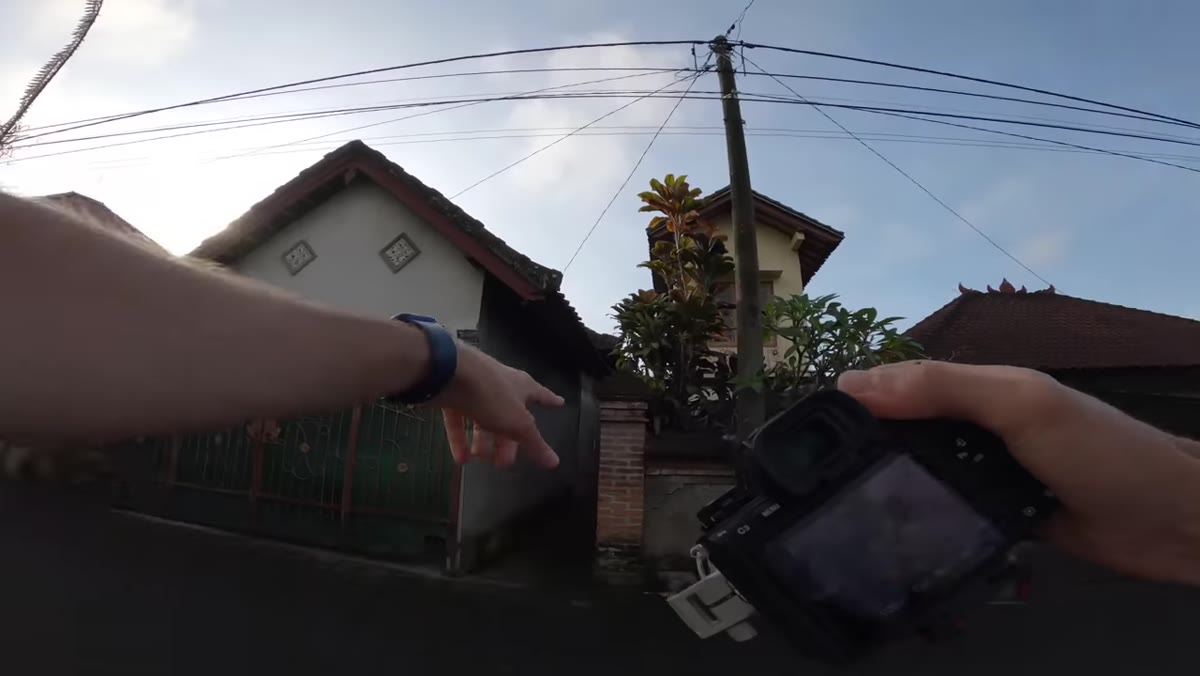 Morning offering preparation visible on side street
One of the most useful things Lambert does is research the local daily routine before shooting. In Ubud, residents traditionally place small offerings outside their homes and businesses each morning. He knows this, he plans his early start around it, and he positions himself in residential areas where it’s likely to happen. The result is access to quiet, human, culturally specific moments rather than generic tourist-area street shots.
Morning offering preparation visible on side street
One of the most useful things Lambert does is research the local daily routine before shooting. In Ubud, residents traditionally place small offerings outside their homes and businesses each morning. He knows this, he plans his early start around it, and he positions himself in residential areas where it’s likely to happen. The result is access to quiet, human, culturally specific moments rather than generic tourist-area street shots.
For your own street work, this translates to any repeated behavior. A coffee cart that sets up at 7am. A school crossing that fills for 10 minutes. A market vendor arranging stock before opening. Predictable human behavior is a street photographer’s best friend, and a telephoto lets you capture it without inserting yourself into it.
Step 6: Use Slow Shutter Speed Selectively for Motion in Static Scenes
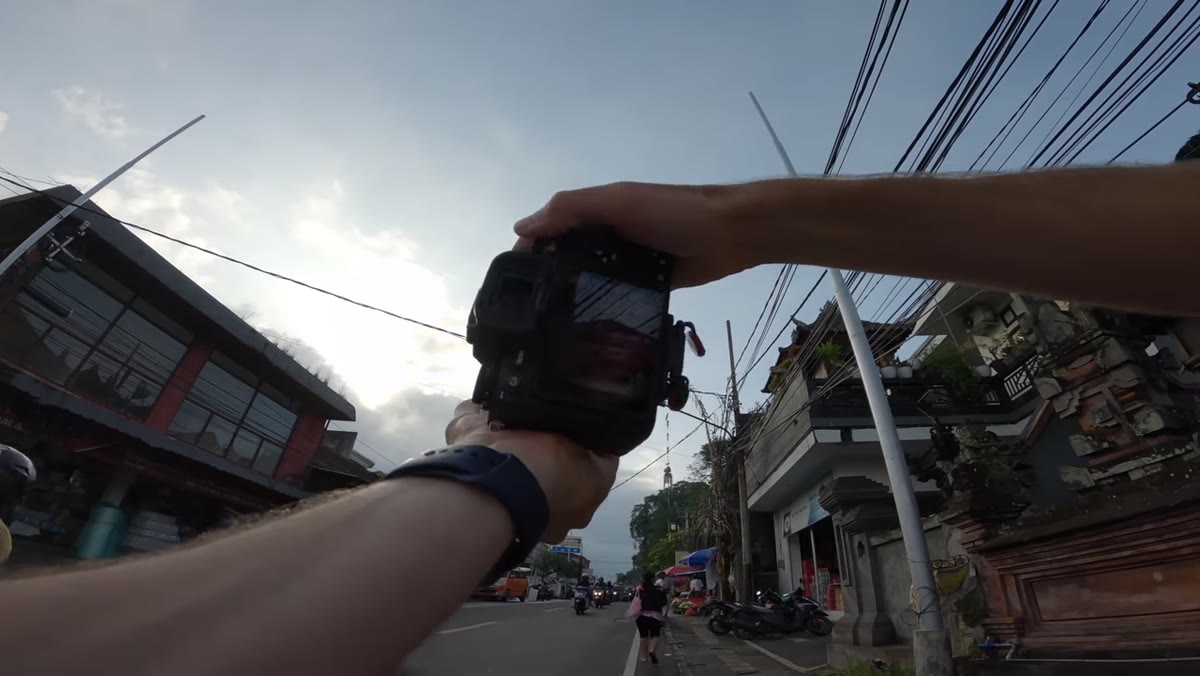 Pierre considering slow shutter for moving orange vehicle
Near the end of the session, Lambert clocks a brightly colored vehicle moving through frame and considers dropping his shutter speed to introduce motion blur. This is a specific choice for a specific frame, not a blanket approach. The surrounding scene is mostly static, which means a single moving element rendered with blur becomes an intentional contrast rather than an accidental one.
Pierre considering slow shutter for moving orange vehicle
Near the end of the session, Lambert clocks a brightly colored vehicle moving through frame and considers dropping his shutter speed to introduce motion blur. This is a specific choice for a specific frame, not a blanket approach. The surrounding scene is mostly static, which means a single moving element rendered with blur becomes an intentional contrast rather than an accidental one.
For this to work technically, you need a stable base. Handheld with a 70-200mm at slow shutter is tough. Either use IBIS aggressively, brace against a wall or post, or accept that you’ll fire several frames and keep the one where camera shake was minimal.
What I’d Add From My Own Testing
The 70-200mm is genuinely underrated for street work, and I’ve seen this play out in my own lens comparisons. The compression effect Lambert is using isn’t magic. It’s physics, and you don’t need a top-tier telephoto to access it. Budget 70-300mm options from third-party manufacturers can deliver the same compression behavior at a fraction of the price. The autofocus won’t always keep up in fast street scenarios, but for the measured, deliberate approach Lambert demonstrates here, a slower lens is a workable trade. If you’re curious whether telephoto street photography fits your shooting style before spending serious money on glass, test it cheap first.
The single biggest thing this tutorial hammered home for me: conditions don’t have to be perfect for the technique to work. Lambert’s best frames from this session came from a failed sunrise on an overcast morning with ground mist nobody planned for. The 70-200mm didn’t save those shots. Reading the scene and adapting did. The lens just made the adaptation possible.
Watch the full tutorial on YouTube to see the actual footage and compositions Lambert pulls off in real time. Watching the framing decisions happen live is worth more than any breakdown I can write.
Comments
Leave a Comment