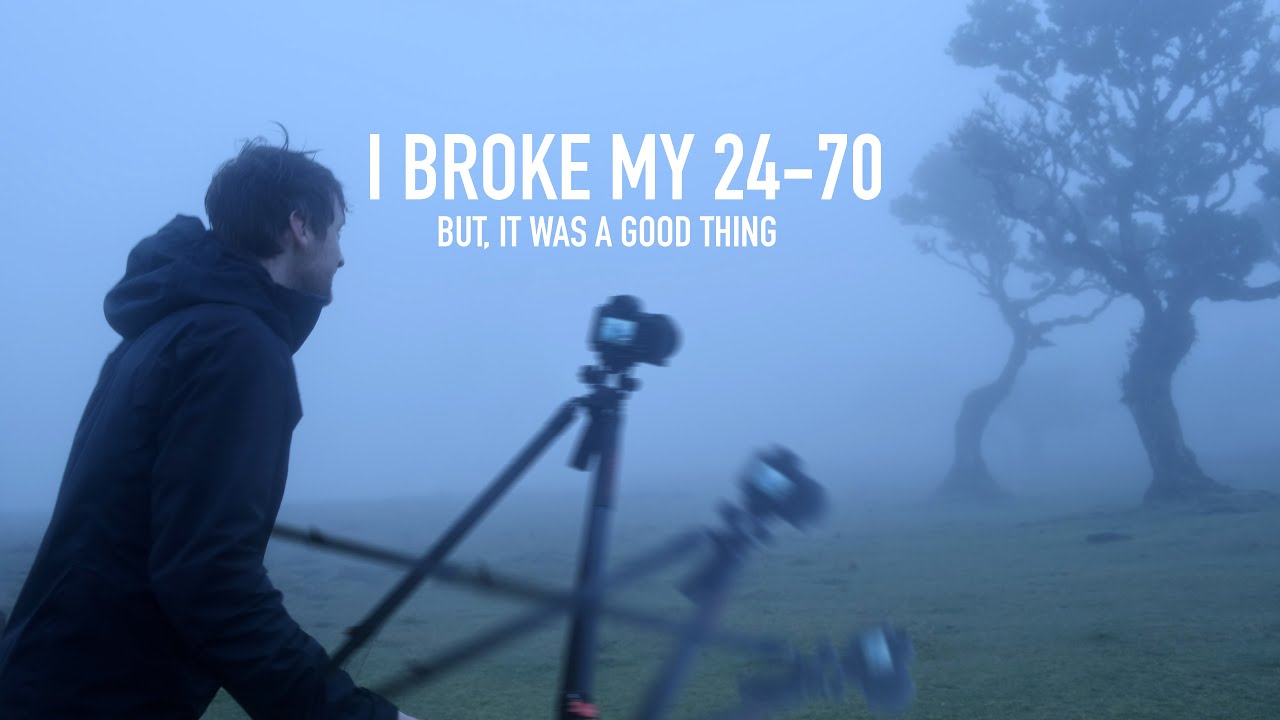
There’s a specific kind of frustration I know well: you’ve done the research, packed the right gear, shown up at the right location, and then everything goes sideways. Wrong light, wrong weather, something stops working. My instinct used to be to pack up and wait for a better day. What I’ve learned, mostly by forcing myself to keep shooting through miserable conditions, is that those sessions produce some of my most honest work. Not always my prettiest, but the kind that actually taught me something.
In this Thomas Heaton tutorial, Watch the full tutorial on YouTube, Heaton heads to Madeira on a last-minute trip with a packed schedule, a convertible rental car in pouring rain, and a lens that takes a beating from wind-driven rain straight to the front element. What unfolds is less a polished travel photography guide and more a real-time lesson in adapting your process when conditions refuse to cooperate. That’s exactly why I found it useful.
I got into gear reviews because I kept noticing that the photographers who produced the most consistent work weren’t the ones with the best equipment. They were the ones who had learned to shoot through problems. Heaton’s Madeira video is a good case study in that, and the lessons apply whether you’re shooting on a volcanic island or in a Denver park that’s decided to be foggy and wet on your only free morning.
Step 1: Arrive Without Expectations and Scout Immediately
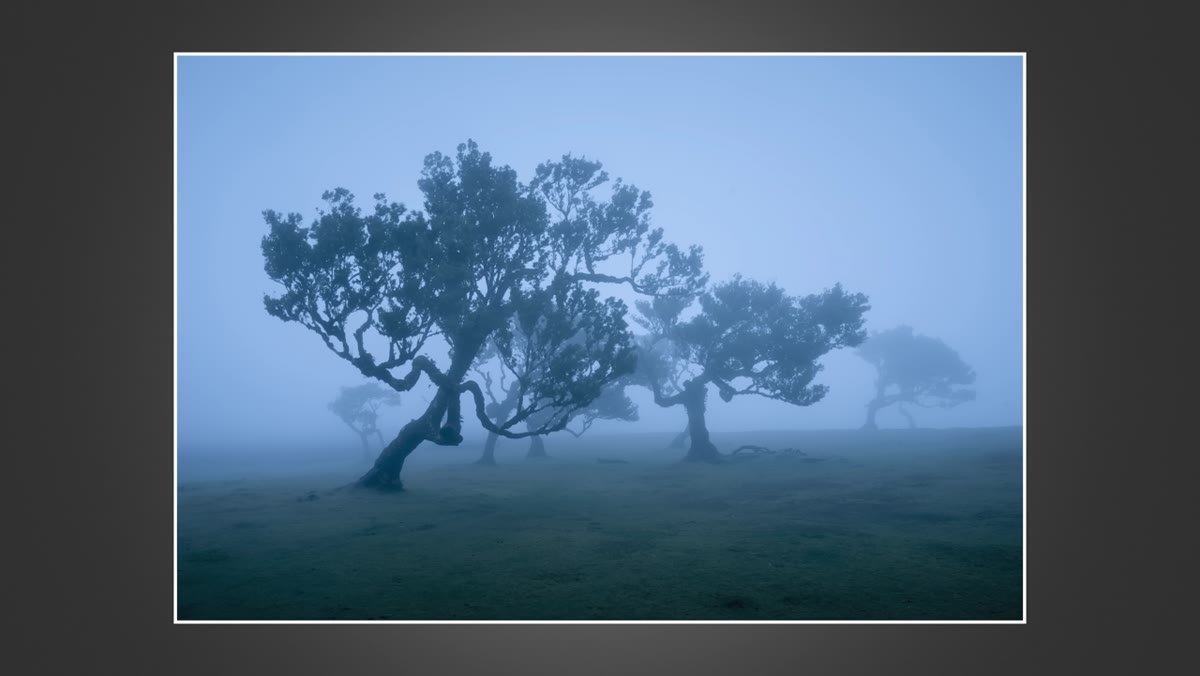
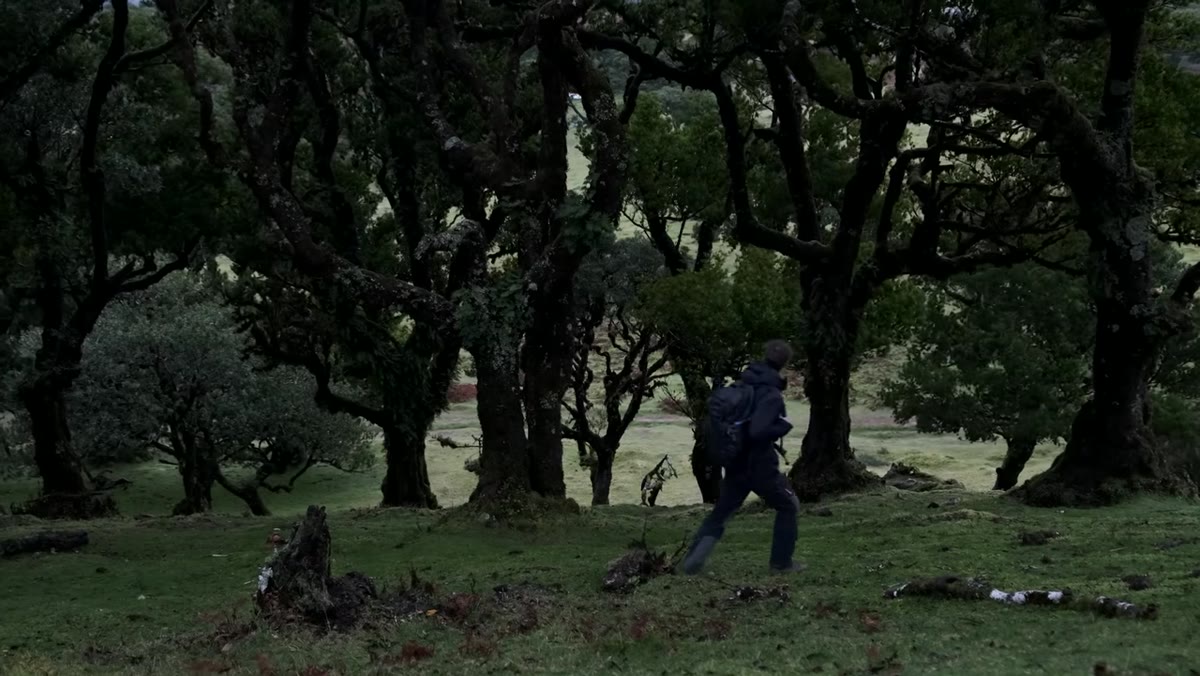 Heaton arriving at foggy Fanel Forest on a wet morning
Heaton heads straight to the Fanel Forest on his first morning, a location famous for atmospheric fog. He arrives to find clear skies. Rather than treating this as a failure and leaving, he walks the location anyway, building familiarity with the terrain and the trees. This is scouting under pressure, and it’s a skill most tutorials skip because it doesn’t look exciting on camera.
Heaton arriving at foggy Fanel Forest on a wet morning
Heaton heads straight to the Fanel Forest on his first morning, a location famous for atmospheric fog. He arrives to find clear skies. Rather than treating this as a failure and leaving, he walks the location anyway, building familiarity with the terrain and the trees. This is scouting under pressure, and it’s a skill most tutorials skip because it doesn’t look exciting on camera.
Do this on your own shoots: even when the light or conditions aren’t what you wanted, walk the full location before you set up the tripod. Note where the good anchor points are, what direction the light is coming from, and where fog or mist would pool if it did arrive. You’re essentially pre-building compositions so that when conditions shift, you’re not scrambling.
Step 2: Let the Weather Change Your Shot, Not Cancel It
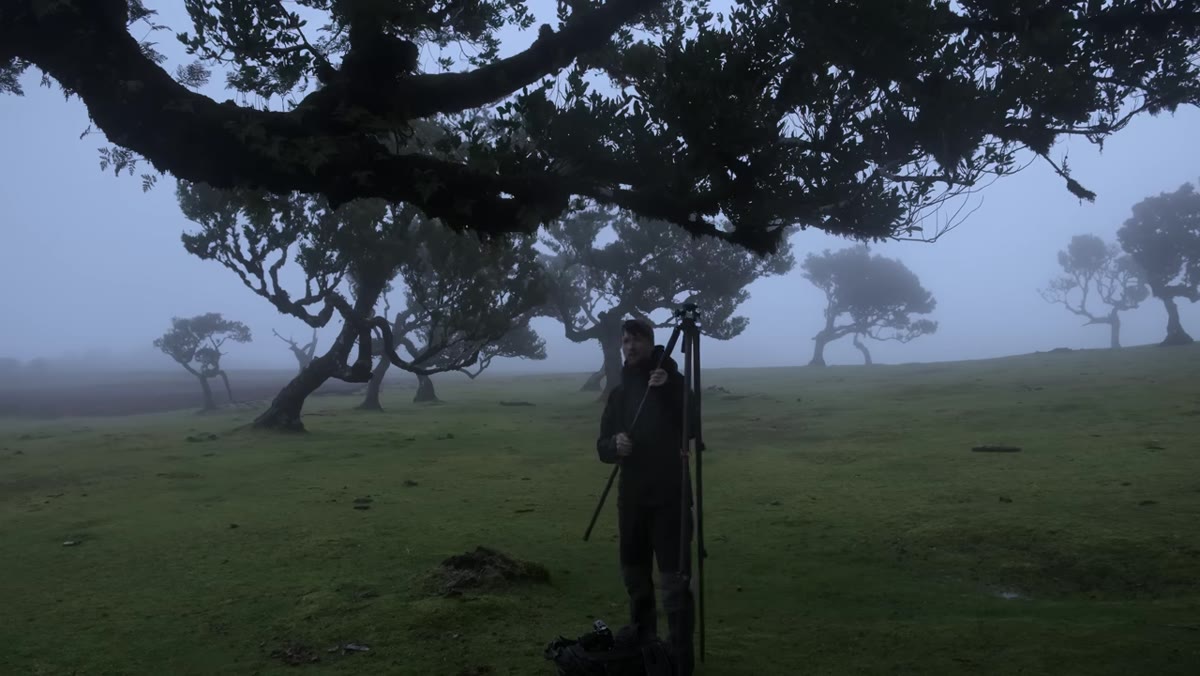 Fog rolling through the forest as wind picks up
The fog Heaton was hoping for does eventually arrive, but it moves fast and unpredictably. Wind drives it through the trees in waves. Instead of waiting for it to settle into something static and easy to frame, he starts shooting into the movement. The result is a set of images with genuine atmosphere rather than the postcard version of fog that most landscape shooters wait hours for.
Fog rolling through the forest as wind picks up
The fog Heaton was hoping for does eventually arrive, but it moves fast and unpredictably. Wind drives it through the trees in waves. Instead of waiting for it to settle into something static and easy to frame, he starts shooting into the movement. The result is a set of images with genuine atmosphere rather than the postcard version of fog that most landscape shooters wait hours for.
The practical lesson here is to stop treating dynamic weather as a problem to wait out. Fog rolling fast through trees is a different composition than fog sitting still. Adjust your shutter speed to either freeze the movement or let it blur slightly for a more painterly result. A shutter speed in the range of 1/15s to 1/4s on a tripod can render moving fog beautifully without losing the structure of your main subject.
Step 3: Protect Your Lens, But Keep Shooting When It Gets Wet
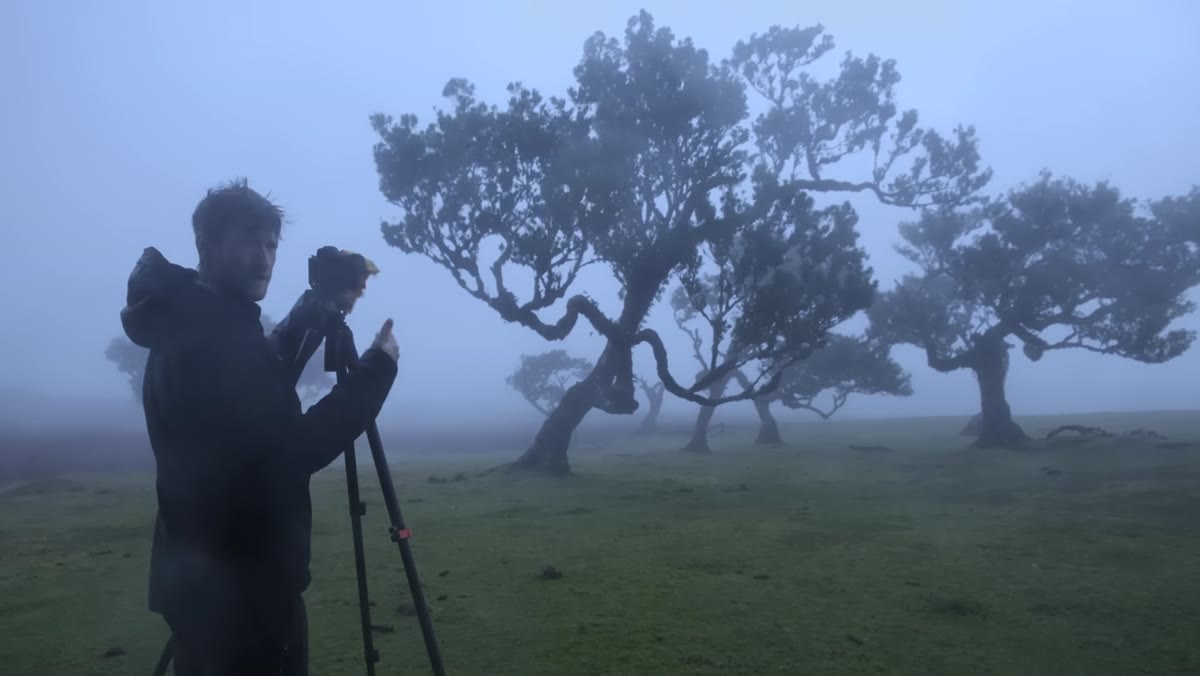 Rain hitting the lens directly during active shooting
This is where the title of the video earns its weight. Rain starts hitting Heaton’s lens directly. He’s working in exposed terrain with no shelter, and the front element is getting soaked. He keeps shooting. Not recklessly, but with the awareness that moisture on a lens changes the image in ways that can actually be interesting: reduced contrast, soft halation around bright areas, a quality that’s hard to fake in post.
Rain hitting the lens directly during active shooting
This is where the title of the video earns its weight. Rain starts hitting Heaton’s lens directly. He’s working in exposed terrain with no shelter, and the front element is getting soaked. He keeps shooting. Not recklessly, but with the awareness that moisture on a lens changes the image in ways that can actually be interesting: reduced contrast, soft halation around bright areas, a quality that’s hard to fake in post.
If you’re shooting in rain, carry a microfiber cloth in your jacket pocket, not your bag. Wipe between shots, not during. If you’re using a filter, a single raindrop on a circular polarizer at a wide aperture can create a lens flare effect that either ruins the shot or improves it depending on where the light source is. Know which outcome you’re getting before you decide to wipe or shoot. Weather-sealed bodies help, but the discipline of protecting the front element while staying in position is the real skill.
Step 4: Take the First Shot Even If You’re Not Ready
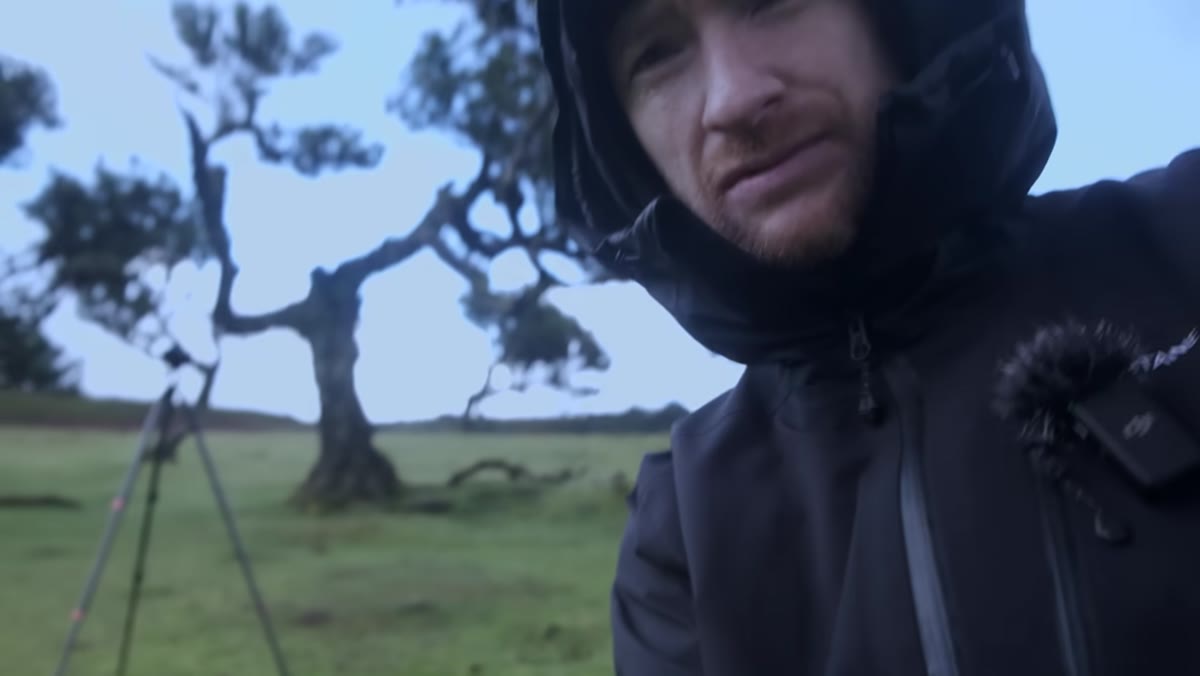
 Heaton composing and shooting despite difficult conditions
Heaton is candid that his first shot of the day probably isn’t his best. He’s excited, the conditions are chaotic, and he hasn’t settled into a rhythm yet. He shoots anyway. He describes wanting to get that first frame done so he can move into a calmer headspace for the rest of the session.
Heaton composing and shooting despite difficult conditions
Heaton is candid that his first shot of the day probably isn’t his best. He’s excited, the conditions are chaotic, and he hasn’t settled into a rhythm yet. He shoots anyway. He describes wanting to get that first frame done so he can move into a calmer headspace for the rest of the session.
This is a real technique, not just a mindset platitude. The first shot breaks the paralysis of trying to find the perfect composition before you’ve calibrated to the location. Shoot something deliberately imperfect, review it, and use what’s wrong with it to build the next frame. Heaton finds his second scene more productively because he’s already worked through the nervous energy on the first one.
Step 5: Move to a New Scene Before You’ve Exhausted the First One
 Heaton relocating to scout a second composition
After the first location, Heaton doesn’t grind away trying to extract every possible frame from the same spot. He moves. Madeira is compact enough that location changes are quick, but the principle holds everywhere: leaving a scene while you still have energy and curiosity for it usually produces better work than wringing it dry.
Heaton relocating to scout a second composition
After the first location, Heaton doesn’t grind away trying to extract every possible frame from the same spot. He moves. Madeira is compact enough that location changes are quick, but the principle holds everywhere: leaving a scene while you still have energy and curiosity for it usually produces better work than wringing it dry.
Set a mental limit of two to three solid compositions per location, then move. You can always return. What you can’t recover is the momentum and fresh eye you had on arrival.
What I’d Add From My Own Experience
The constraint Heaton didn’t fully name is the one I find most useful: broken or limited gear forces cleaner decisions. When I started out shooting with a kit lens that had a sticky aperture ring, I couldn’t chase the “perfect” f-stop. I had to commit to what I had and make it work compositionally. My keeper rate from that period is honestly better than stretches where I was testing five lenses at once and second-guessing every frame.
If your gear is giving you trouble in the field, treat it as a creative parameter rather than a reason to stop. A lens that’s fogged, a body that’s buffering slowly, a tripod head that’s slightly loose: each one forces a specific kind of discipline. That’s not spin. My spreadsheet of budget lenses has a column for “character flaws” and some of those lenses are the ones I still reach for on personal projects.
The single biggest takeaway from Heaton’s Madeira trip is this: conditions that feel like obstacles are usually just a different version of the scene you came to shoot. Your job is to figure out what they’re offering, not wait for them to give you what you planned on.
Watch the full tutorial on YouTube and pay attention to how Heaton’s energy shifts after that first chaotic shot. That shift is the real technique.
Comments
Leave a Comment