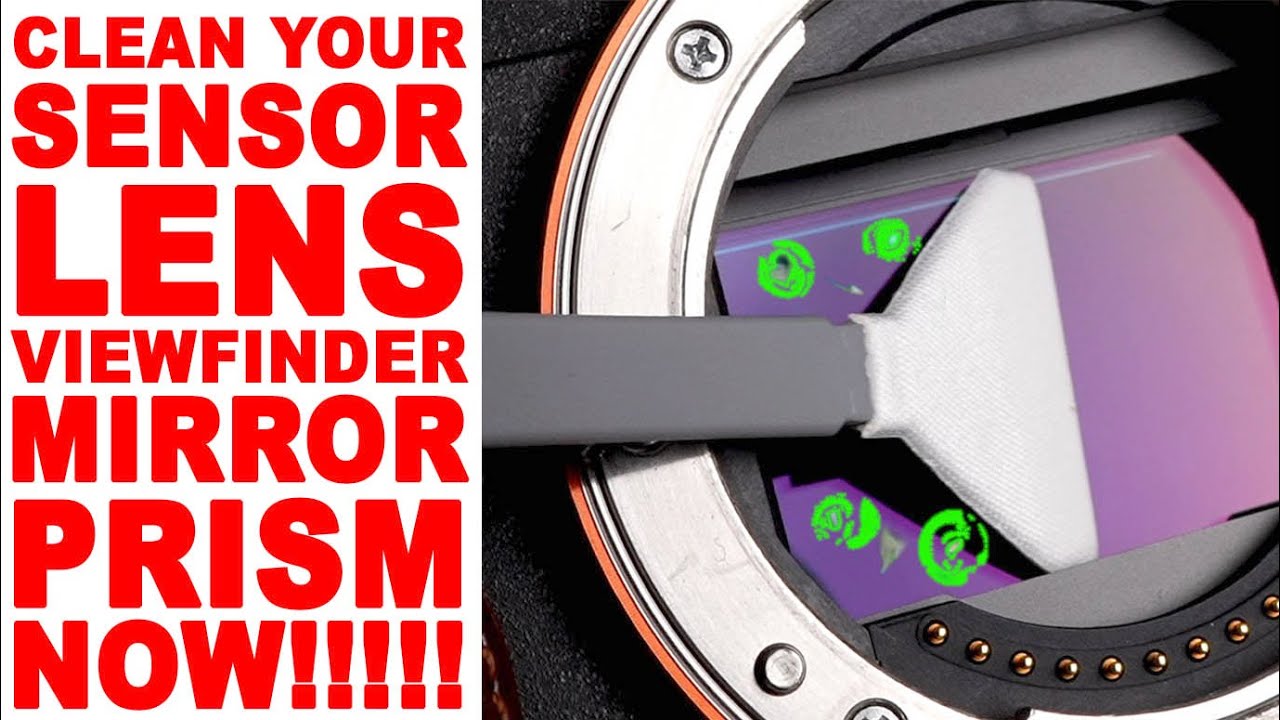
Dust spots have killed more of my shots than bad light ever has. I shoot a lot of outdoor stuff around Denver — trails, open sky, snow fields — and nothing ruins a clean blue sky or a white background faster than a constellation of fuzzy blobs that you didn’t notice until you got home. For a while I was spending 20 minutes per session in Lightroom cloning out spots I could have prevented in five minutes with the right process. That’s the kind of inefficiency that drove me into deal-hunting in the first place: not laziness, just the refusal to waste time on problems that have already been solved.
In this Tony & Chelsea Northrup tutorial, Tony walks through a complete sensor and lens cleaning workflow, from diagnosis all the way to wet cleaning if it comes to that. Watch the full tutorial on YouTube – it’s thorough, and Tony tests products instead of just recommending whatever is popular. What I want to do here is give you a step-by-step version you can follow without pausing and rewinding, with the actual settings and tools called out clearly.
Step 1: Reveal the Dust You Can’t See in Normal Light
 Camera shot at f22 showing dust spots across frame
Before you clean anything, you need to know what you’re actually dealing with. Shoot a plain, bright surface – a white wall or overcast sky works – at the smallest aperture your lens offers, something like f/16 or f/22. At wide apertures, dust blurs into invisibility. Stop down and those blobs snap into sharp, undeniable focus. If you shoot video, dust can also hide behind subject blur during a scene and only reveal itself when you cut to a static wide shot.
Camera shot at f22 showing dust spots across frame
Before you clean anything, you need to know what you’re actually dealing with. Shoot a plain, bright surface – a white wall or overcast sky works – at the smallest aperture your lens offers, something like f/16 or f/22. At wide apertures, dust blurs into invisibility. Stop down and those blobs snap into sharp, undeniable focus. If you shoot video, dust can also hide behind subject blur during a scene and only reveal itself when you cut to a static wide shot.
To tell sensor dust from lens dust, zoom your lens while the camera is pointed at that same plain background. Sensor dust stays locked in position. Lens dust shifts or rotates as the focal length changes. That distinction matters because it tells you exactly where to focus your cleaning effort.
Step 2: Inspect Everything With a Smartphone Flash
 Smartphone flash illuminating front lens element in dim room
Take your camera into a dim room. Open your phone’s camera app, switch on the flash, and start recording video – this keeps the light continuous rather than giving you a single burst. Hold the phone close and move the light across the front element of your lens, then the rear element with the lens removed, and then angle the light across the sensor itself. Dust and smears that are completely invisible under regular lighting suddenly glow.
Smartphone flash illuminating front lens element in dim room
Take your camera into a dim room. Open your phone’s camera app, switch on the flash, and start recording video – this keeps the light continuous rather than giving you a single burst. Hold the phone close and move the light across the front element of your lens, then the rear element with the lens removed, and then angle the light across the sensor itself. Dust and smears that are completely invisible under regular lighting suddenly glow.
For DSLR shooters, don’t stop at the sensor. With the mirror down, shine the light at the mirror surface itself and up at the base of the prism above it. Dust on the prism shows up in your viewfinder even though it never touches your actual photos – but it’s still worth cleaning because it throws off your manual focus accuracy. Mirrorless shooters have fewer surfaces to check but the sensor is more exposed every time you swap lenses, so pay extra attention there.
Step 3: Run the Camera’s Built-In Sensor Cleaning First
 Camera held upside down with lens removed over table
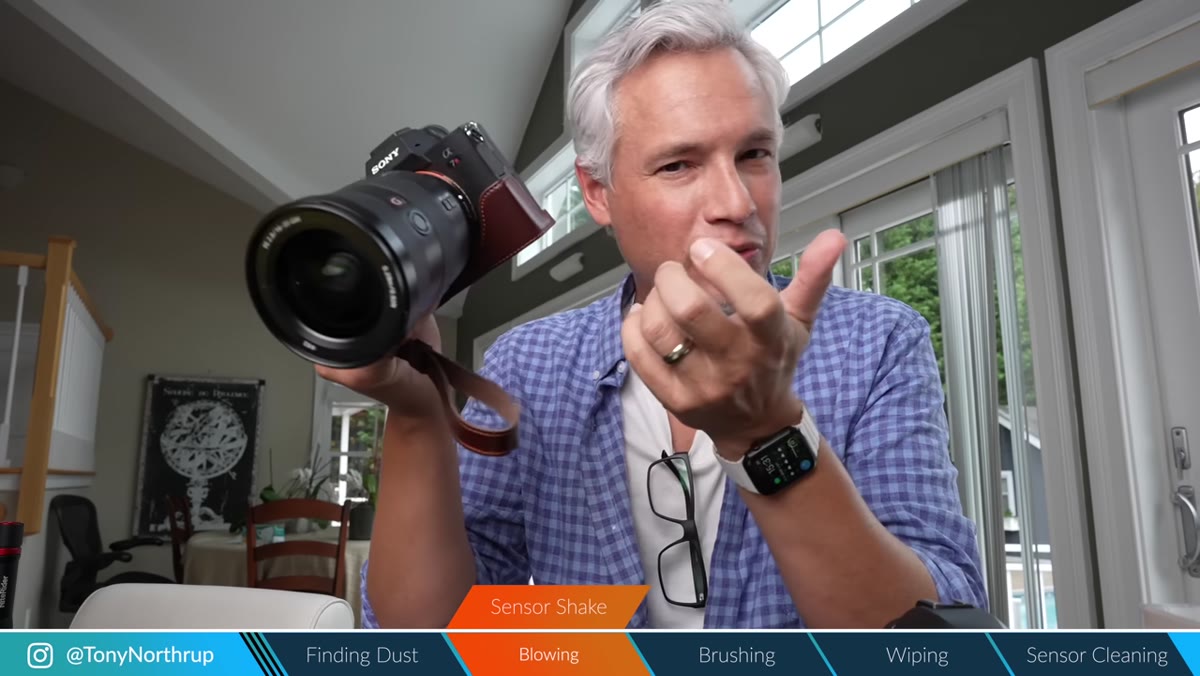
Every modern camera has a sensor cleaning mode buried somewhere in the menu. Find it before you reach for any physical tool. The camera vibrates the sensor at a high frequency to shake loose particles. It won’t fix a smear or a stubborn piece of debris, but it handles a surprising amount of ordinary dust and costs you nothing.
Camera held upside down with lens removed over table
Every modern camera has a sensor cleaning mode buried somewhere in the menu. Find it before you reach for any physical tool. The camera vibrates the sensor at a high frequency to shake loose particles. It won’t fix a smear or a stubborn piece of debris, but it handles a surprising amount of ordinary dust and costs you nothing.
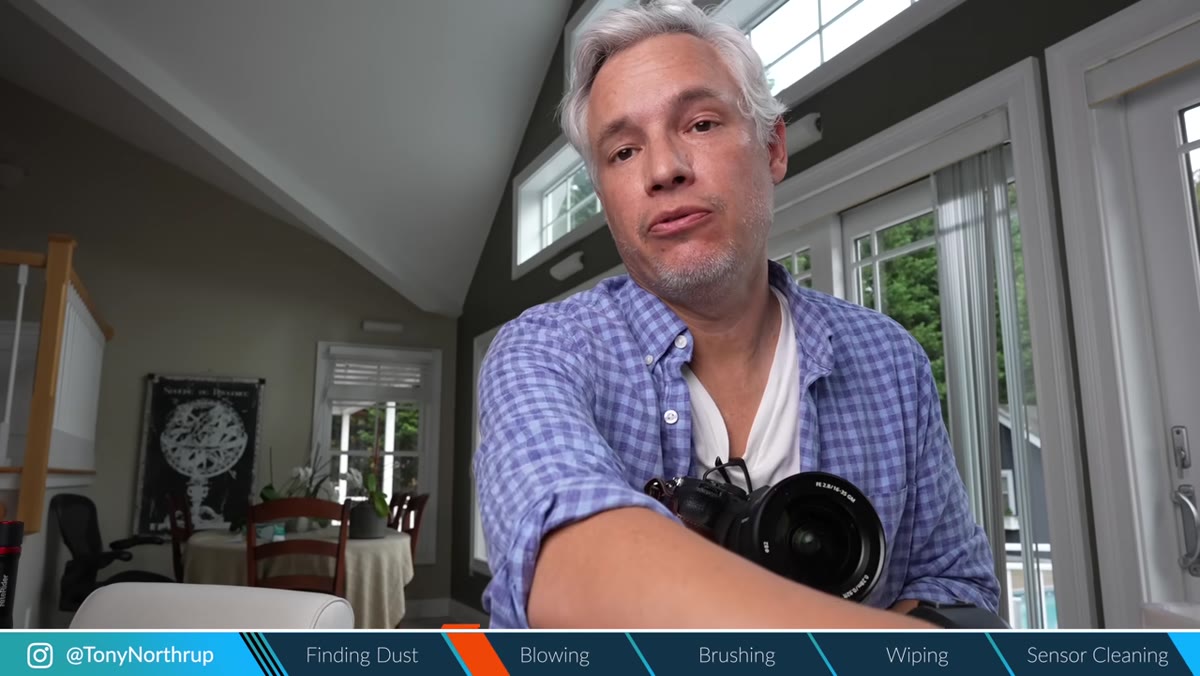
Tony’s tip here is worth stealing: remove the lens, flip the camera upside down before running the cleaning cycle, and let gravity do a little work. Any particles that shake free have a better chance of falling away from the sensor rather than settling back onto it. It takes 10 seconds and requires zero gear.
Step 4: Use a Quality Blower on the Sensor and Lens Elements
 Rocket blower being used inside camera body with lens removed
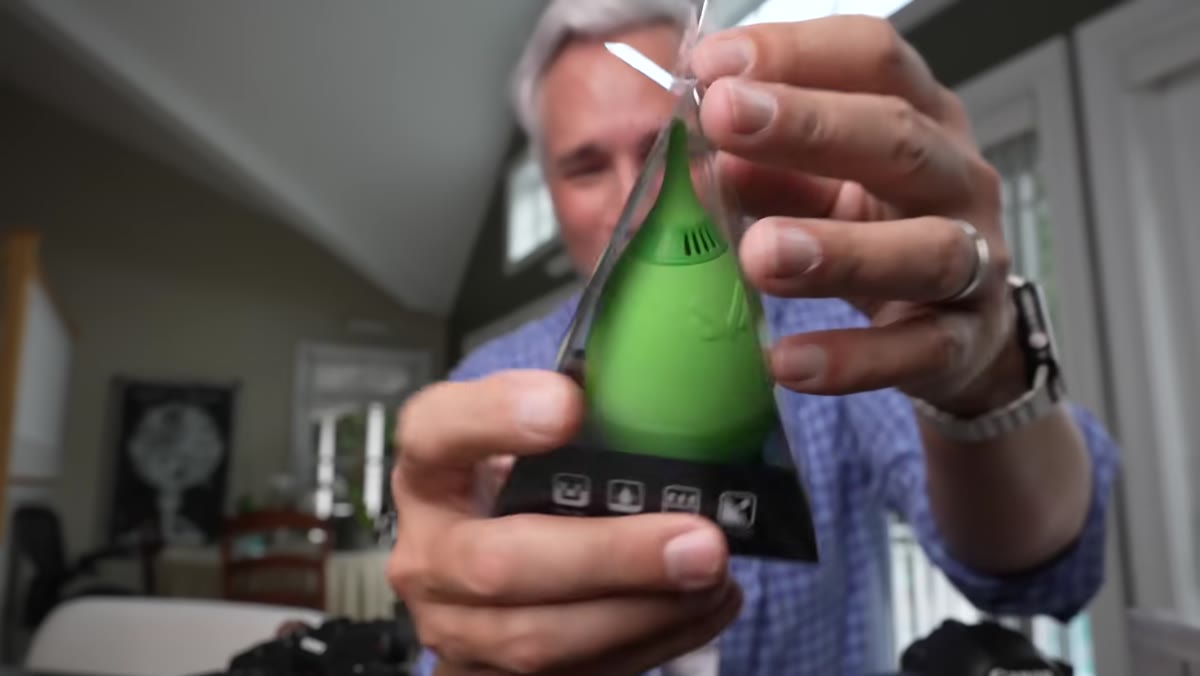
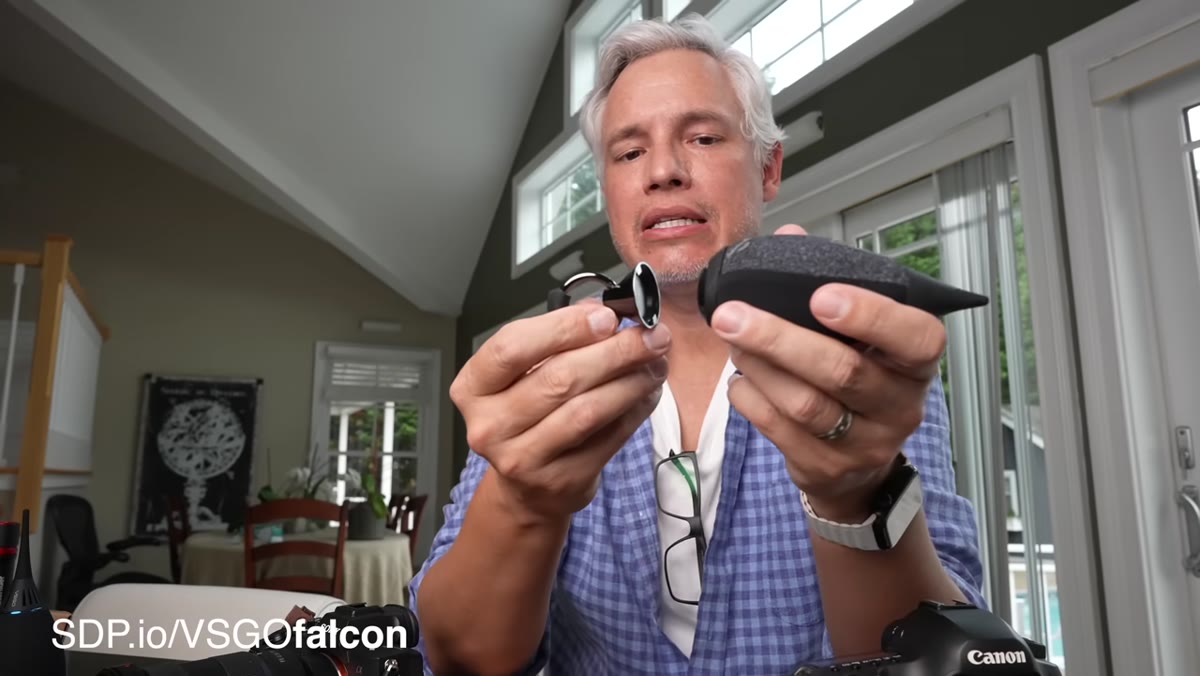
A blower is the first physical tool you reach for, but this is where people make a cheap mistake. A low-quality squeeze blower can spit out debris or even propel dust from your hands right onto the sensor. Tony has tested a range of products and recommends investing a few dollars more in a known brand. The Giotto Rocket is a common recommendation in this price range, and it earns it.
Rocket blower being used inside camera body with lens removed
A blower is the first physical tool you reach for, but this is where people make a cheap mistake. A low-quality squeeze blower can spit out debris or even propel dust from your hands right onto the sensor. Tony has tested a range of products and recommends investing a few dollars more in a known brand. The Giotto Rocket is a common recommendation in this price range, and it earns it.
With the camera upside down and lens off, squeeze the blower in short, controlled bursts aimed just inside the chamber – never touch the tip to any surface. Do the same for lens elements front and back. The goal is to dislodge particles that aren’t stuck, so you’re not grinding them in during the next step. Don’t use canned air. The propellant can leave residue and the pressure is difficult to control.
Step 5: Clean Lens Glass With a Proper Lens Pen or Microfiber
 Lens pen being used in circular motion on front element
For actual smears and fingerprints on lens glass, a lens pen beats a microfiber cloth in most situations because it gives you more control and doesn’t drag debris across the coating. Work from the center outward in small circular motions. Microfiber cloths are fine for filter glass or the back element, but make sure they’re camera-specific – the kind you’d use on eyeglasses often leaves micro-scratches on lens coatings over time.
Lens pen being used in circular motion on front element
For actual smears and fingerprints on lens glass, a lens pen beats a microfiber cloth in most situations because it gives you more control and doesn’t drag debris across the coating. Work from the center outward in small circular motions. Microfiber cloths are fine for filter glass or the back element, but make sure they’re camera-specific – the kind you’d use on eyeglasses often leaves micro-scratches on lens coatings over time.
Never breathe directly on a rear element before wiping it. The moisture can work into the barrel. A lens cleaning solution applied to the cloth or swab is cleaner and more controlled.
Step 6: Wet Clean the Sensor Only If Blowing Didn’t Work
 Sensor cleaning swab being prepared with solution drops
Wet cleaning sounds scary but it’s the only reliable fix for oily residue or particles that the blower didn’t move. Use sensor swabs sized to your sensor format – APS-C and full frame are different widths – and a dedicated sensor cleaning solution. Apply two drops to the swab, never pour solution directly onto the sensor. Swipe in one smooth, single-direction pass, flip the swab, and make one return pass. That’s it. No scrubbing, no second swab unless you check and still see contamination.
Sensor cleaning swab being prepared with solution drops
Wet cleaning sounds scary but it’s the only reliable fix for oily residue or particles that the blower didn’t move. Use sensor swabs sized to your sensor format – APS-C and full frame are different widths – and a dedicated sensor cleaning solution. Apply two drops to the swab, never pour solution directly onto the sensor. Swipe in one smooth, single-direction pass, flip the swab, and make one return pass. That’s it. No scrubbing, no second swab unless you check and still see contamination.
The most common mistake is hesitating mid-swipe, which leaves a line. Commit to the motion and go at a consistent speed.
What I’d Add From My Own Experience
The inspection step is where most people – including past me – rush and pay for it later. I used to skip straight to blowing and then wonder why I still had spots. Now I take the two minutes to actually map out where the dust is before I touch anything. It sounds obvious in hindsight.
I’d also say: buy your swabs and solution before you need them. I waited until I had a shoot the next morning to realize I was out, and no local camera shop in my area stocked the right swab size. A basic cleaning kit runs $15 to $25 on Amazon and lasts a year of regular use. That’s about what I used to spend on time fixing spots in post on a single busy editing session.
The single most important thing this tutorial reinforced for me is the order of operations: start with the least invasive method and only escalate when it doesn’t work. Running the menu cleaning first, then blowing, then wiping – that sequence protects your coatings and your sensor, and it means you’ll rarely need to reach for a swab at all.
Watch the full tutorial on YouTube for Tony’s product comparisons and a live before-and-after that makes the improvement impossible to argue with.
Comments
Leave a Comment